Hi there and Happy Halloween!!! I can’t believe it’s that time again!
I LOVE Halloween because it’s the gateway to the holidays, and it represents Fall, with all of its beautiful, warm colors and rustic scents. I also love that you can go crazy with spooky decorations… anything goes at Halloween! Some go for the really cutesy decor. Some get really creepy and some are just a happy medium, but I think that anything is allowed. You can go tacky, or elegant, but the goal of this holiday, is to have FUN! I appreciate the houses that go really nuts, because those are the ones that make this holiday what it is- spooky, thrilling entertainment- and sheer joy for my 8 year old son!
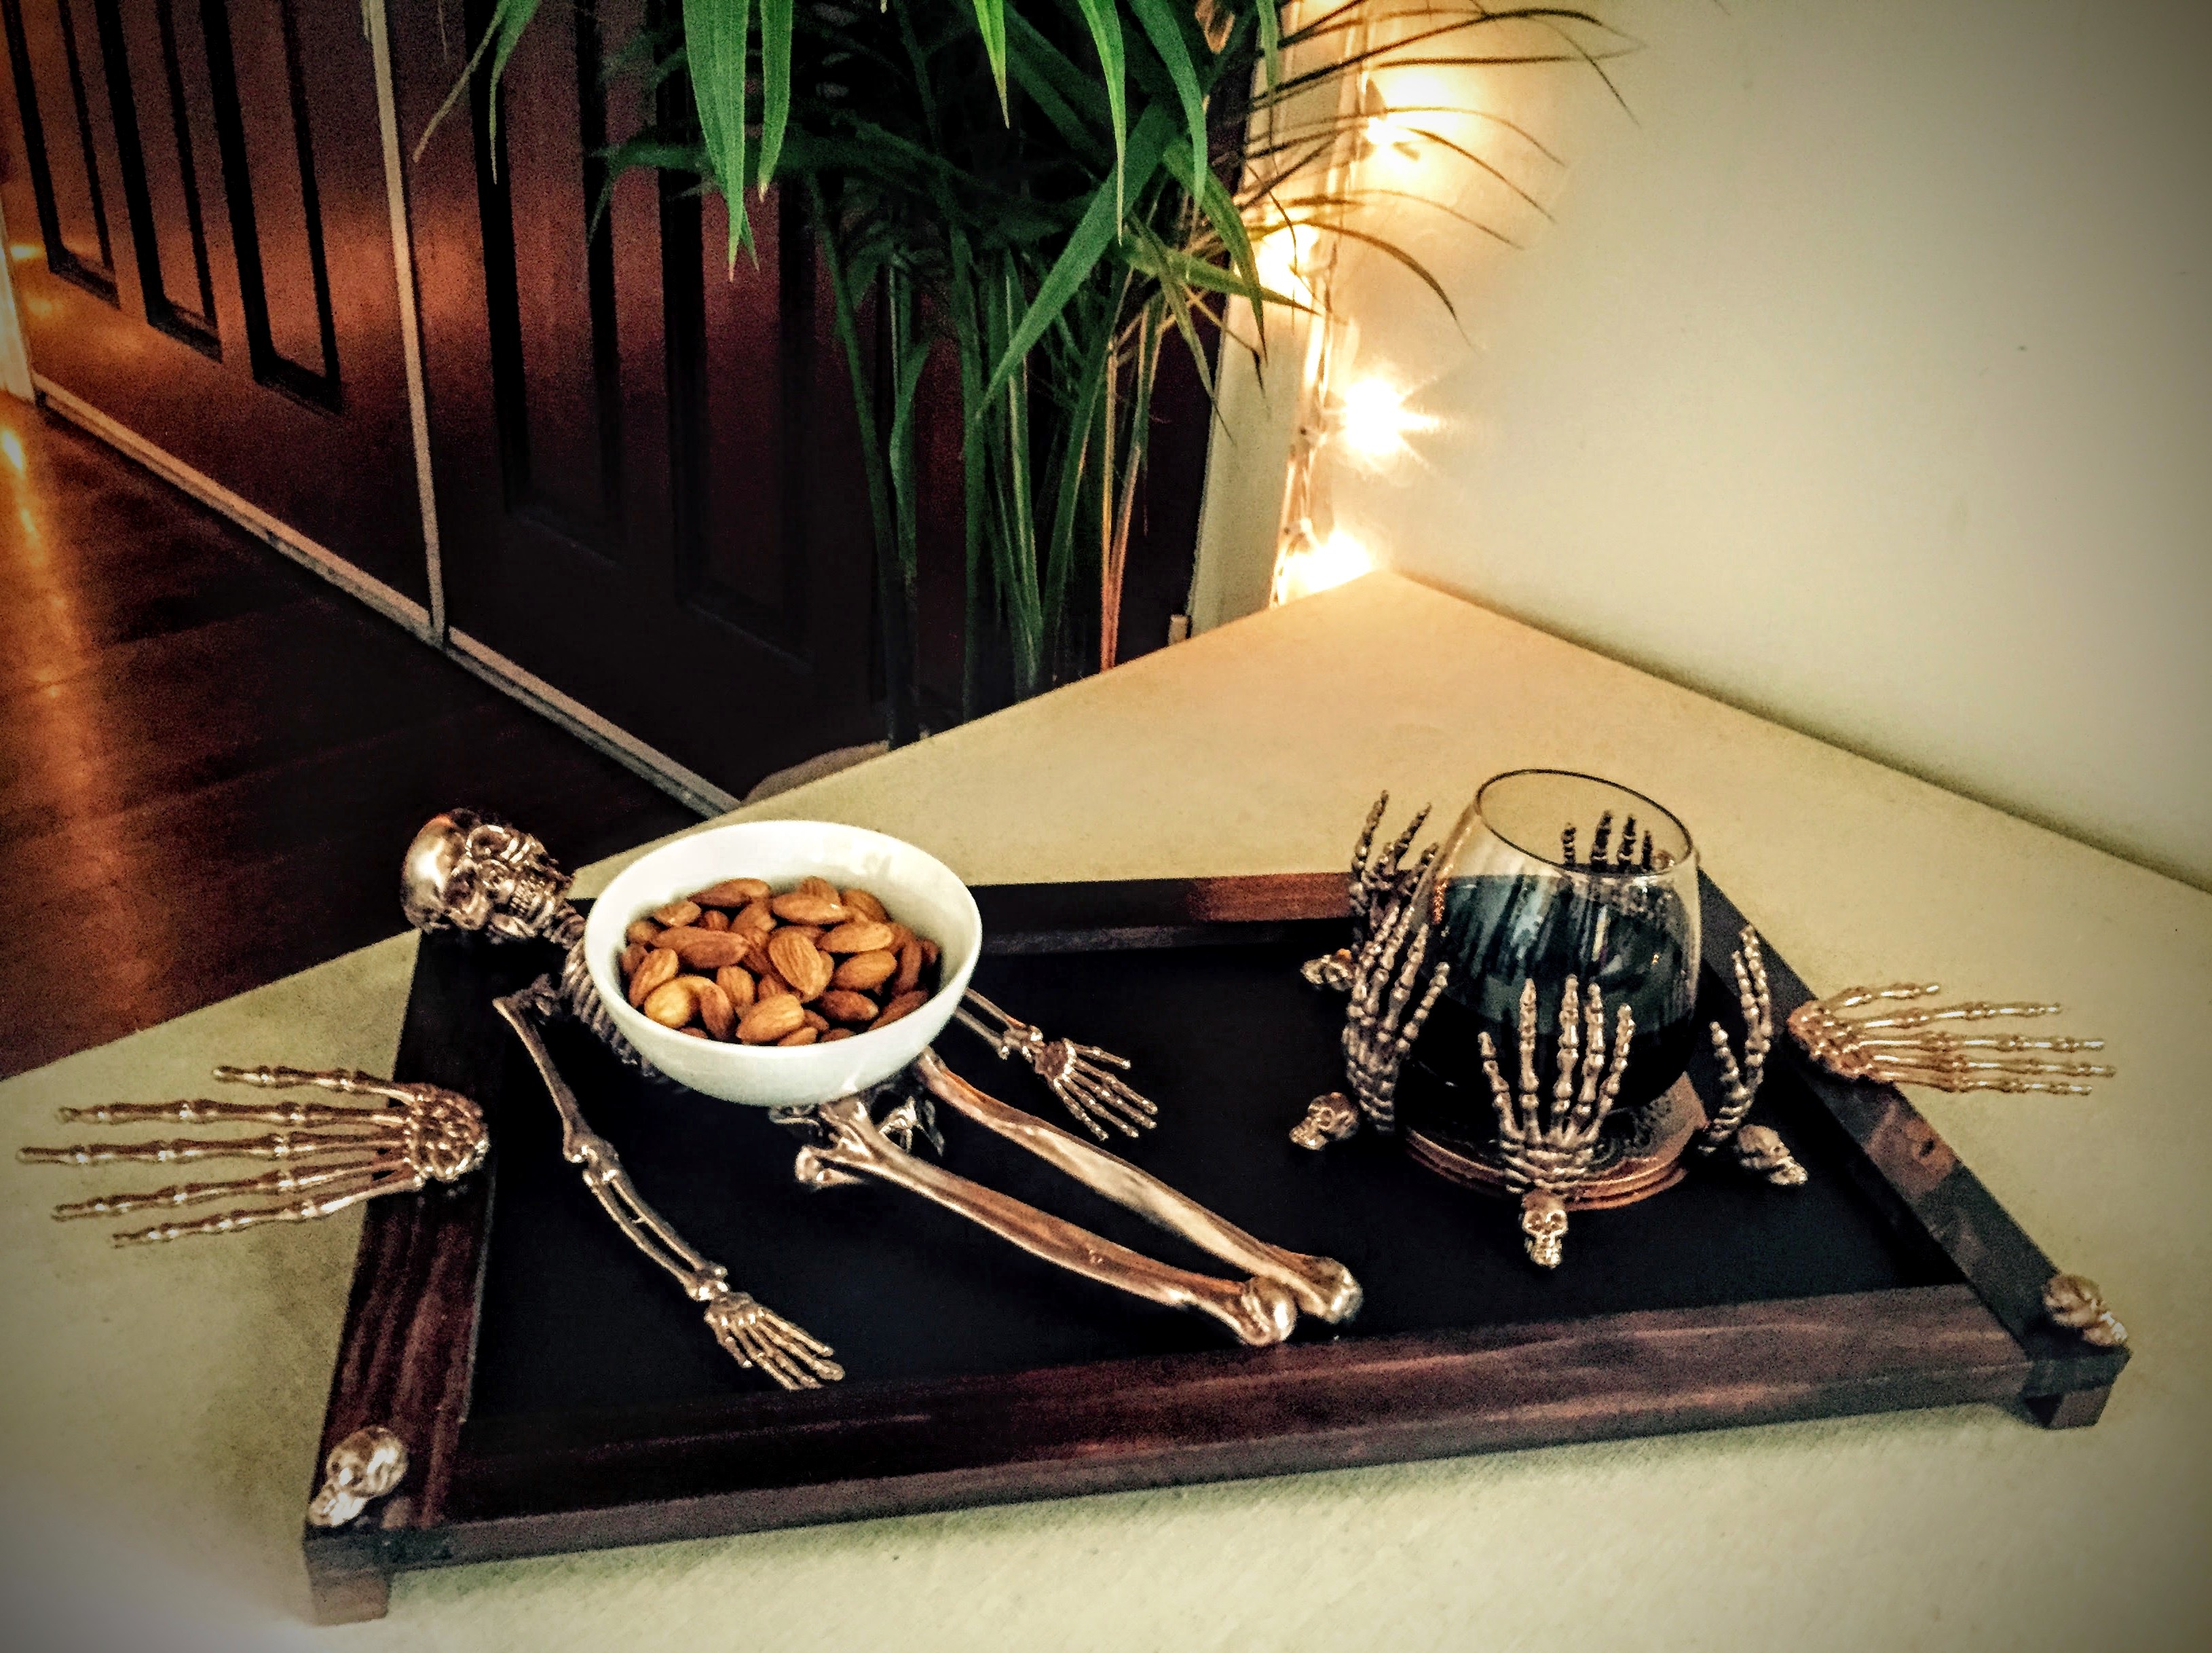
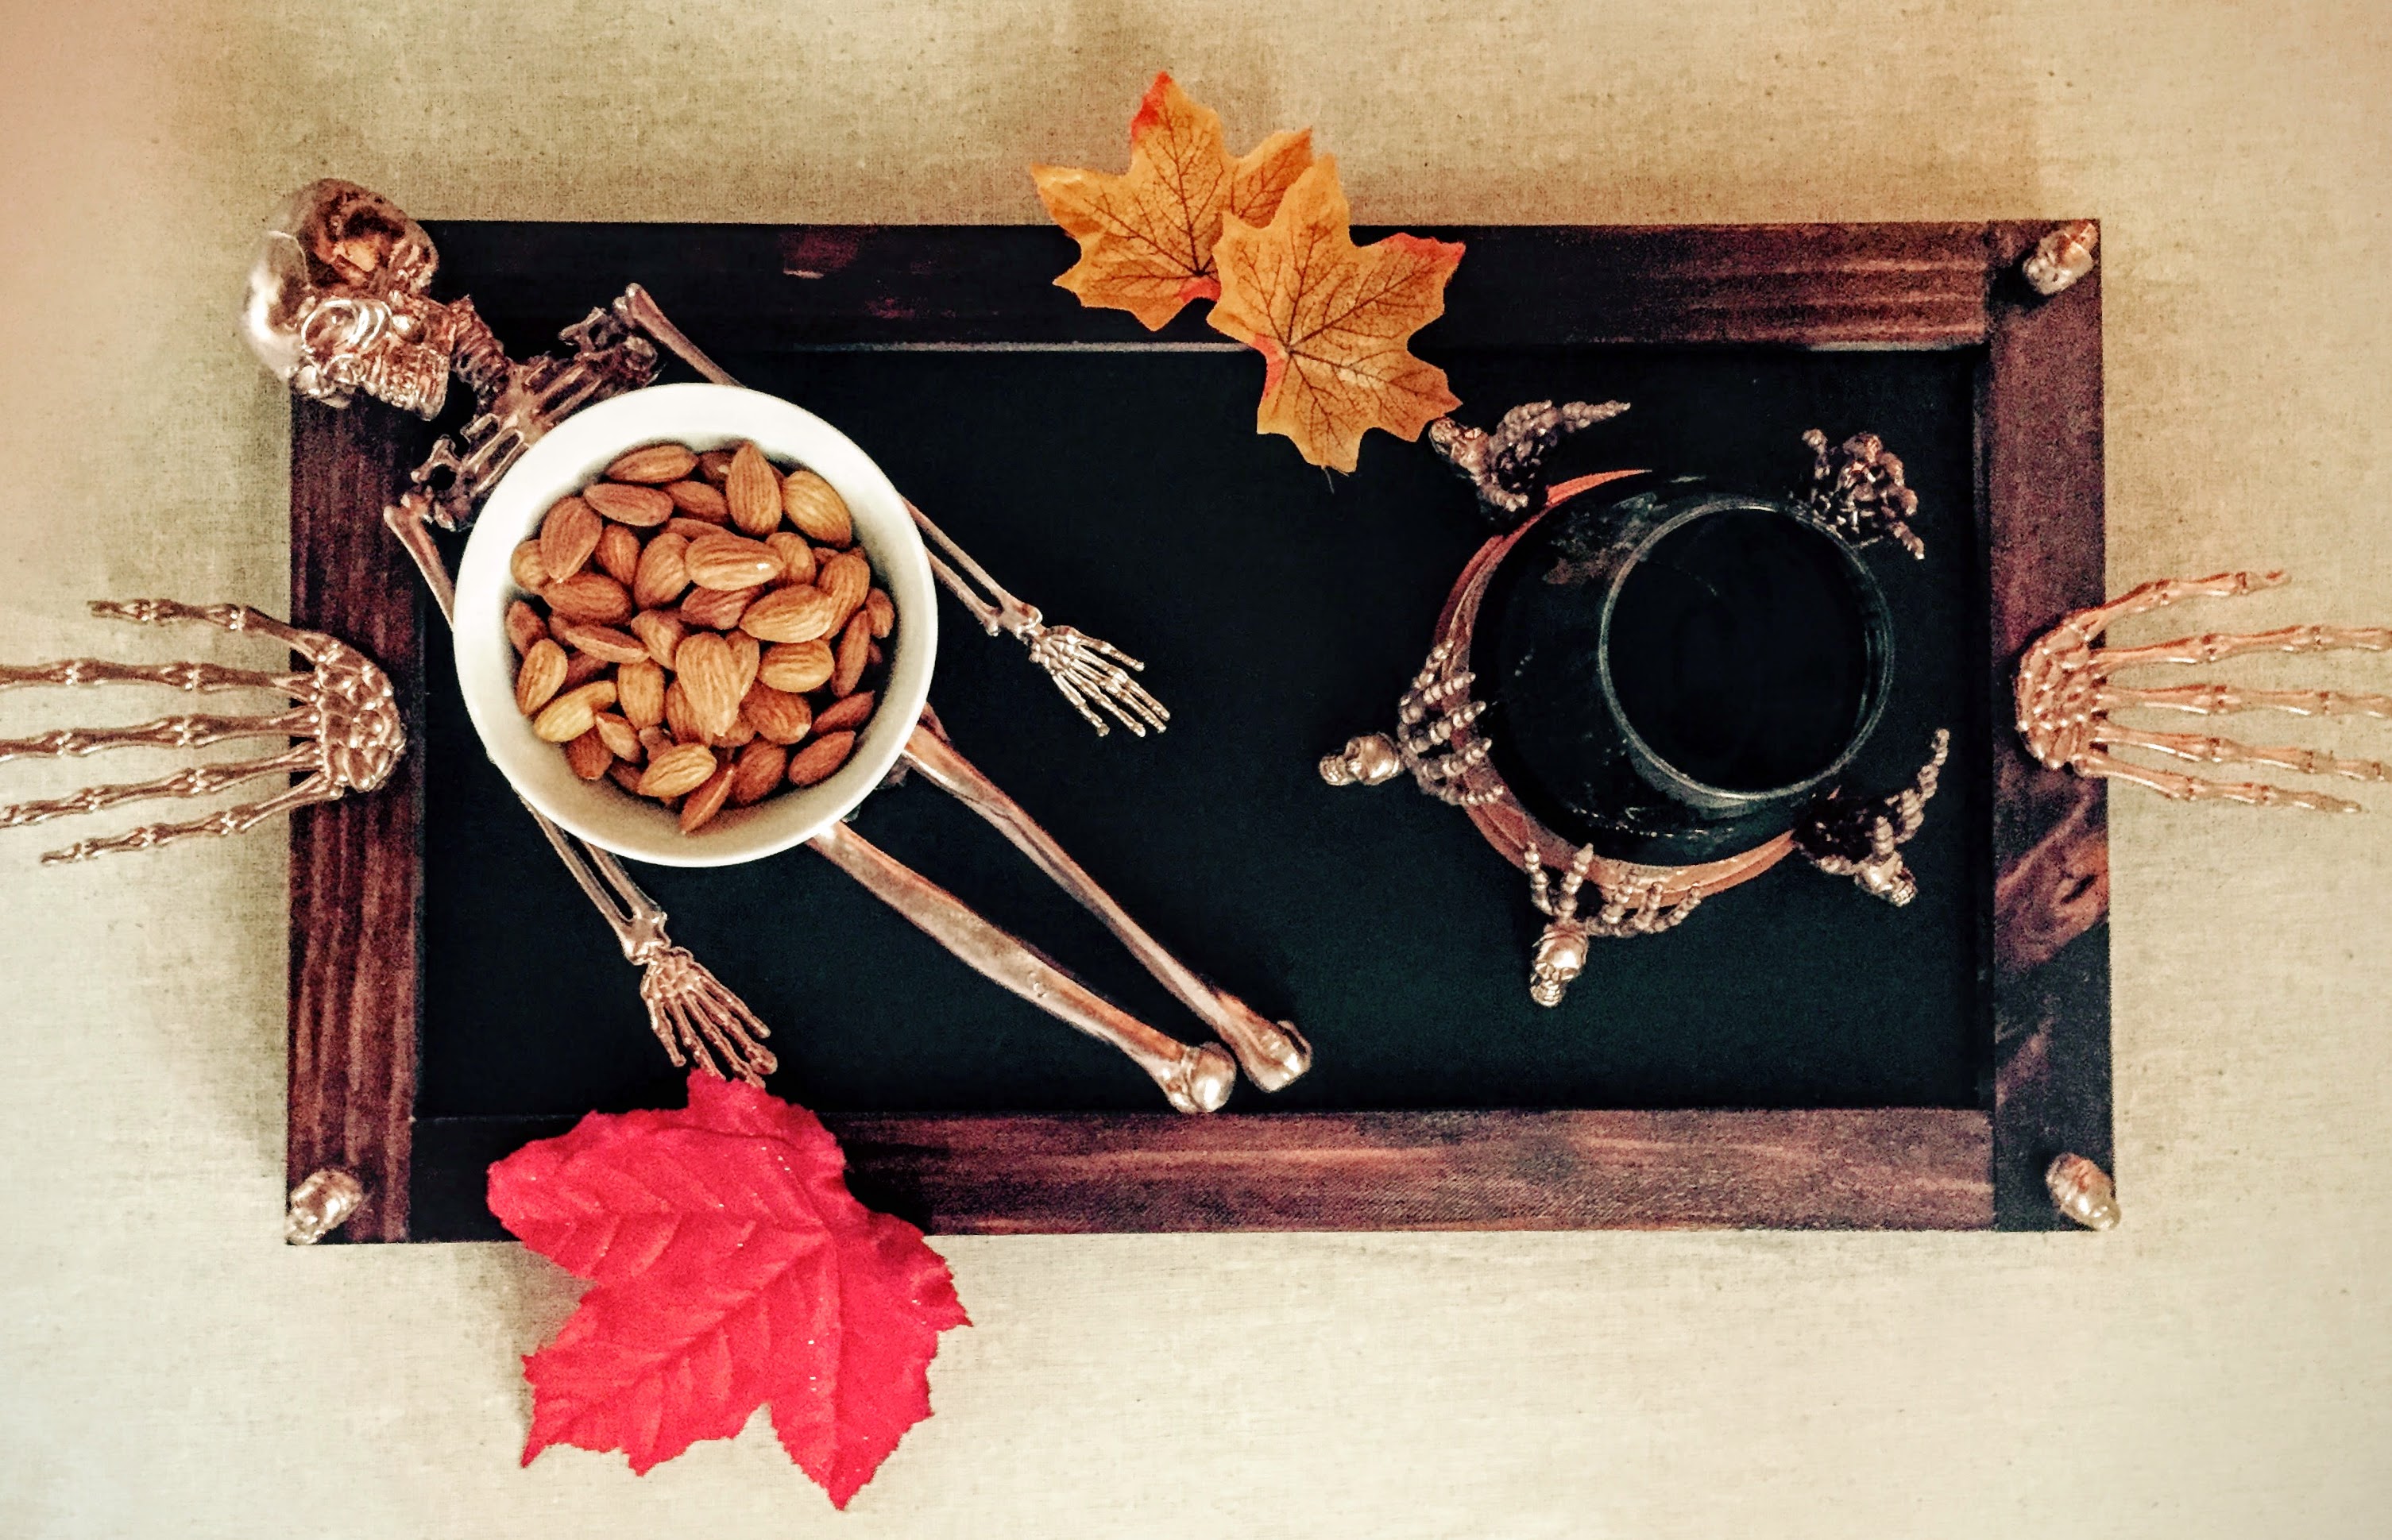
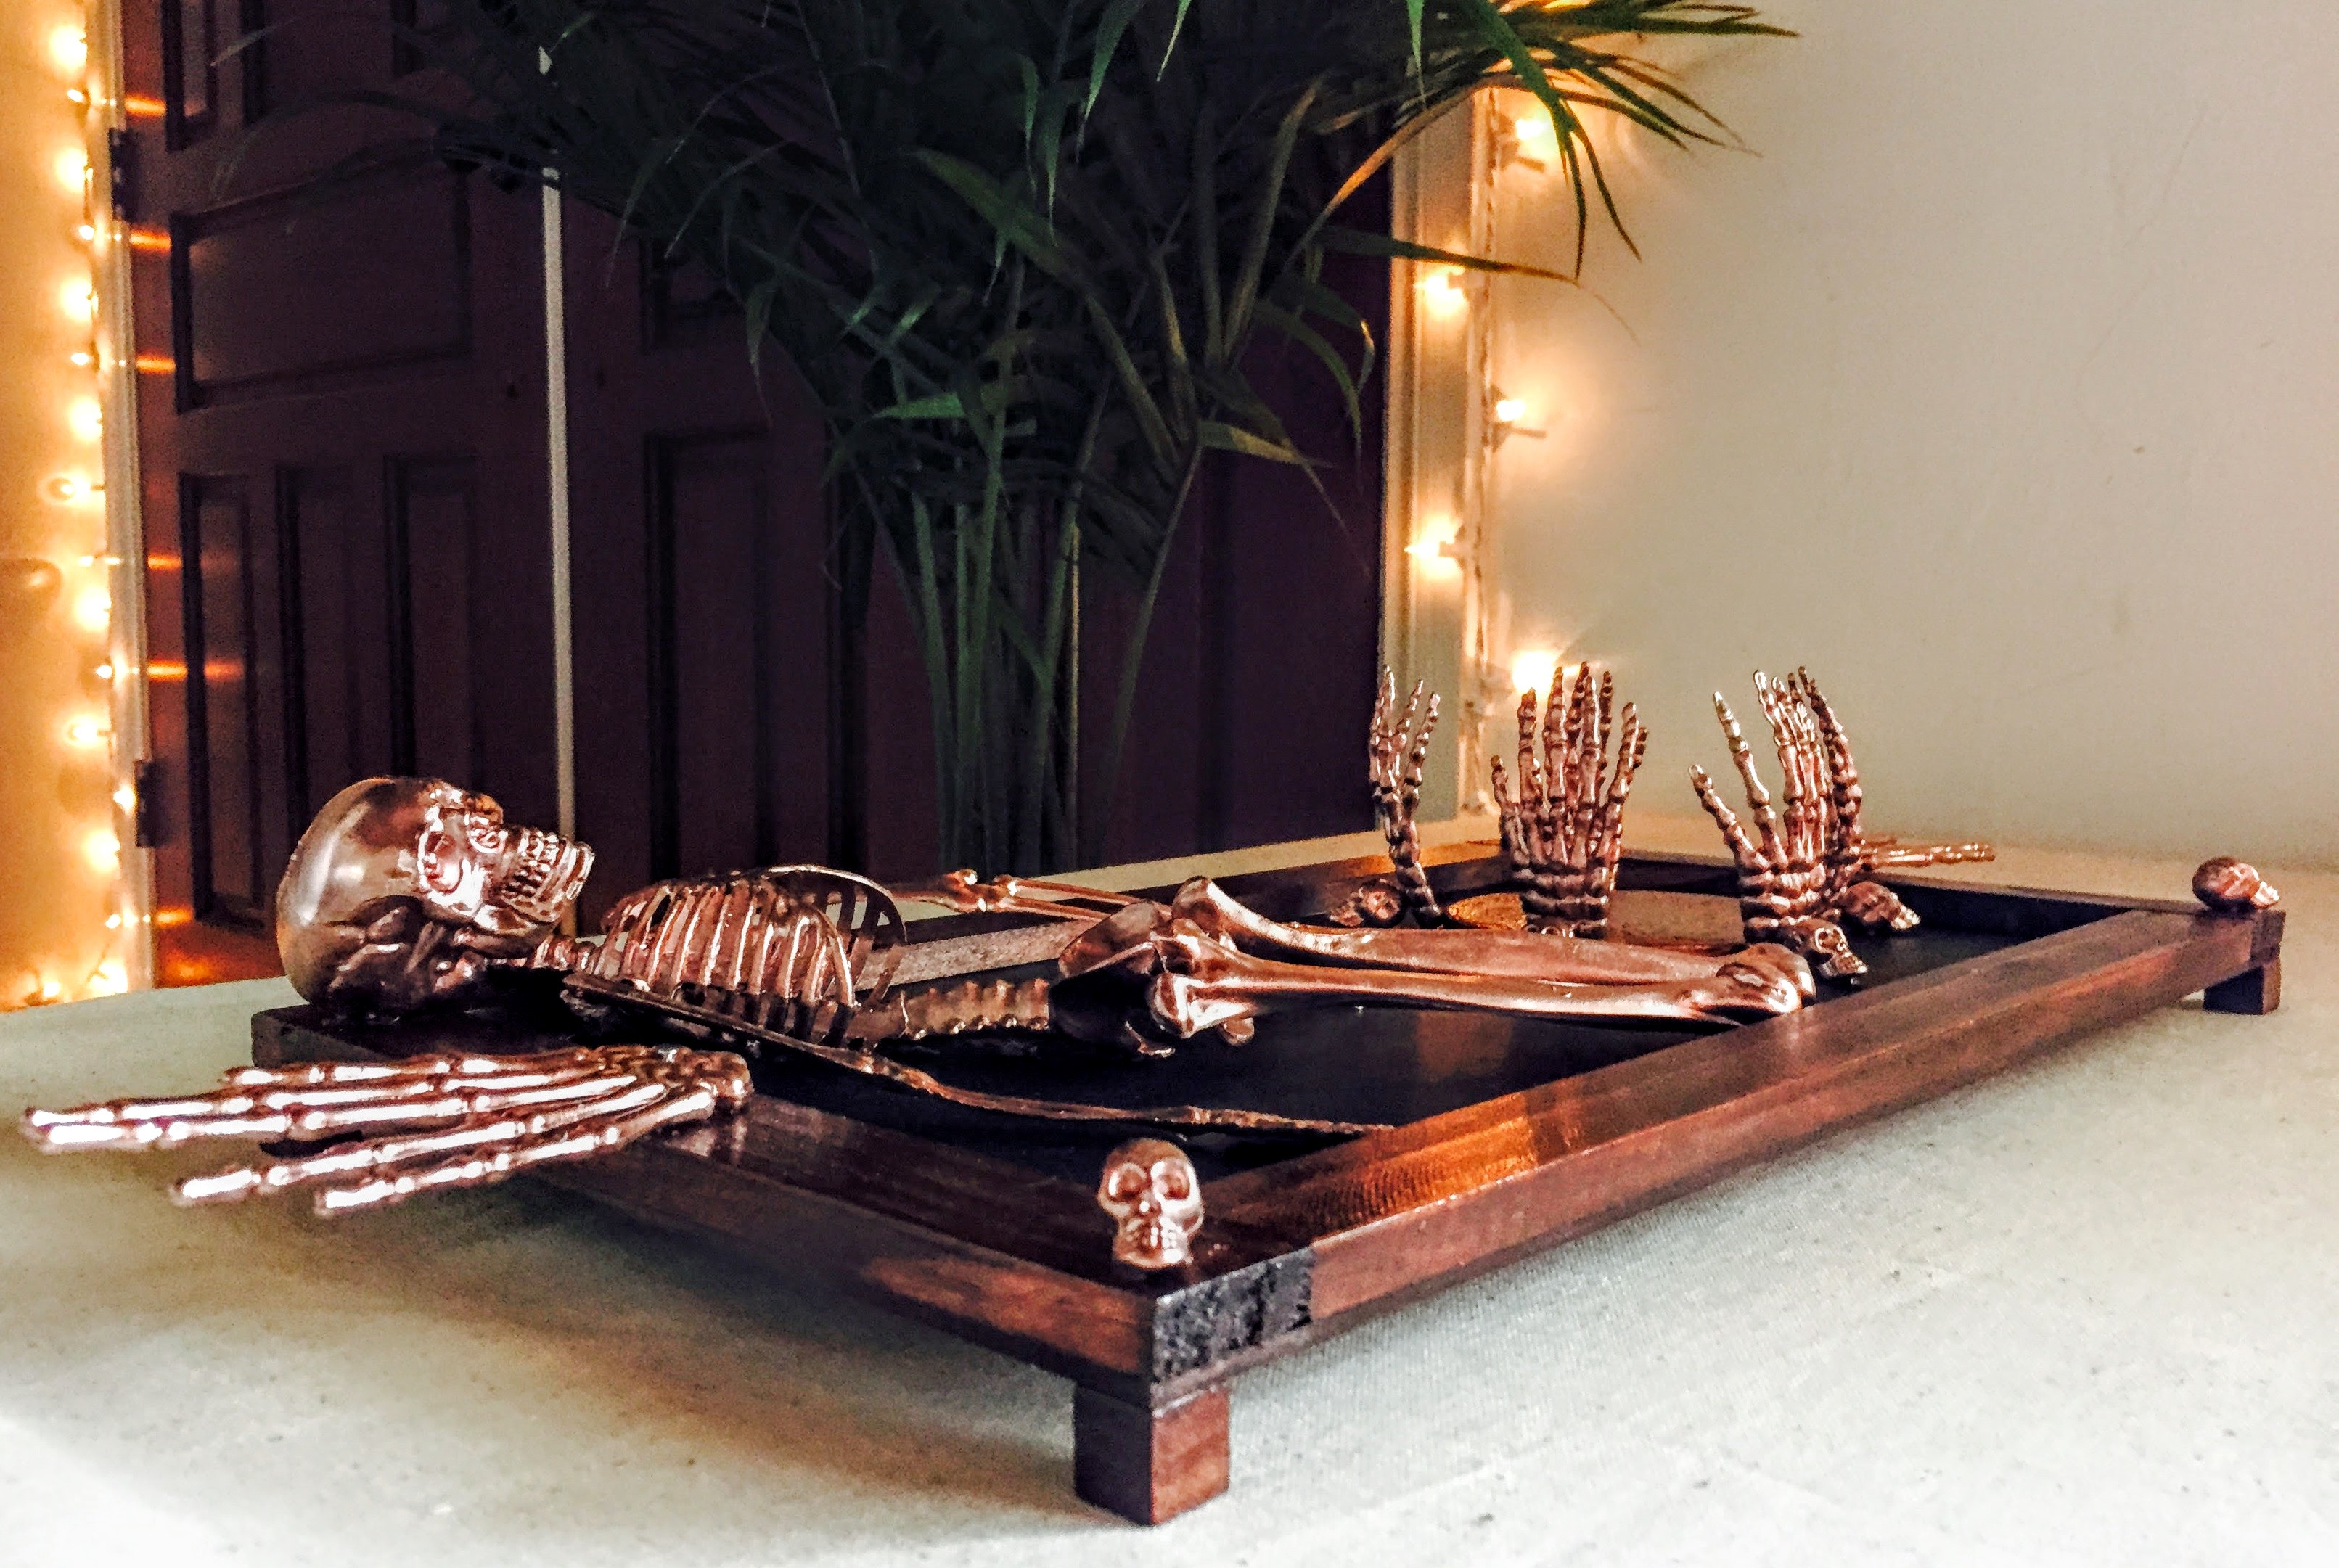
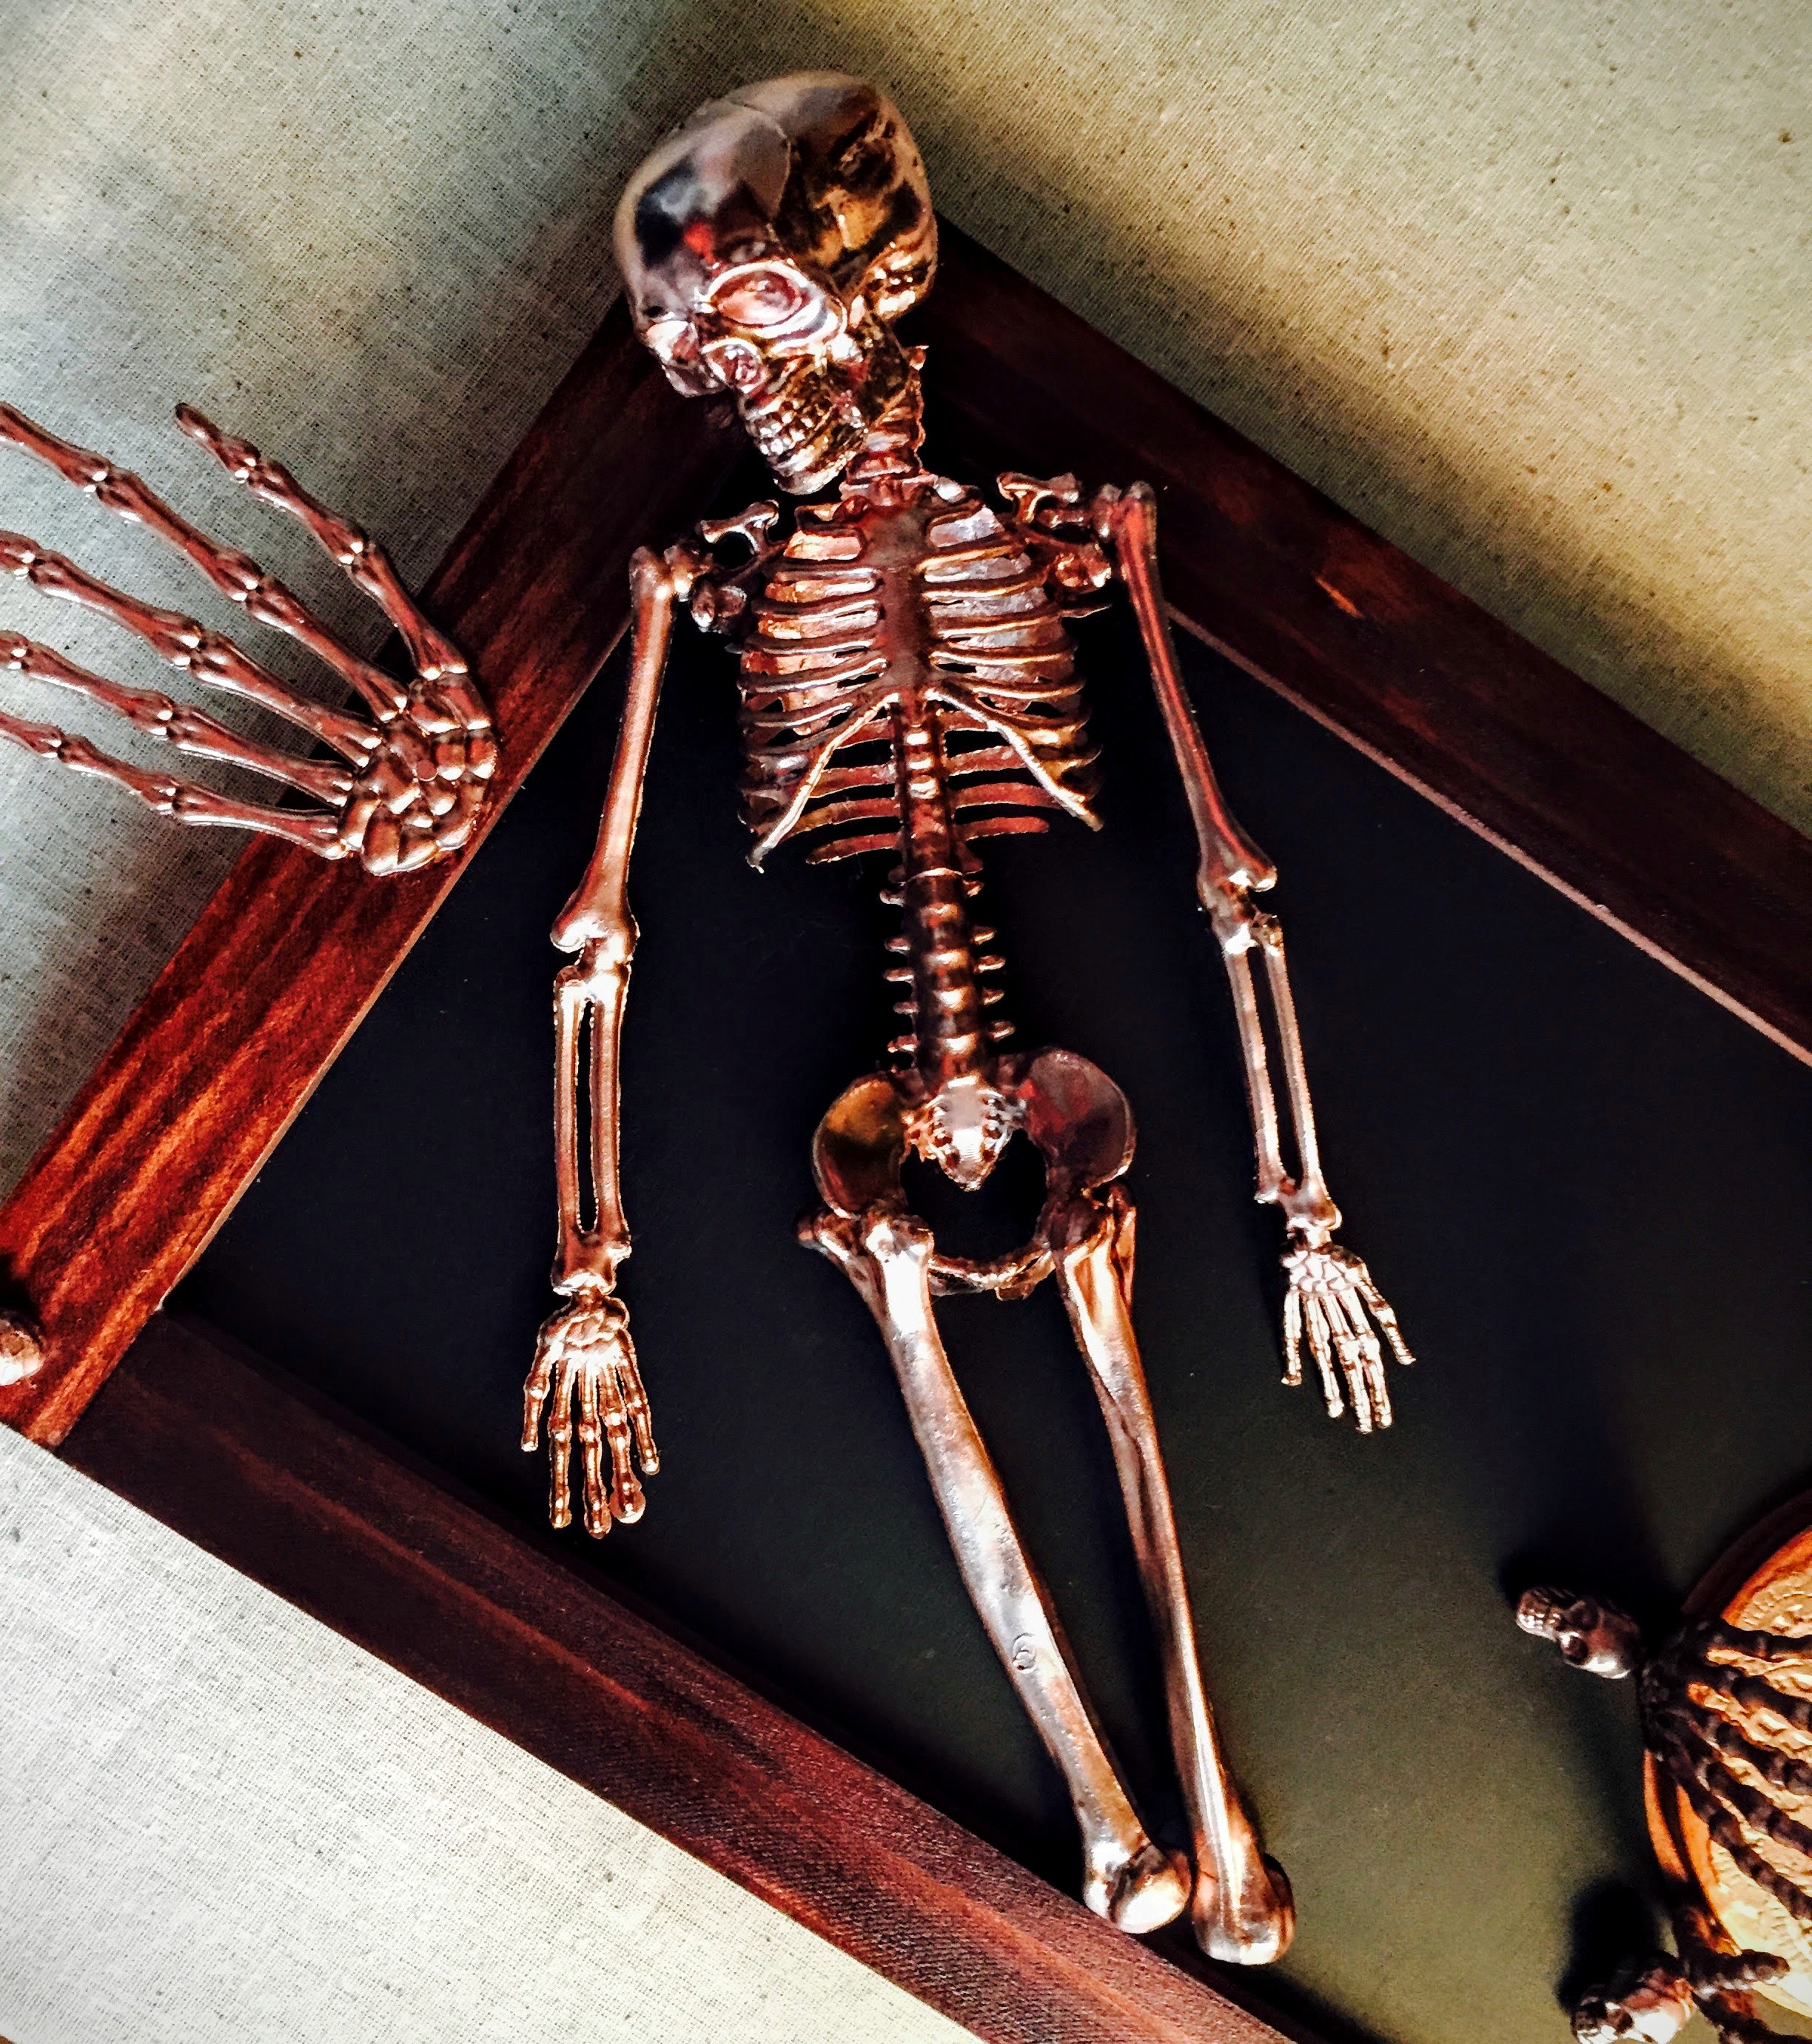
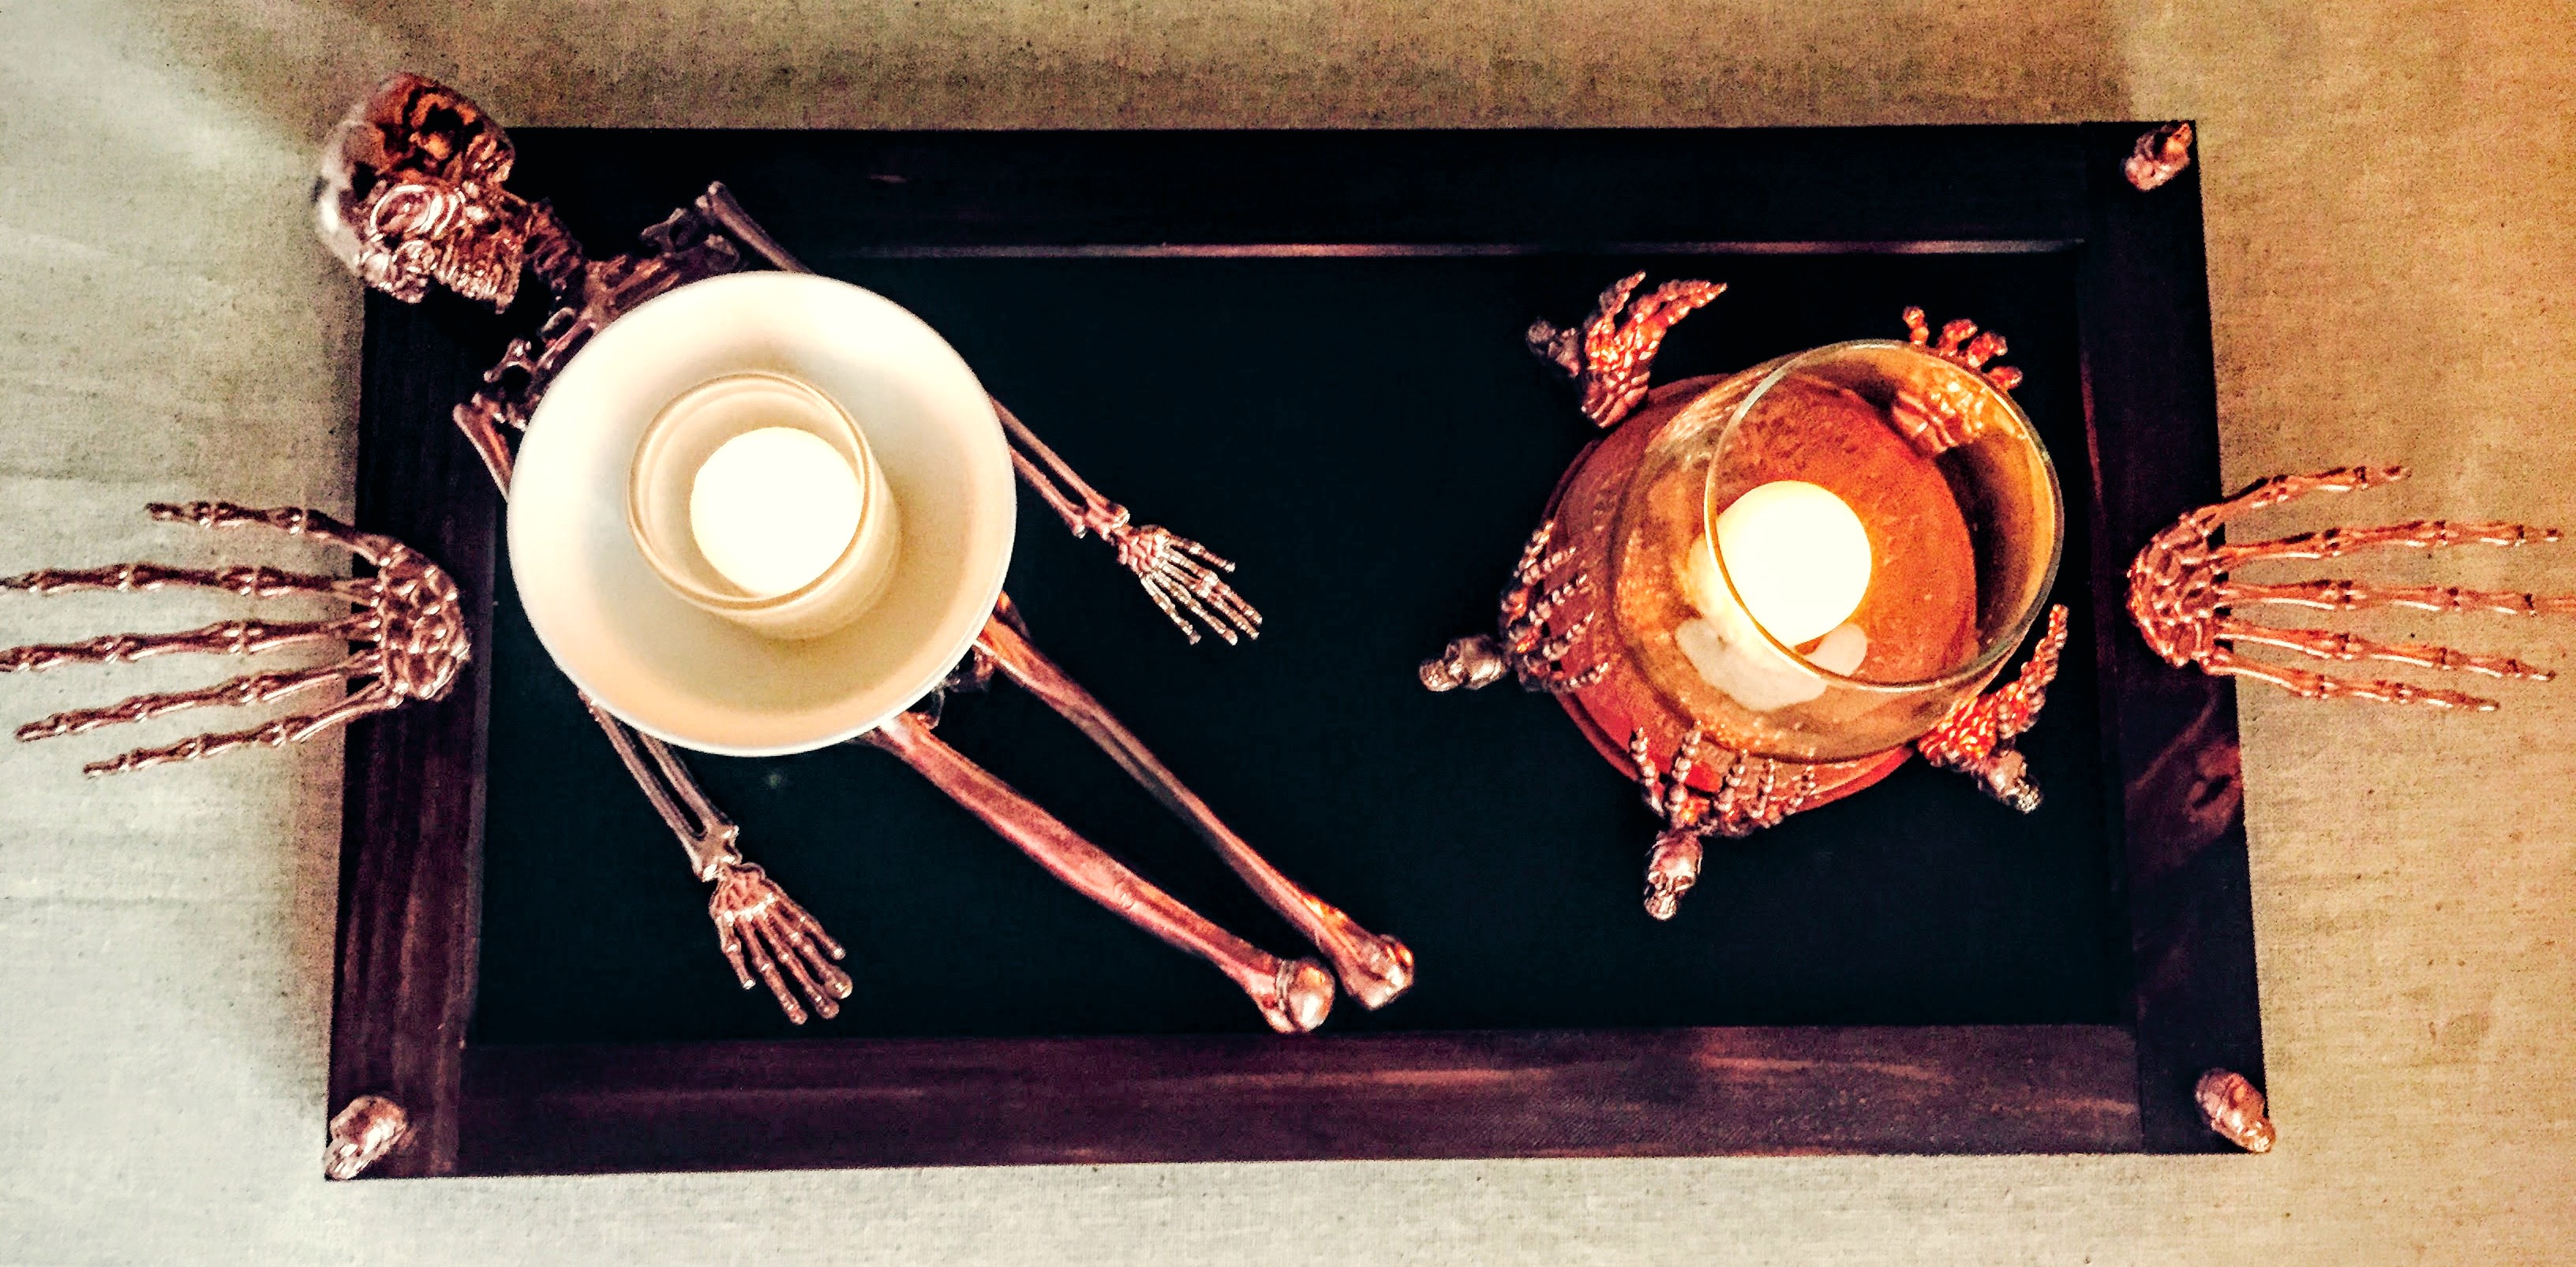
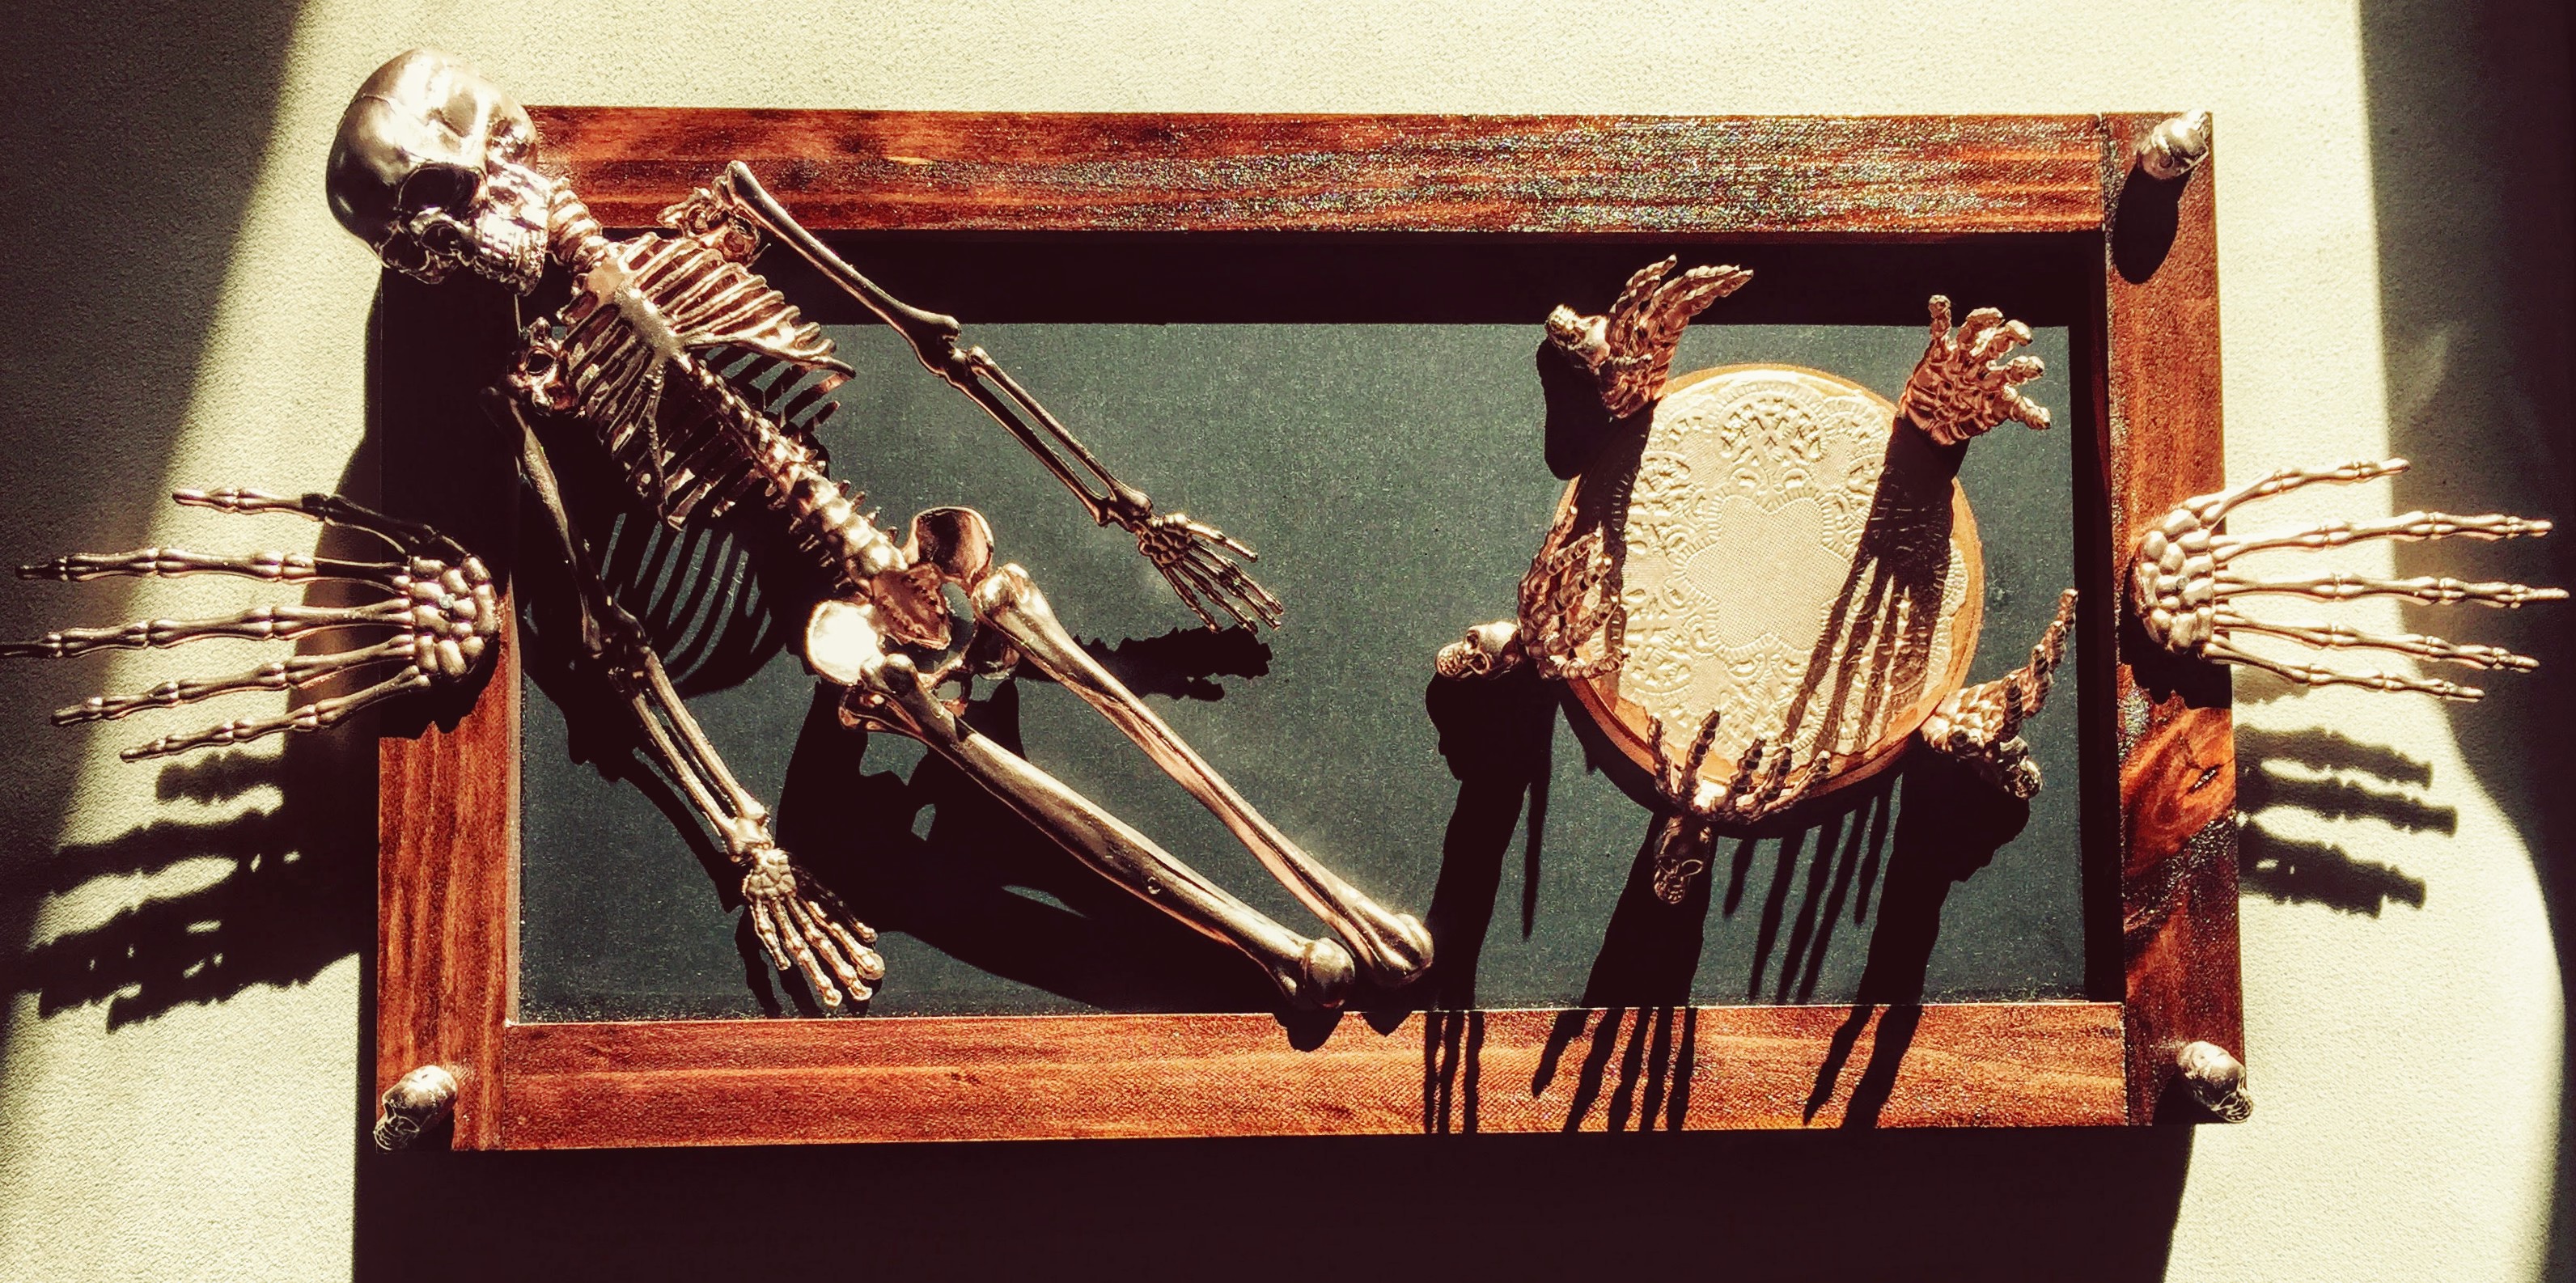
This season, I’ve made a tray that is ghostly, ghastly, and just a little bit elegant, to add to my growing collection of Halloween paraphernalia (to see my album of Halloweens, Past and Present, click here). This will be the first in a series of Spooky Skeleton Halloween Crafts that I’m rolling out. This particular tray, the first in the series, can be used for food and drink, as a candle display, or anything else your heart desires! It’s adorable in a spooky skeleton sort of way. Festive and fun. Very Halloweeny!
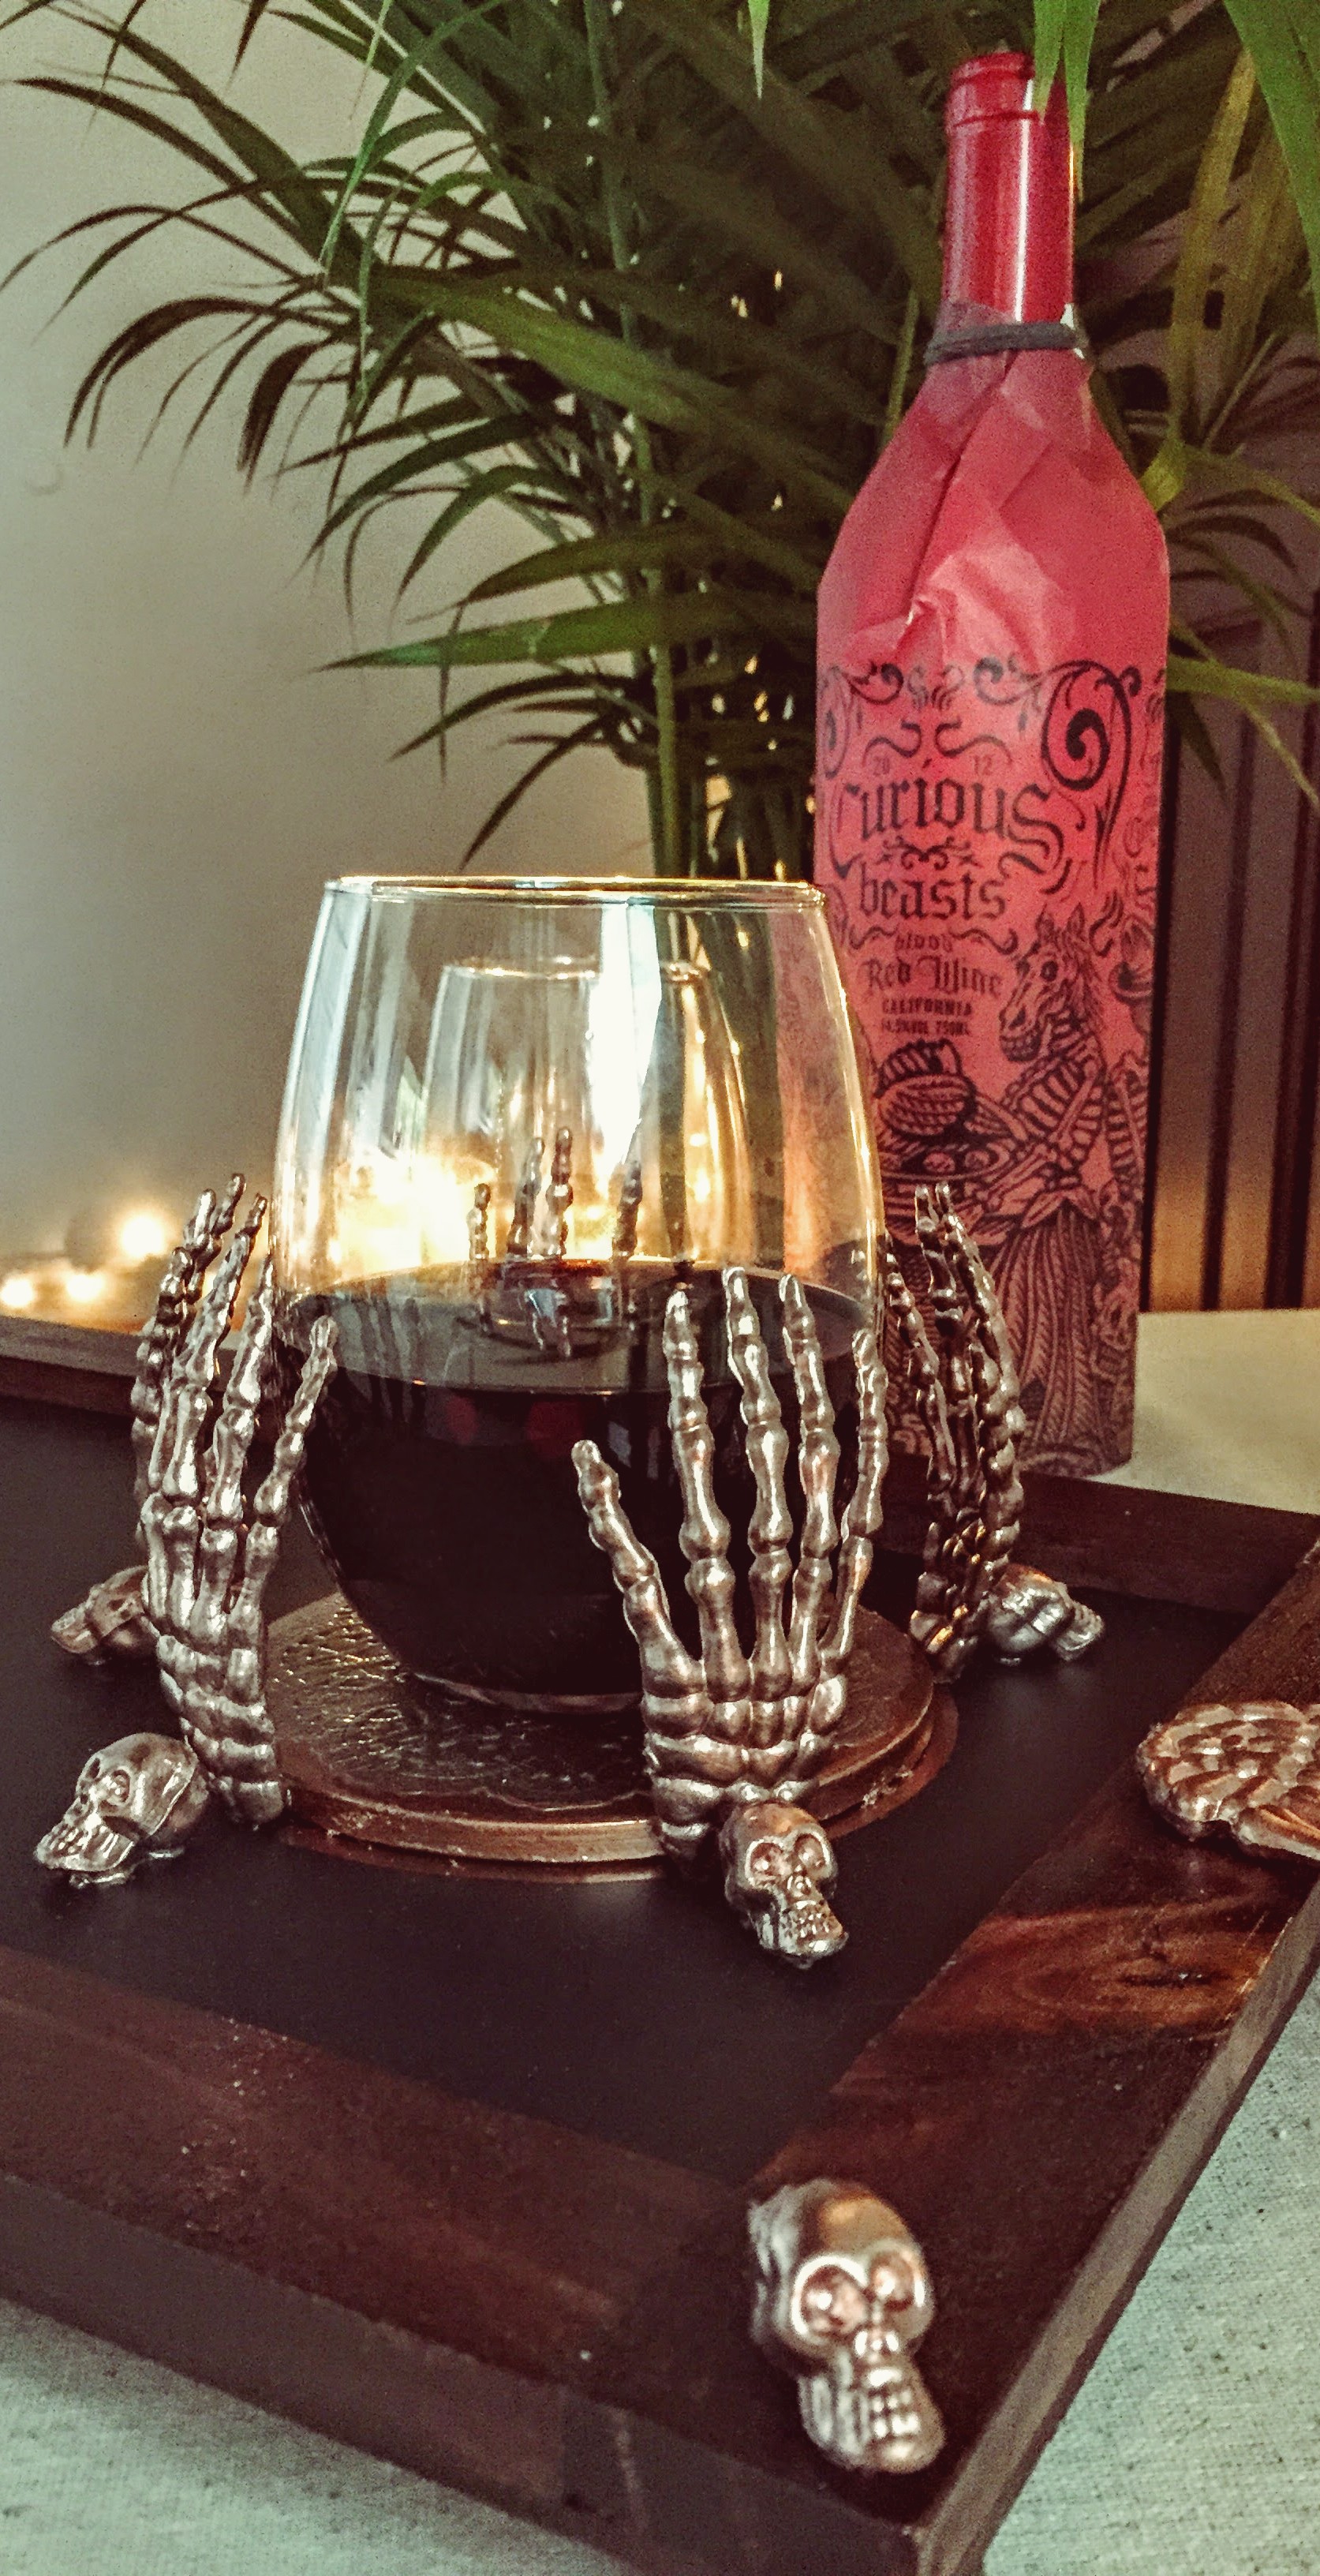
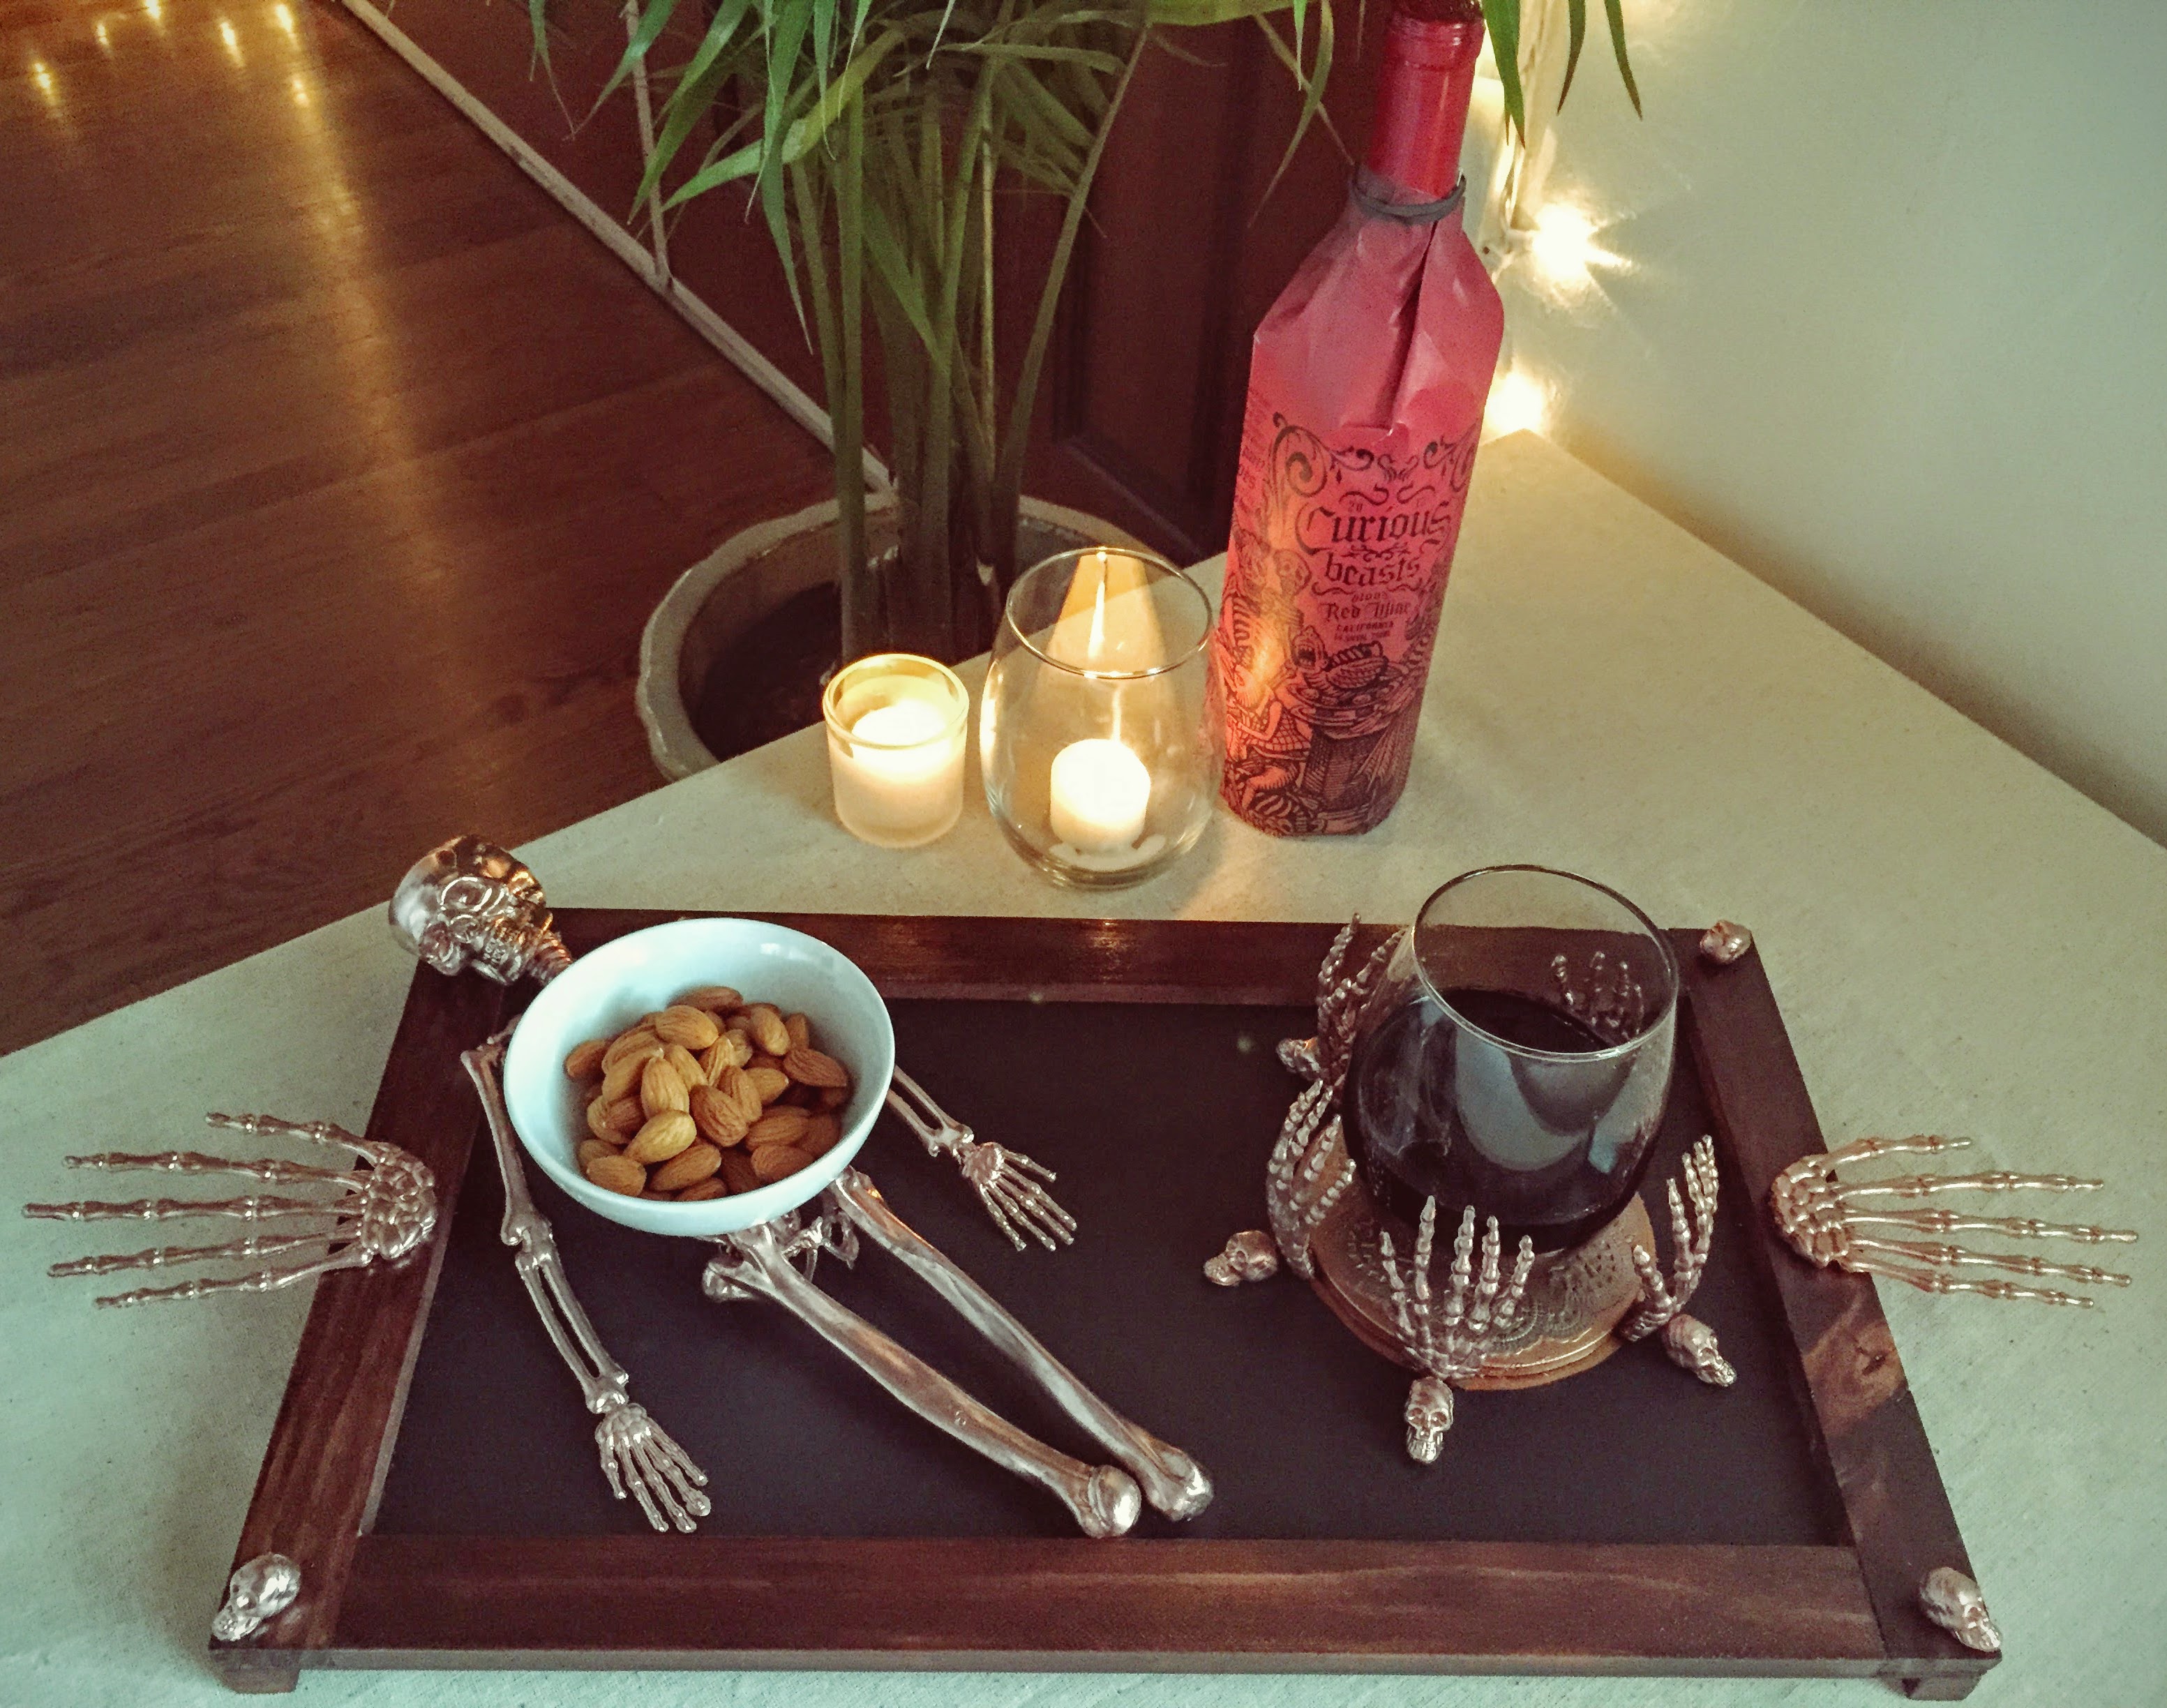
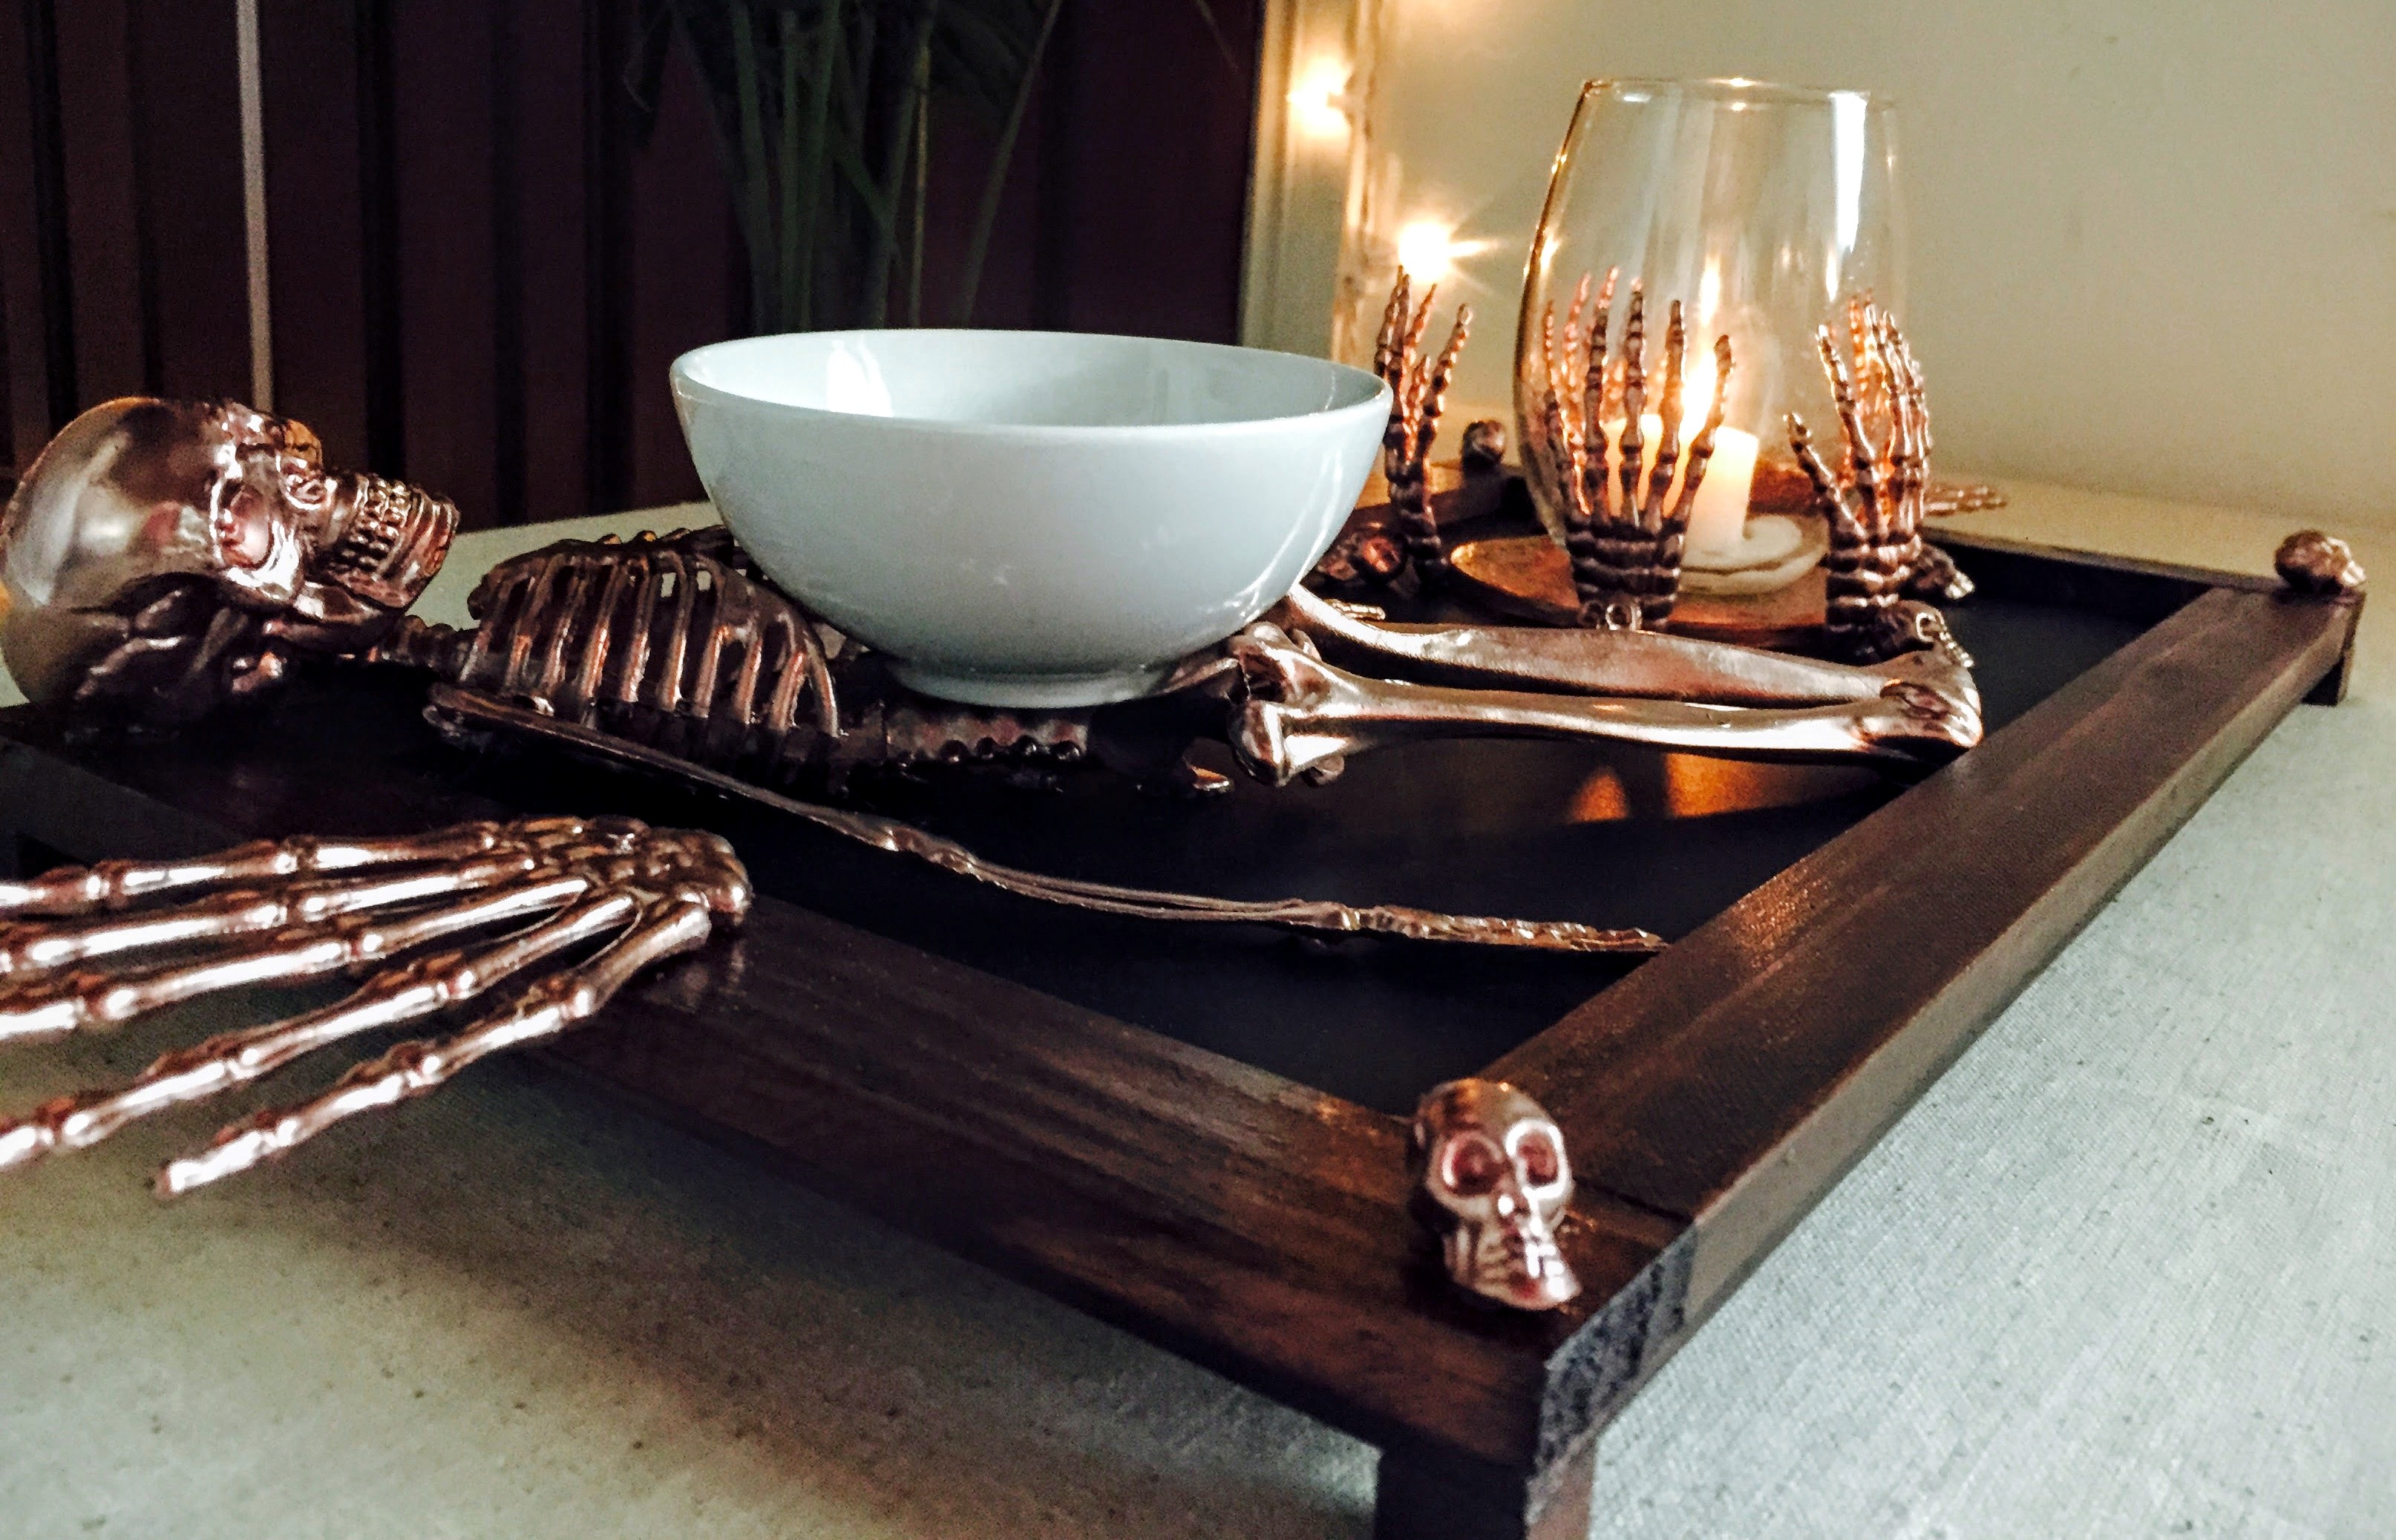
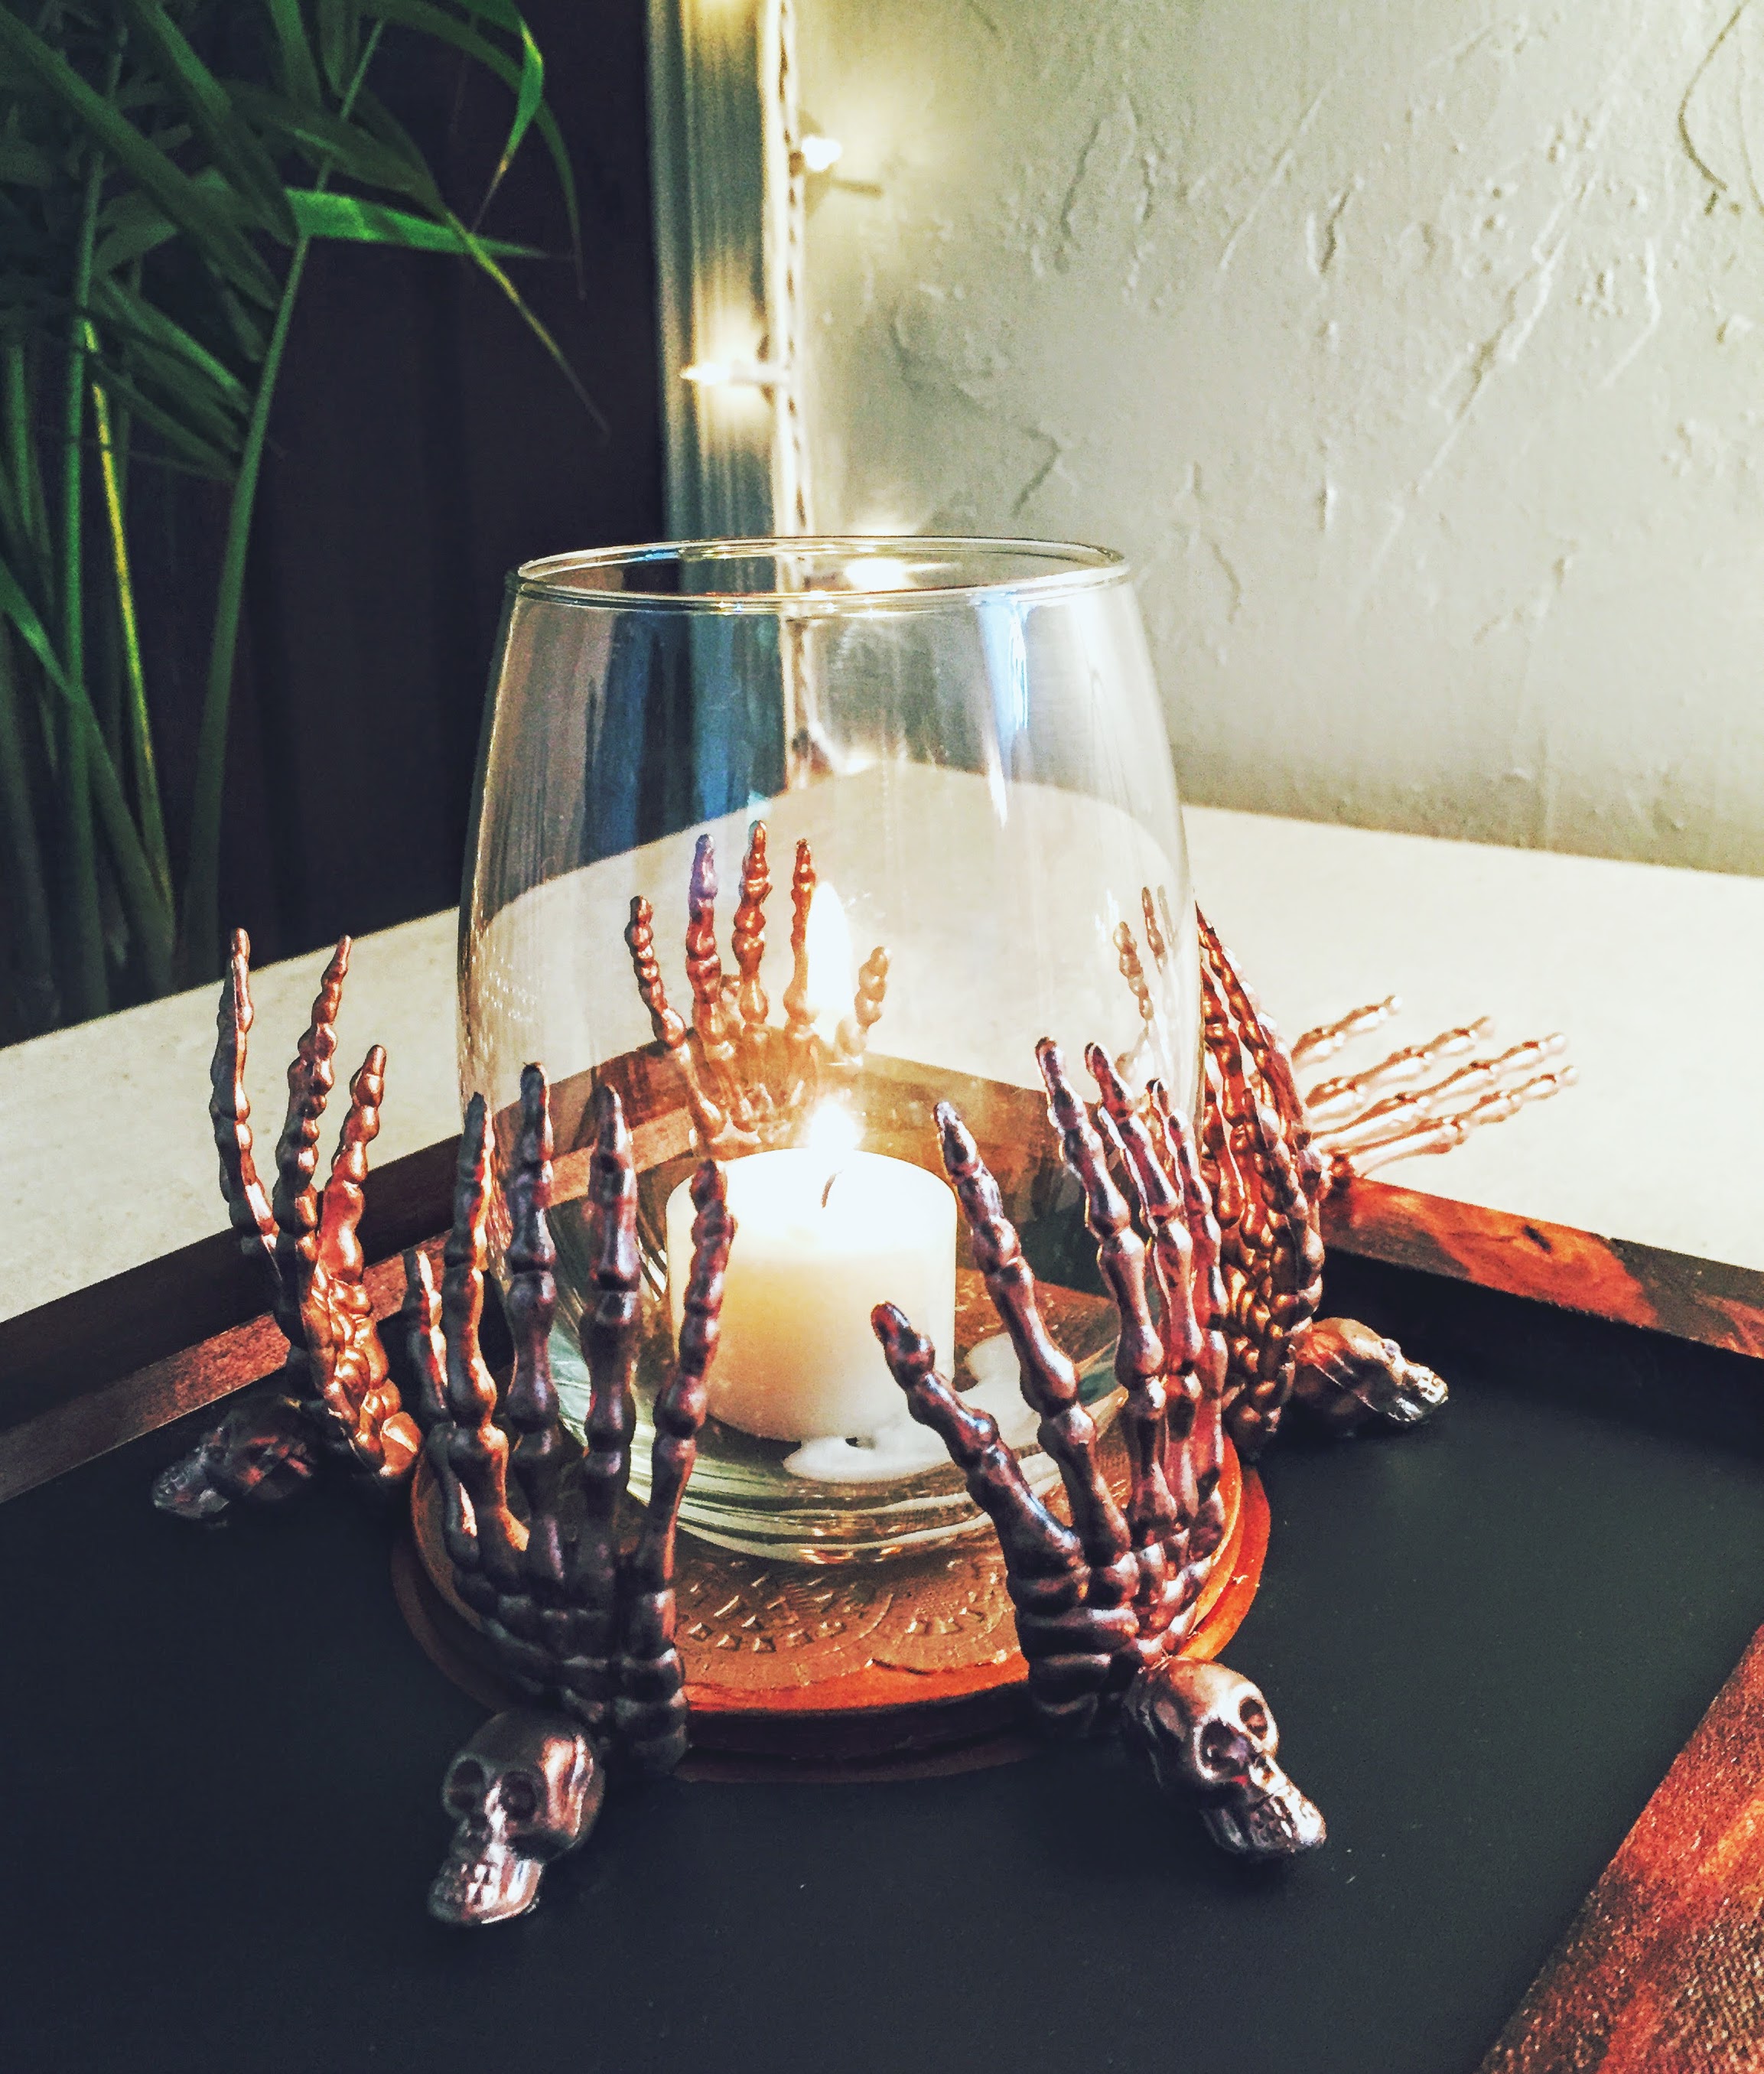
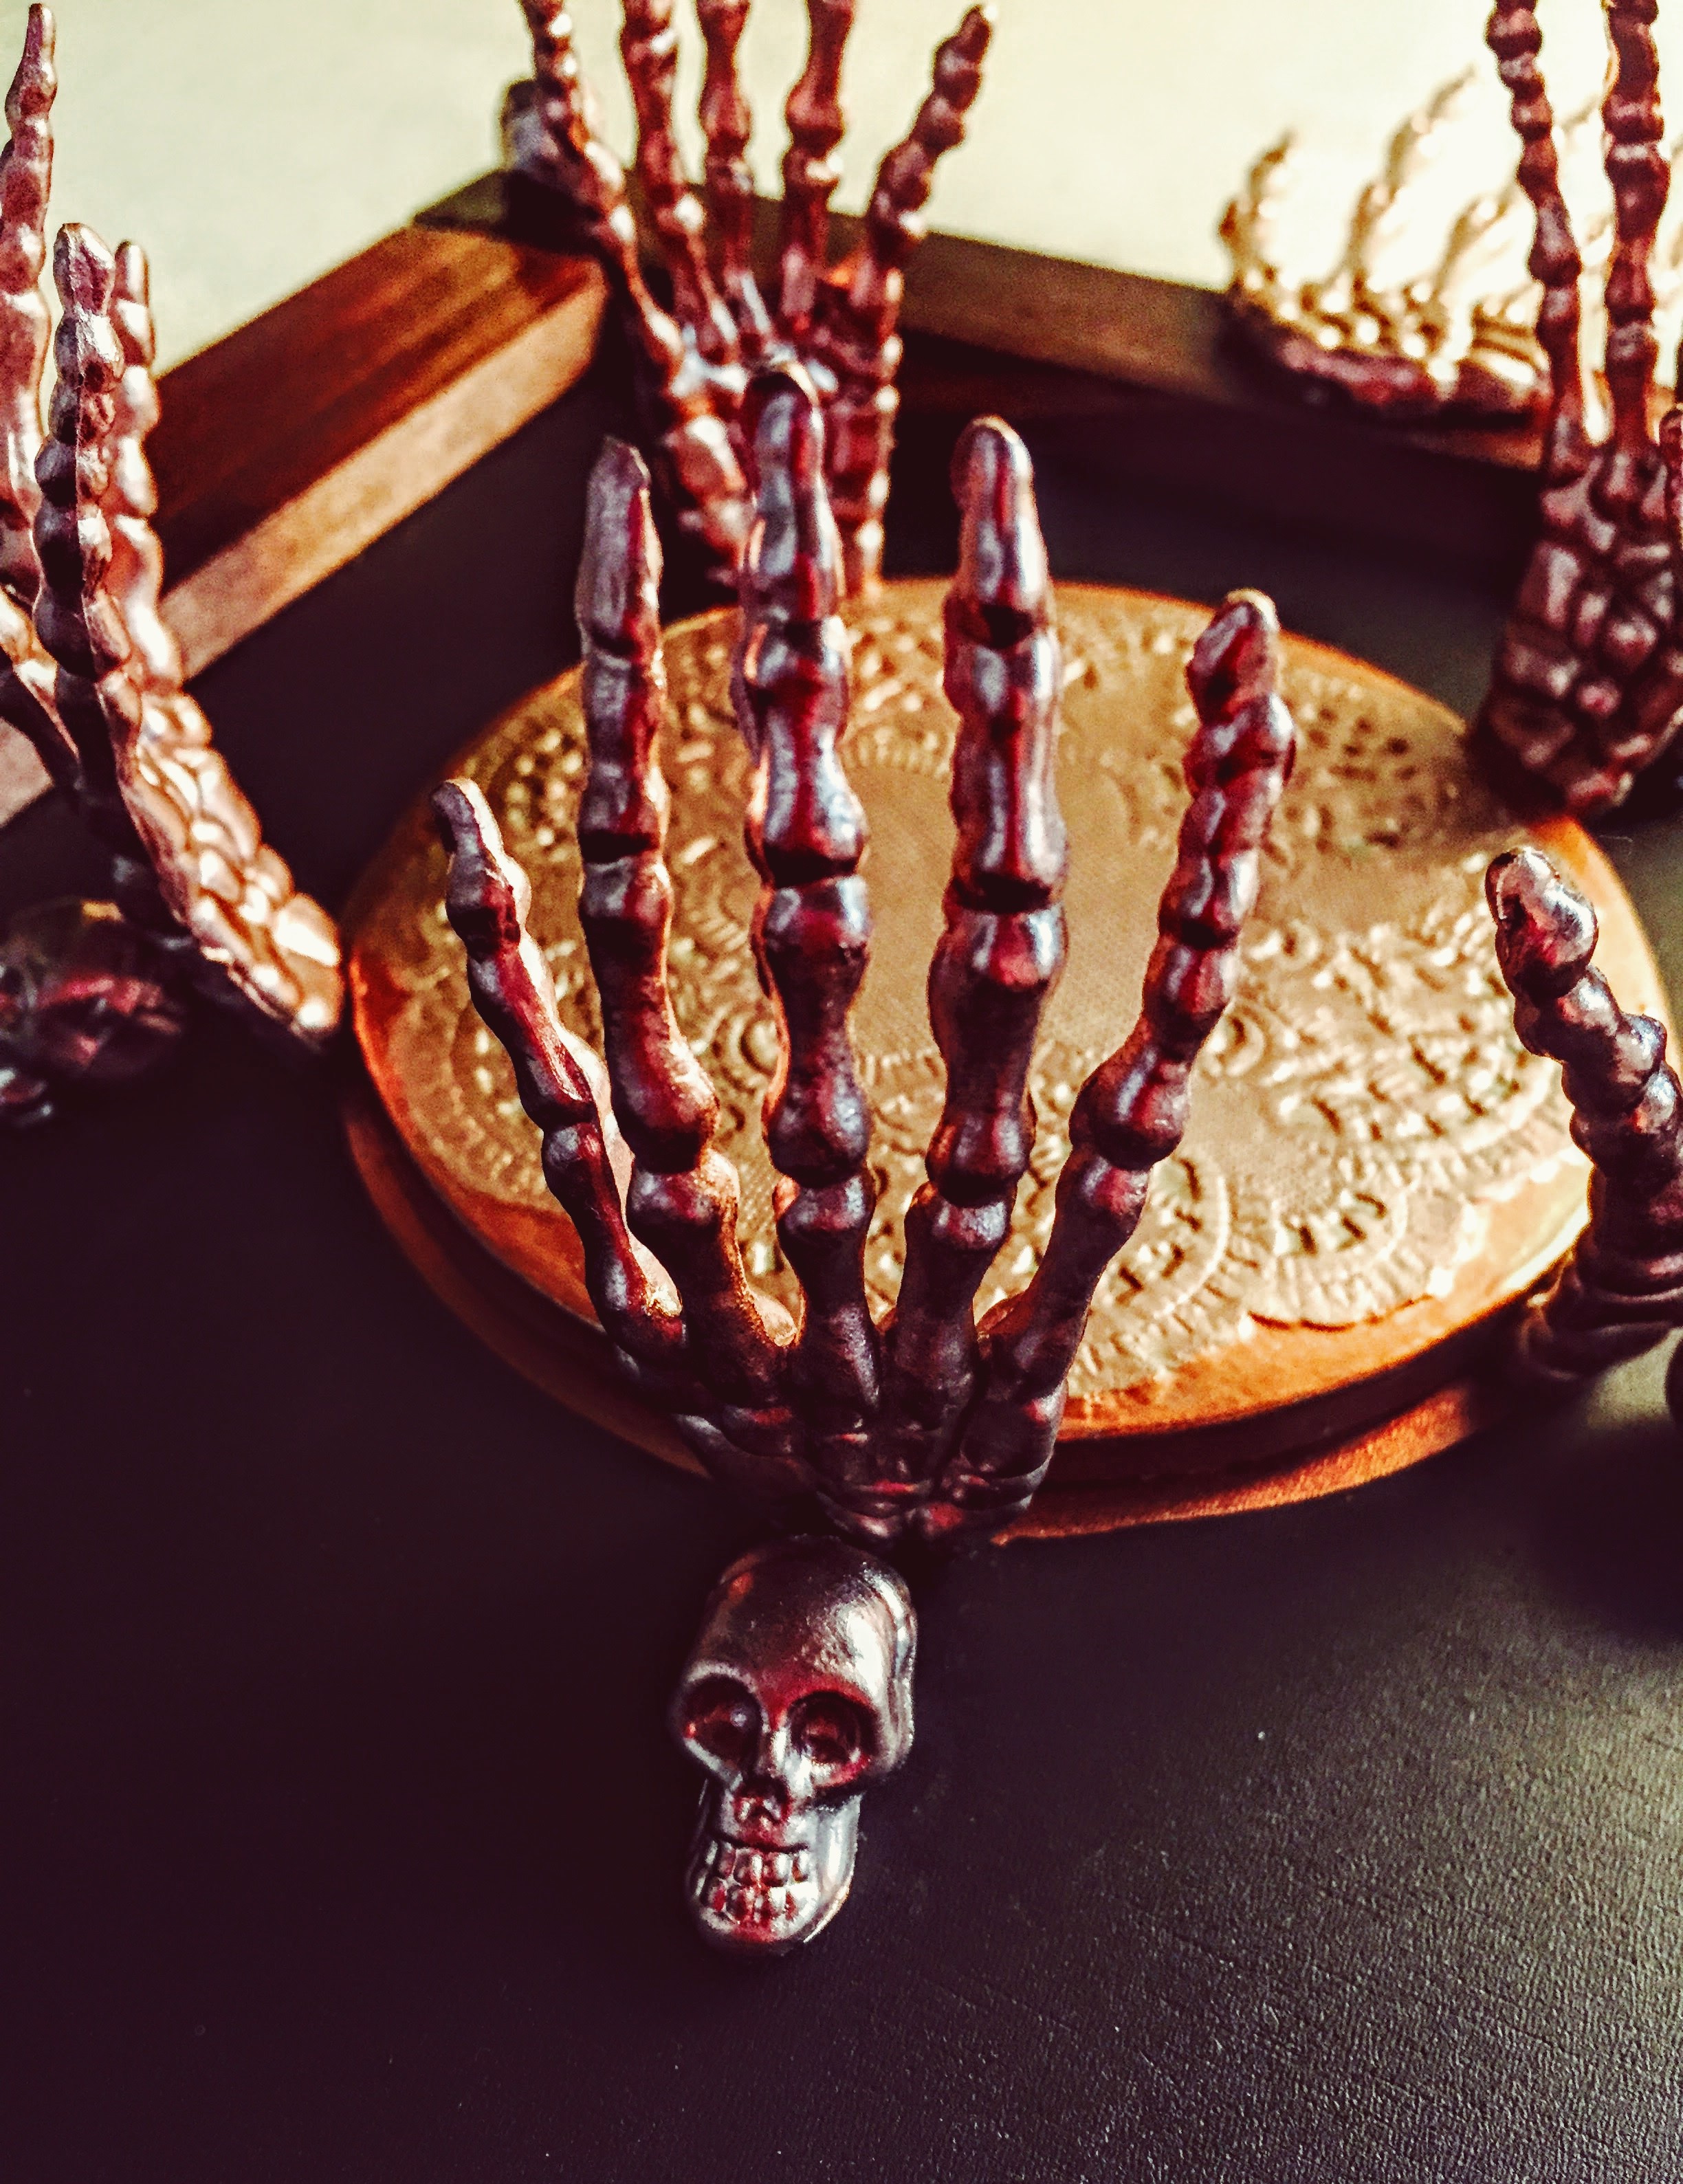
As you can see, these helpful, bony hands keep your wine from tipping over at parties! And the mini skulls greet you every time you take a sip! What could be more endearing on All Hallows’ Eve?
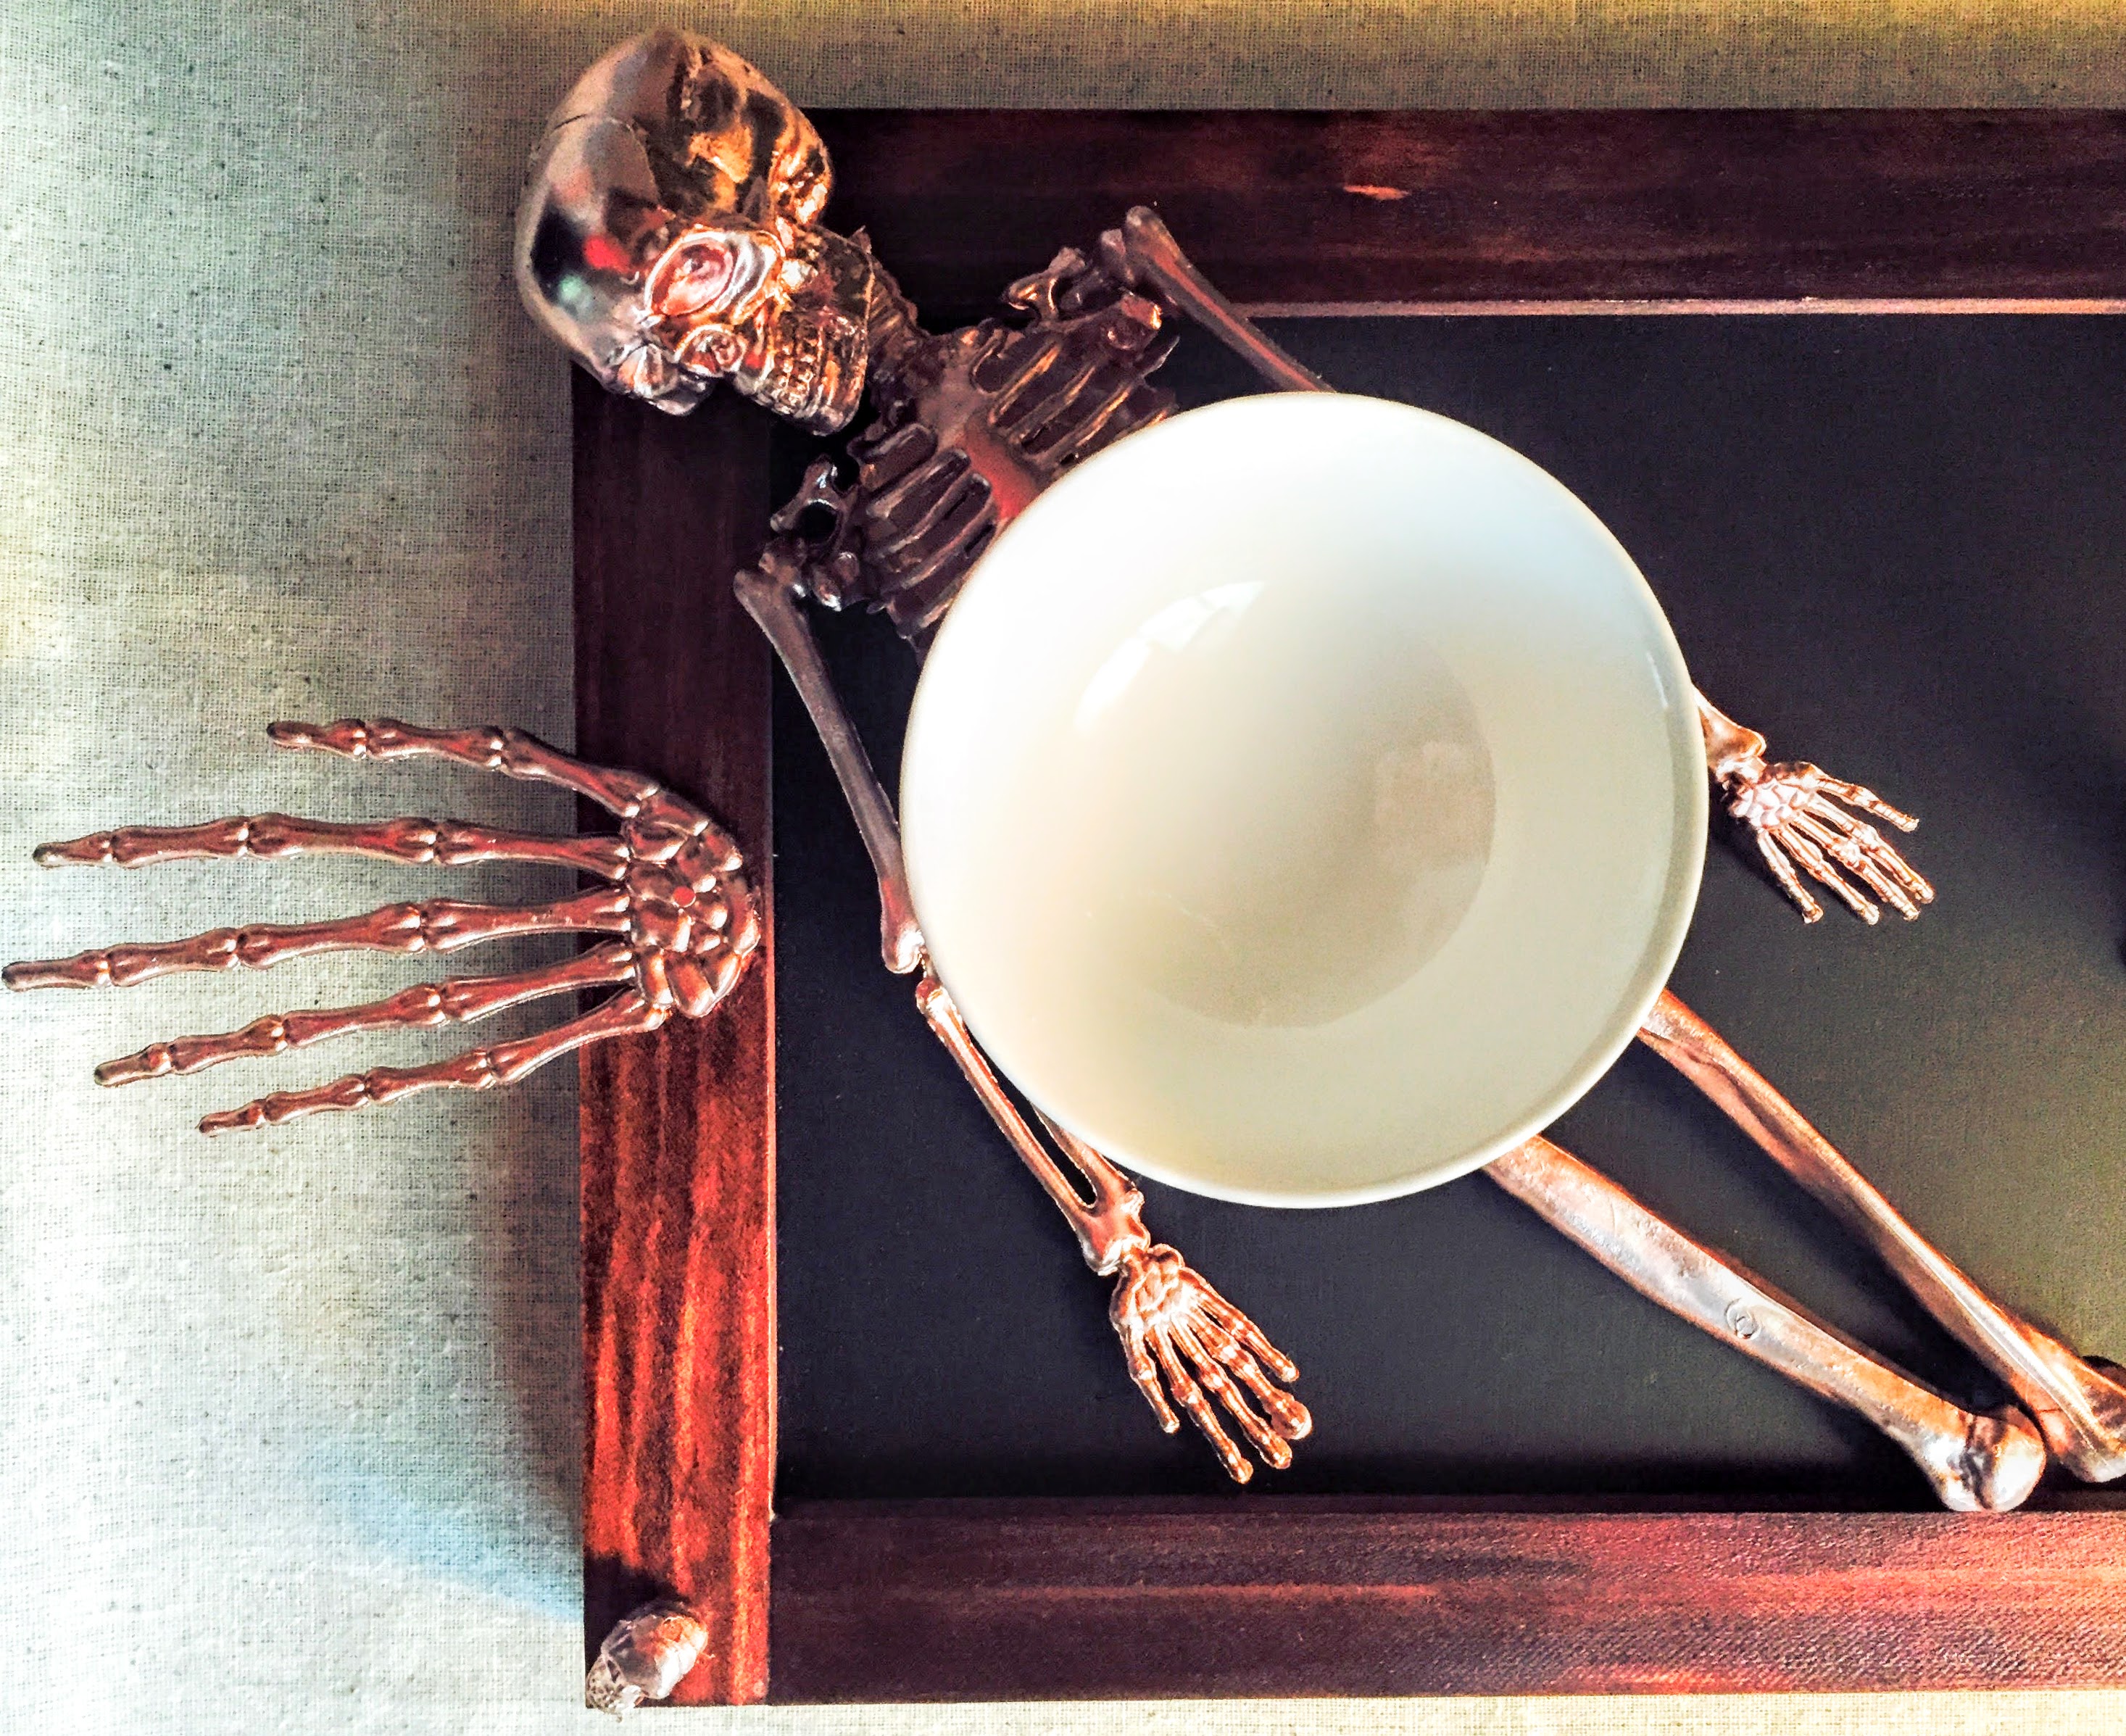
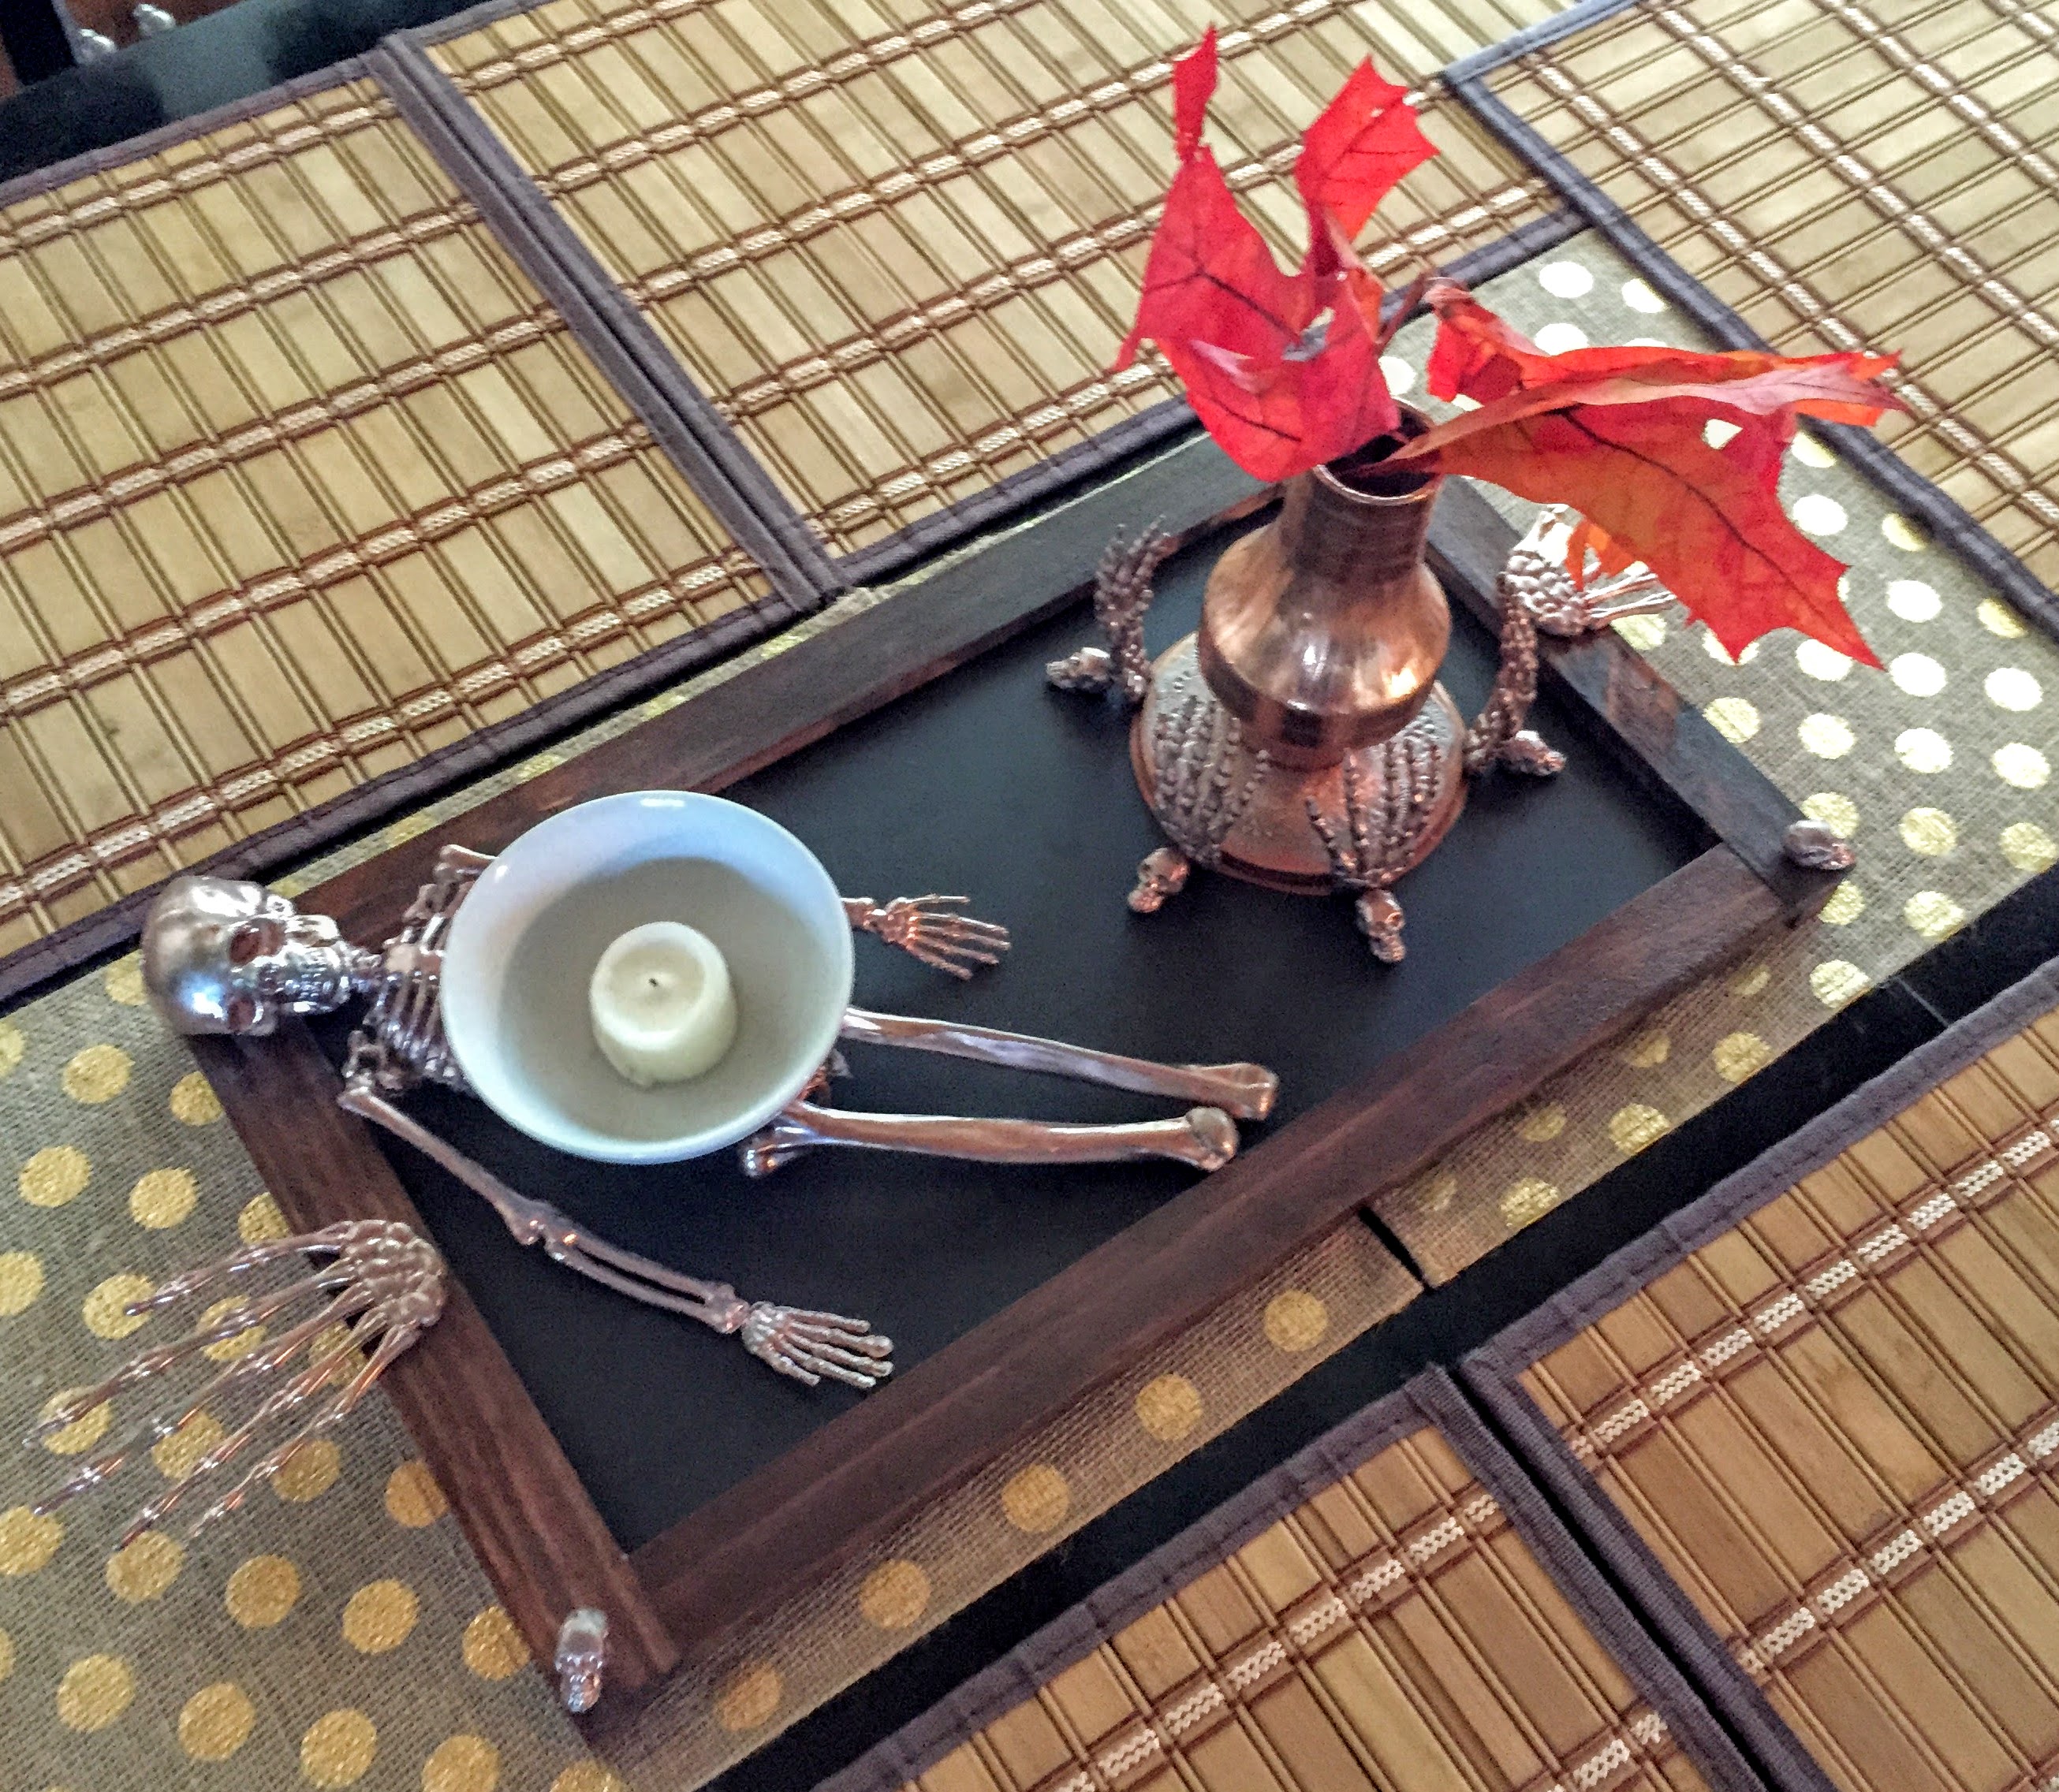
Also, this kind and accommodating gentleman allows you to rest a small bowl right on his stomach (or where his stomach used to be!). He’s just relaxing, so why not? He’s so helpful.

The hands on either side of the tray provide support when lifting and carrying. Thank you Helpful Hands! The small square wooden “feet” that I added beneath the tray, make it easier to lift from a surface or table top. Please remember to always support the bottom of the tray by resting the Hands in your palms, and placing your fingertips beneath the tray.
If you would like to make this fun and festive Halloween tray, please follow me down, to find out what you will need to buy, and how to get started. It’s a fairly easy project, that will be done in a couple of stages, to allow for dry time with painting, staining, lacquering, and glue. Once you’ve done all of the preliminary work, it’s just a matter of assembling and adhering. Let’s get started!
Here is a list of what you will need:
- This Blackboard from Michael’s (it is 18″L x 10″W)- there is a raw wood section at Michael’s, with wood letters, birdhouses, etc.,- you will find it there. Note: In the blackboard picture provided here, I had already stained one side of the wood frame.
- These Mini Wooden Blocks from Michael’s- in the same raw wood section where you found the blackboard.
- This Bag of Skeleton Heads from Michael’s- in the Halloween section.
- This Bag of Skeleton Hands from Michael’s- in the Halloween section.
- This Bag of Bones from Michael’s- in the Halloween section.
- 2 small nails, to nail into the Helpful Hand Handles. 1/2″-3/4″ long with a small head would be ideal. I used a 1″ and it was a little too long.
- One of these Hanging Skeletons from Michael’s or Target (we will be using the arms only).
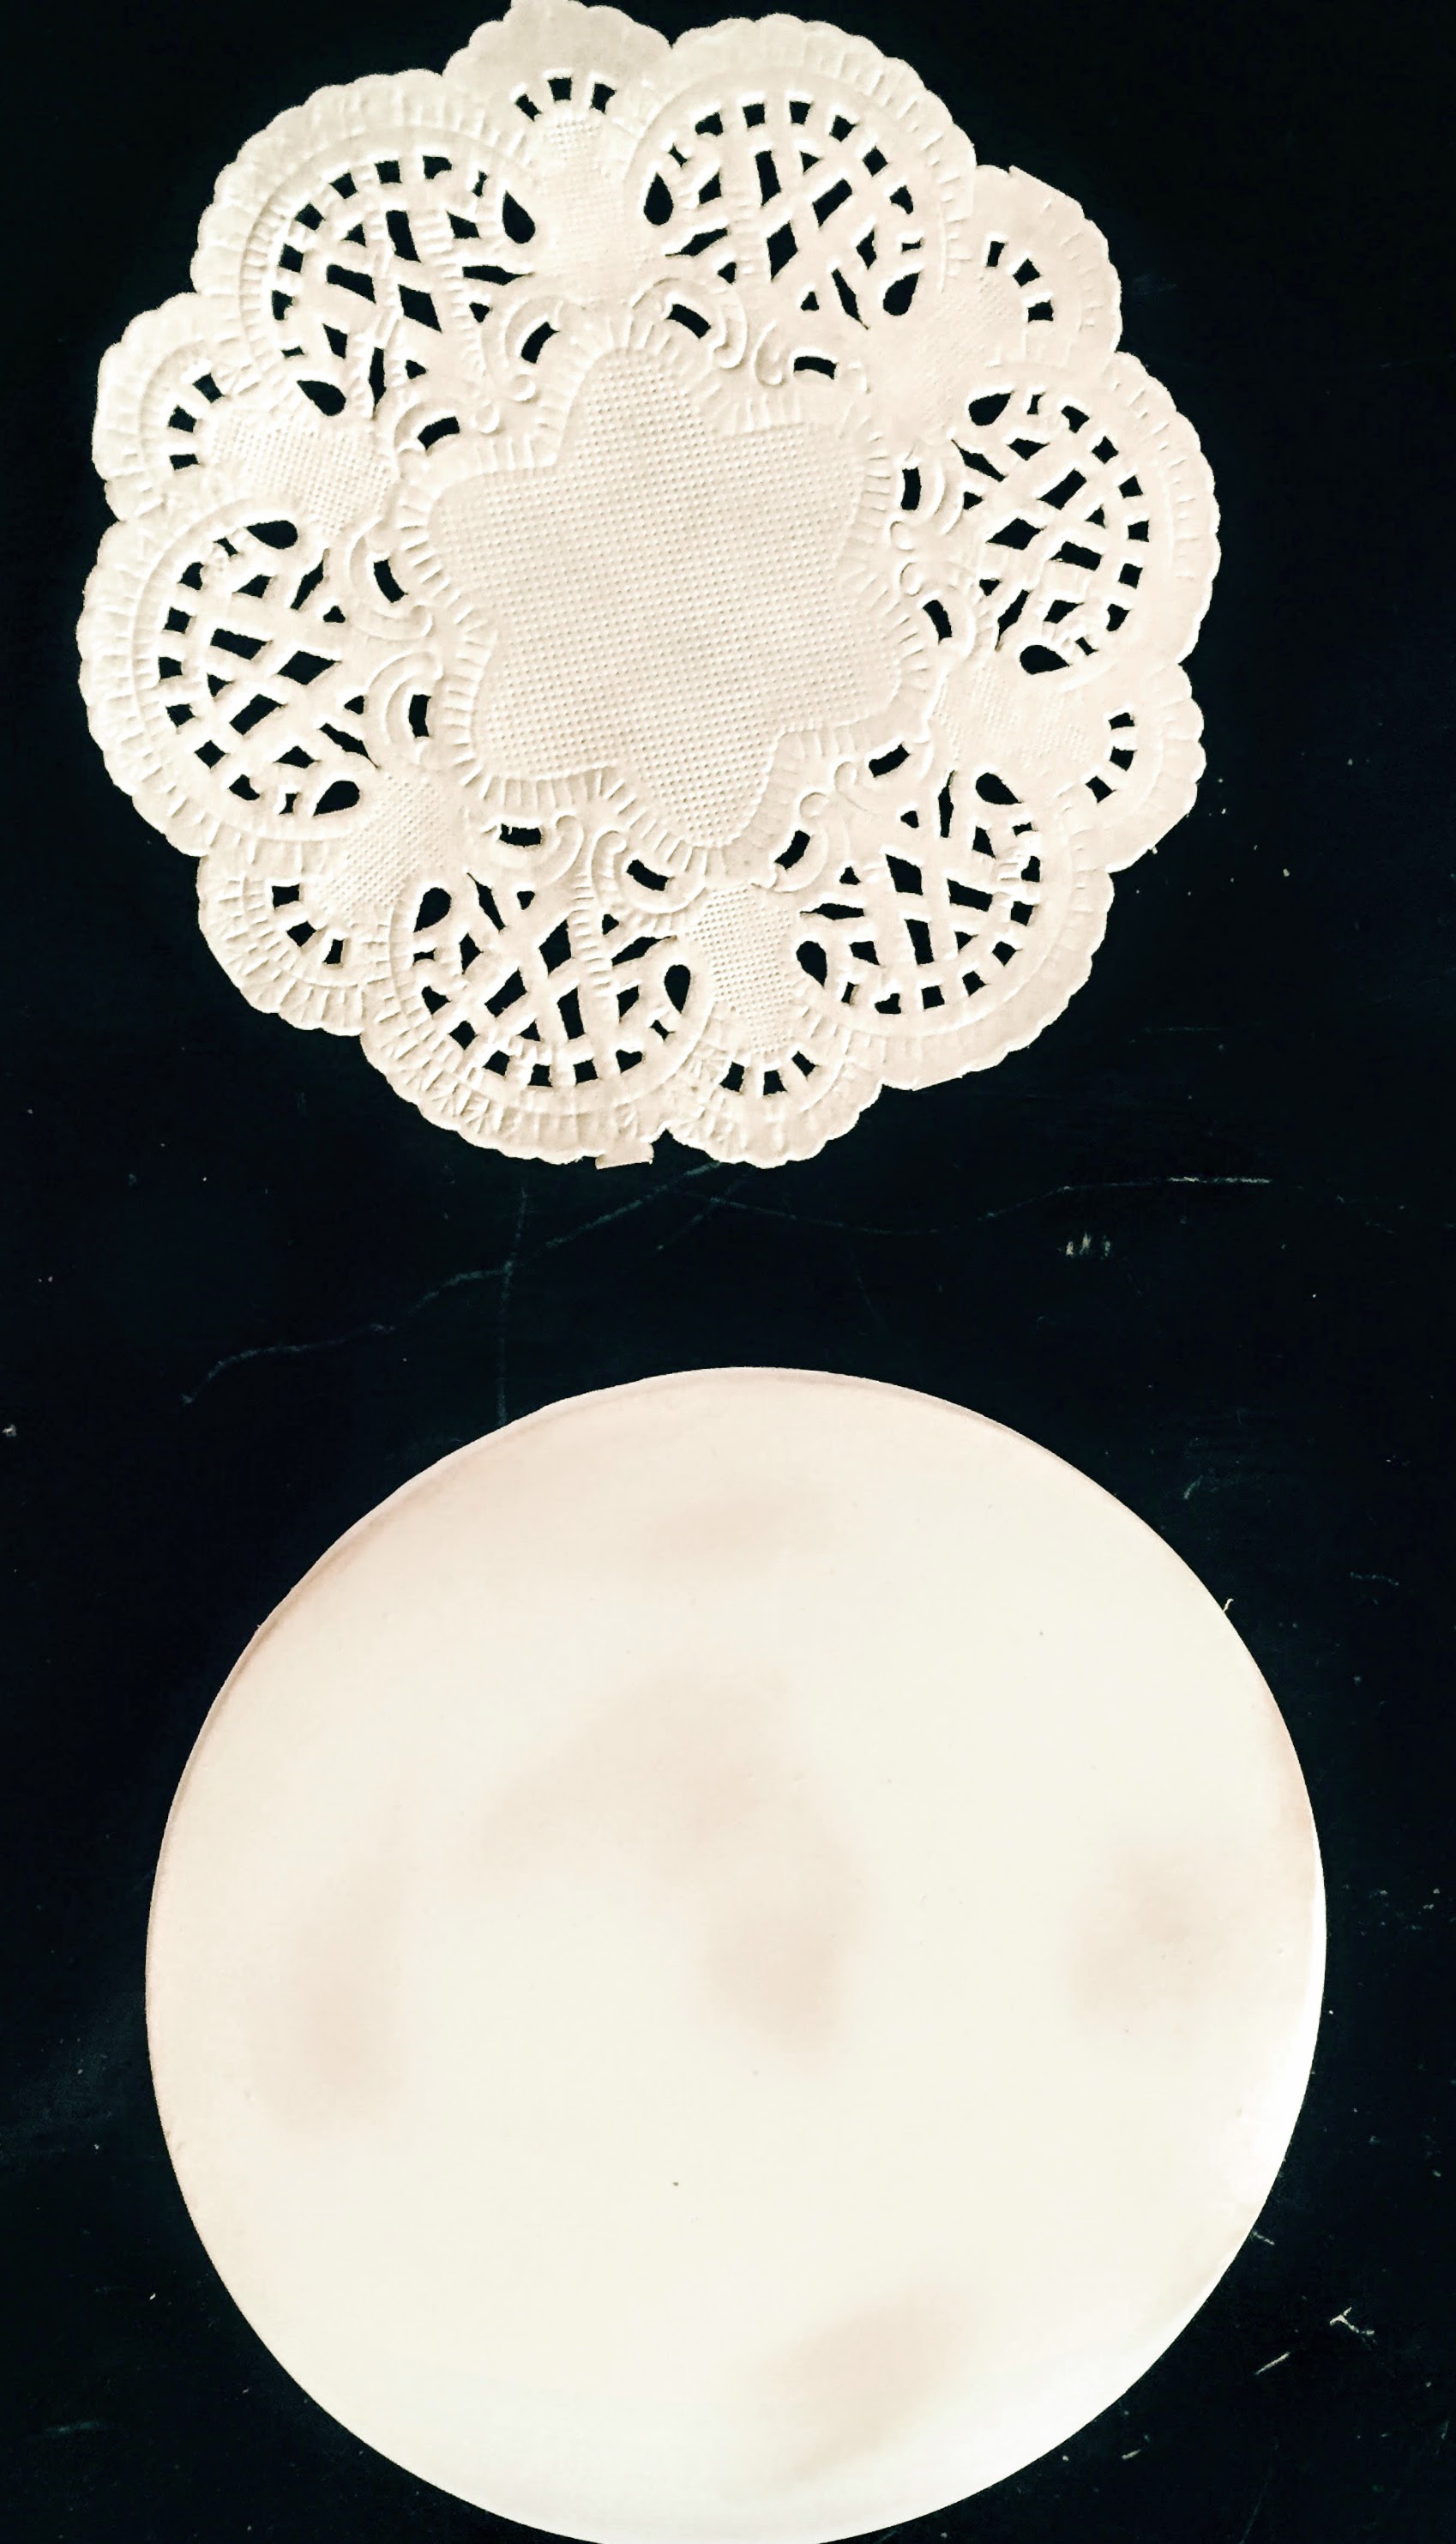
- These White Doilies and Any Round Coaster– I had these coasters in my garage just waiting to be used and I picked up the doilies at Michael’s.
- This Rose Gold Spray Paint from Michael’s or whatever color you decide on!
- This Copper Metallic Pen from Michael’s- you may or may not need this- I used it around the coaster because a little bit of glue gushed out the sides and it covered it up nicely.
- Minwax Wood Stain in Red Mahogany 225 or whatever color or combo of colors you choose (Michael’s carries Rustoleum in an array of colors).
- These foam brushes are great for applying the stain- you can buy a bunch of little ones in a pack for $4.99 at- where else? Michael’s, of course. Don’t forget to grab a soft cloth or 2 to wipe the stain.
- Any finishing lacquer or polyurethane in a high gloss- I used Triple Thick High Gloss Brush On Lacquer- comes in a squirt bottle at Michael’s and is in the same section as glues, wood stains, etc.
- E6000 Glue– the best glue ever for this sort of project! It takes a while to set, but it’s stuck in place for eternity once it’s ready! At Michael’s in the glue section!
- The Original Super Glue Contact Cement– will be used along with the E6000 to really stick all those pieces into place- I found this at Dixieline, but you can probably find something along these lines at Michael’s or Home Depot.
- Mod Podge Hard Coat (Purple Label) will be used to decoupage the doily onto the coaster. Michael’s- glue section.
- Super 77 Spray Adhesive– Pretty much the only spray adhesive worth buying- it costs a bit more than the others, but is worth its weight in gold when you need a firm, smooth stick. Other options will bubble and wrinkle. For decoupage, it’s the only way to go when gluing to a hard surface. Michael’s. Glue. Section.
- And last but not least, this Bowl from Pier1 fits perfectly into the skeleton’s belly- I bought it years ago, so I don’t know if they have it anymore, but I’m sure you could find something that would work. My sister was saying a clear bowl would be ideal, so that you could see the whole skeleton- I think that could be better… however, I do like the clean white against all of the black and dark wood- something to think about! Oh- and the bowl is 4″ in diameter across the top and 1 3/4″ in diameter across the bottom.
- Baby Wipes- to wipe stain and lacquer off of blackboard.
That’s your shopping list! OK- run out and grab what ya need- then, come back so we can get to work!
 First, let’s grab the blackboard, the stain, and the lacquer and get started!
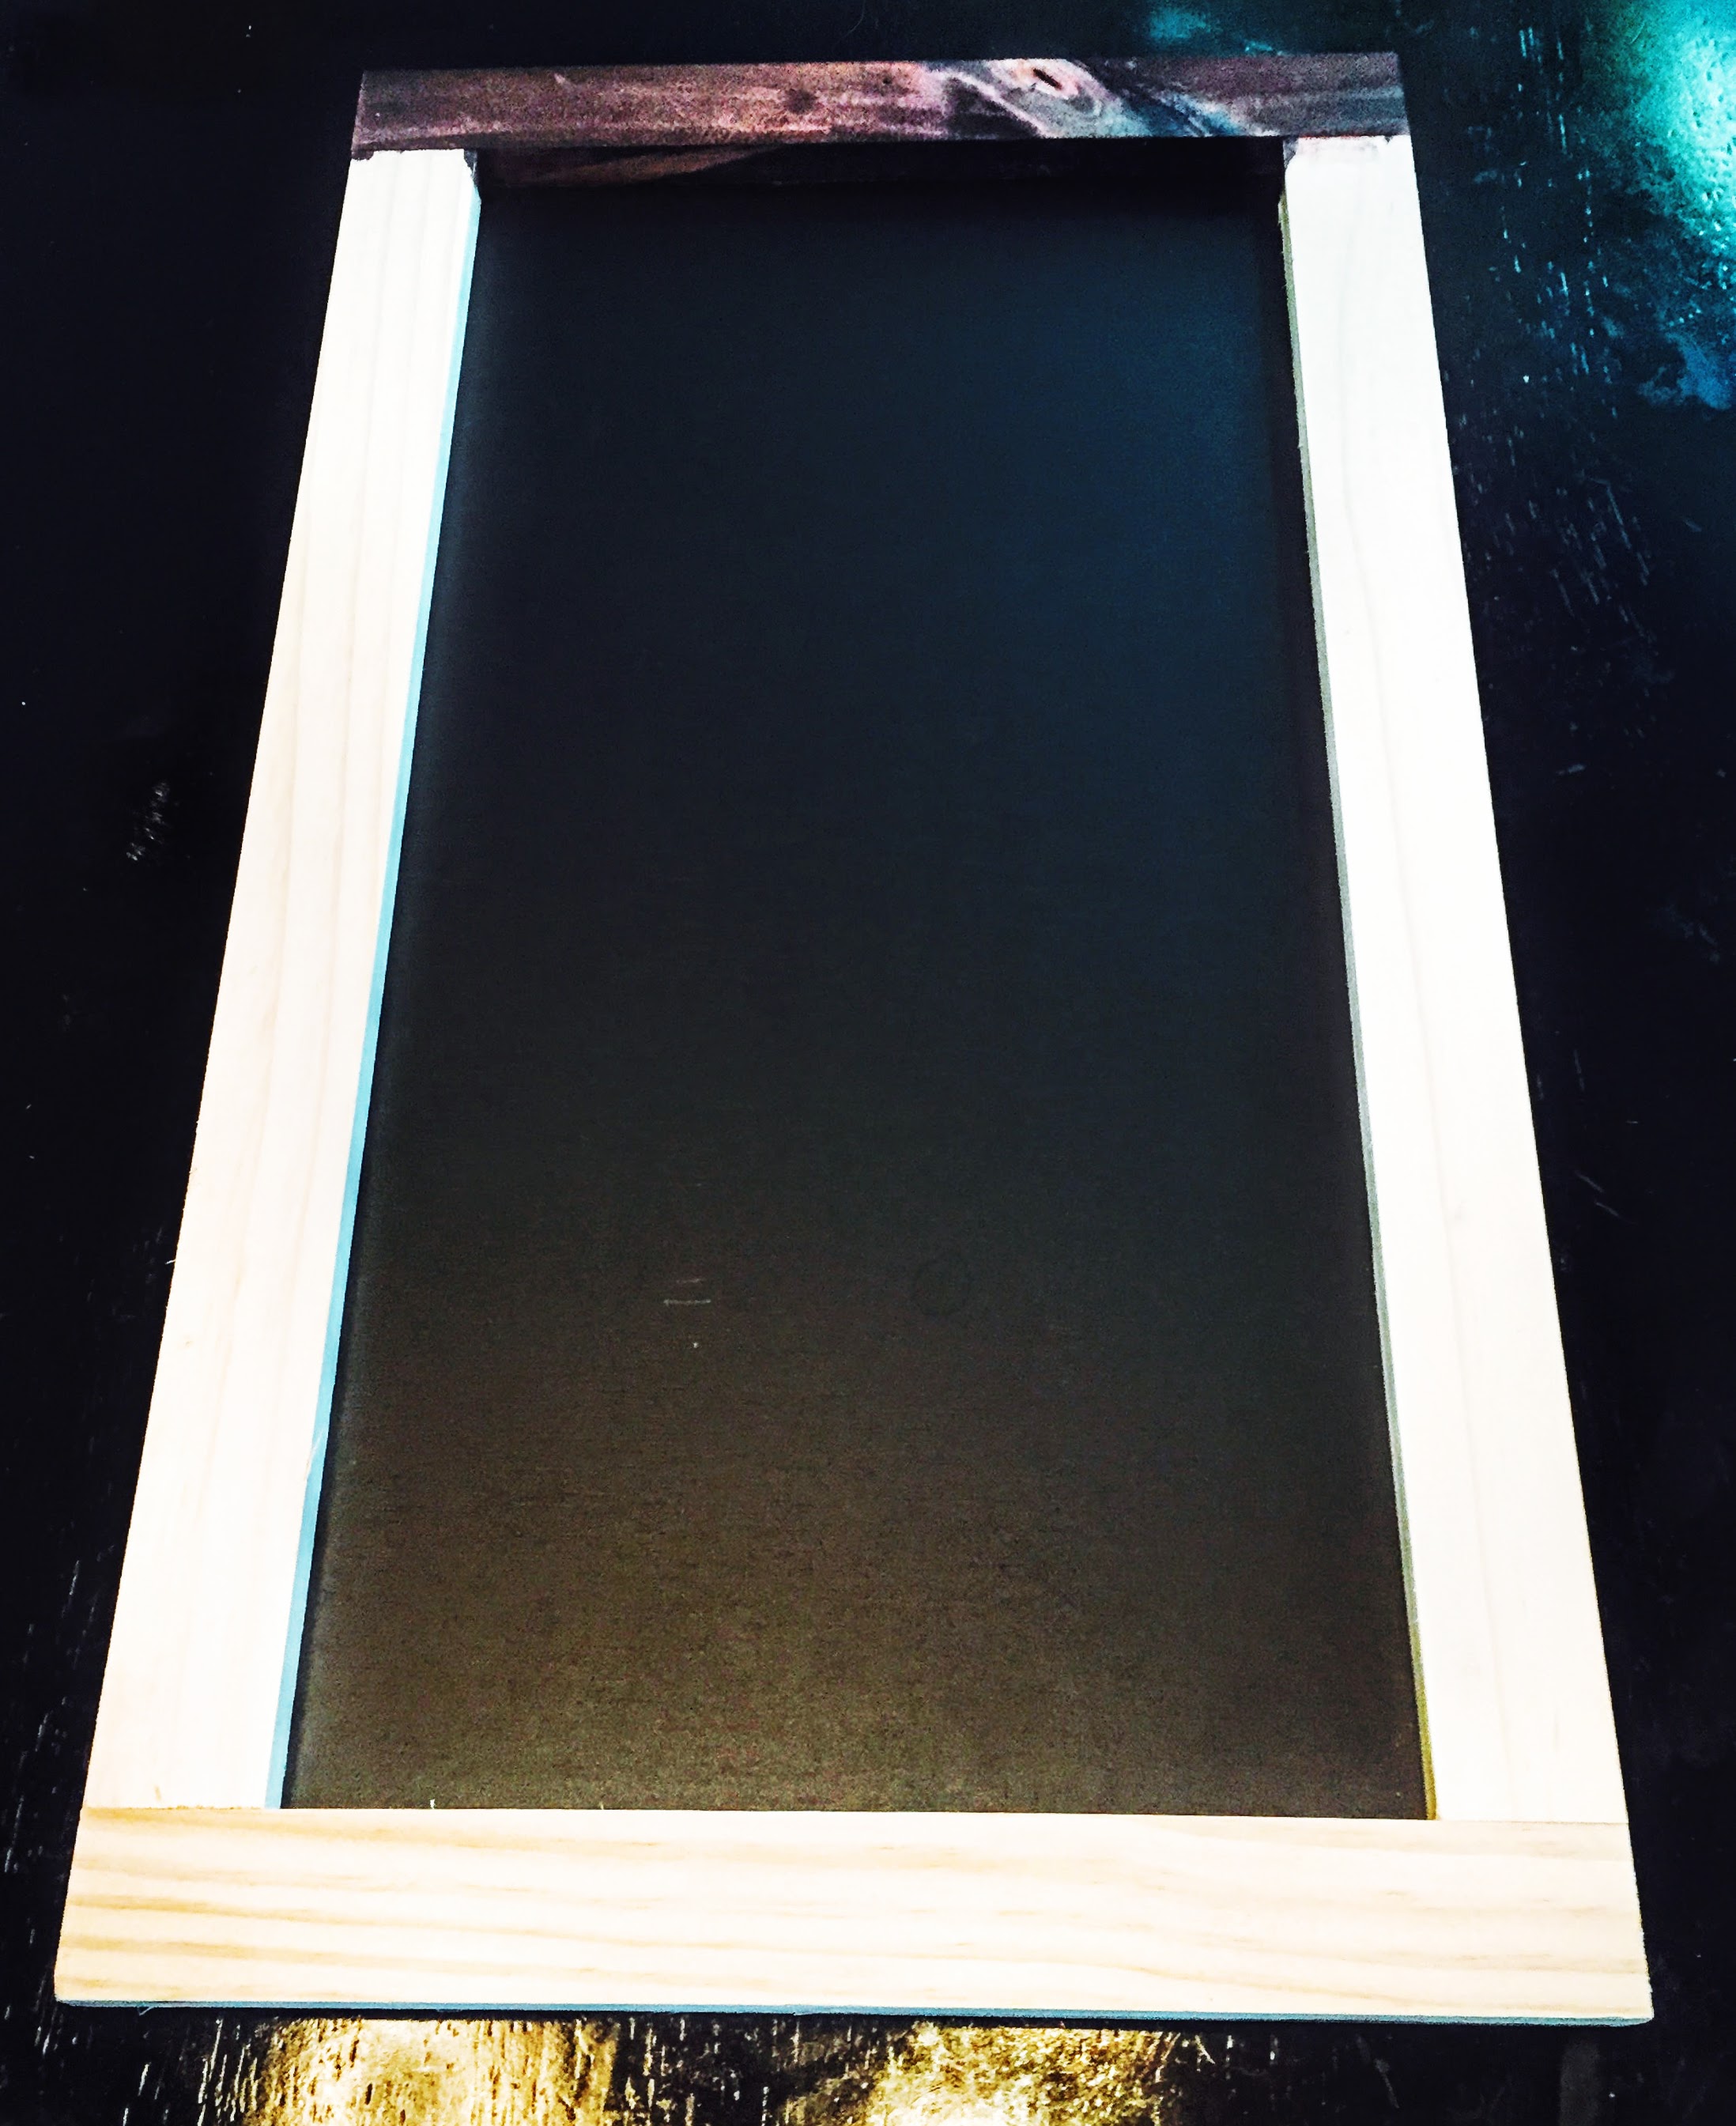
This is what your blackboard will look like before you do anything to it. It’s flat and the wood is raw. The first thing you will do is stain the wood. Take your stain, foam brush, and soft cloth, and start staining. Apply the stain, let it sit for a minute, and then wipe it away with your soft cloth. Do the top, sides, and bottom in this manner, applying the stain with the foam brush, allowing it to sit for a min, and then wiping it away with the cloth. When you stain the inside edge that hits the blackboard, it’s helpful to have baby wipes, so you can wrap them around your finger, and go in and wipe away the tint that will inevitably hit the blackboard when you dye the inner edge.
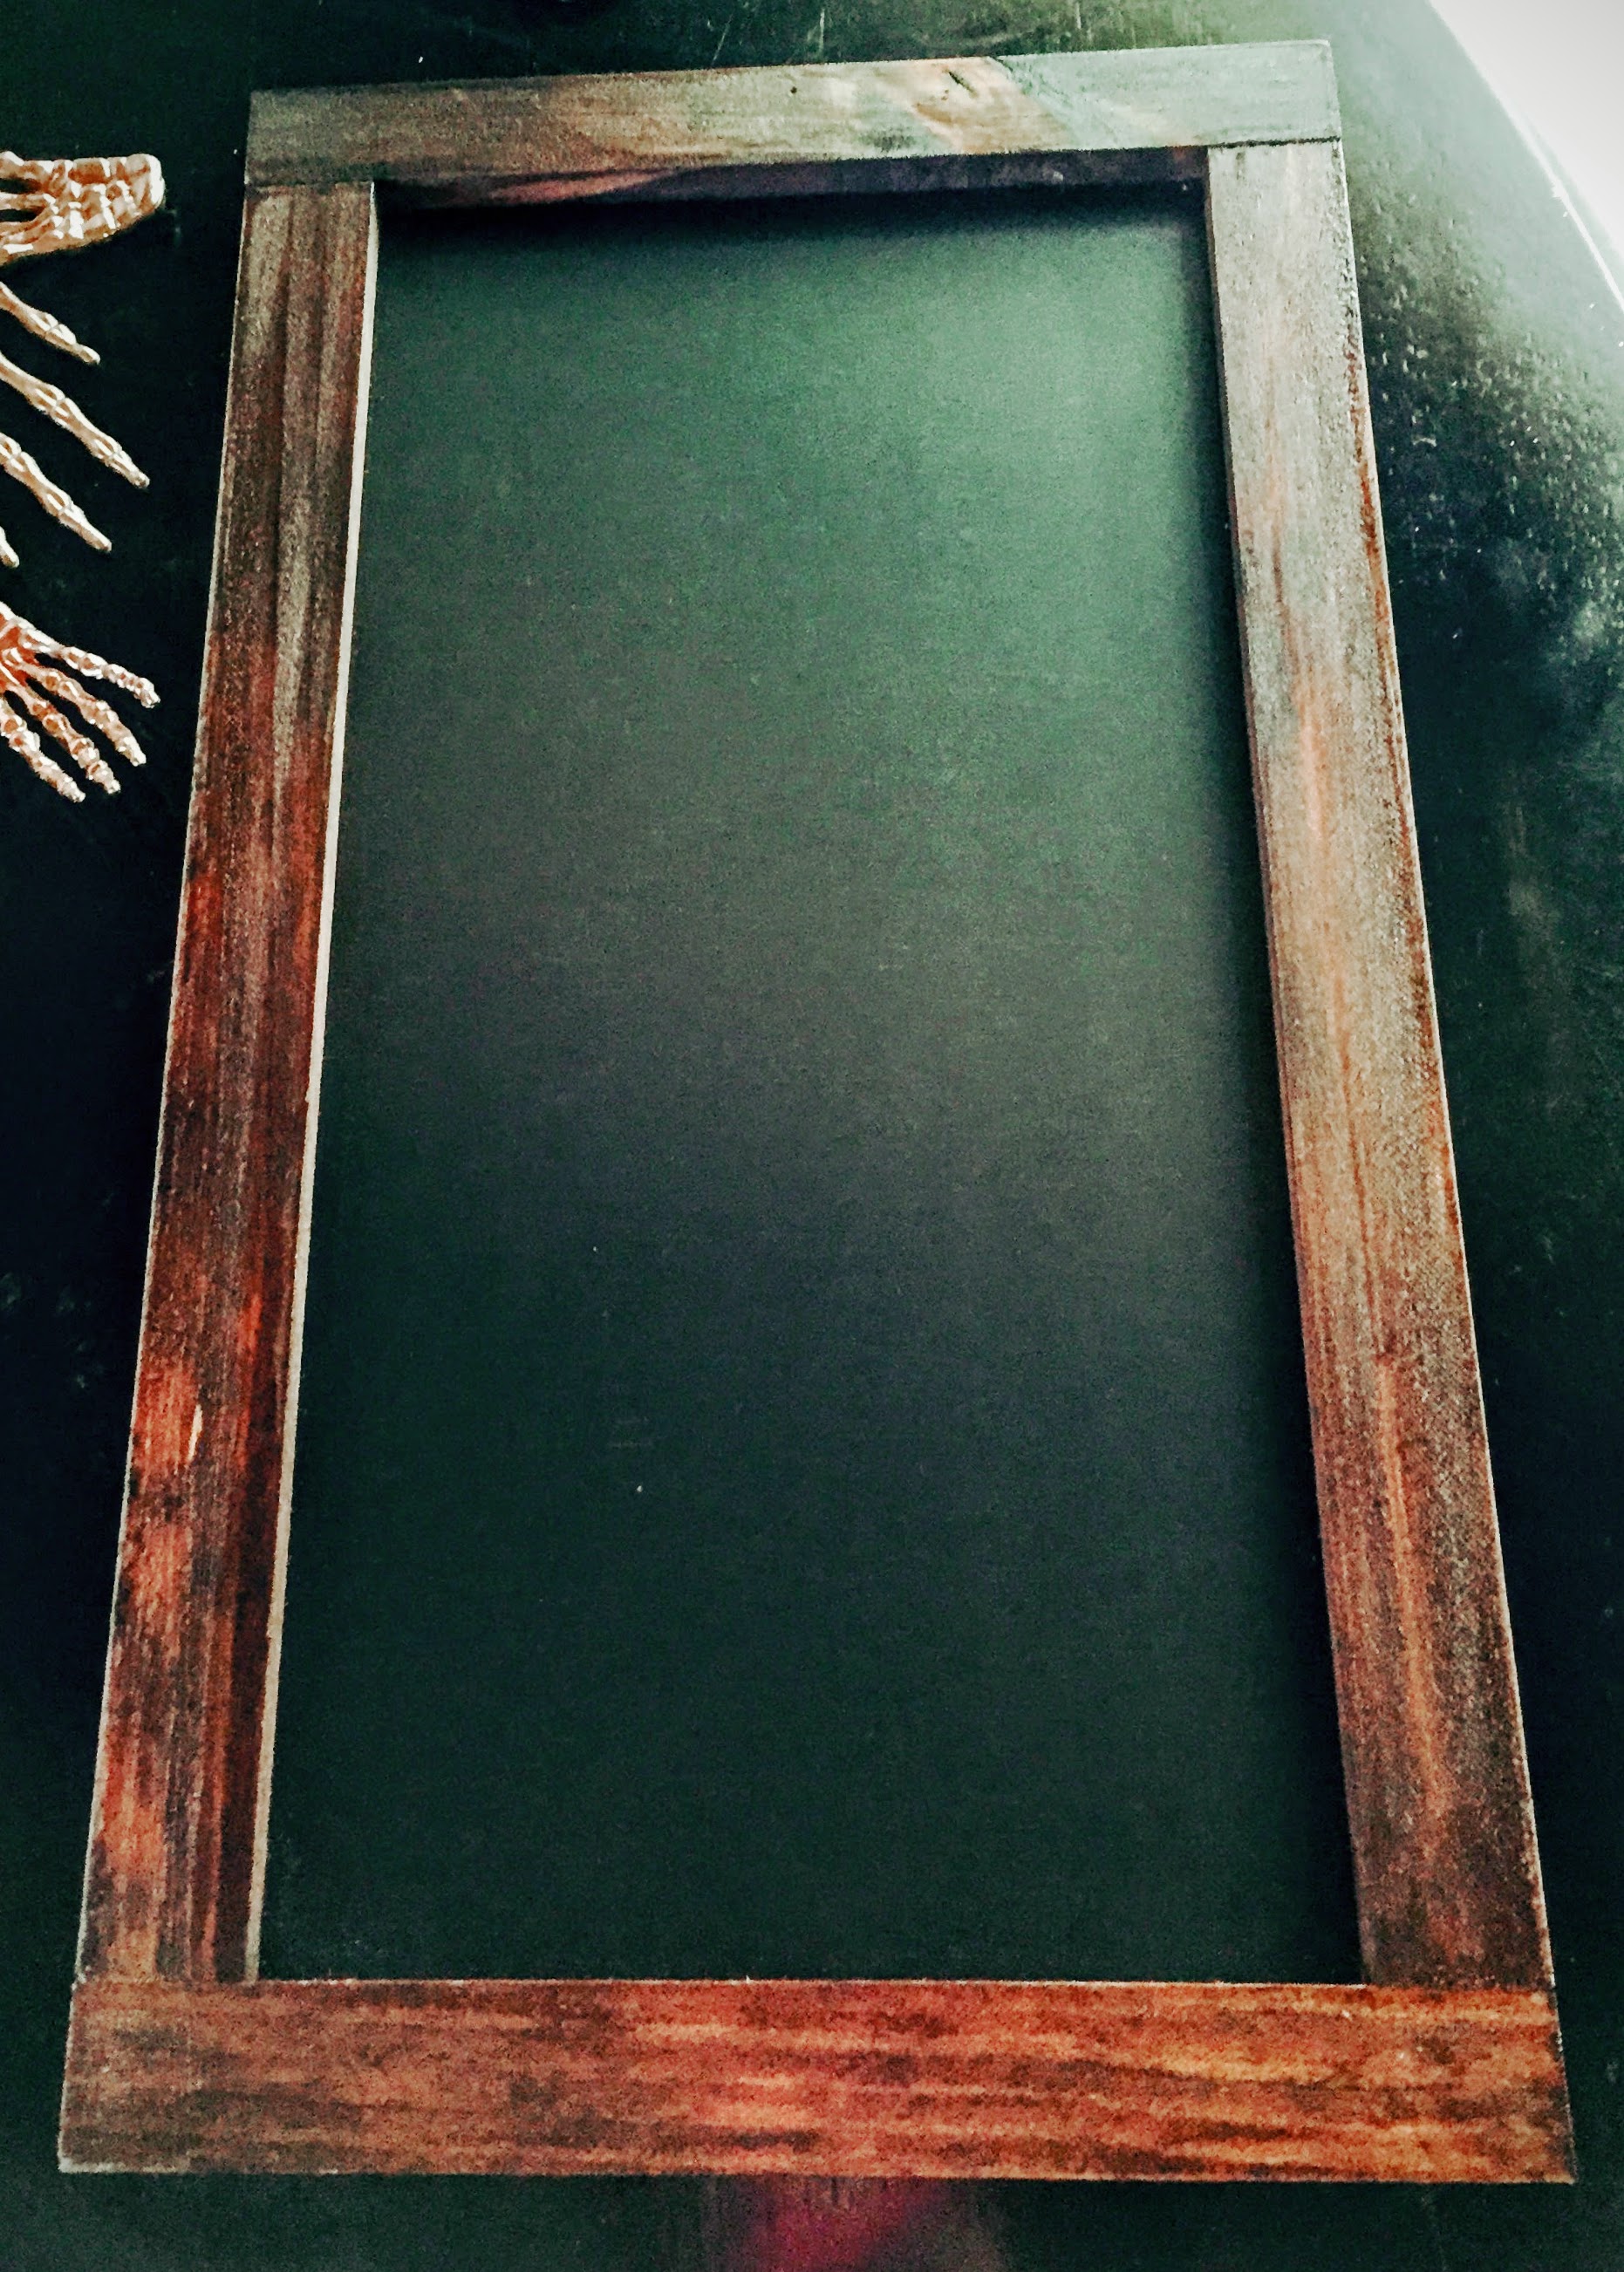
Once the stain has dried (it really doesn’t take long- if you give it an hour, that will be more than sufficient), you can start to lacquer your frame. For this, you will need to brush your lacquer on, evenly, with a foam brush or any other nice, smooth, small paintbrush that you have. Just remember, that you will have to throw the brush away after you’ve used them for the lacquer and the stain, because they are both oil based. The cheap foam brush pack from Michael’s is great for this job. There are about 10 in the pack and it’s $4.99. DO NOT wipe the lacquer off- just apply a nice even layer on all sides, and allow to dry. When you are done with staining and lacquering, your tray will look like this:
Meanwhile you can start staining all sides of your mini wood blocks, that will become the “feet” of this tray. Stain, wipe, and then lacquer the blocks and set aside (there will be 4 in all).
Next, grab your bag of mini skulls, your bag of hands, your bag of bones, the hanging skeleton and your rose gold spray paint. Before spraying the skeleton body out of the bag of bones, you will need to lay it down on your blackboard and position it as you want it to lay. There will be a couple of vertebrae that will not allow it to lay flat. I used a steak knife and it worked perfectly- carefully cut off the protruding vertebrae, until the skeleton body can lay somewhat comfortably and flat (you can also use sand paper after you’ve cut to smooth it all out). It may still feel a tad off kilter, but the E6000 will take care of that later. Spray the 2 large hands and the skeleton body out of the bag of bones. I used 8 mini skulls in my design, so spray paint at least 8, but you may want to do a couple of extra, in case anything goes awry. Then spray 5 or more of the skeleton hands out of the bag of hands and remove the arms from the hanging skeleton, and spray those. Make sure to cover everything thoroughly on all sides with your spray and to get all of the nooks and crannies in the skeleton body. Put aside.
Next, you will need your coaster, your doily, and your Super 77 Adhesive:
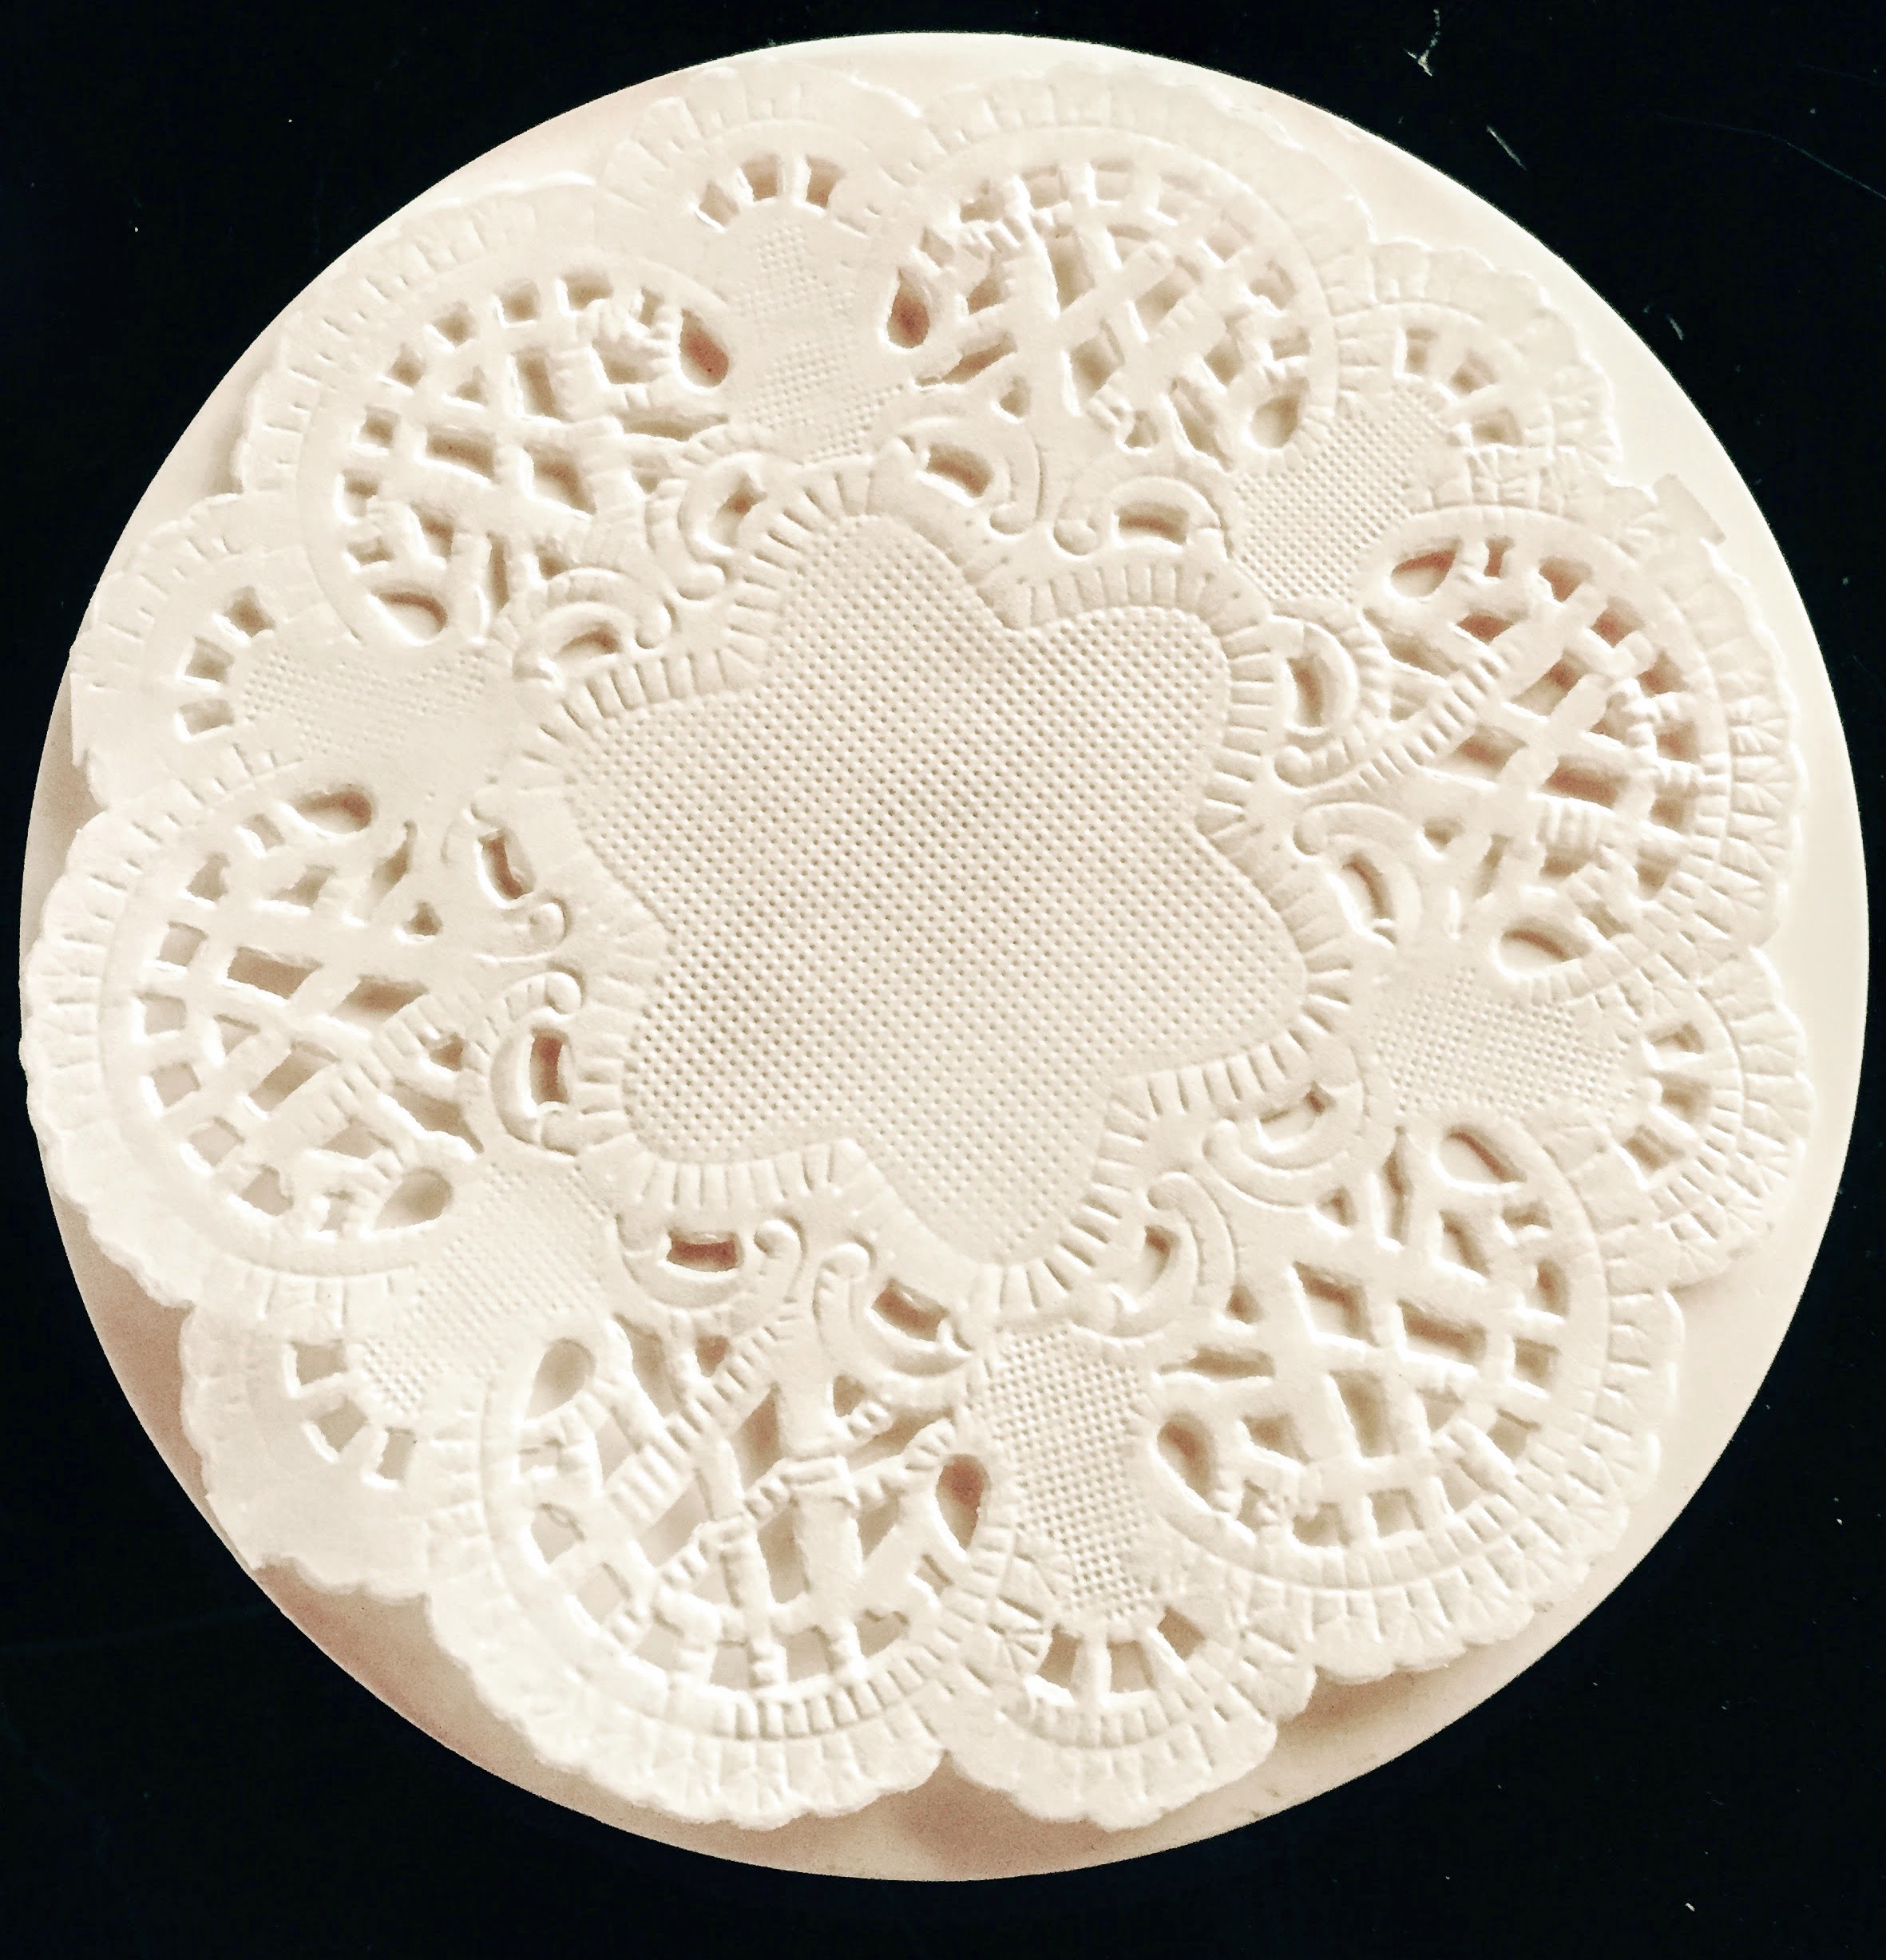

Go ahead and spray your coaster with an even, light, but thorough coat of the Super 77 and then stick on your doily. Once you have the doily in place, carefully smooth it out and make sure all the bubbles are out of it. Set it aside and give it time to really dry- the longer you give it, the less likely it is to bubble when you spray paint it and then brush the Hard Coat Mod Podge onto it. Giving it a few hours would be ideal, but being one of the most impatient people in the world, I give it about 15 minutes!!!
Next step, after it has dried, is to spray paint it with the Rose Gold paint or whatever color you have chosen. Don’t forget to spray the sides! Once the spray paint has dried thoroughly, you can brush on the Mod Podge Hard Coat (Purple Label). Some of the spray paint color will probably mix with the Mod Podge and come off on your brush. If there are some bubbles on your first go round, you can use your fingers to smooth it out (but be careful not to tear the doily). Then brush on a bit more mod podge to smooth it out. I think I ended up spraying again and then mod podging one more time, and that time it came out smooth. When decoupaging, the bubbles usually come out by themselves over time, but it may take a week or so. With a bigger surface space, it may take a month. This process is called “curing”. The decoupage becomes harder over time, less sticky, washable, and less bubbly. Thus, becoming a good hard surface for a glass of wine or a beer! Set your coaster aside to dry.

At this point, everything has been painted, stained, lacquered, and prepped, so now we are ready to glue. Get your E6000 and your Contact Cement and let’s go!
First, you will want to attach your wood block “feet” to the bottom of your tray. I kept my tray, blackboard face up, like normal, and did 2 corners, diagonal from each other. Put enough glue on a block, so it will really stick, but not gush out the sides and look sloppy. Then, glue the first block to a corner , so it looks nice and straight. First, I used a bit of the Contact Cement and then put a dab of the E6000 on top of it. Next, do the diagonal corner, and just keep going in and making sure that the blocks are not moving or sliding- the Contact Cement should help to stop the sliding. The E6000 will keep it stuck tight forever! Next, attach the other 2 feet. Keep an eye on it for a few minutes, because every so often, the feet might slide a bit, even with the contact cement. Once the feet are stuck in place, you will know. It doesn’t take too long. You just have to keep an eye on it for a few minutes. The feet make all the difference when lifting the tray from a surface- this step is well worth the time involved!
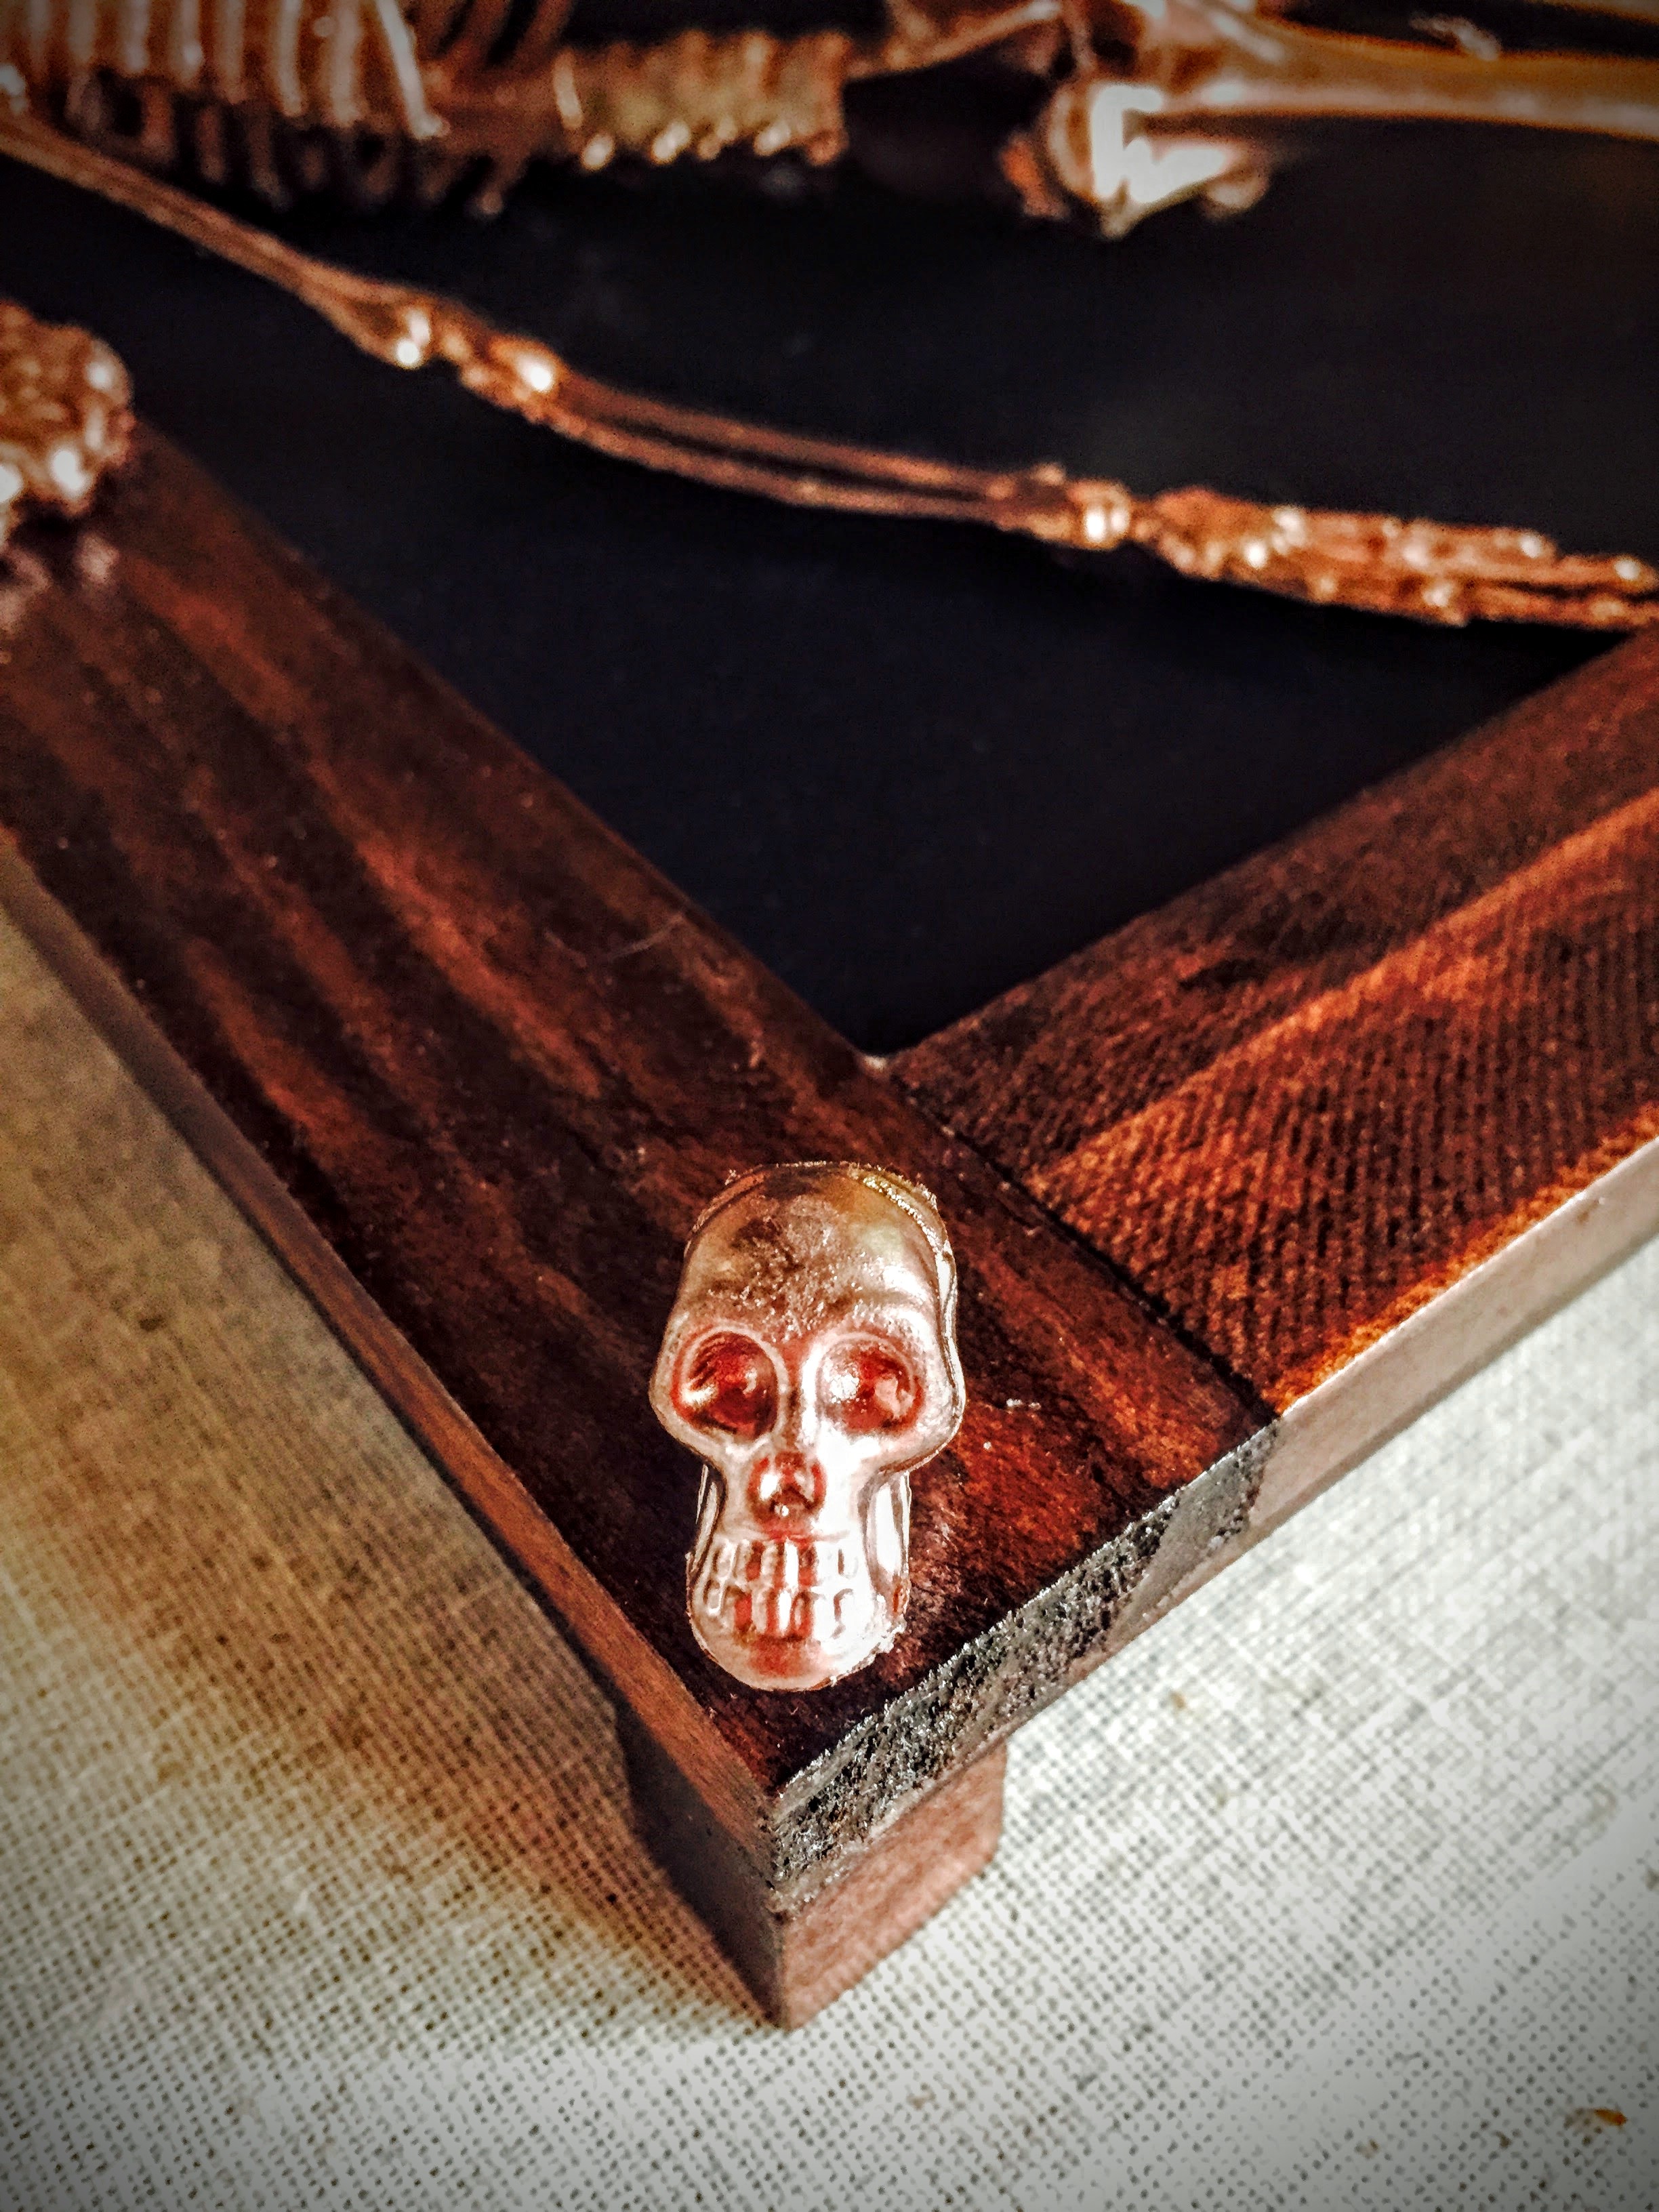
Next, grab your Mini Skulls and Helpful Hand Handles (from the Bag of Bones). First, glue your mini skulls onto 3 of the corners- I used the E6000 for the skulls. They are so little that it would have been hard to get both types of glue onto the bottom without it coming out the sides. Next, put a decent amount of both glues onto the bottom of the Hands- again, be careful not to let the glue seep out the sides. Place the first hand where you would like it to be, and allow it to dry for a few minutes, making sure it’s staying where you placed it. Once it’s fairly firm, take your small nail, place it in the middle of the top of the hand (finding a groove), and carefully nail it in. I sprayed some of the rose gold paint onto the top of a tiny tupperware lid, took a small brush and brushed the paint onto the nail head. You could spray it before you nail it in, but sometimes when you hammer the nail, it removes the paint. Do the same thing on the other side.
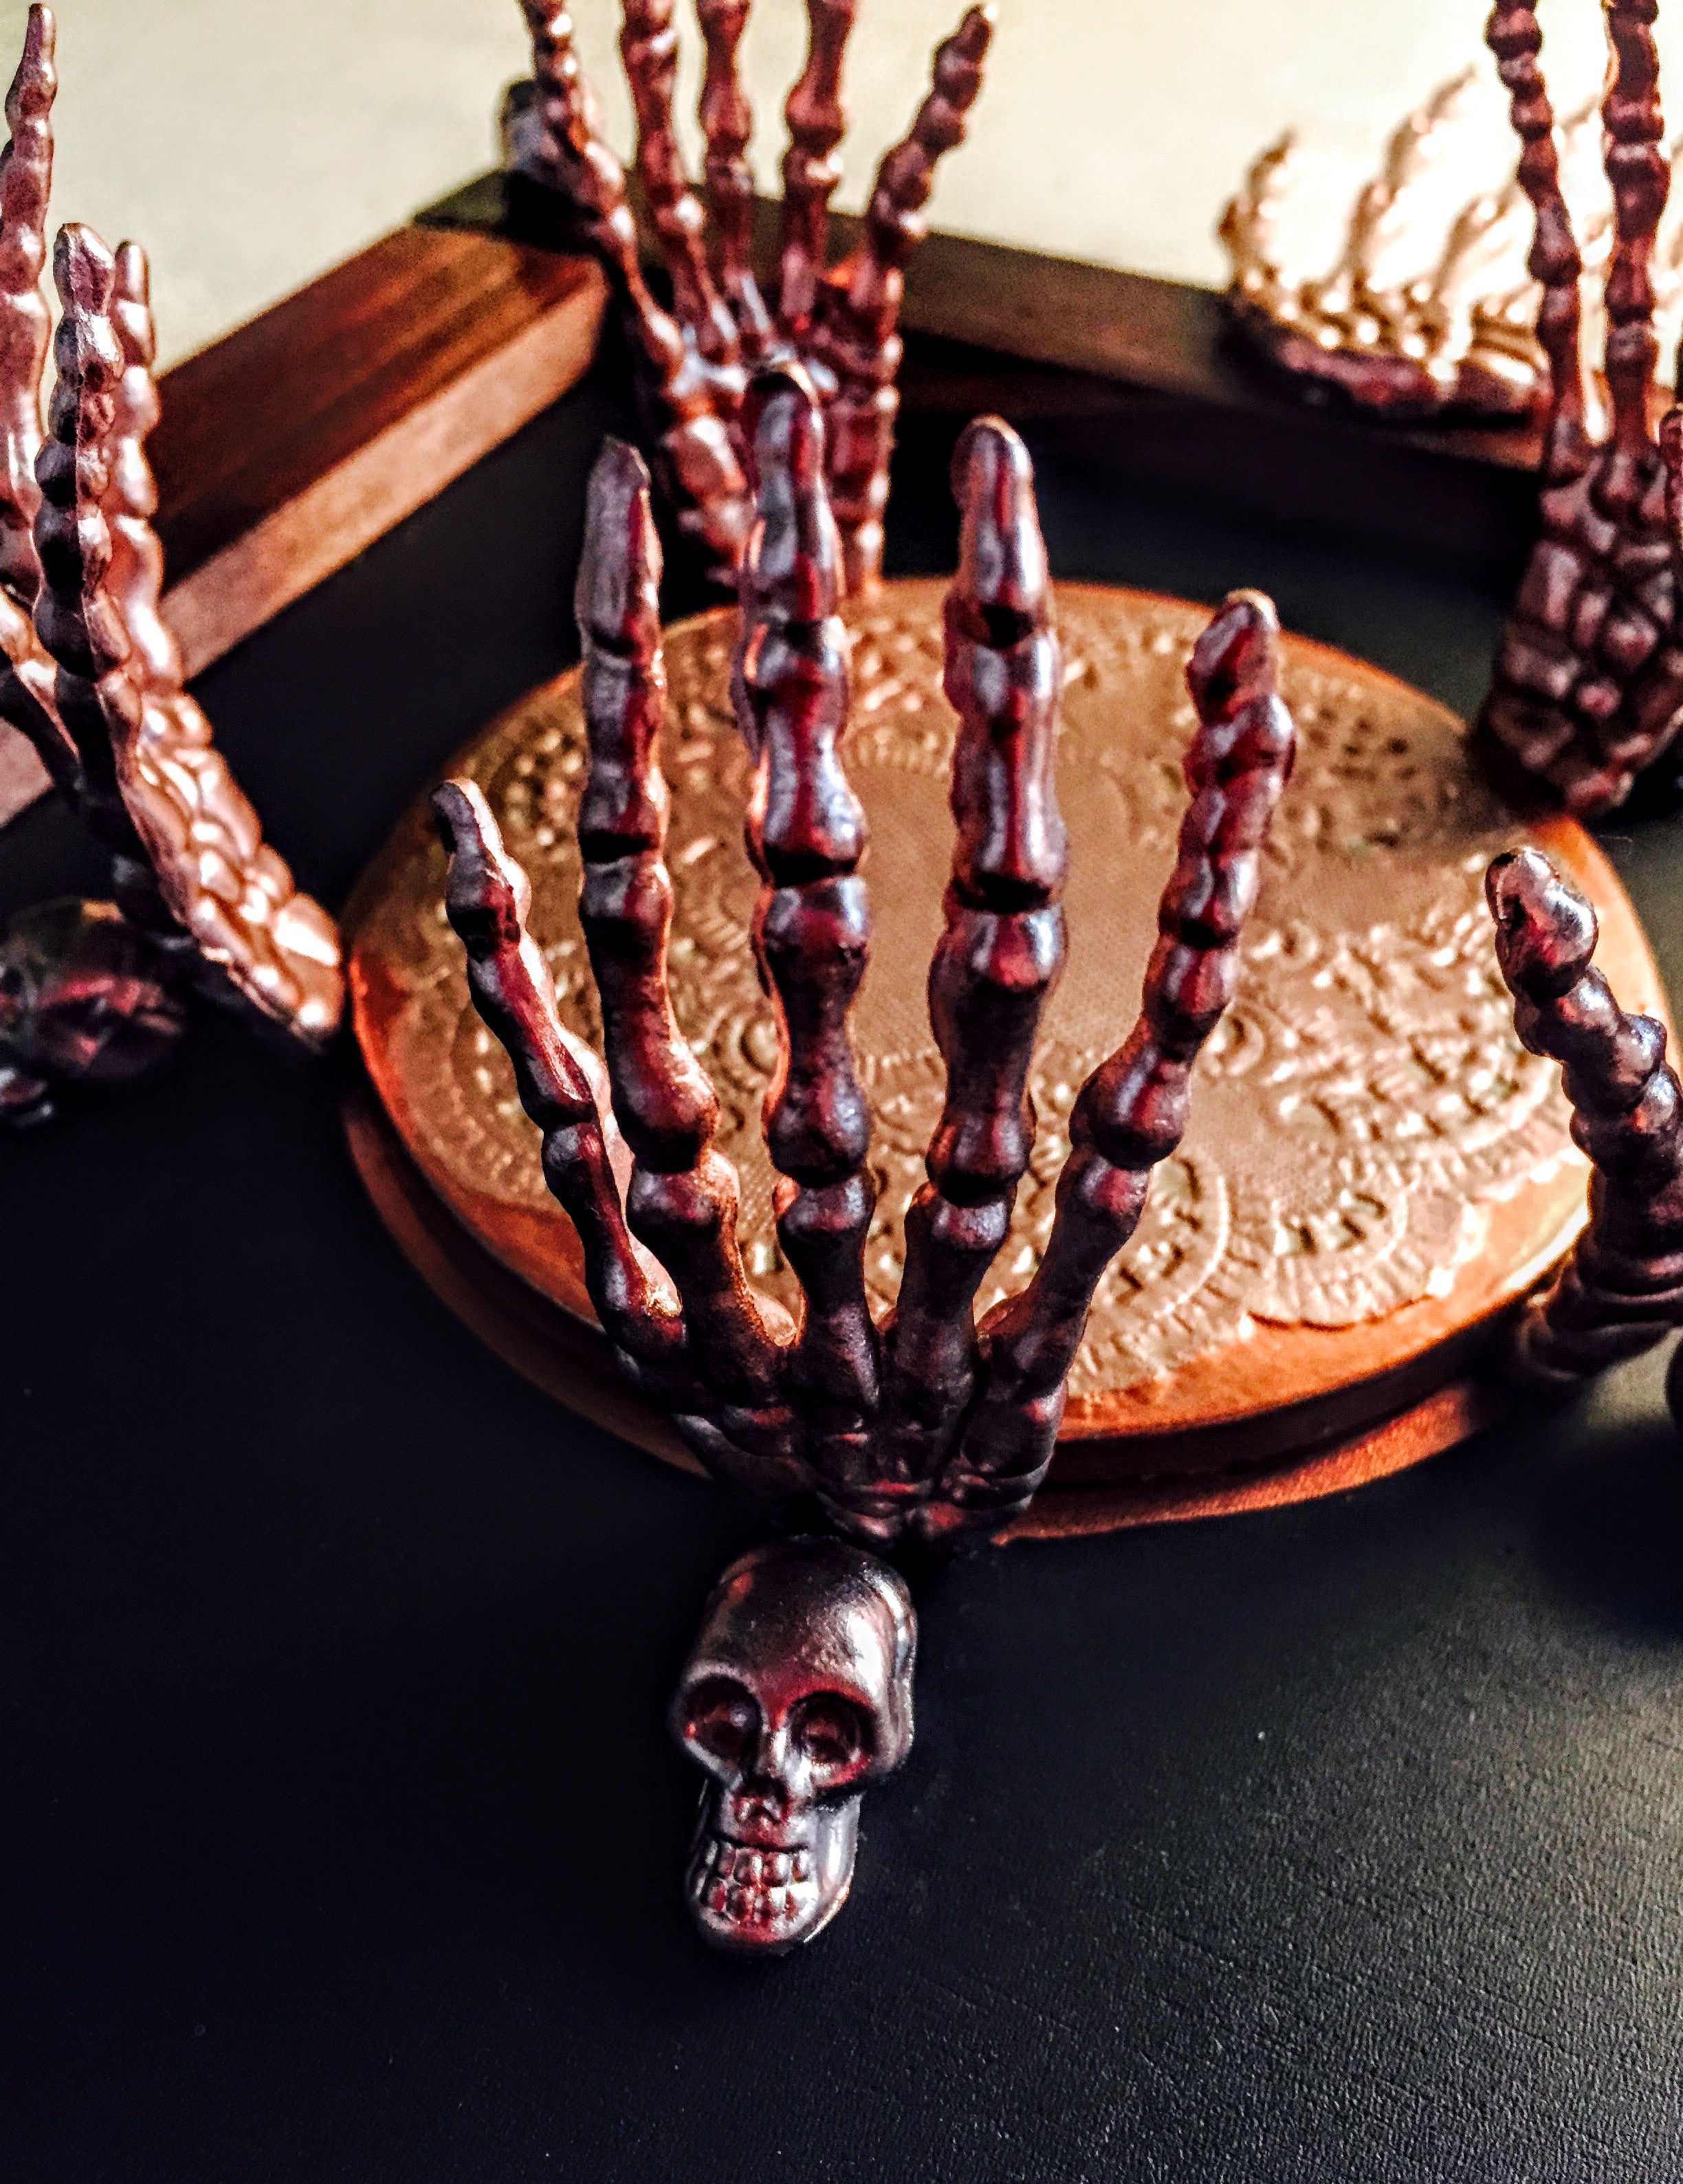
Next, take your doily coaster that you have already painted and decoupaged, and put quite a lot of both the contact cement and the E6000 onto the bottom. I put too much on, and it came out the sides. It’s pretty hard to clean up once you’ve made that mistake, so try to avoid doing that! Decide where you want your coaster and make sure it’s going in the right place, because once you’ve laid it down, you really can’t move it. The glue damages the blackboard permanently, once it’s touched it. Make sure the coaster is firmly in place as it is going to be the heaviest part of your tray. Once you’ve laid that and allowed it a little bit of time to dry, you can take your small hands and mini skulls and start placing them around the coaster. At this point, I would put a stemless wine glass onto the coaster, so you have a point of reference for the hands. You don’t want the hands leaning in too far, as to not allow the glass to fit.
I eyeballed this part, but you may want to measure the distance between the hands- I’m not that particular, but I did have to move them around a bit after gluing them and once again damaged the blackboard (another reason I used the copper pen to go around the coaster afterwards). In this instance, it may be wise to measure. Put a little bit of both glues onto the bottom of your first hand- the glue will inevitably seep out because the bottoms of the hands are pretty narrow. The contact cement is important here because you have to hold the hands up so they don’t fall. The cement will speed up this process. I would put a dab of the cement onto the blackboard where the hand will be going, then a dab of the E6000 onto the hand, and place it, and hold, until it feels somewhat stable. Have your mini skull ready- hopefully the glue will seep out the back side and you can put the skull onto it. I would also add some E6000- just a dab- to the bottom of the skull. Push the skull into the hand so that it holds up the hand and feels stable. Repeat the process with the remaining 4 hands and mini skulls. Try not to wipe the glue, but if you have to, wipe it towards the coaster instead of pulling it out onto the blackboard. We can always go in and use the copper pen at the end. It will cover up most of the mistakes!
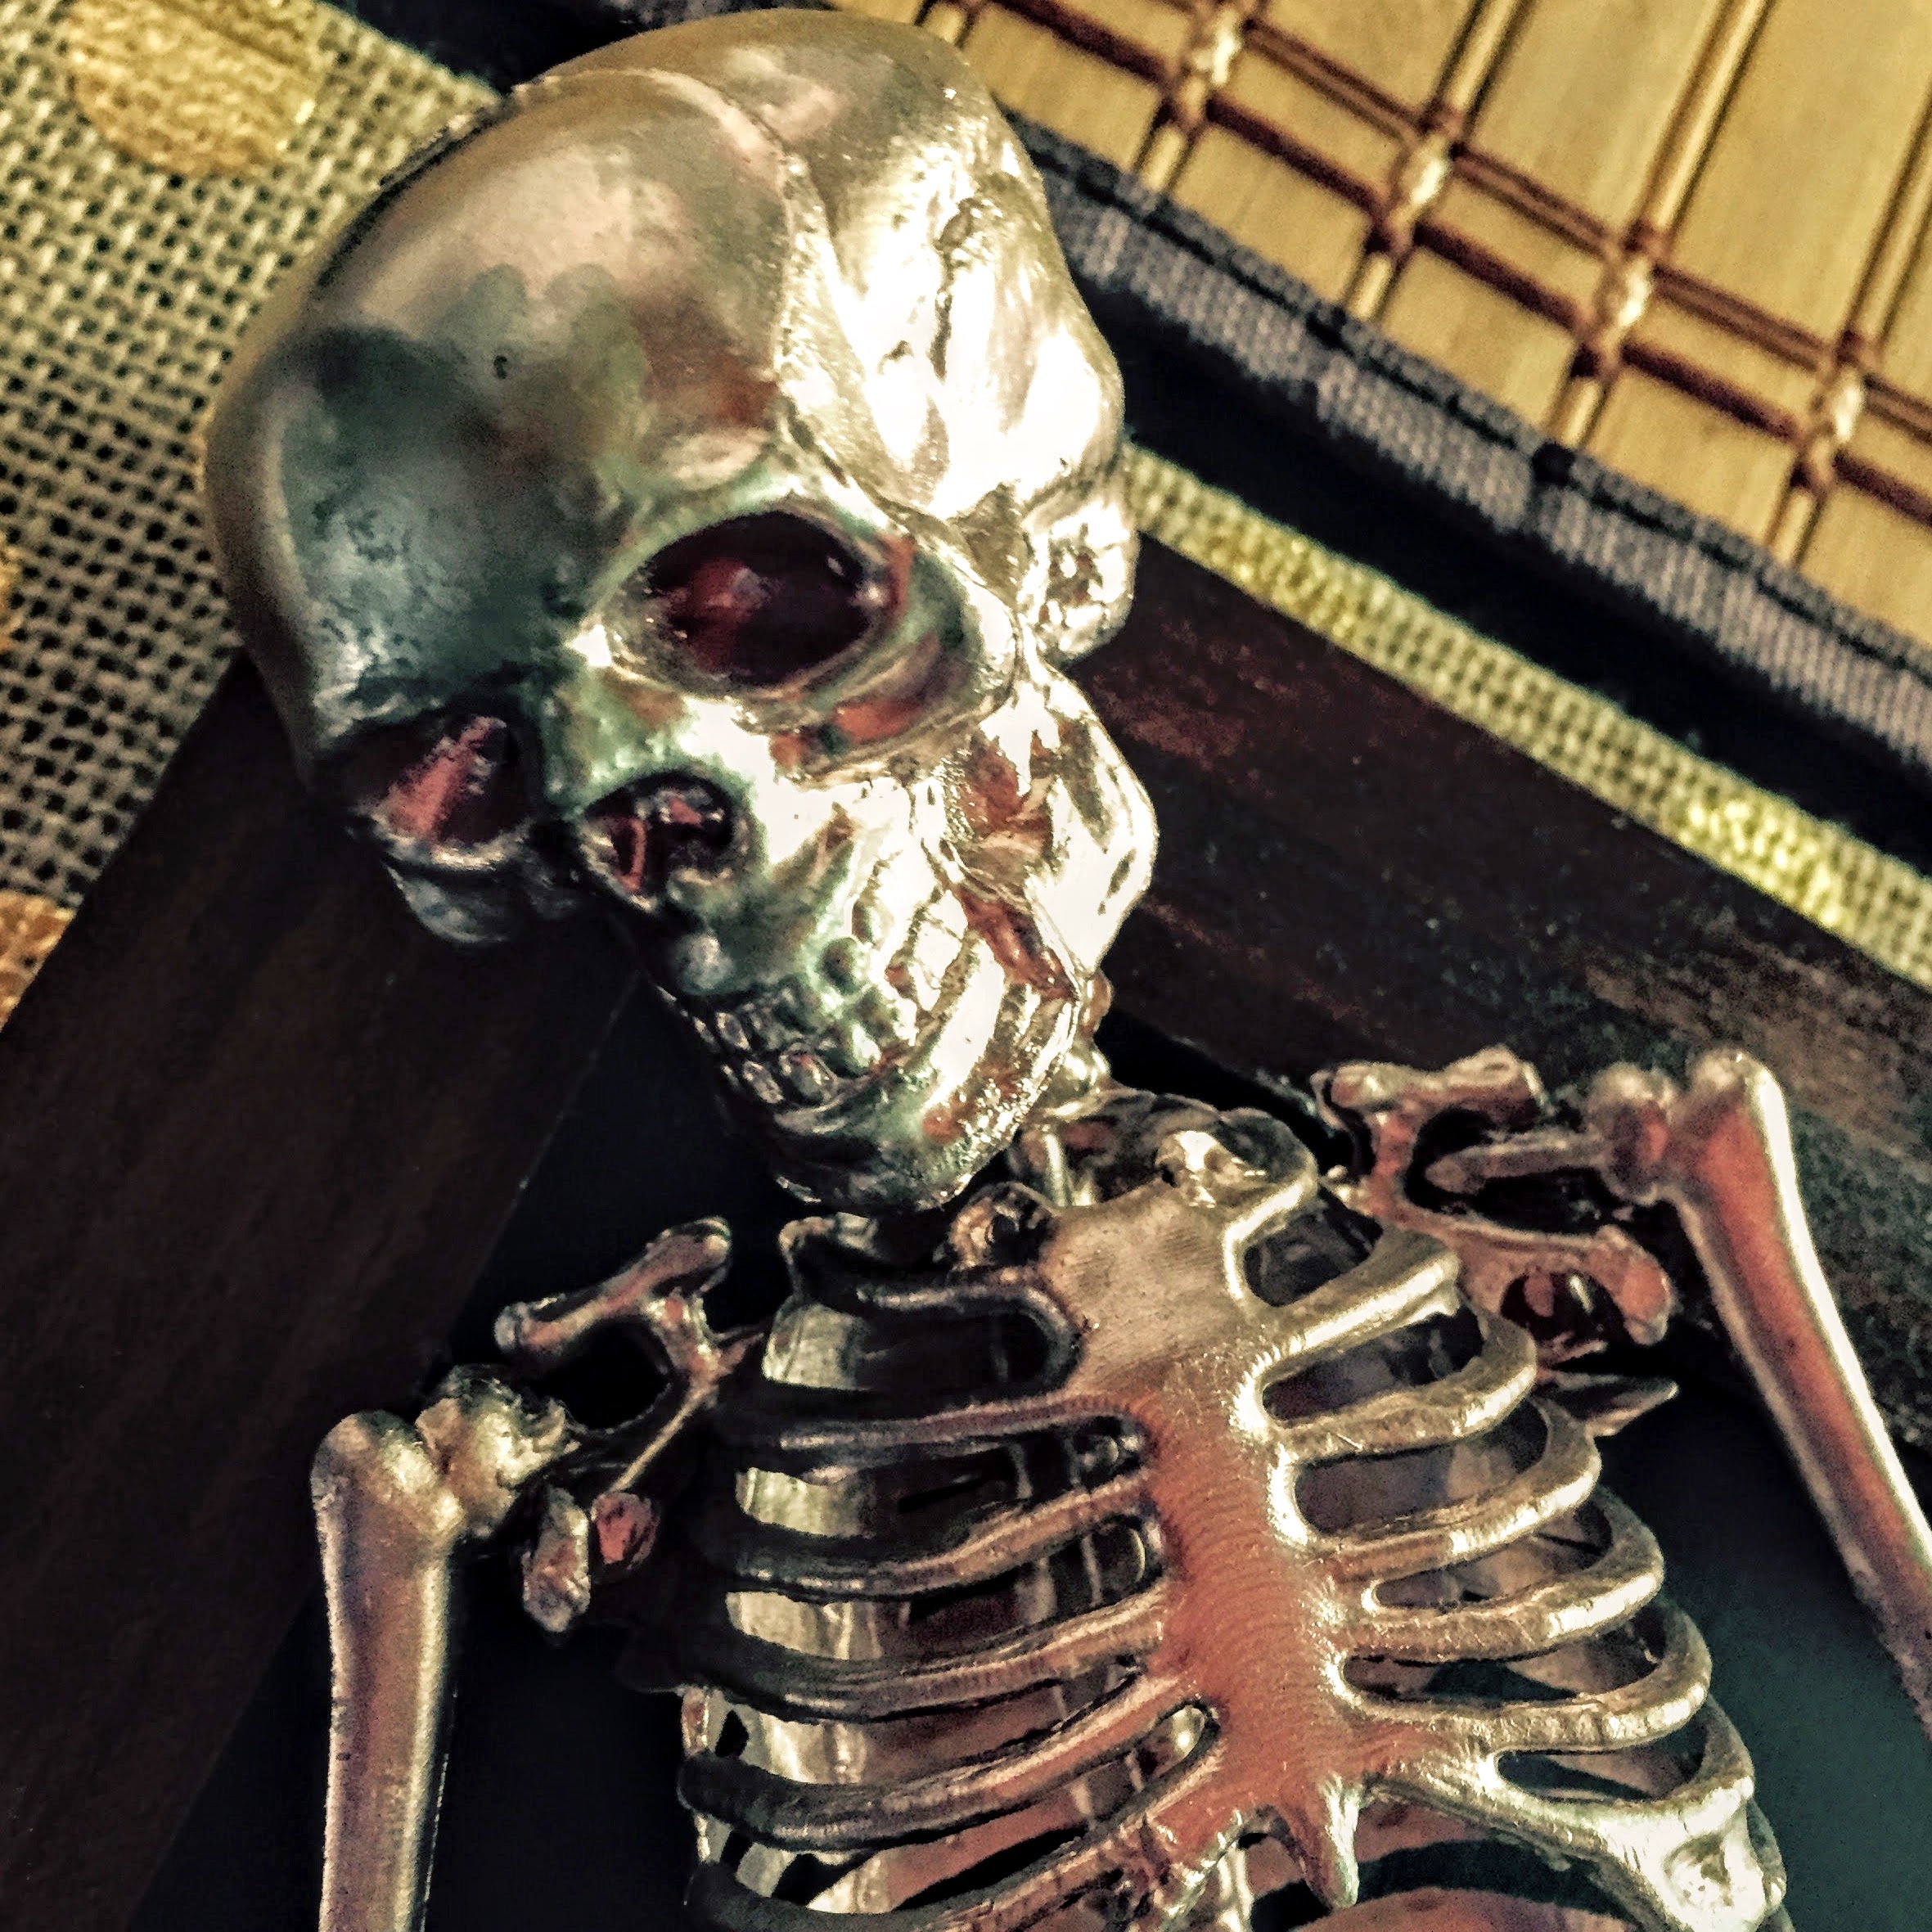
Heading into the homestretch, now! All that is left, is to glue on your skeleton body and arms! So, take your skeleton body and place it as you’d like. I put the skeleton head sideways, resting it on the wood frame, and then just allowed the body to come down comfortably. The bottom of the right leg landed on the right side of the frame, so I sort of pushed it up against it for support and glued it in place, there. Look and feel for points that are supportive. Once you have it where you want it, try to find the points on the skeleton that are touching the blackboard and frame- these are the places on the skeleton where you will apply glue. I glued the head, parts of the spine and hips and the bottoms of the legs. First, I glued the head and the spine- once again, you have to be careful, because when you’ve put the glue onto the skeleton, some of the paint will come off. For this reason, you really don’t want to move the skeleton once you’ve applied the glue and placed it on the blackboard, because this will result in streaks of paint being left on your blackboard.
At this point, I also placed the bowl into the stomach of the skeleton to make sure that the way I was placing the skeleton, would support the bowl and keep it straight. Once I had glued the skeleton at several points onto the blackboard, I again, put the bowl in and then used 3 foam brushes to hold it in place where I wanted it to dry (so that the bowl is held straight):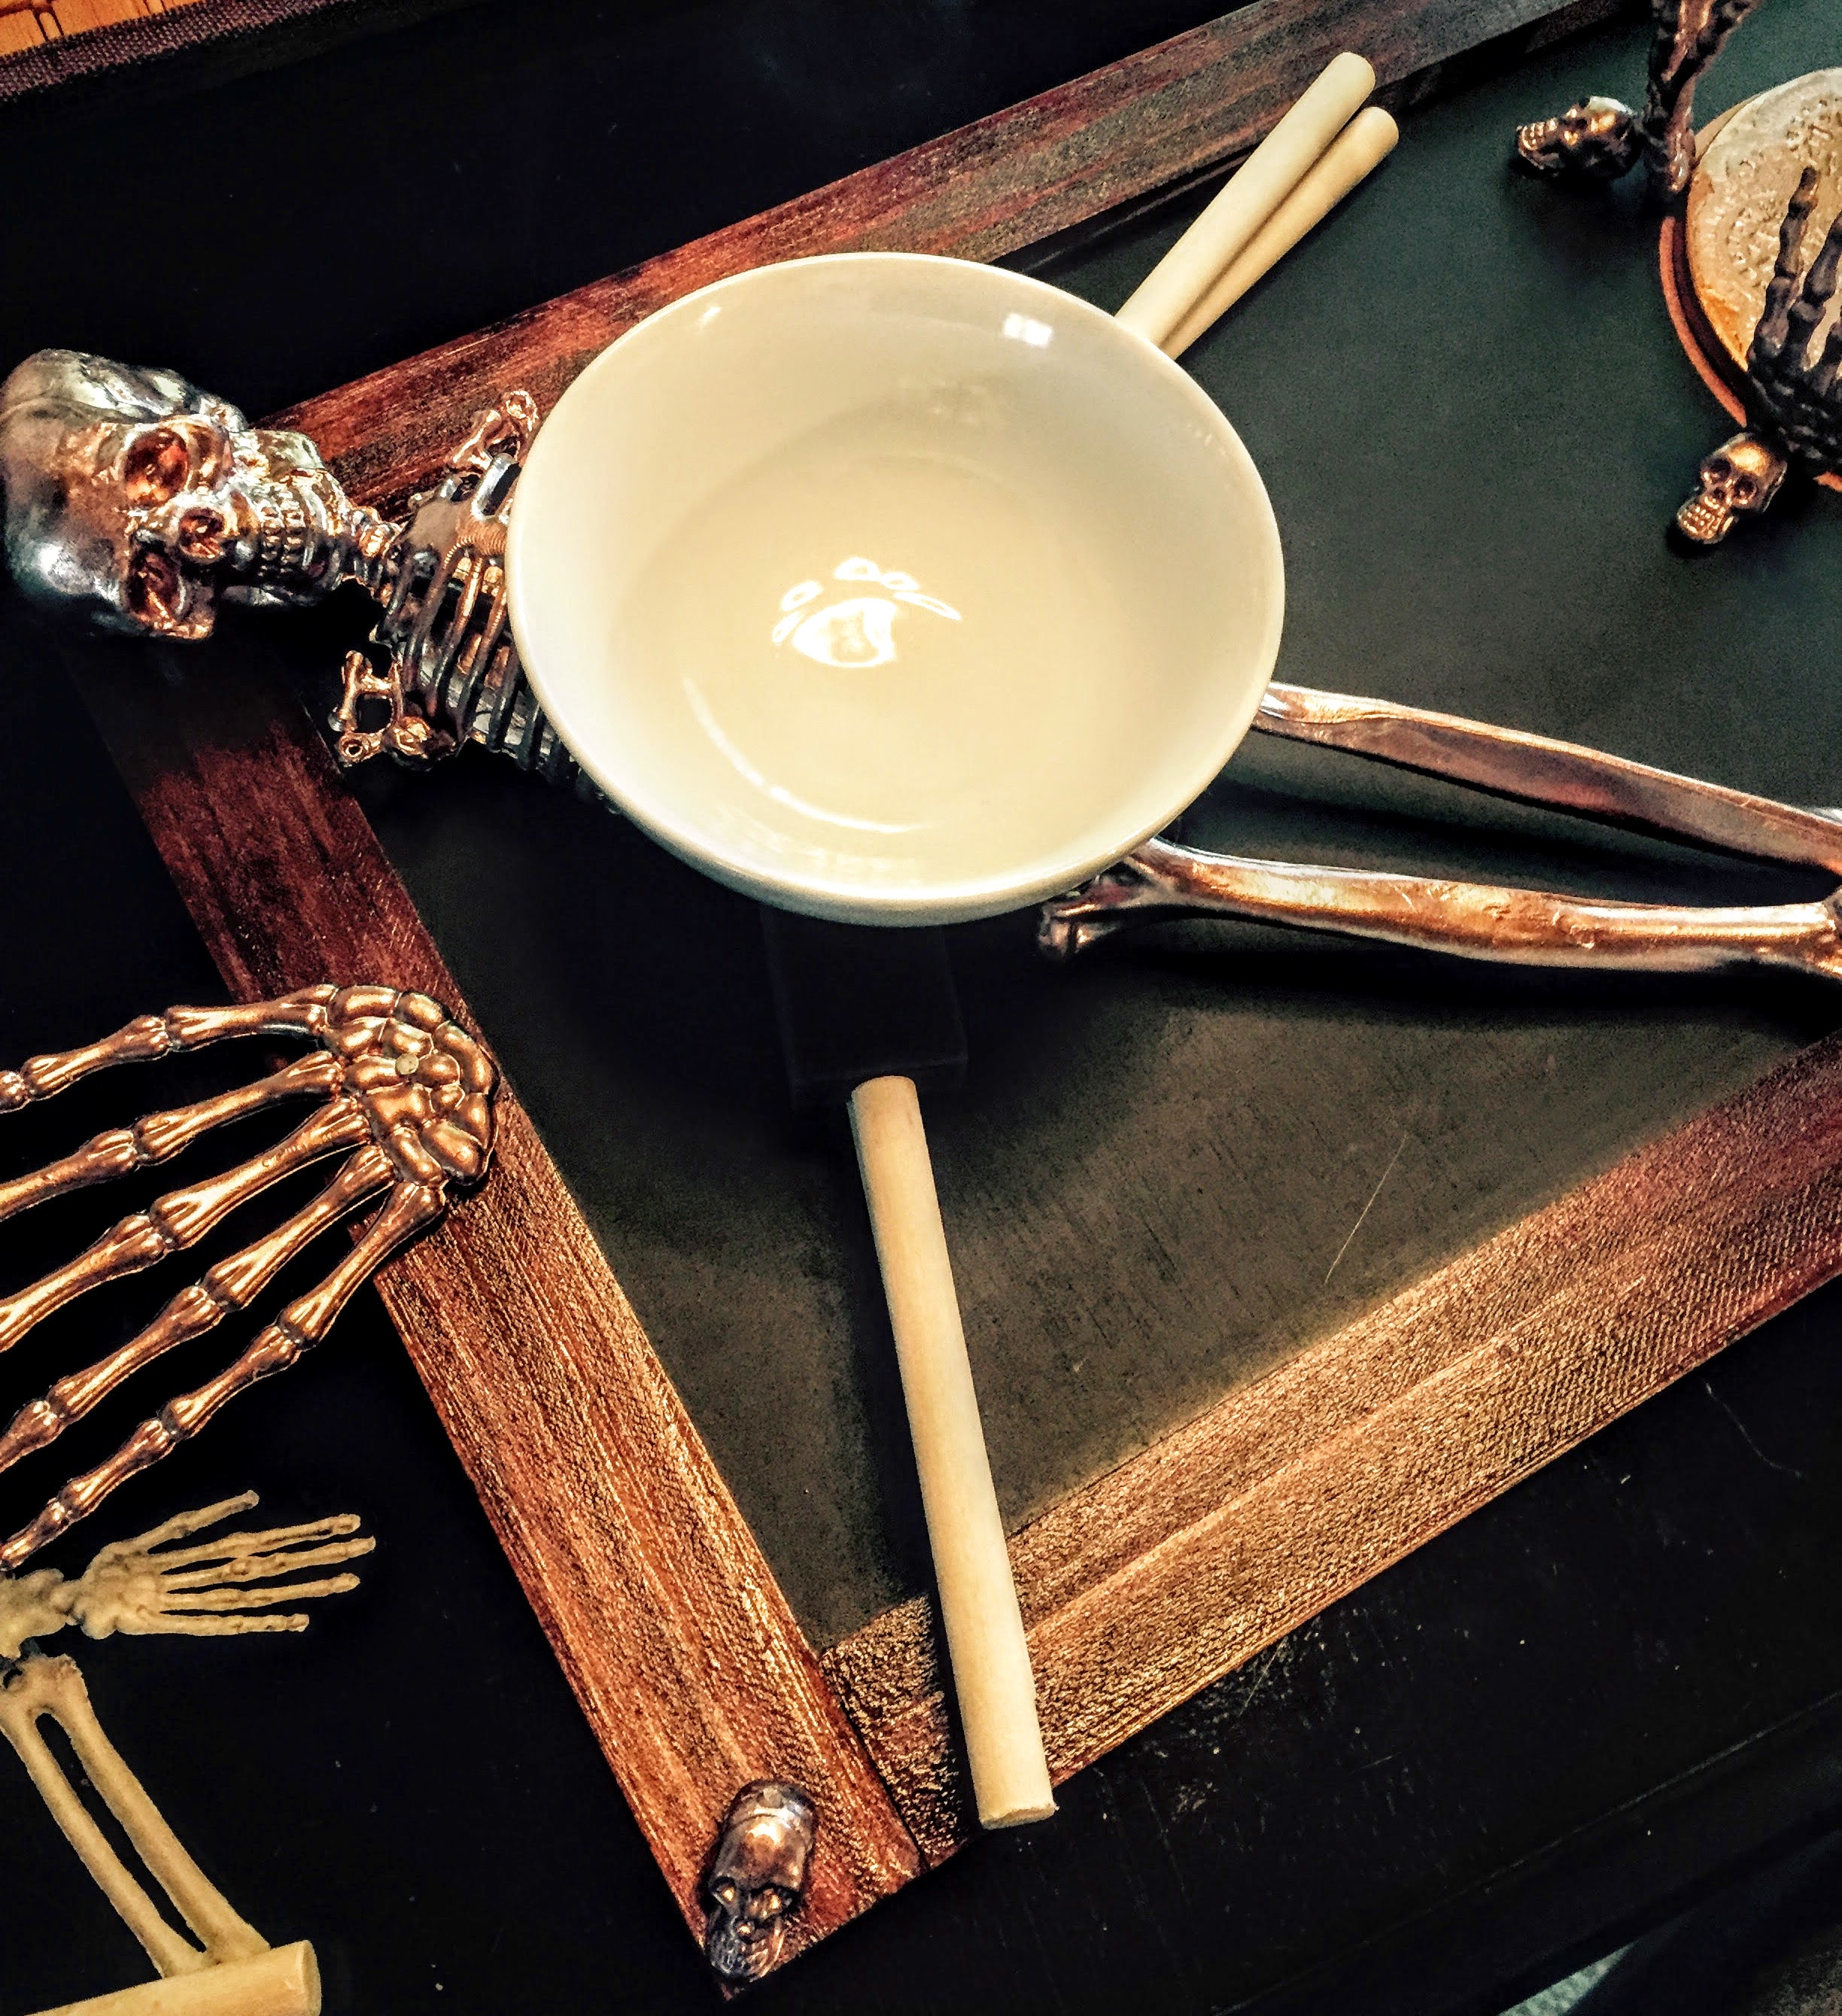
So, at this point, your skeleton’s body should be glued to the blackboard and be able to support the bowl. Allow everything to dry, leaving the brushes in place as shown above, until everything is stable. When everything has dried and feels strong, you can add your arms. The shoulder joints of the arms will fit right into body of the skeleton, like so:
Once again, I would use both glues on each shoulder joint of the arms, and then place each arm with glue on it, into the skeleton. You may have to hold each arm in place for a moment until they are holding strong on their own. Once the arm joints are firm, you will want to lift up each hand very carefully as to not unhinge the shoulder, and put glue under each hand. This step is not absolutely necessary, but I’m glad I put in the extra time to glue everything down, because this skeleton is not budging! He can hold candy, almonds, candles, but he’s not going anywhere!

Last but not least, if you would like, take your copper leaf pen and just follow the outline of the coaster, stopping at each hand and starting on the other side. I actually ended up using the pen up onto the side edge of my coaster and then followed along the doily line onto the top of the coaster. I had a lot of glue around the edge and the copper leaf covered it up for the most part. I actually like the look of it at the end of the day, so it was a happy accident!
There you have it… enjoy your Spooky Skeleton DIY! Please send me pictures if you make this festive tray. I would love to see different creative spins on my Halloween production!
Have a fun and exciting Halloween!
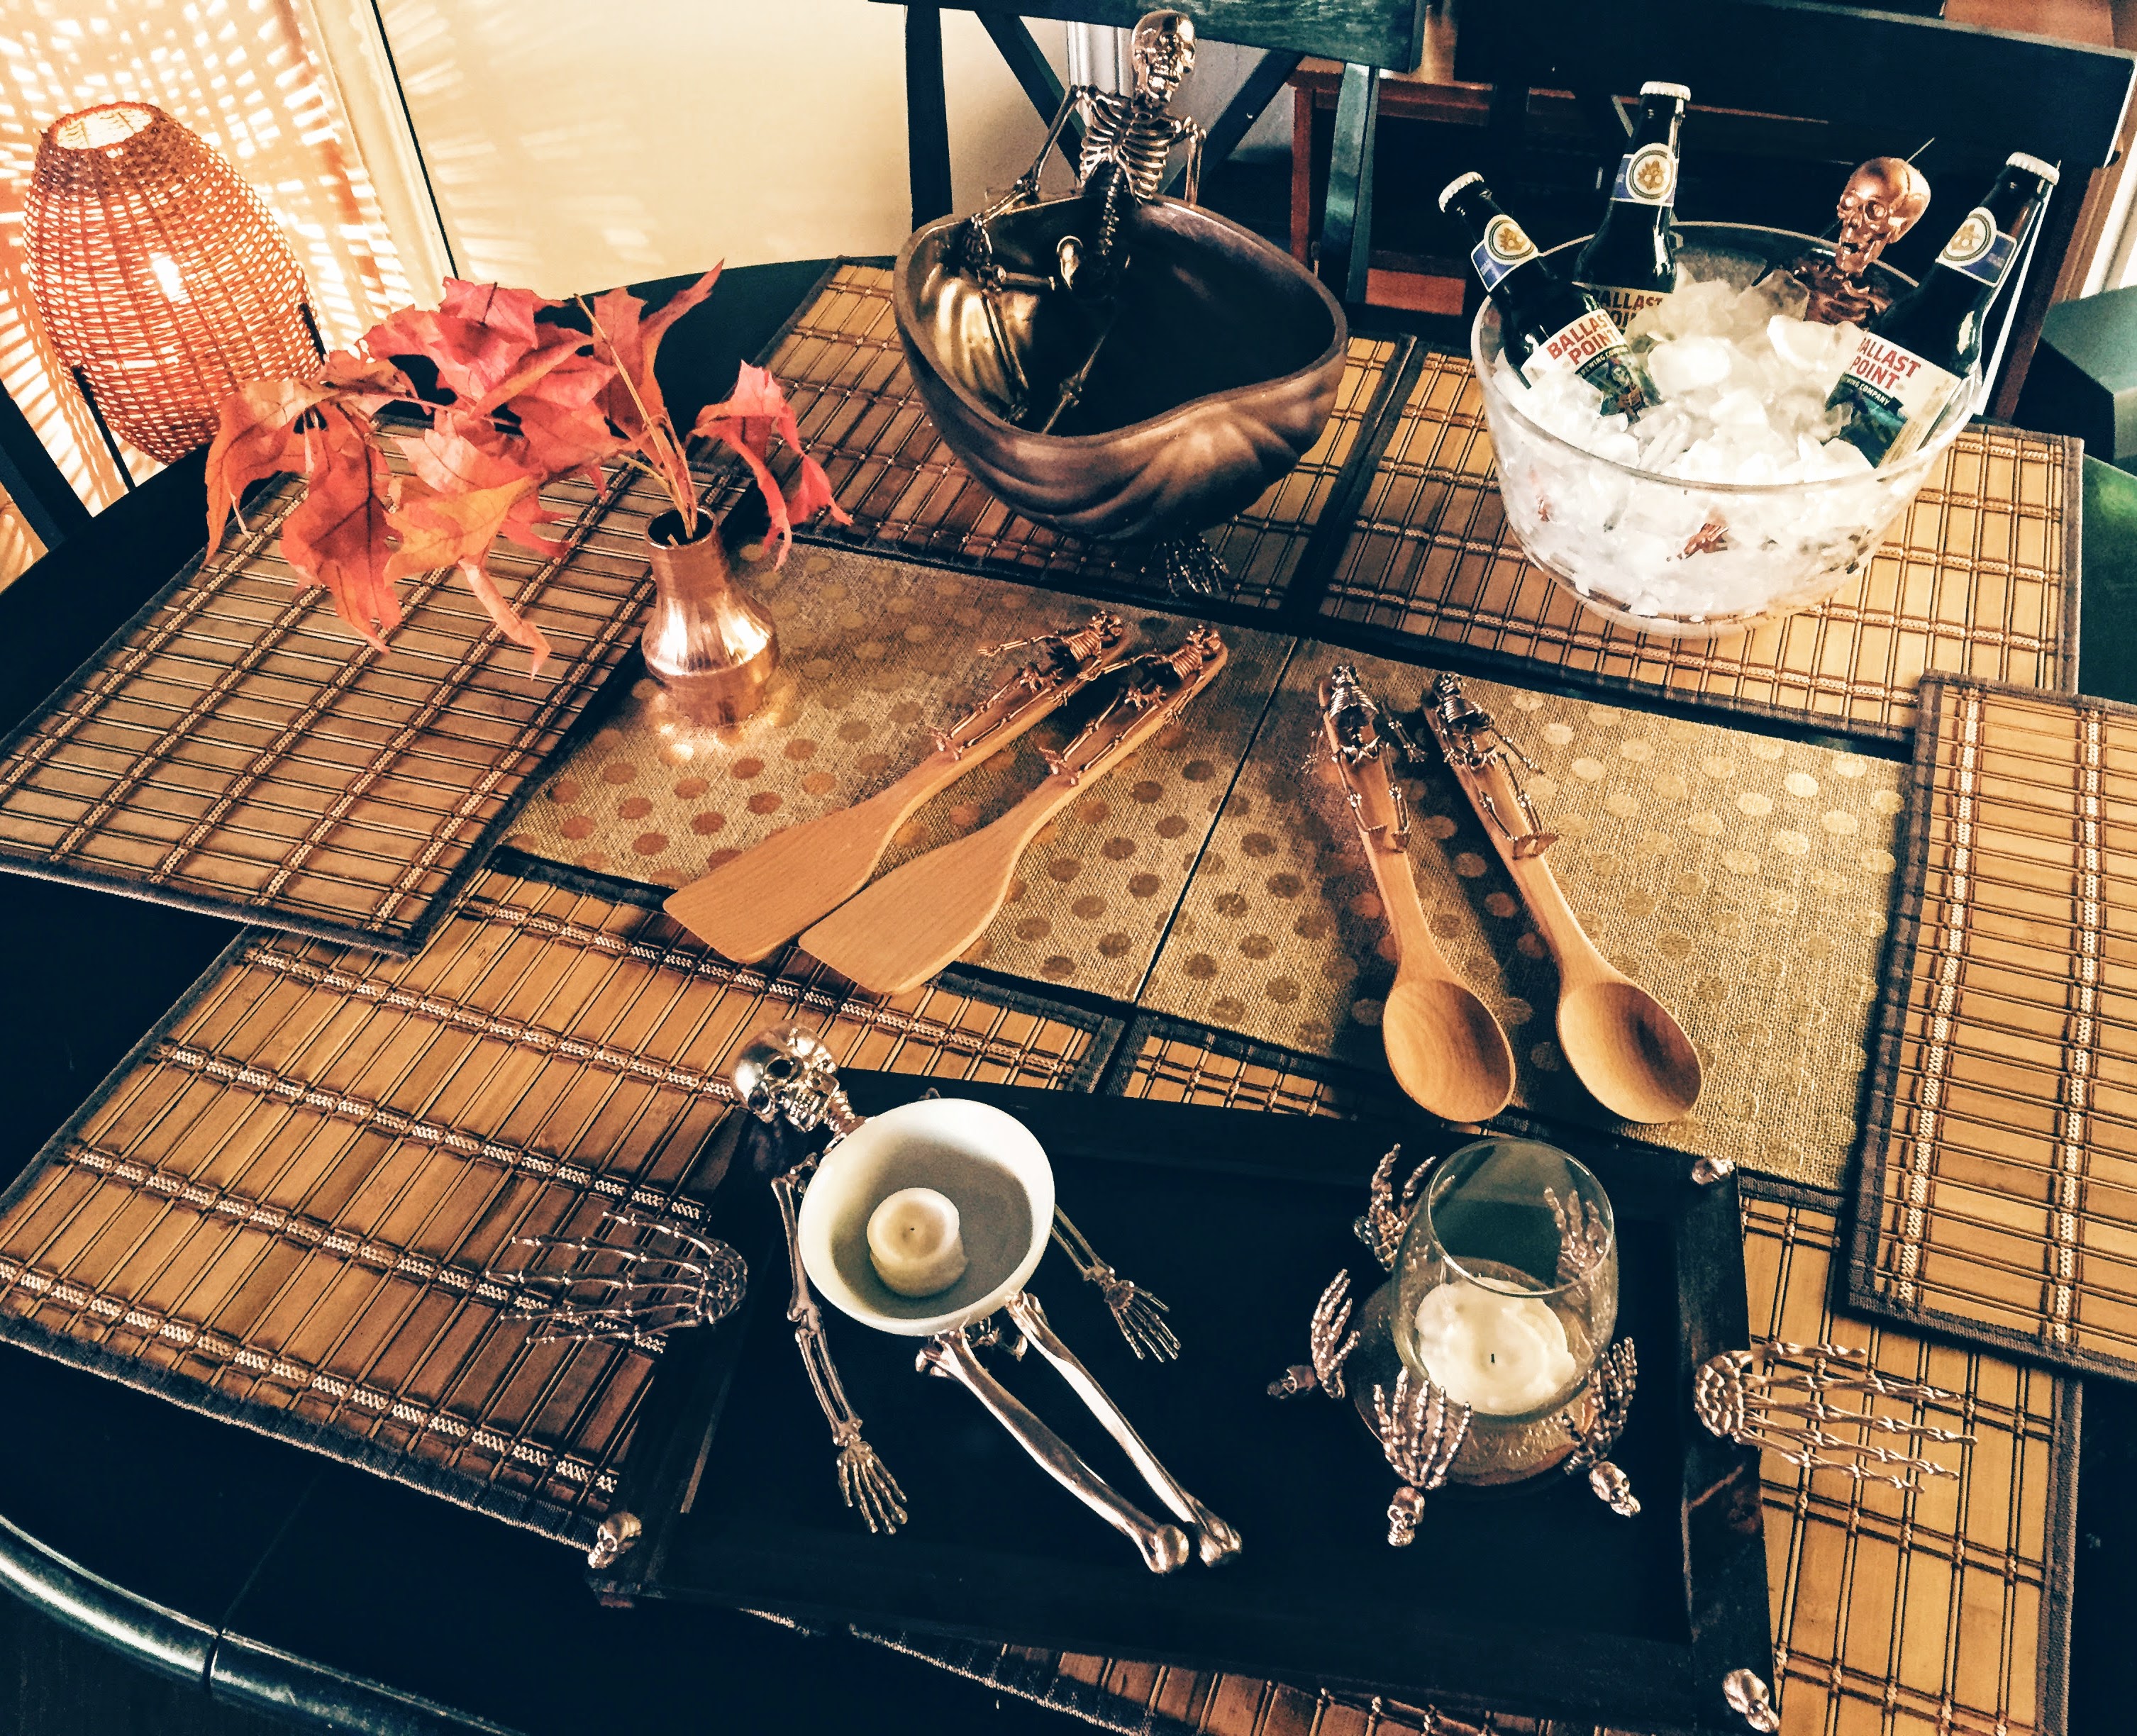
 here for Ship of Fools Skeleton Party Bucket, here for the Ice Bath Skeleton Party Bucket, and here for Spooky Skeleton Serving Spoons. Enjoy!