
Hi there and welcome back! Happy Halloween!
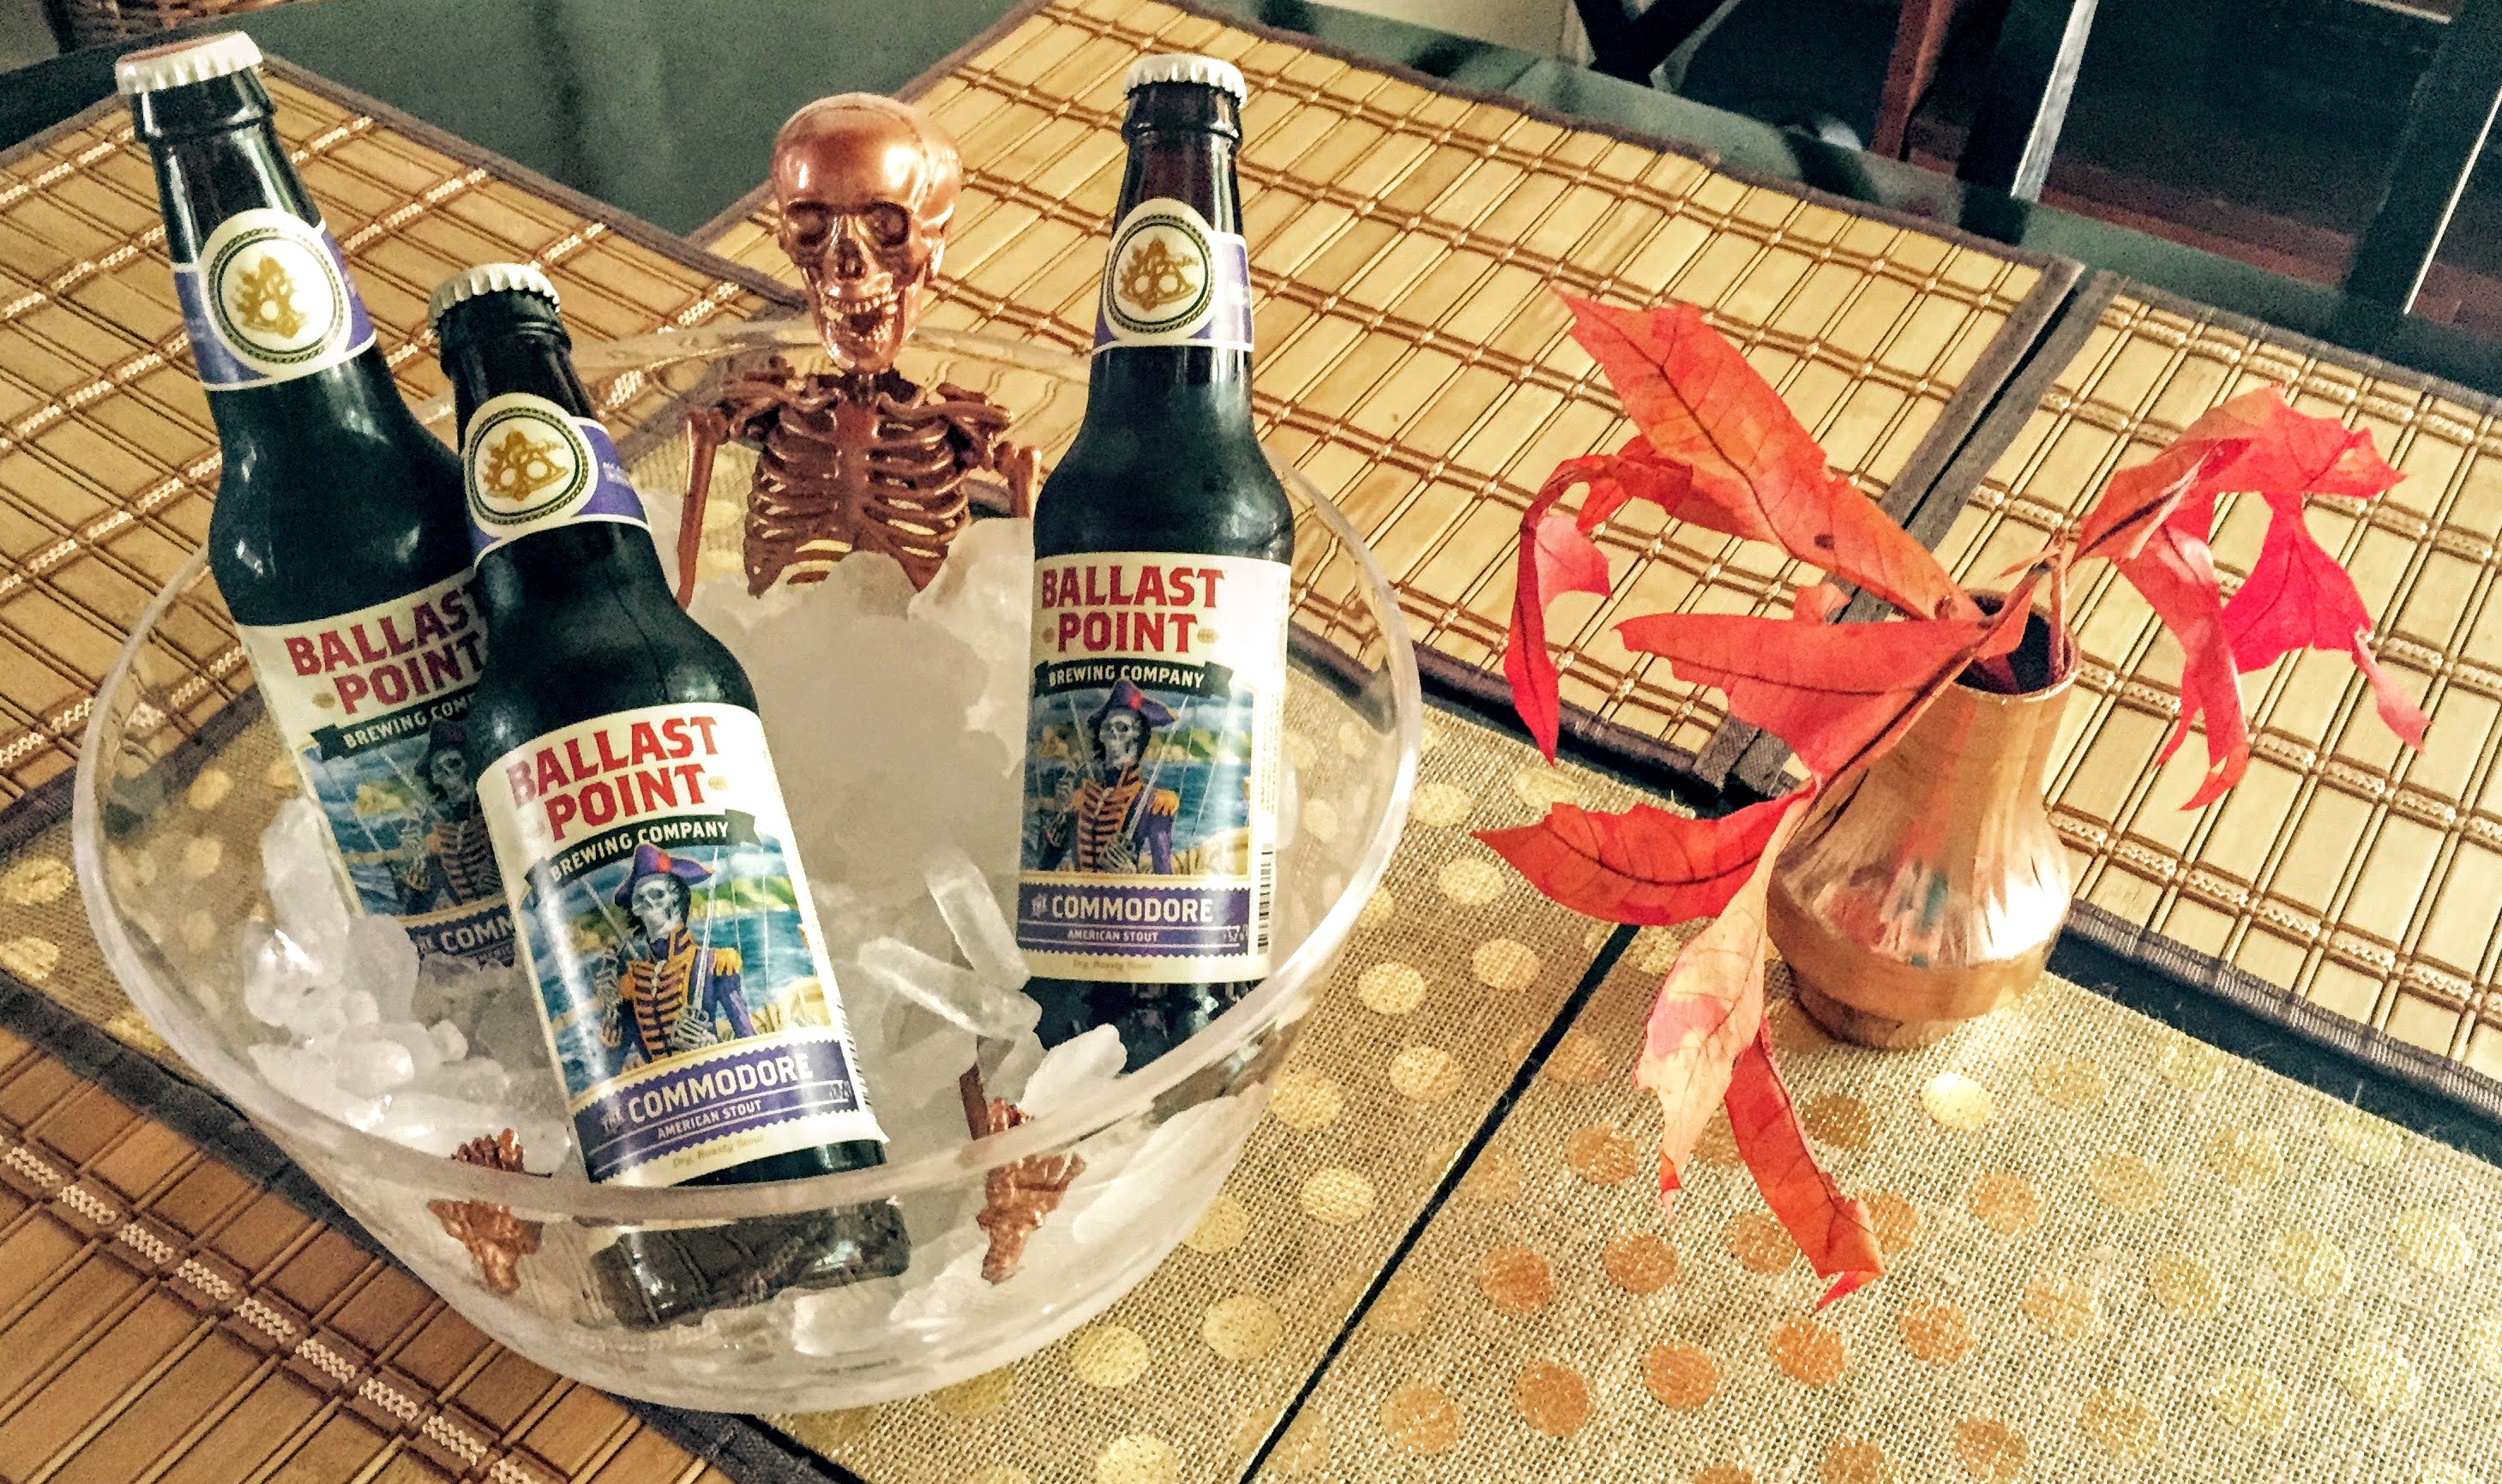
Today, I’ll show you how to make this Ice Bath Skeleton Party Bucket. This is the third in my Halloween DIY Skeleton Series, and the second of my Skeleton Party Buckets. It’s SUPER simple to create, and a great edition to the first Ship of Fools Skeleton Party Bucket. If you’re having a Halloween gathering, these little guys will make your house Party-Ready!
All you need for this VERY easy Halloween DIY is:
- One of these Skeletons from Michael’s (on the left) or Target (on the right).
- This Lucite Party Bowl from Target.
- This Metallic Copper Spray Paint from Michael’s.
- Crystal Clear Spray Acrylic. This is a lacquer that won’t change the color of your spray paint. Available at Michael’s. *Note* Some colors of spray paint are changed more significantly than others, when using lacquer. For example, the Rose Gold Metallic Spray that I used in the First Ship of Fools Party Bucket, changes dramatically with any lacquer. The Metallic Copper I used for this project, did not change at all. This Crystal Clear is definitely the best spray I have found for spraying over spray paint.
- E6000 Adhesive. Michael’s.
That’s everything! Simple! Hopefully you have some of these things left over from the last project… let’s get rollin’!
The first thing you will do, is to take your skeleton (whichever one you have chosen) and spray it a metallic color. I used this Metallic Copper Spray Paint from Michael’s. It’s an ideal color for October. It’s warm and rusty… perfect for Fall! I used the Michael’s Skeleton for this project. It’s not quite as flexible as the Target option:
It would be cute to have a pair of these bowls on a table. One with this skeleton, and one with the moveable Target Skeleton. In fact, next Halloween, I’m going to do that!
OK… back to business! After you’ve sprayed both sides of your skeleton with the metallic spray, and made sure he’s thoroughly coated and dried, you’ll want to take out your Crystal Clear Acrylic. Spray both sides, thoroughly and evenly with the Acrylic Spray. Once that’s totally dry, you can start to glue your skeleton into the bucket.
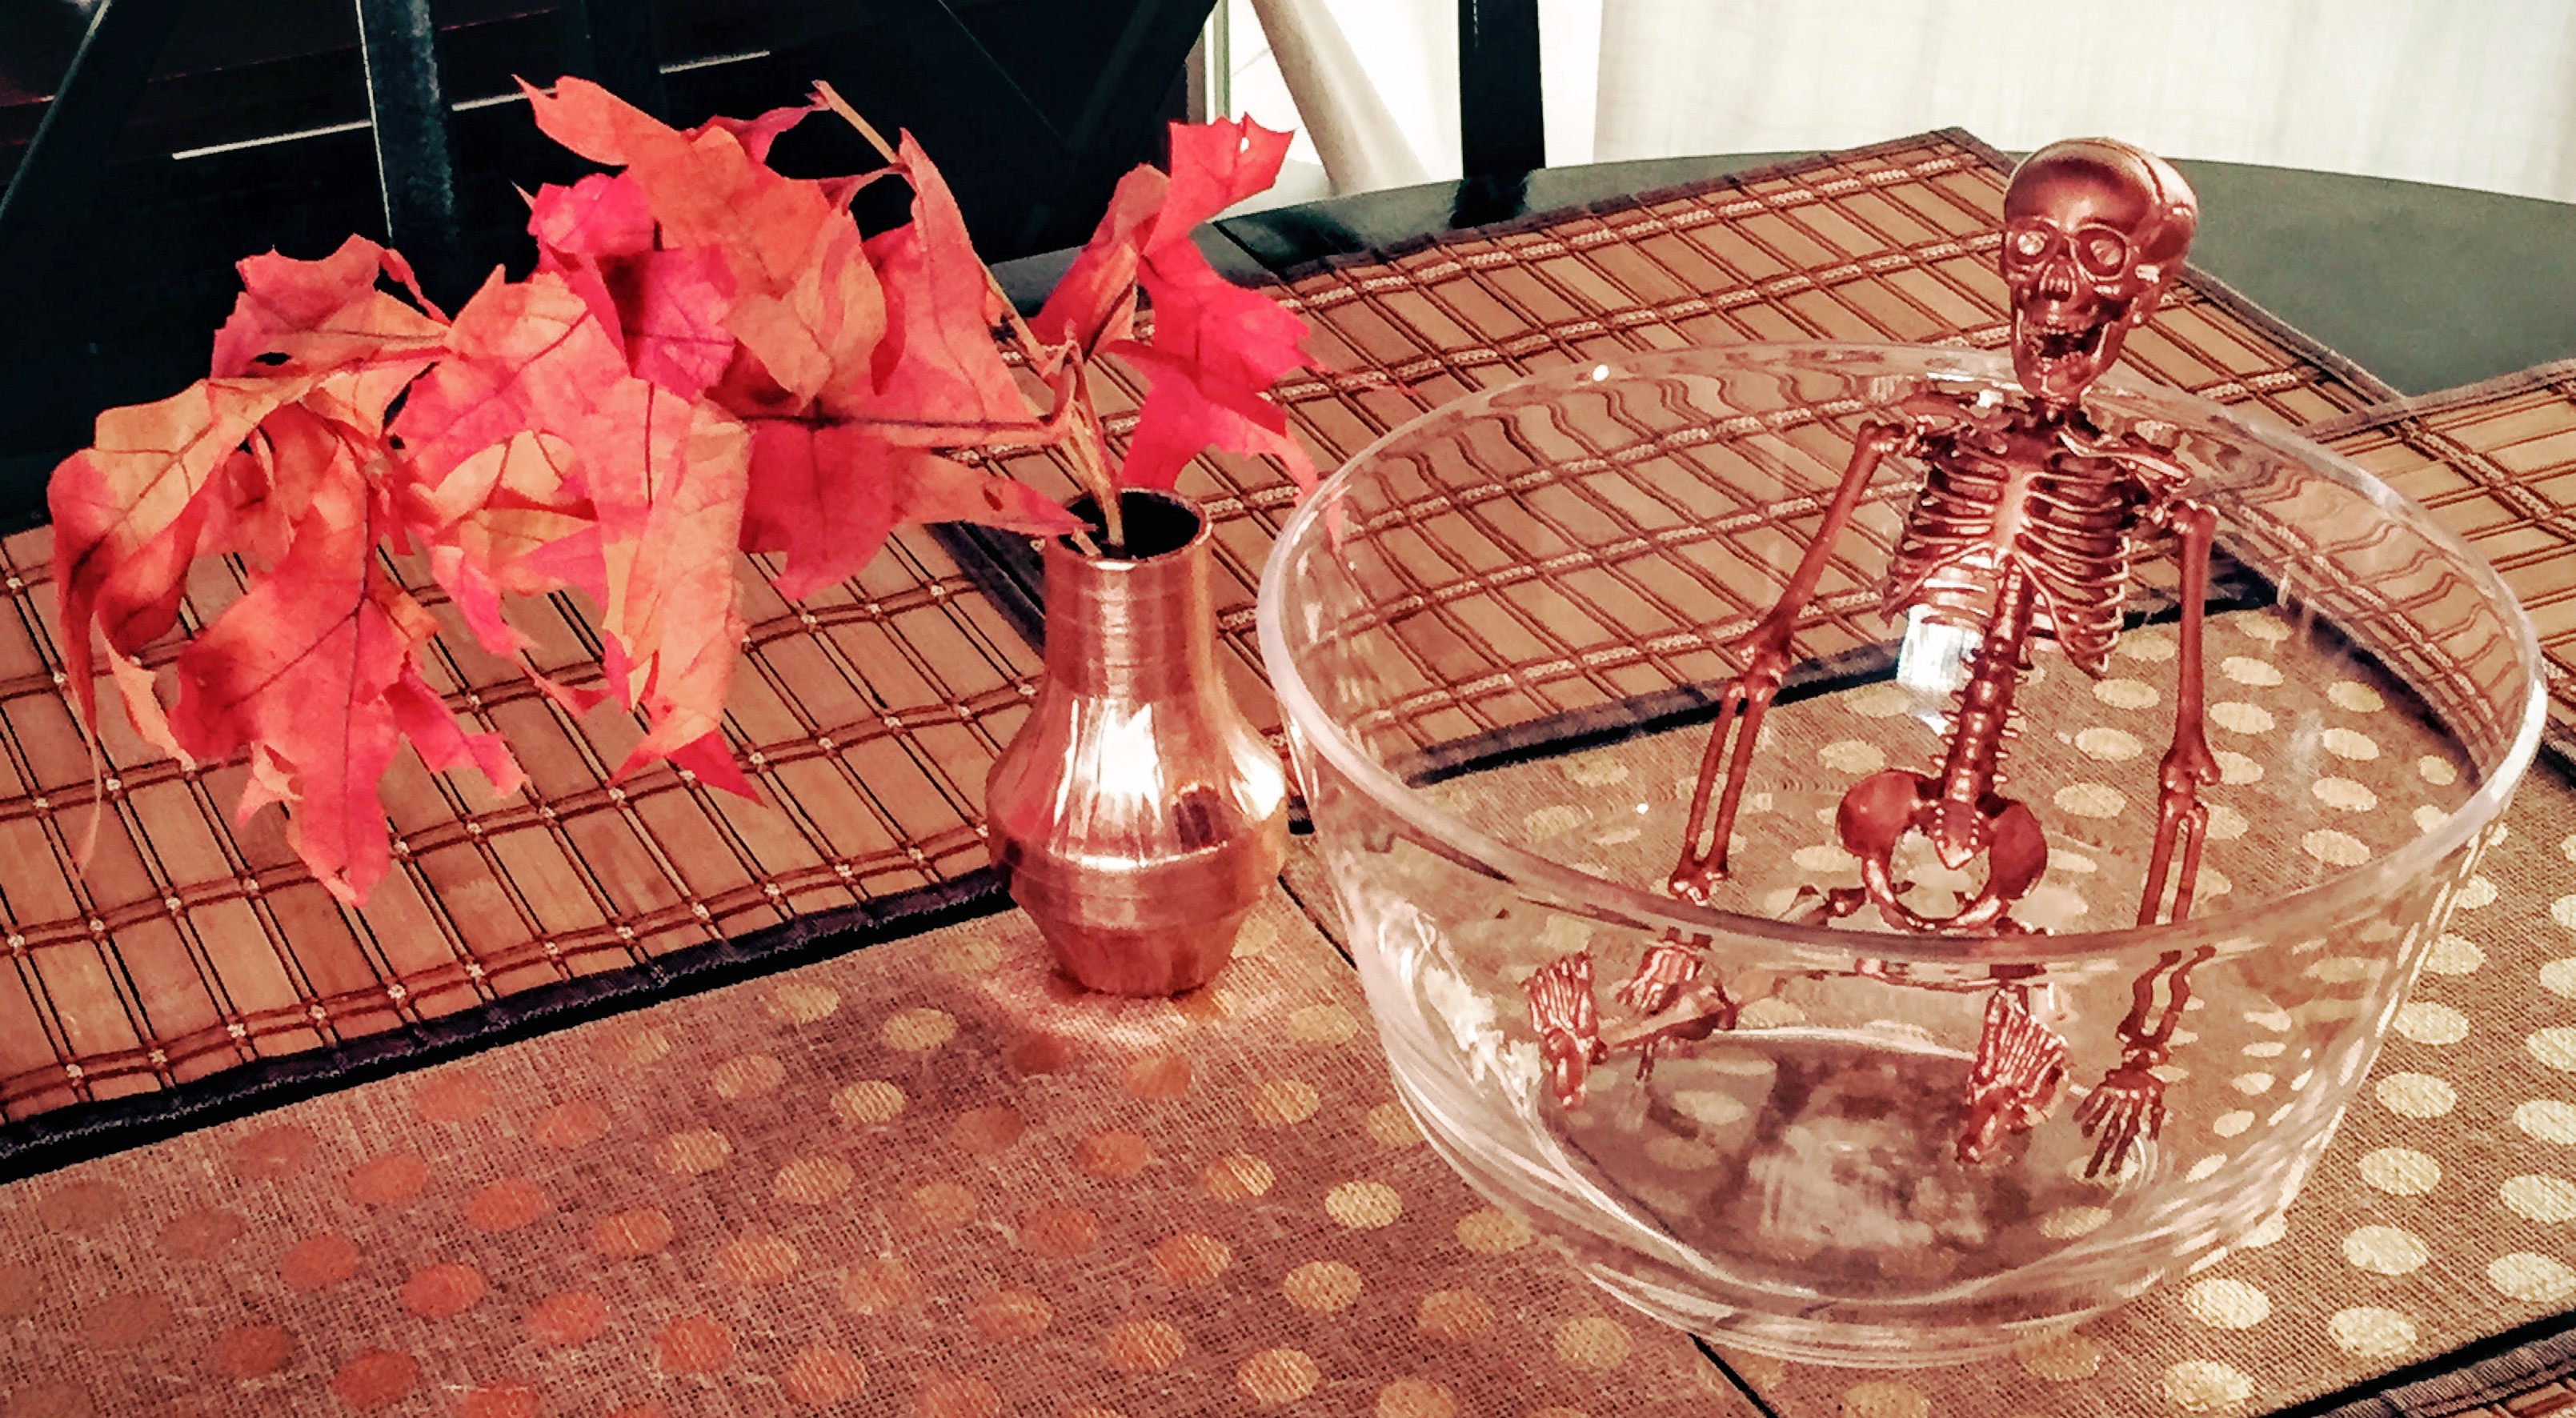
I used E6000 on the middle of the spine, the pelvic bones, the heels and the fingers of the skeleton. First, just put him in the bucket, and find the contact points. Once you have the glue on the spine and pelvic bones, place the skeleton into the bucket and try not to move him around too much. The glue will get smeared and you can really see the flaws because of the clear lucite. The glue is going to show a bit, irregardless. Like here on the spine:
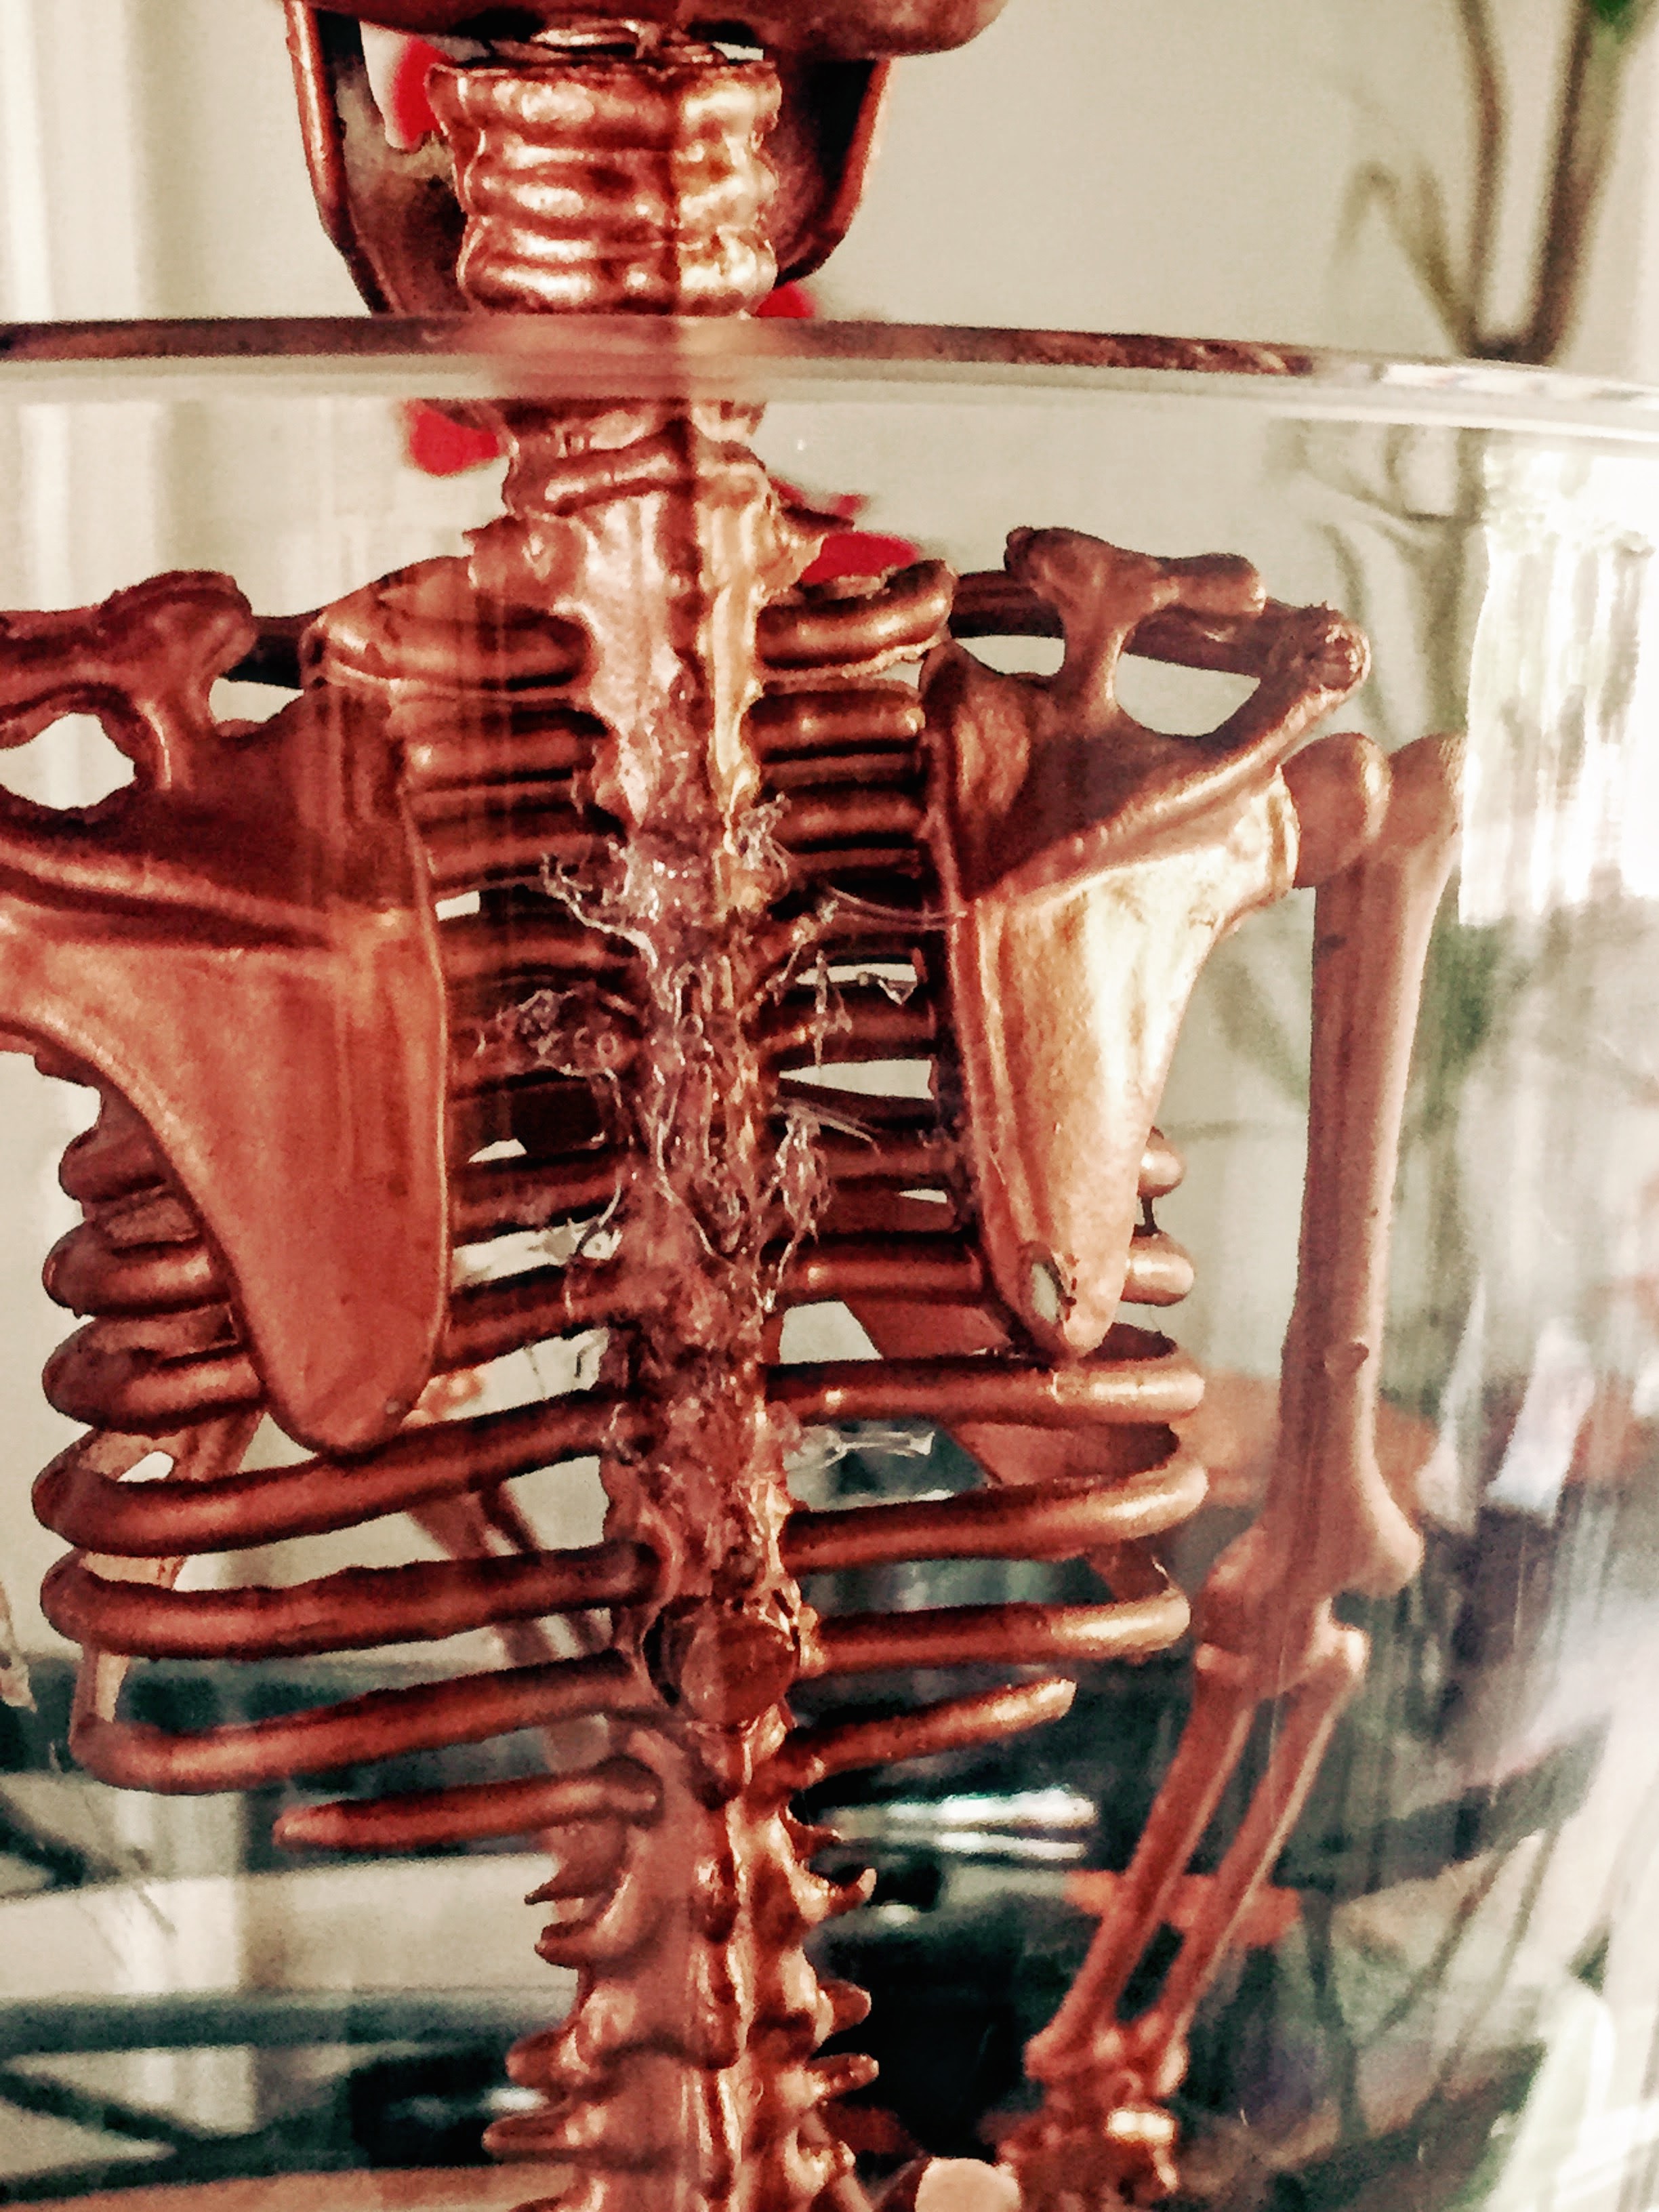
and here, on the hip/pelvis region:
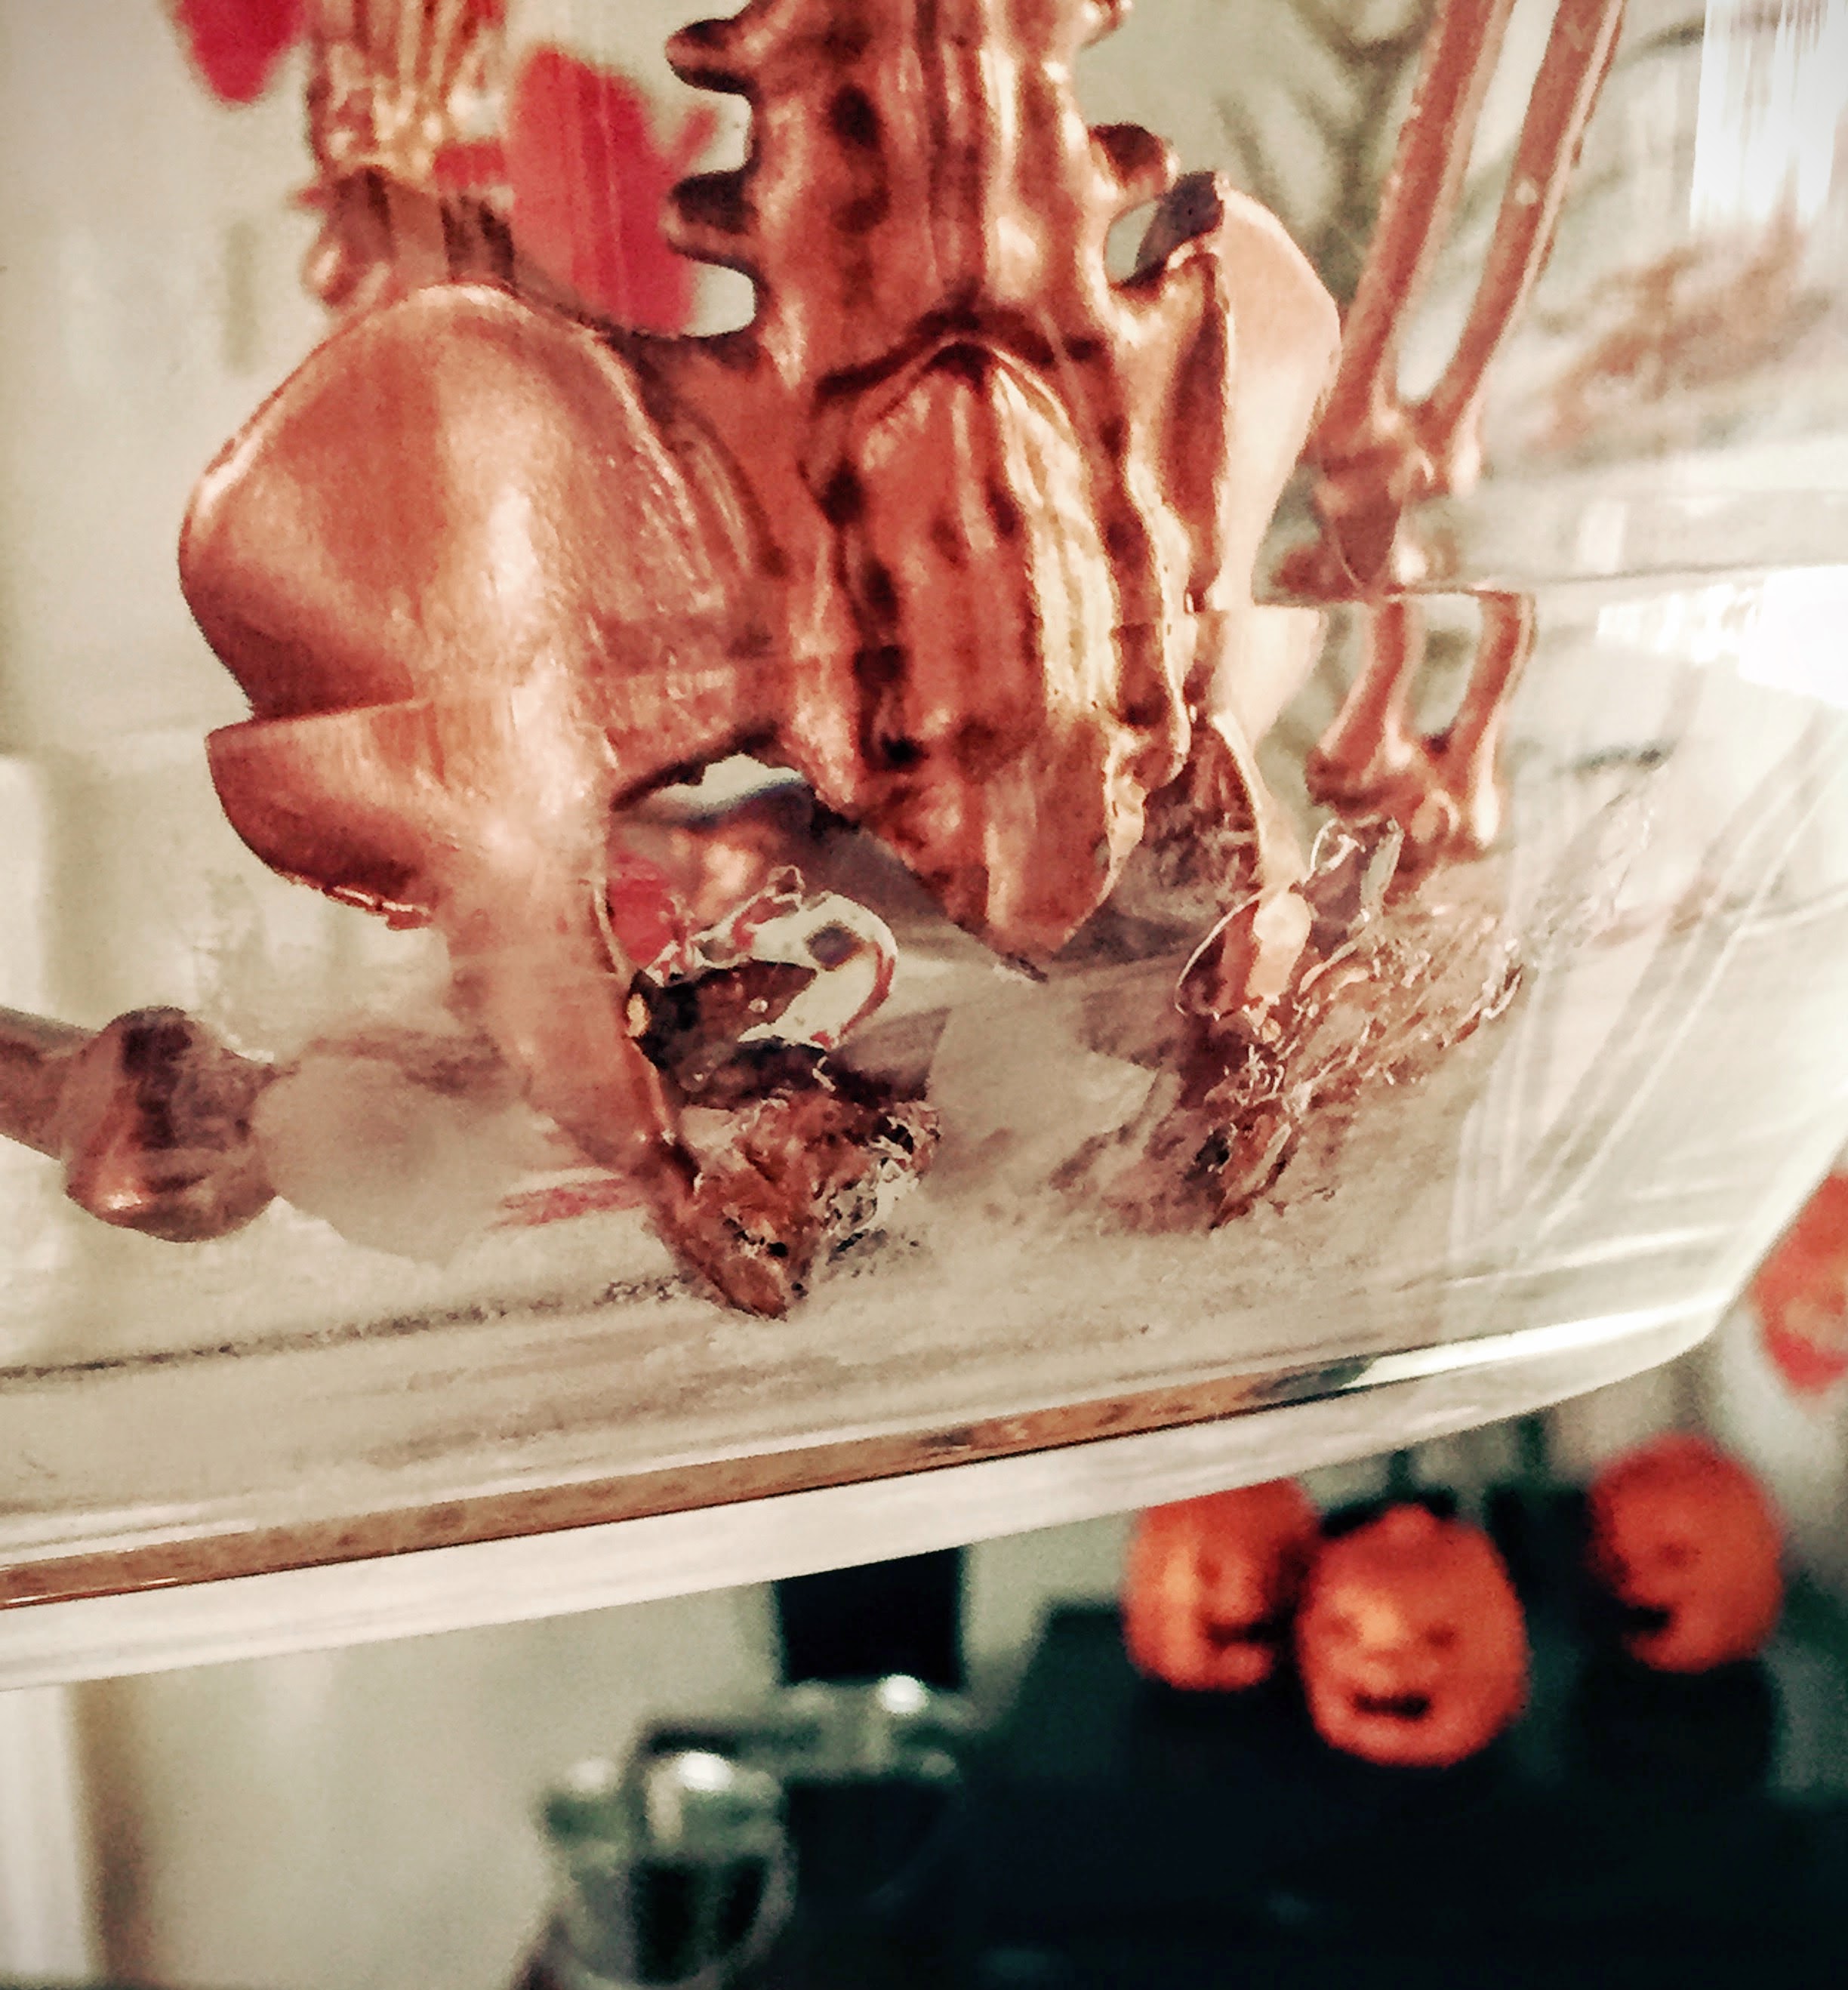
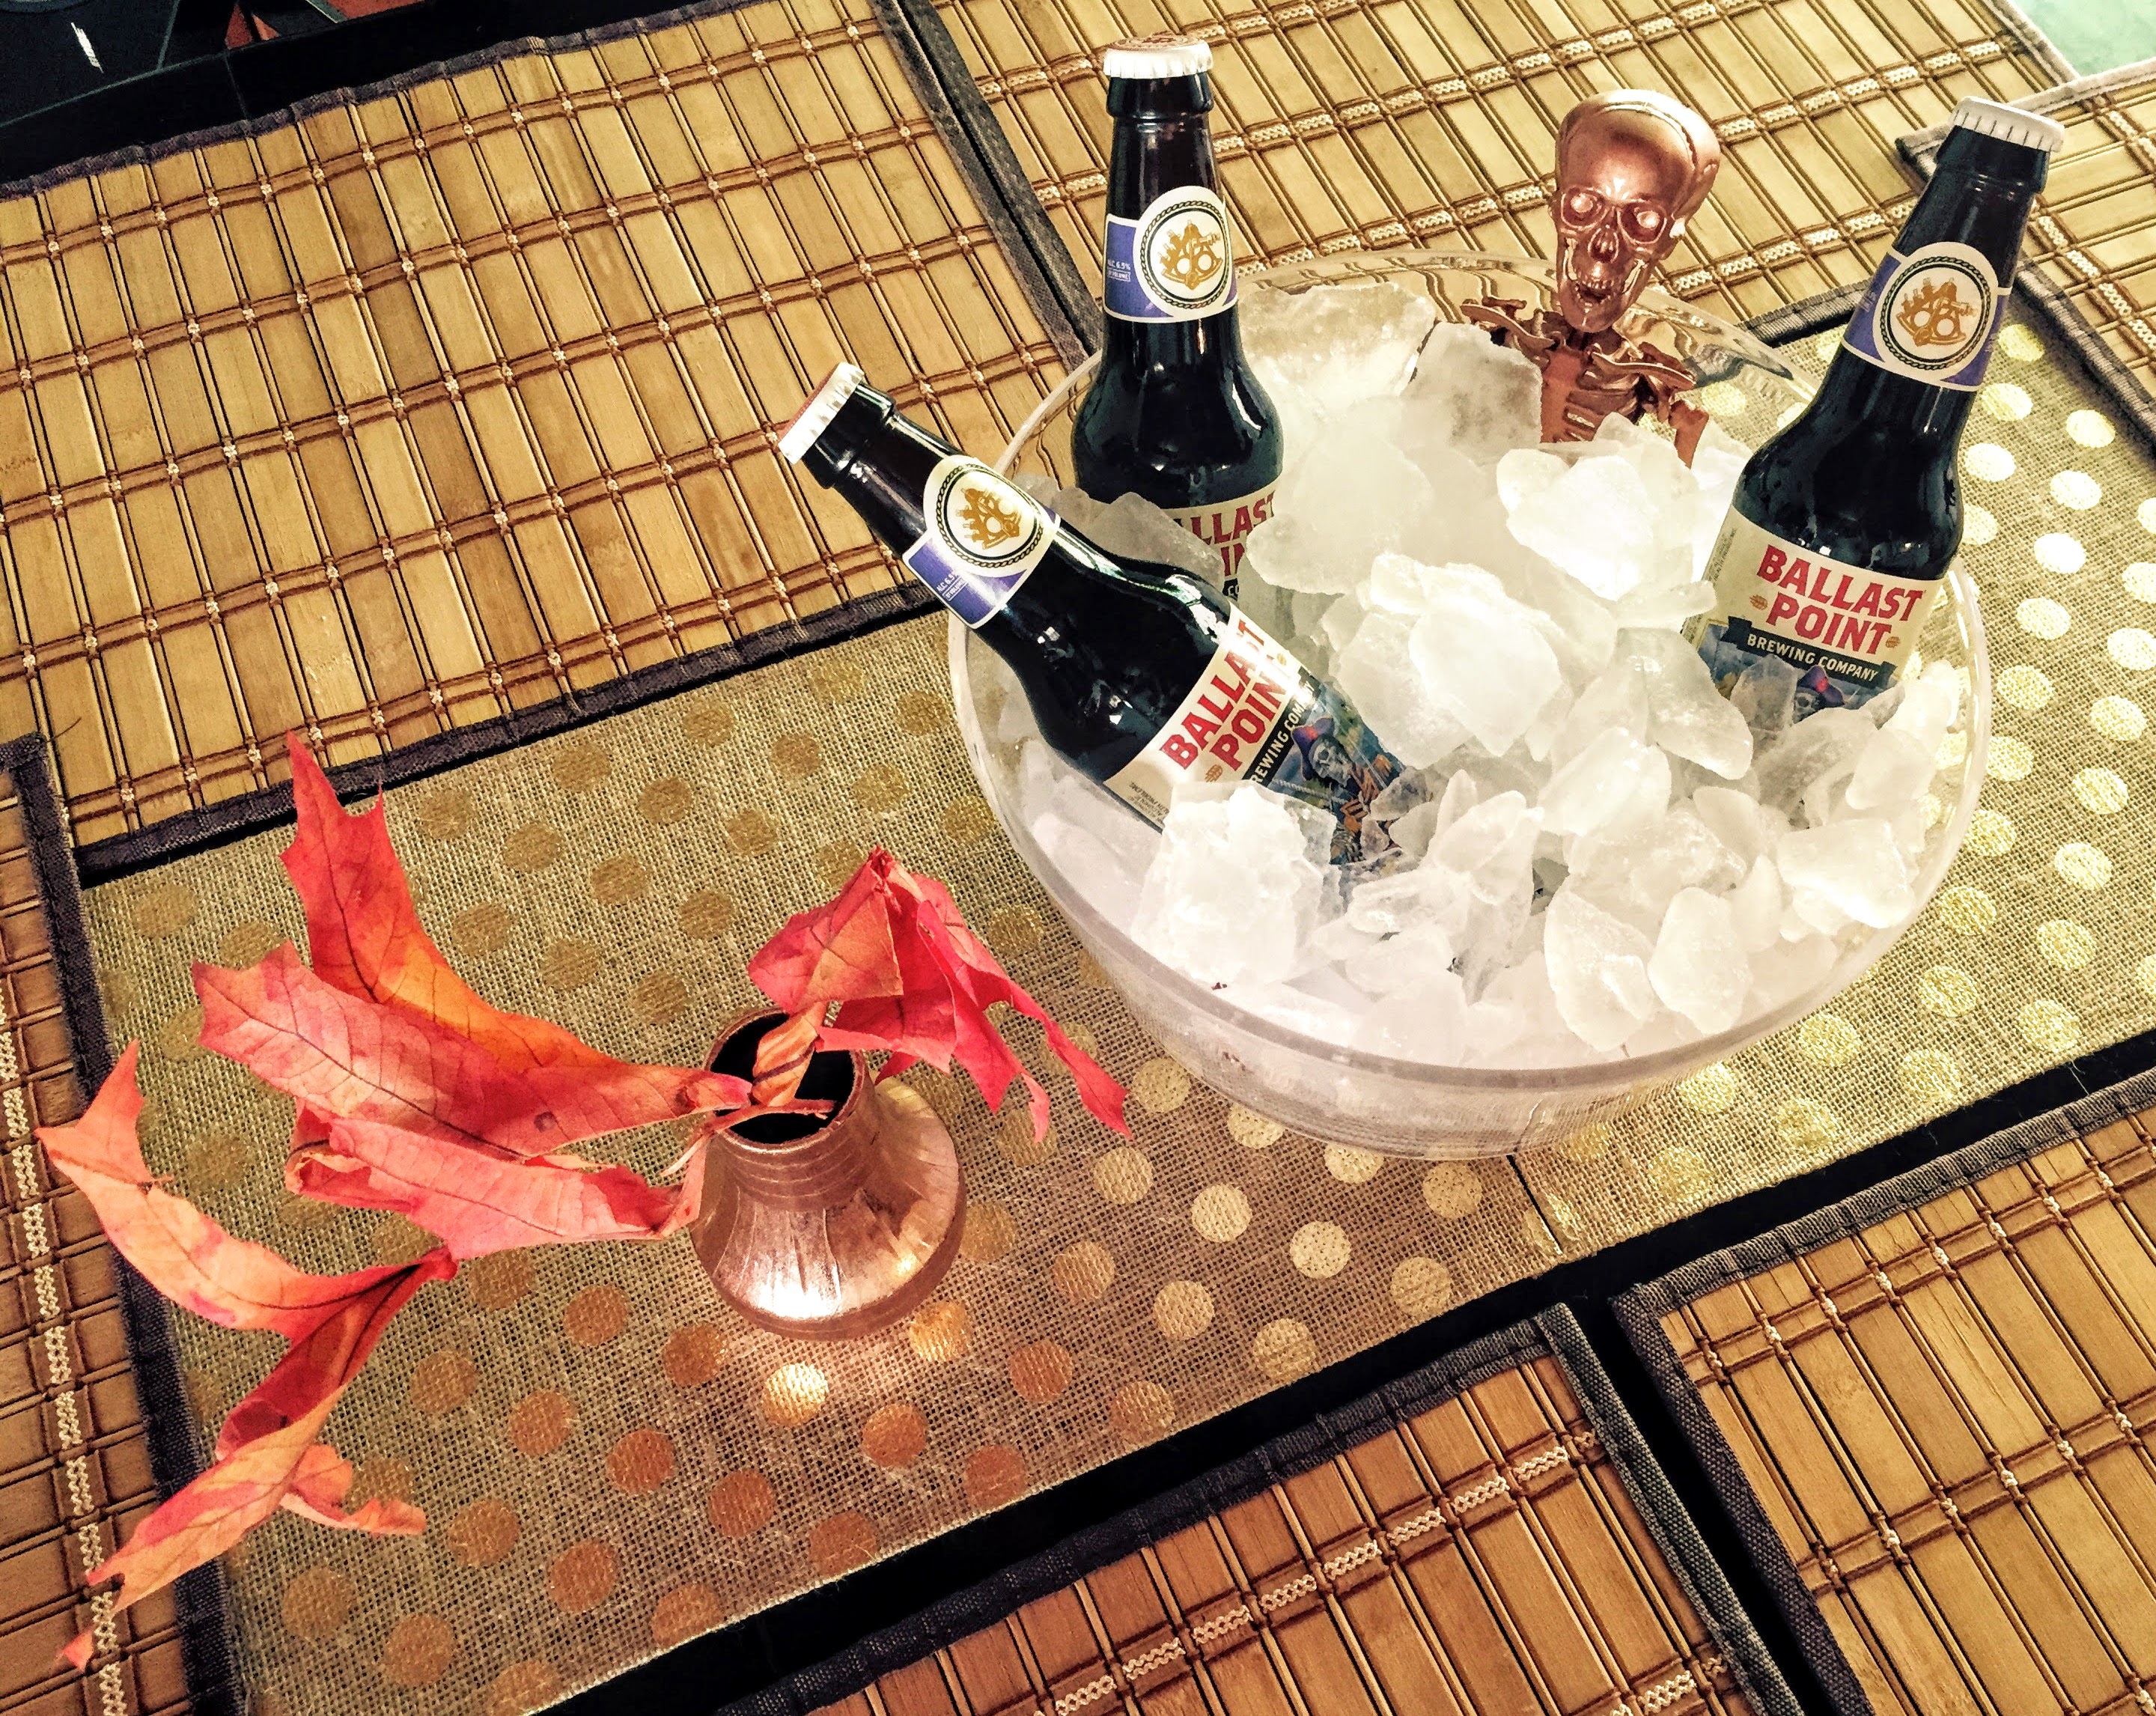
If you are a perfectionist (right here, guilty!), it’ll probably bug you a bit, but rest assured, that once you have the ice in the bucket, the flaws are much less apparent…
…and I love the way that you can see the spine from the back of the bucket (even if a bit of the glue does show through). It’s a cool effect.
Once you have the above parts glued down (you will have to hold them in place for a few minutes until the E6000 sets), you can start gluing your fingertips and heels. The skeleton’s arms will lay down by his sides, and the tips of a few of the fingers on each hand, will touch the bottom of the bucket, like so:
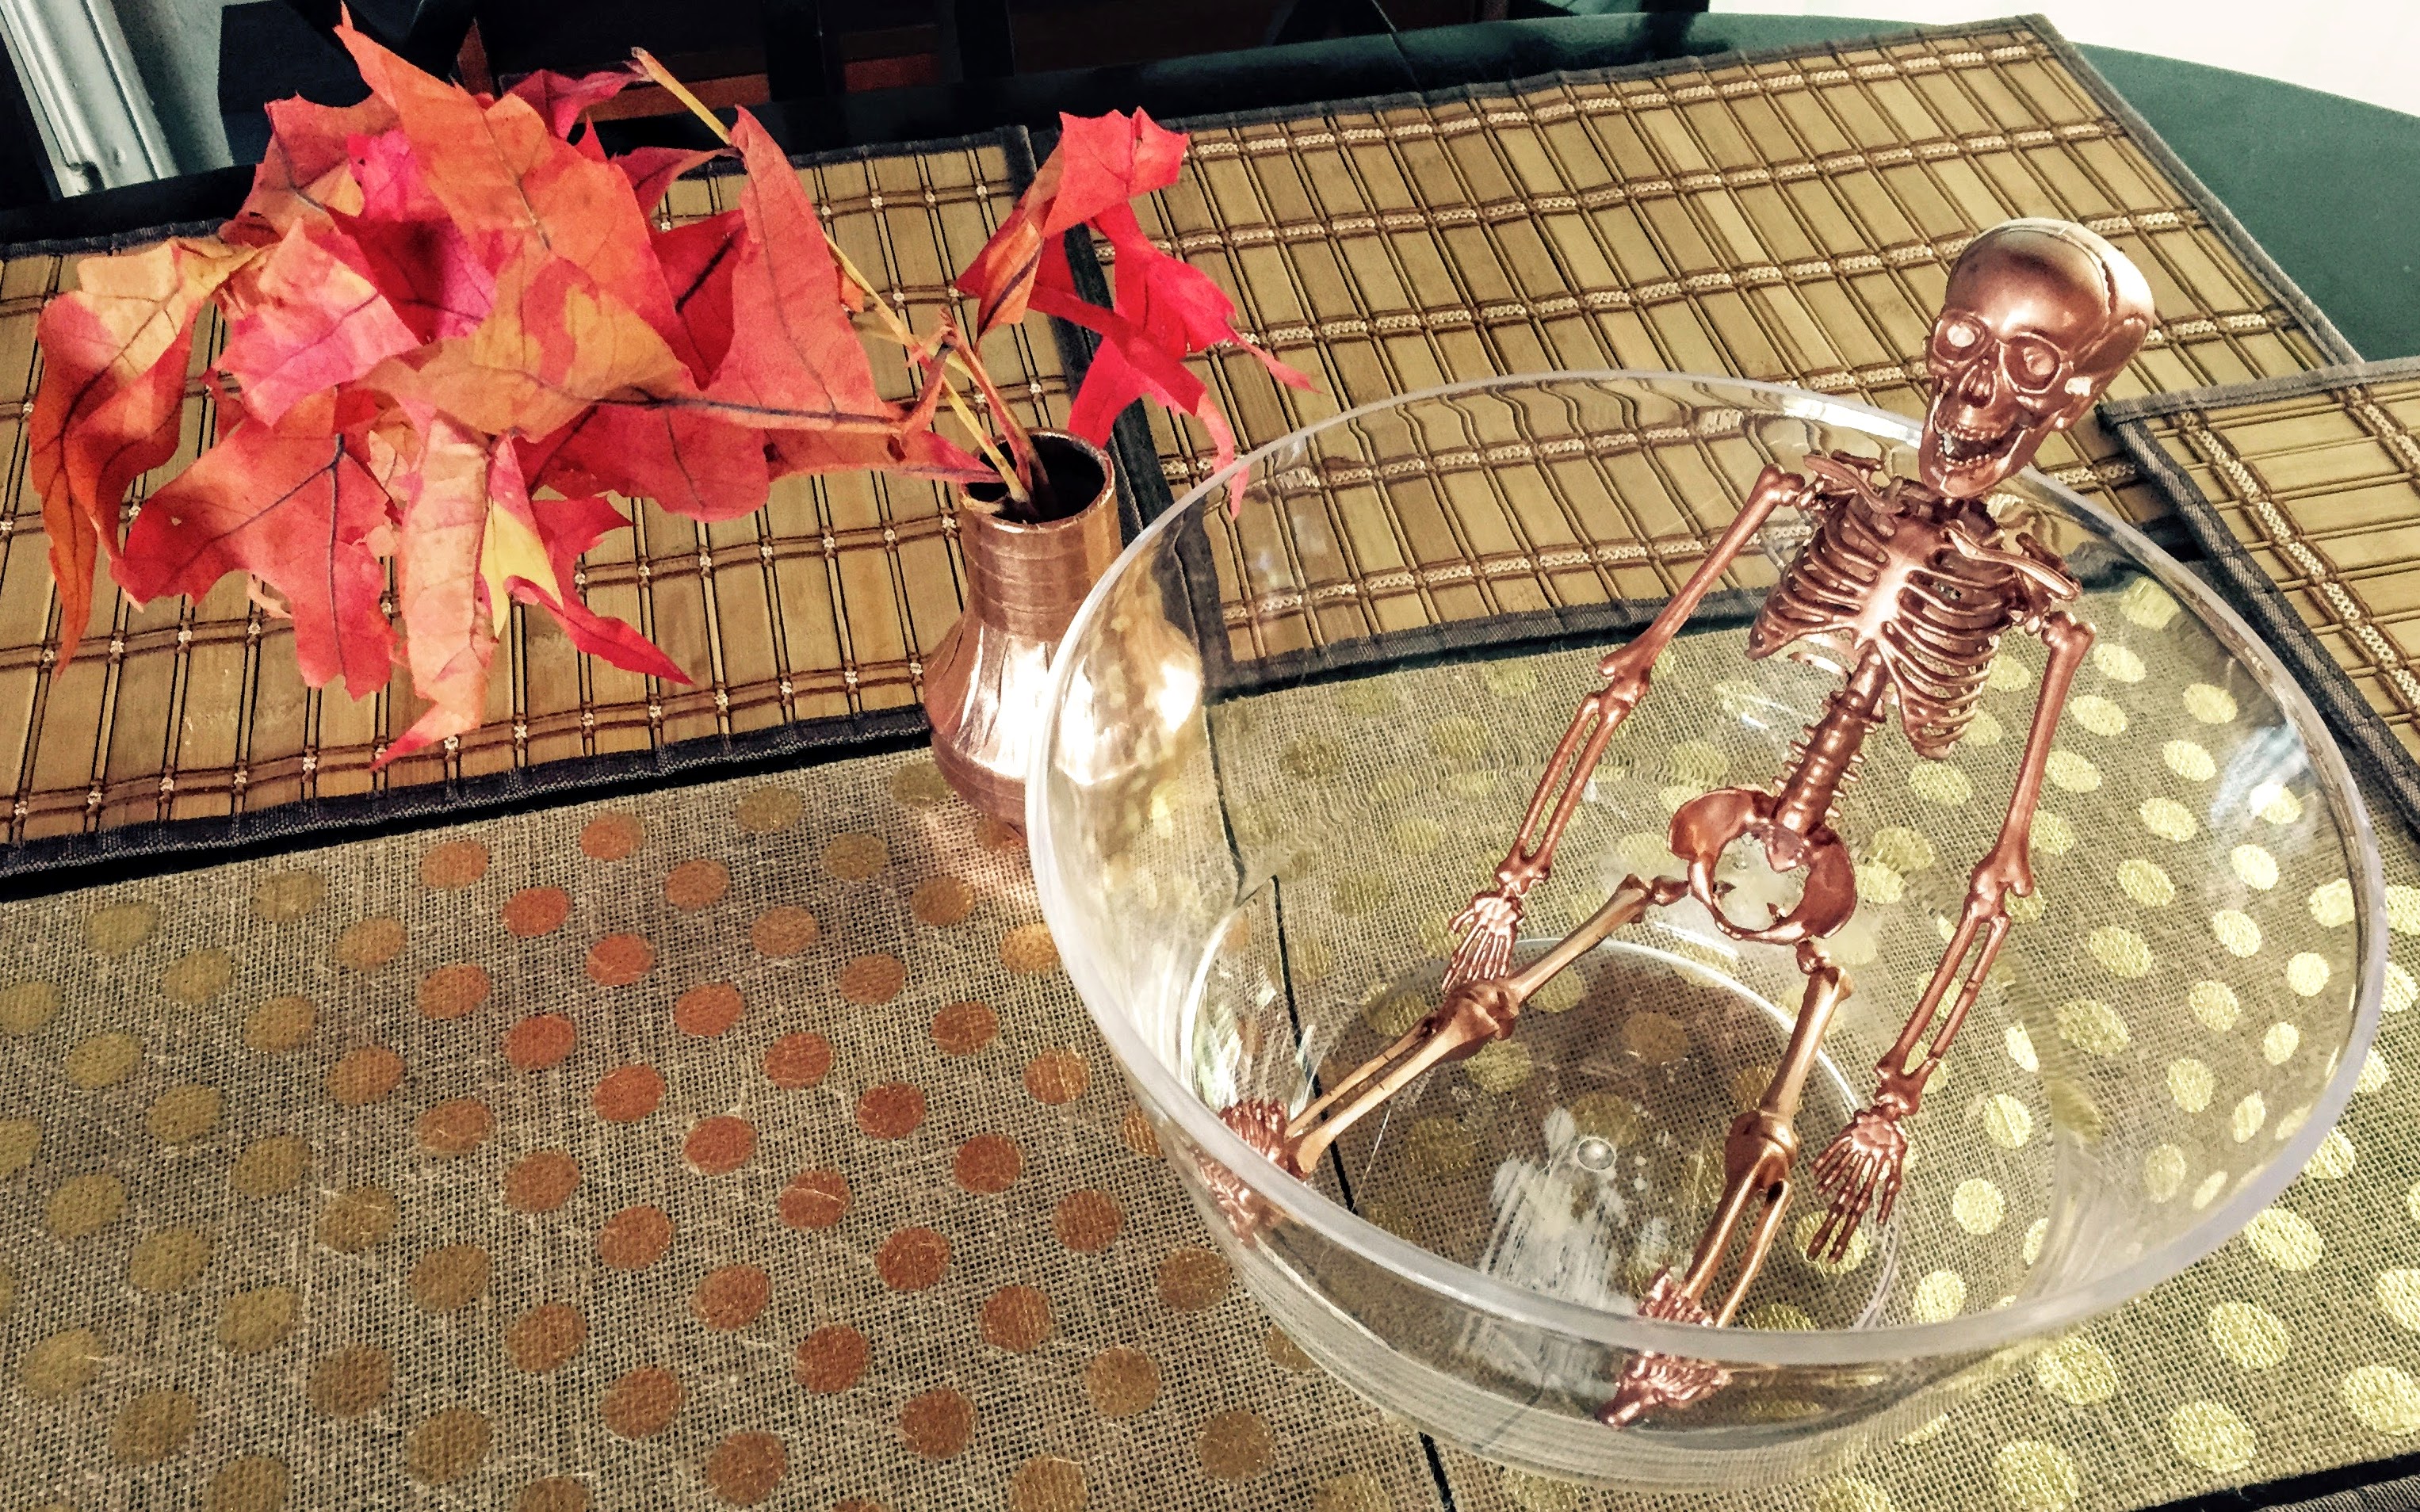
You can see in the image above, where the fingertips make contact with the bowl. Glue those down where they land.
Next, glue the heels into place where they land in the bucket:
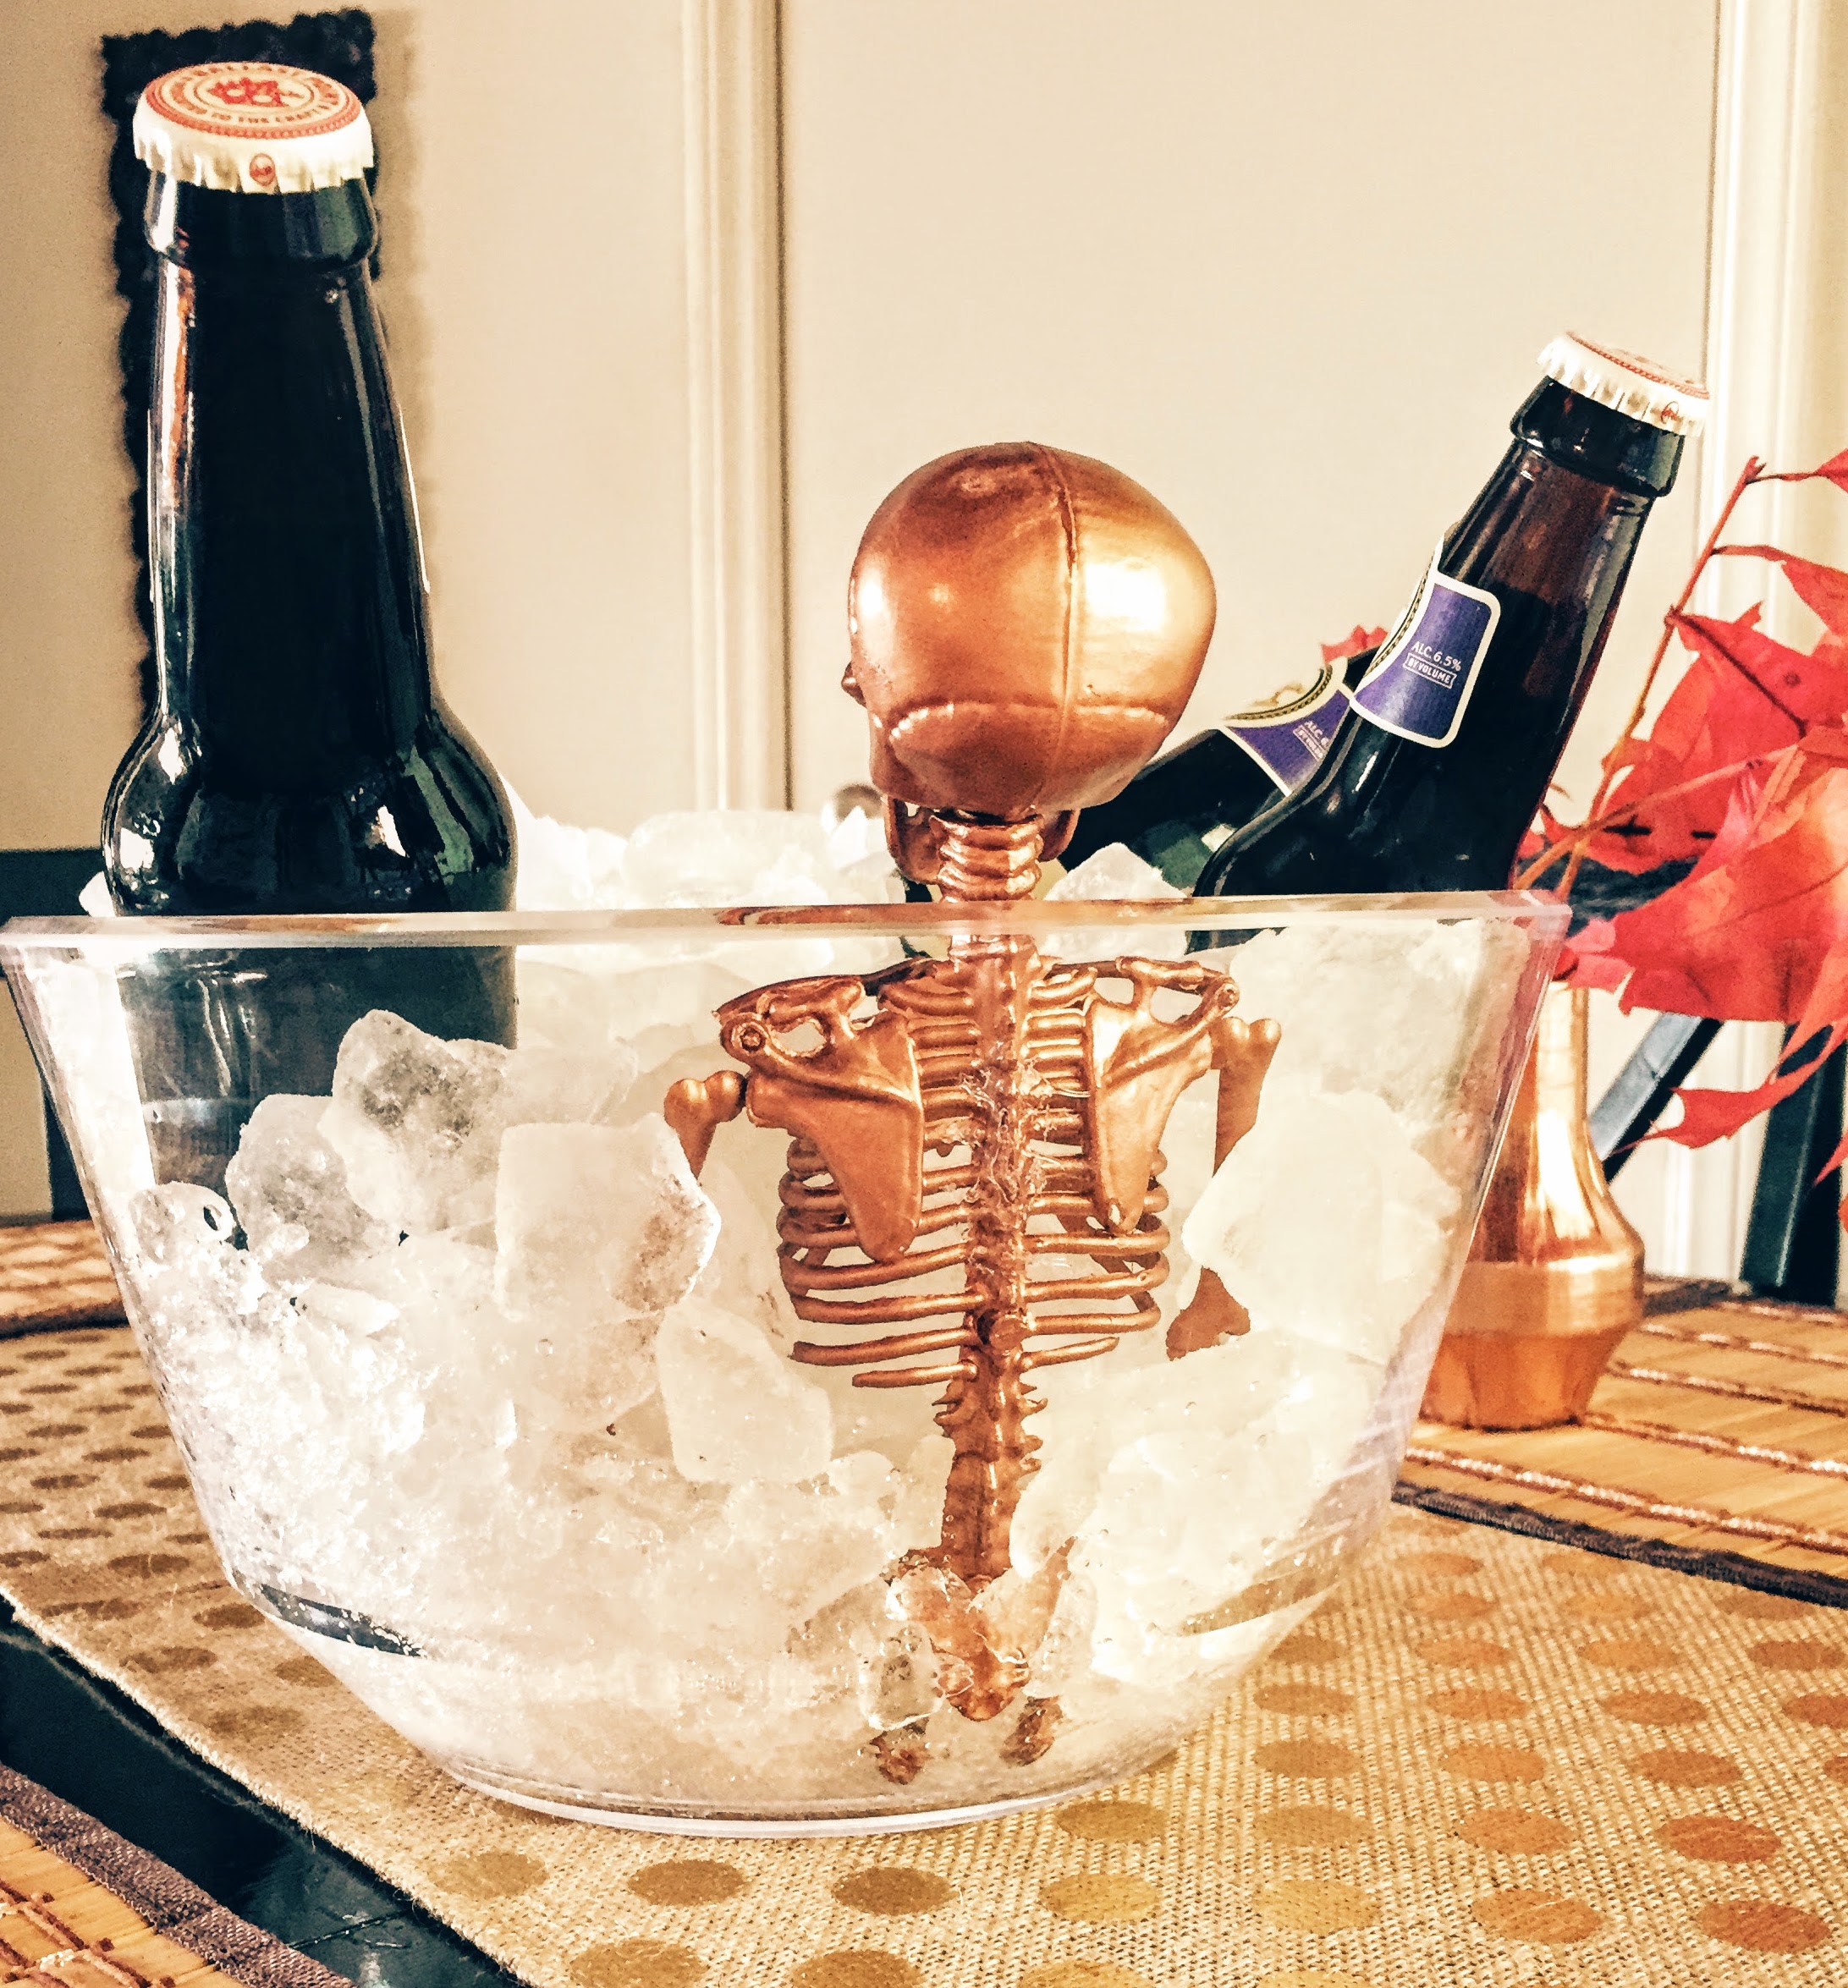
Once again, I really like that you can see the feet through the lucite. And once again, you will see some glue, but when the bucket is filled with ice, you’ll hardly even notice it!
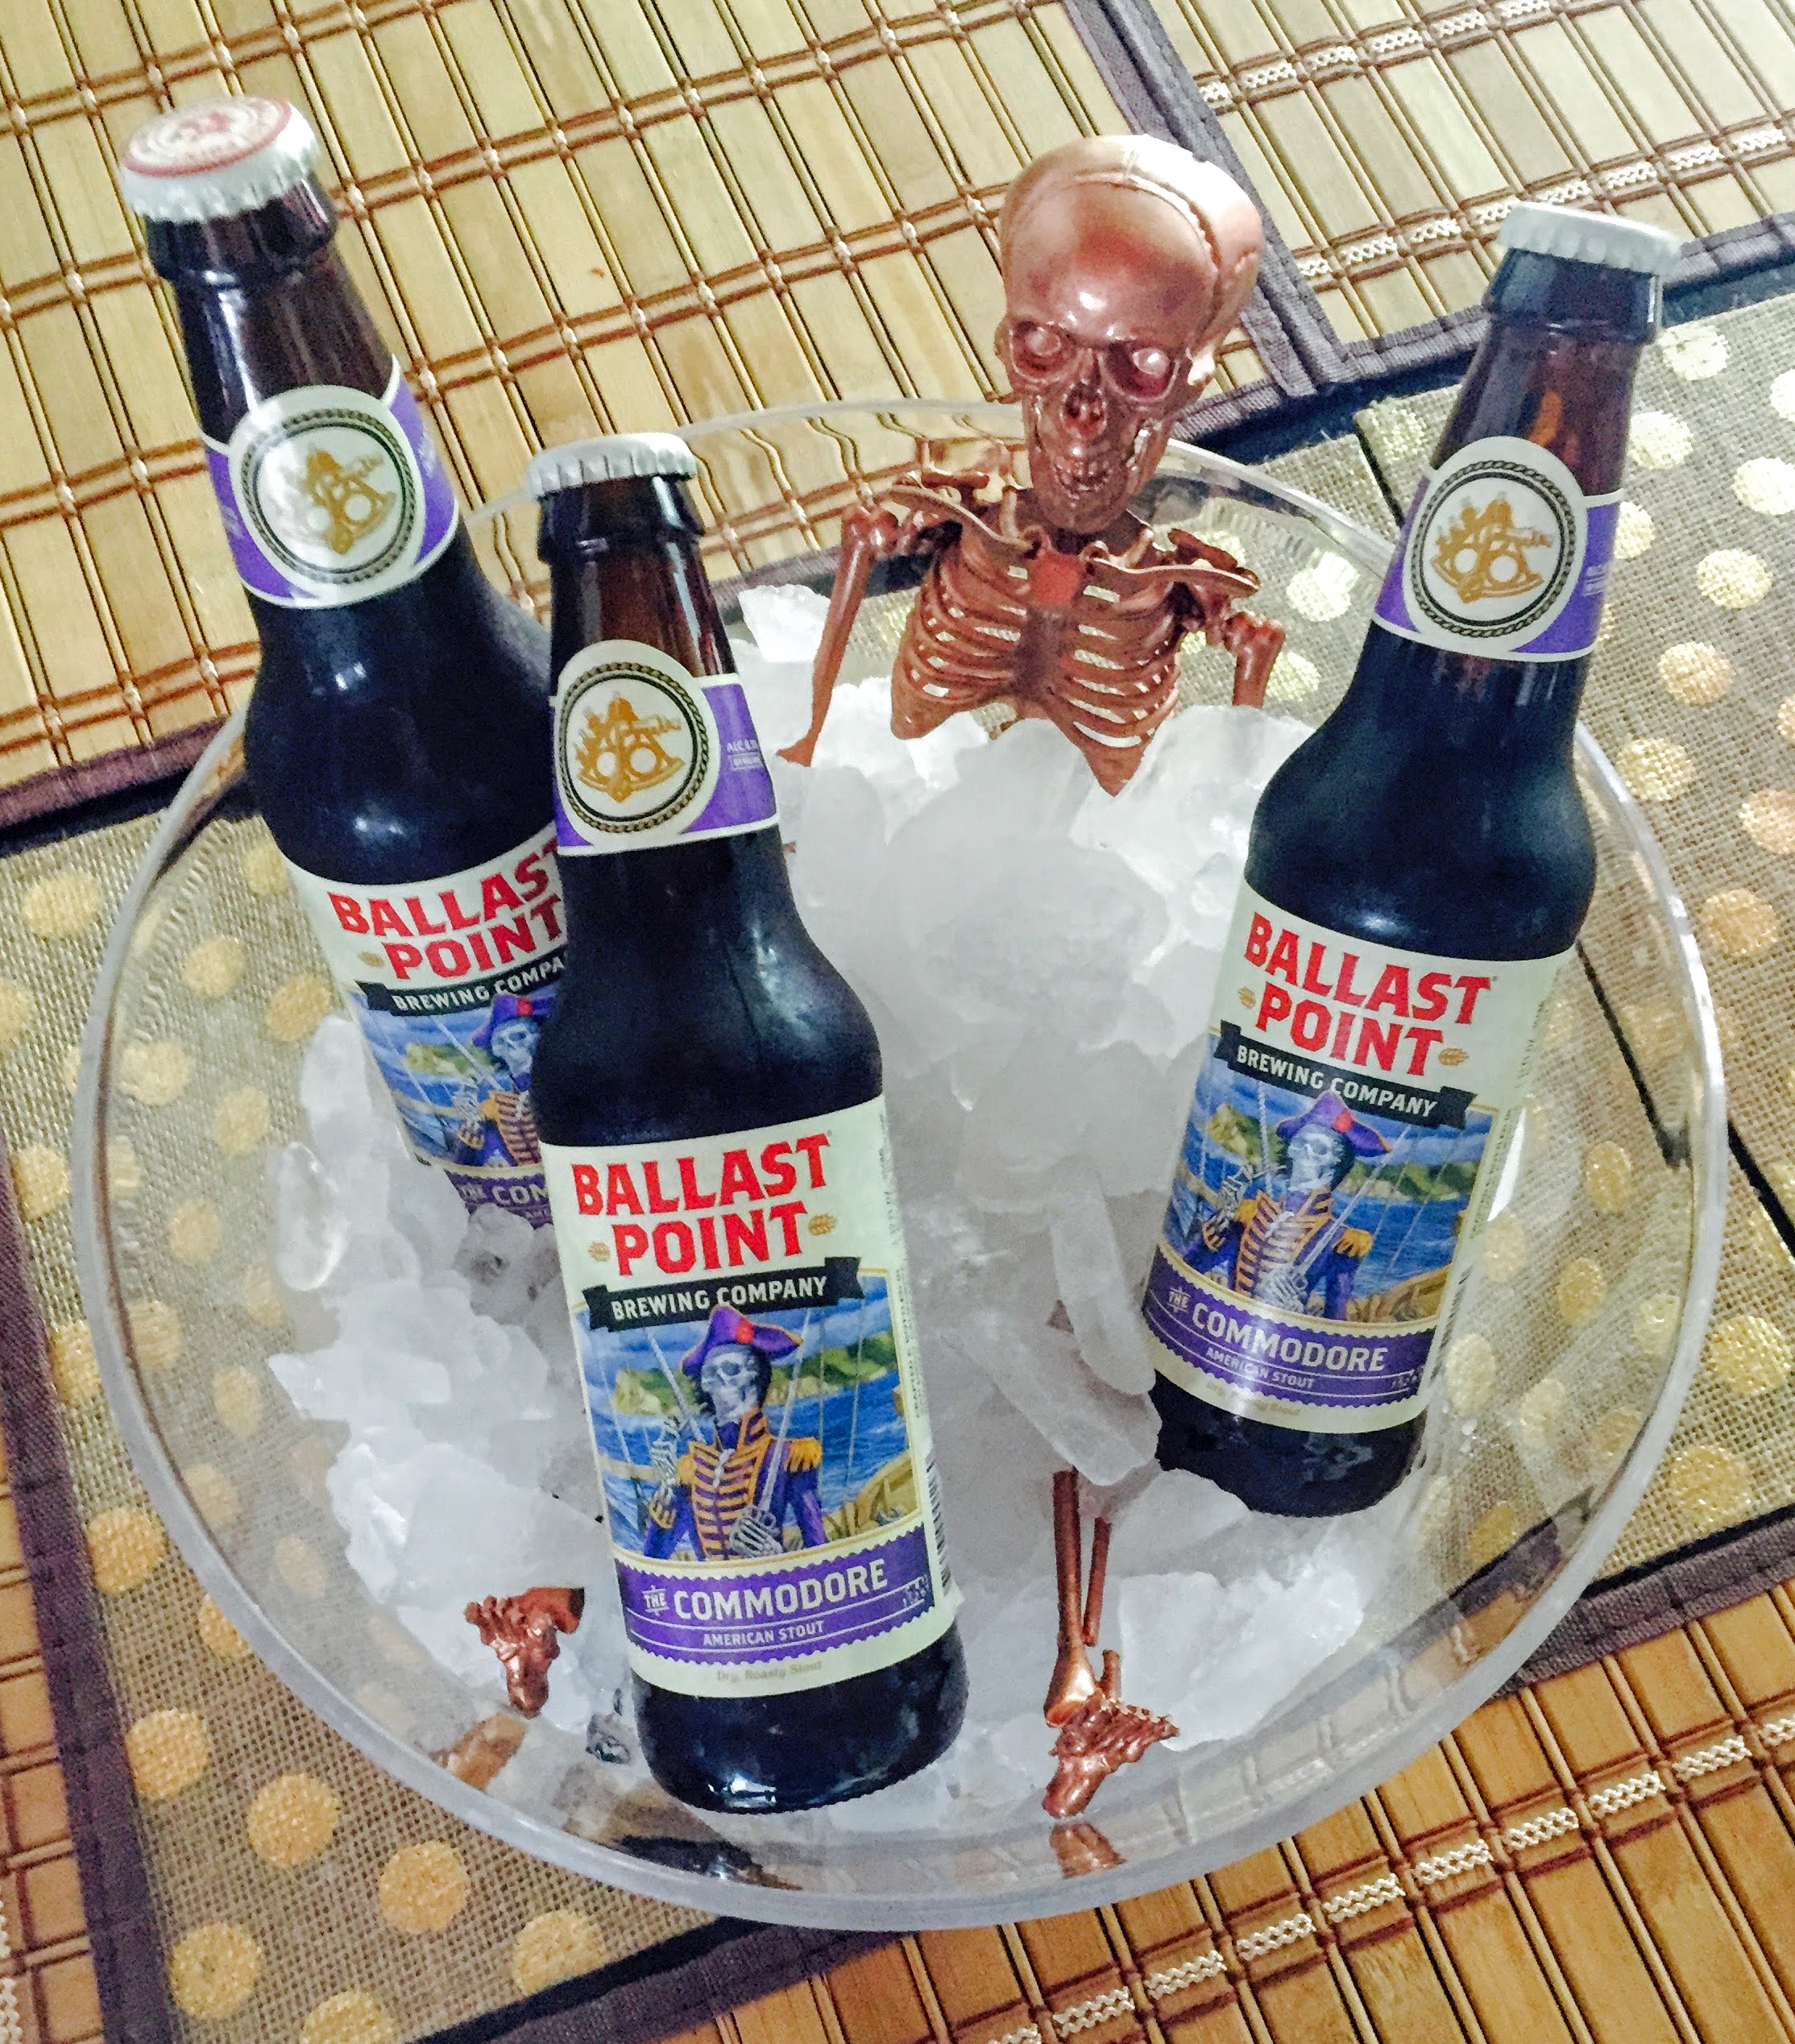
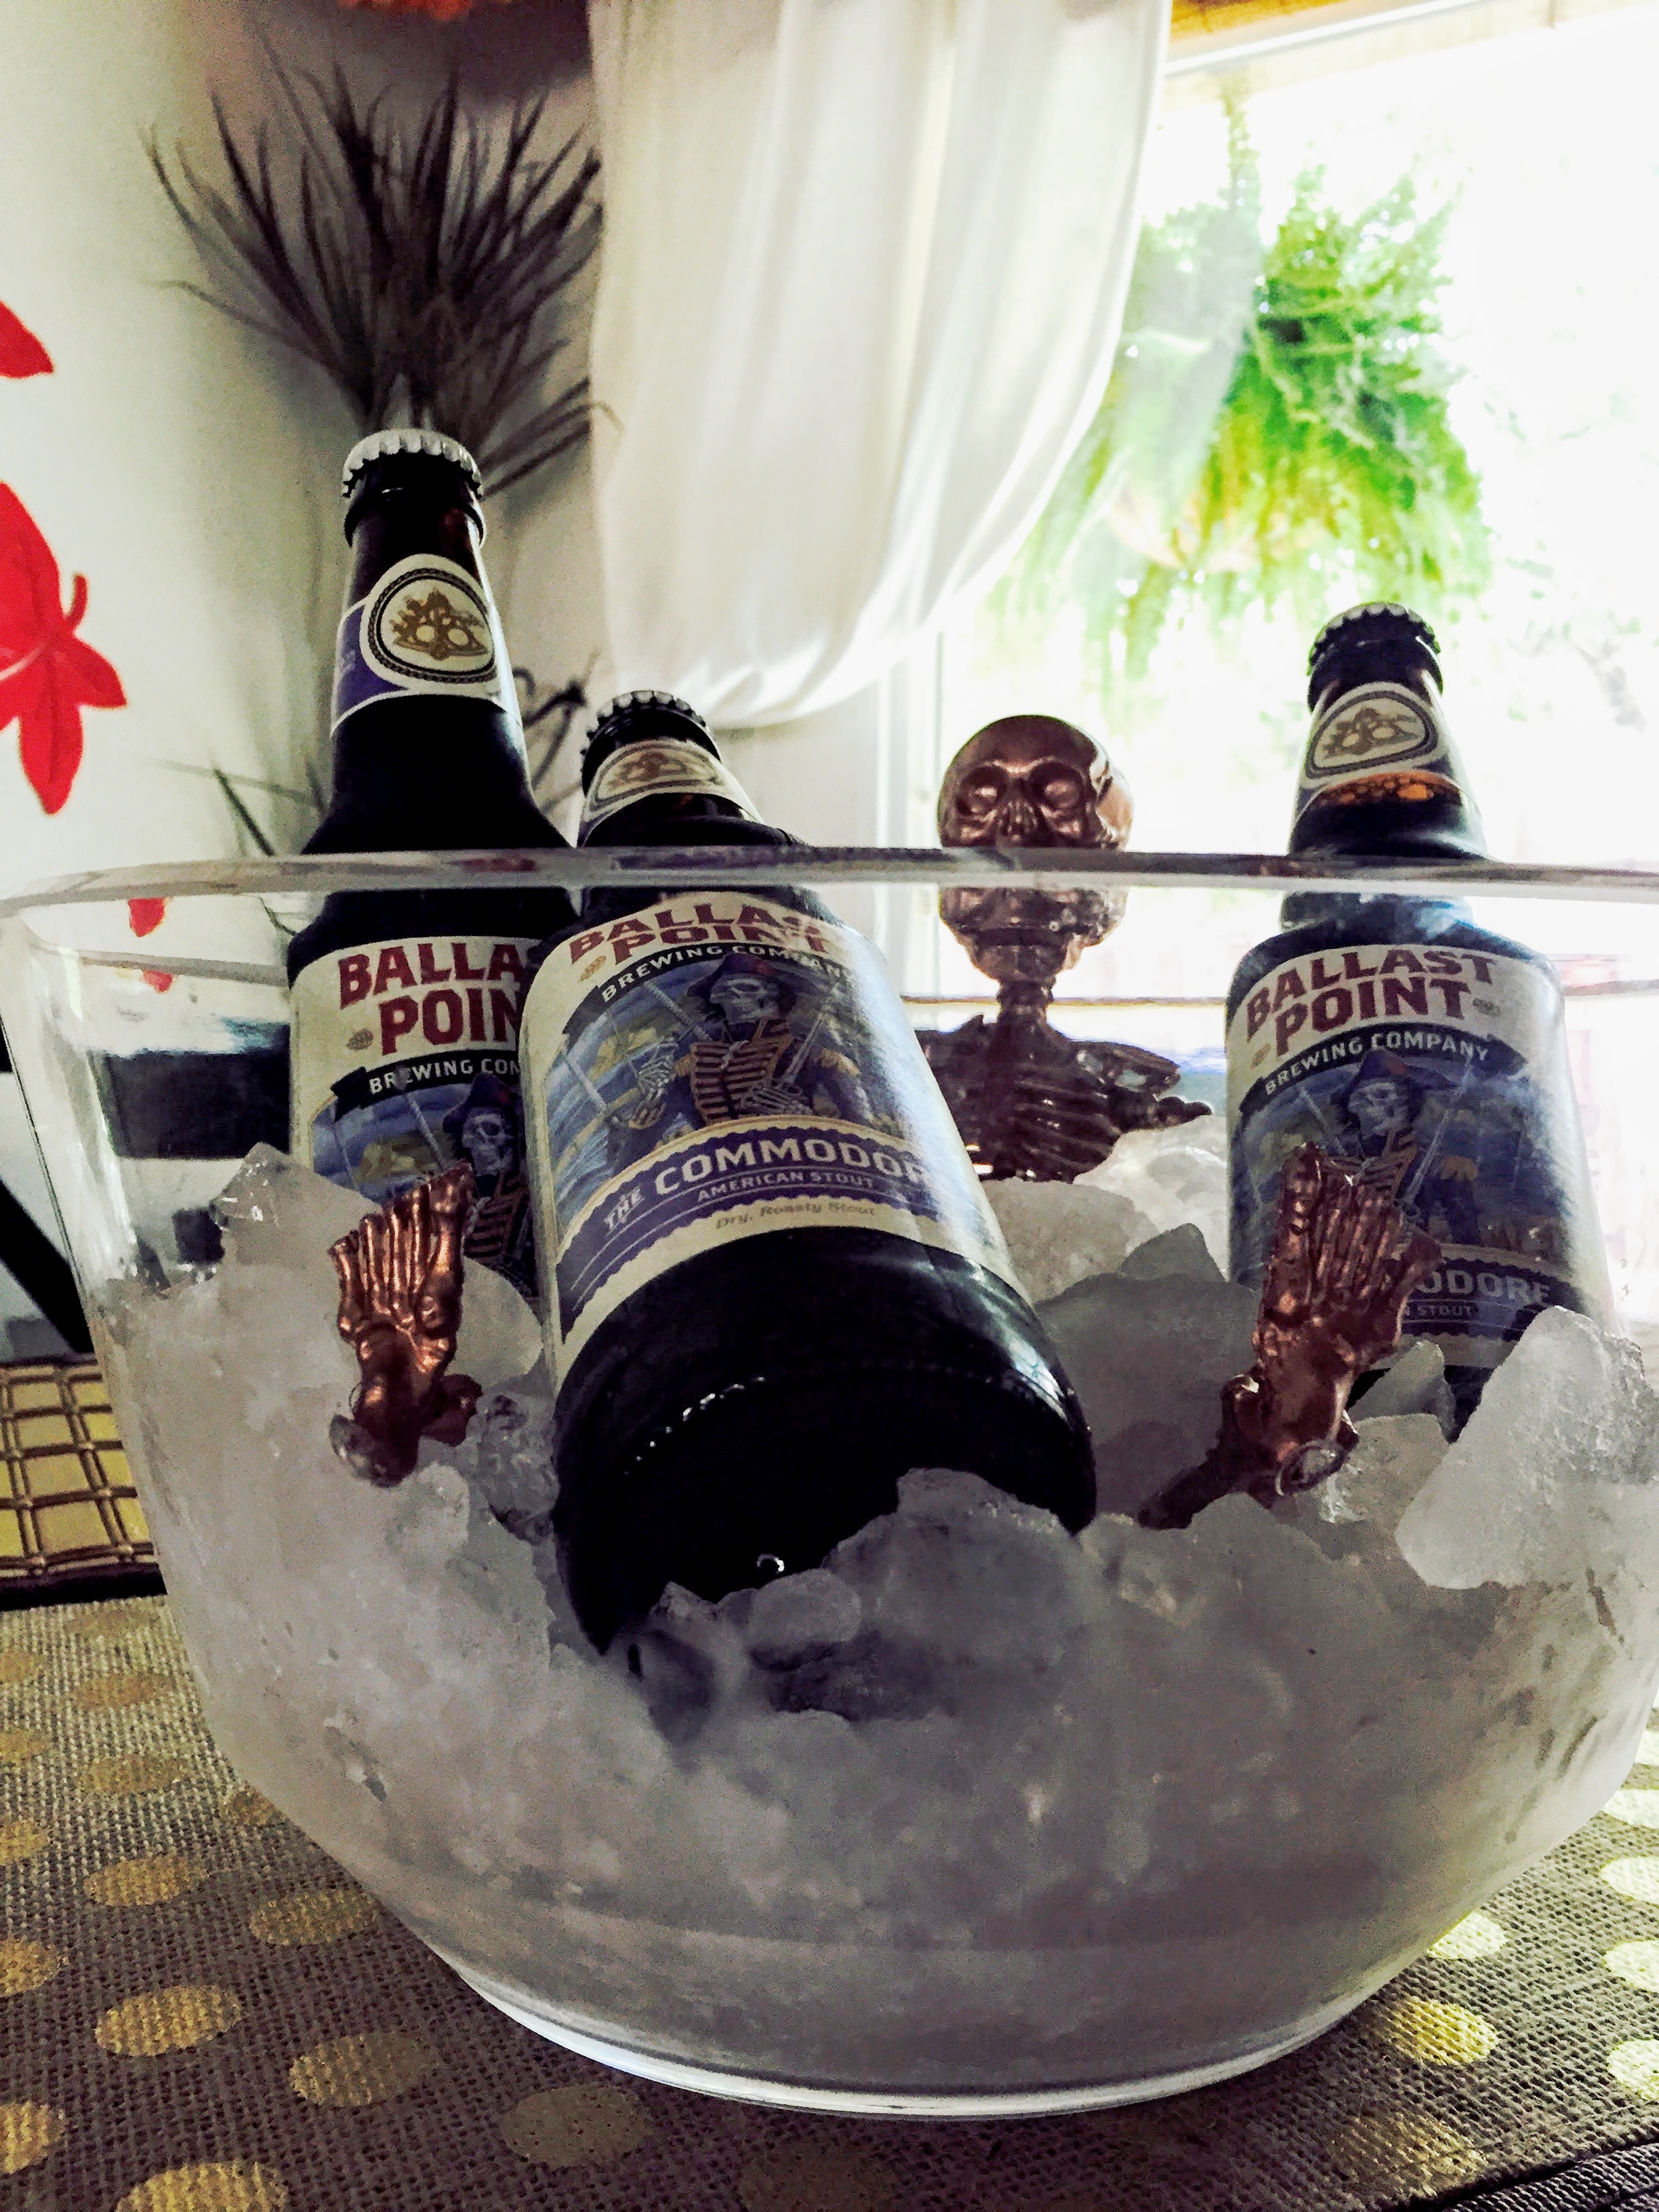
The E6000 will harden over time. 24 hours and you’re good to go, or if you’re me, 2 hrs will do! Did I mention that I’m impatient? The problem with being impatient, is that you may end up having to re-glue, but if you’re in a crunch, do what you need to do! You just may end up having to re-glue some fingertips or heels. You will notice that if you leave it for 48 hours, it really hardens and secures. So, when you’re glue has dried and hardened, it’s time to fill your bucket with ice and drinks, and get the party started! Cheers and Happy Halloween!!!

Follow me down to my next post to learn how to make these Spooky Skeleton Serving Spoons…
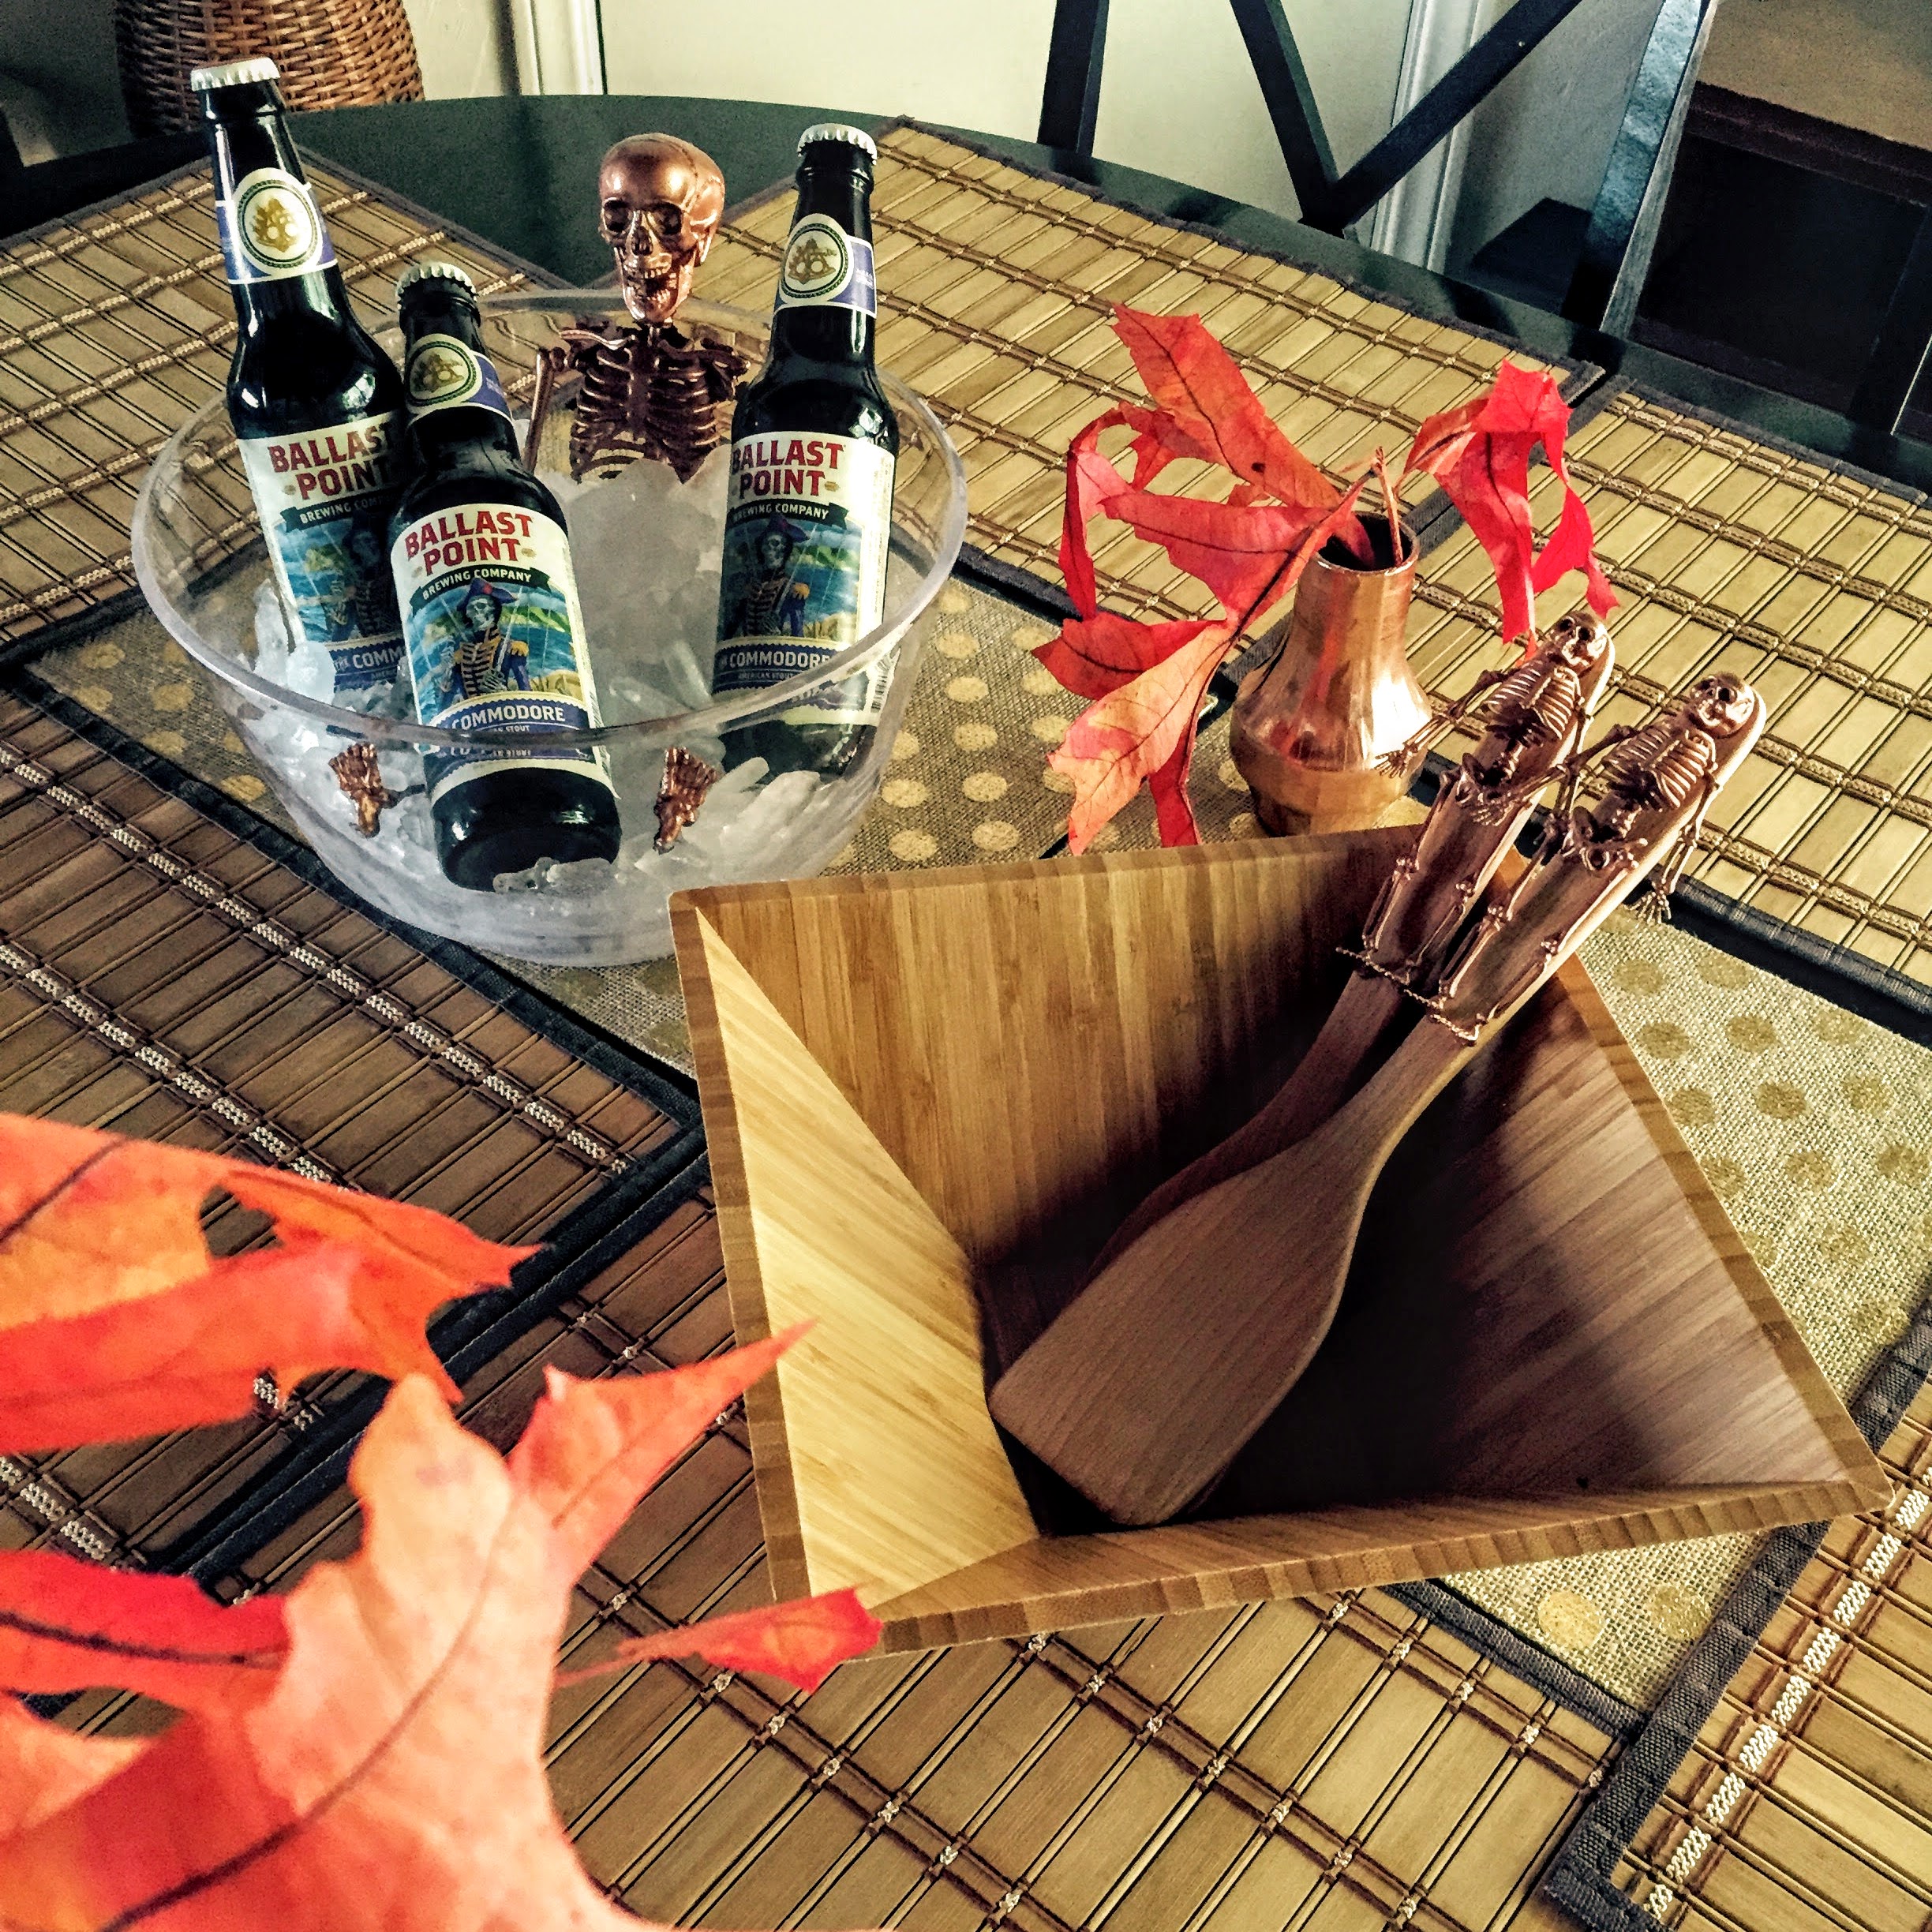
and complete my Halloween DIY Skeleton Series!
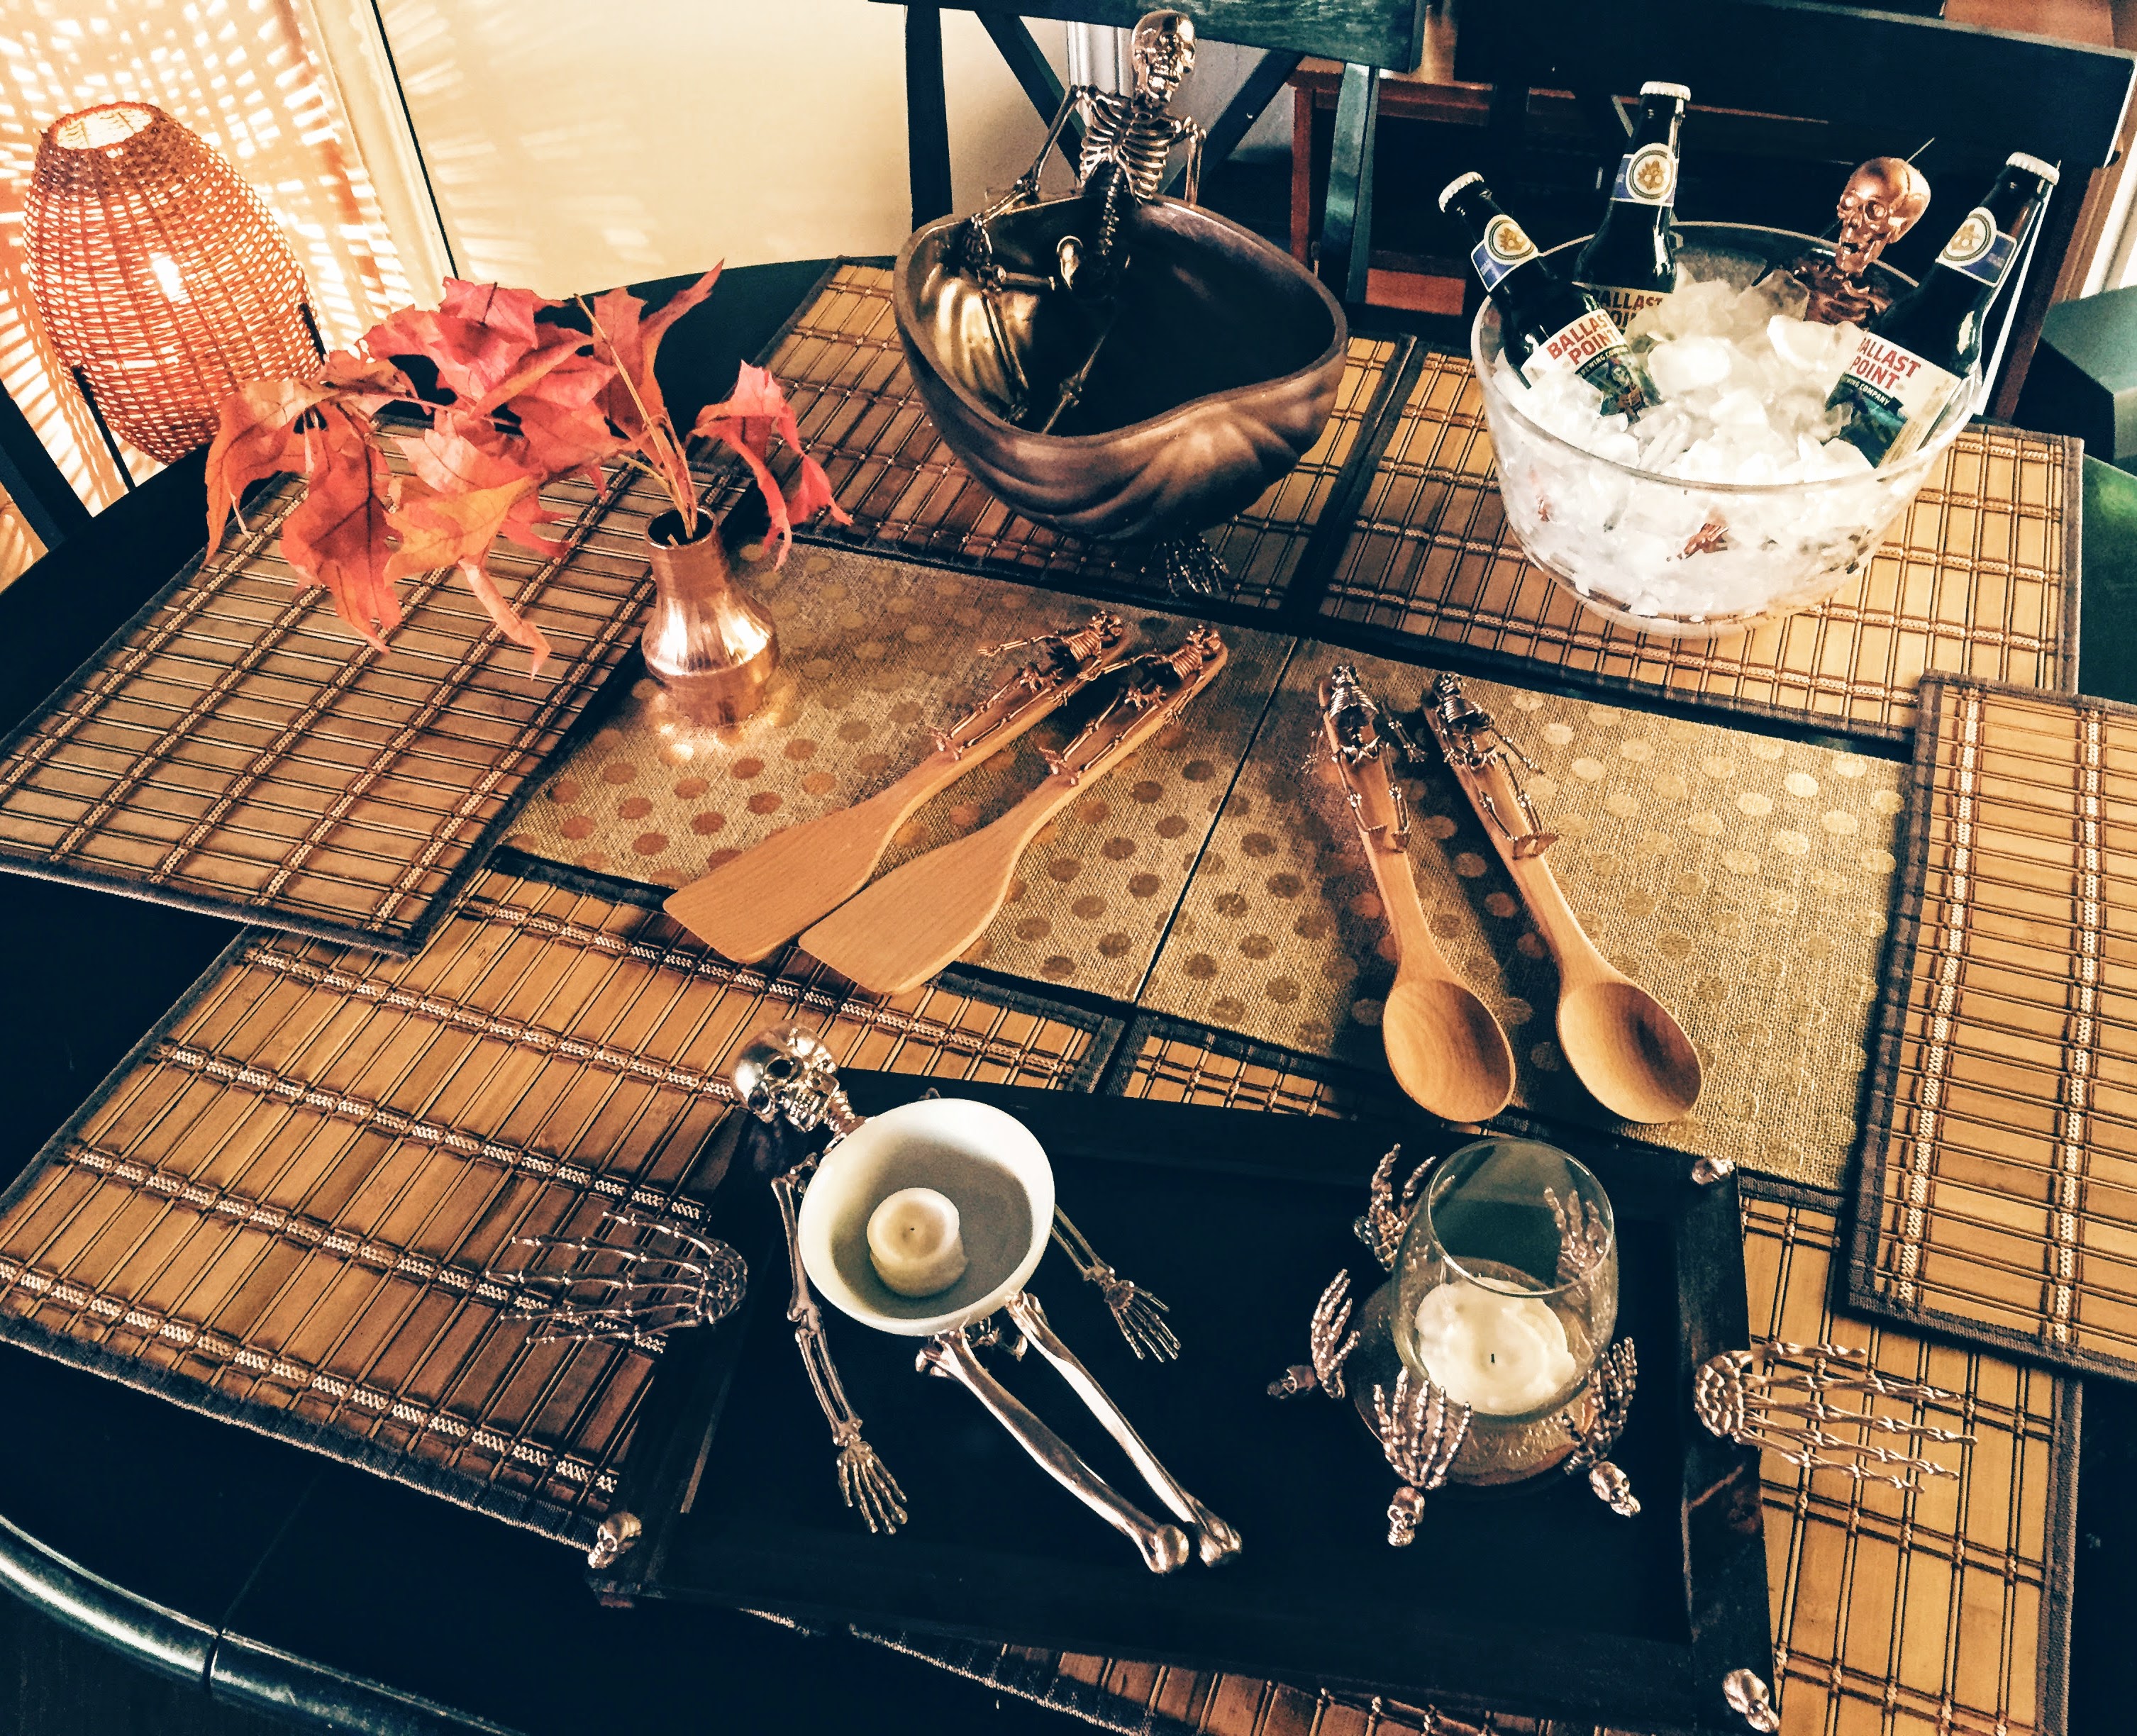
If you would like to make the first Ship of Fools Party Bucket, click here, for the Skeletons in the Closet Serving Tray, click here, and for the Spooky Skeleton Serving Spoons, click here. Please send me pictures if you make any or all of the Skeleton Series. I would love to see your creations!
Thanks for spending time here, at The Craine’s Nest!
Happy Nesting.
Kirstie xo