
Welcome to the Craine’s Nest!
Spring is here! It’s fresh, it’s clean, and even in Sunny San Diego, where it’s beautiful all year round, Spring feels different. There’s no sign yet, of Summer’s hazy gray smog or 95 degree days. Spring is blue skies and a relaxing breeze. It’s comfort and renewal.
So, to celebrate flowers, green grass, and a breath of fresh air, here are some unique and adorable DIY Nest Egg Planters… and just in time for Easter!
These little guys are really easy to make, with the one challenge being, that they’re VERY delicate. I’ve broken a couple by dropping them, but if you’re gentle and patient (and work over a soft surface), they’re fun to create… and SO beautiful when they’re finished!

Here is what you will need:
- Eggs
- 24K Spray for the inside and edge of the egg.
- Spray paint of any color for the exterior of the egg.
- Tiny paint brushes for painting the edge of the egg.
- Acetone polish remover. Target.
- TP, Paper towels, Q-tips
- Vinyl Gloves. Target.
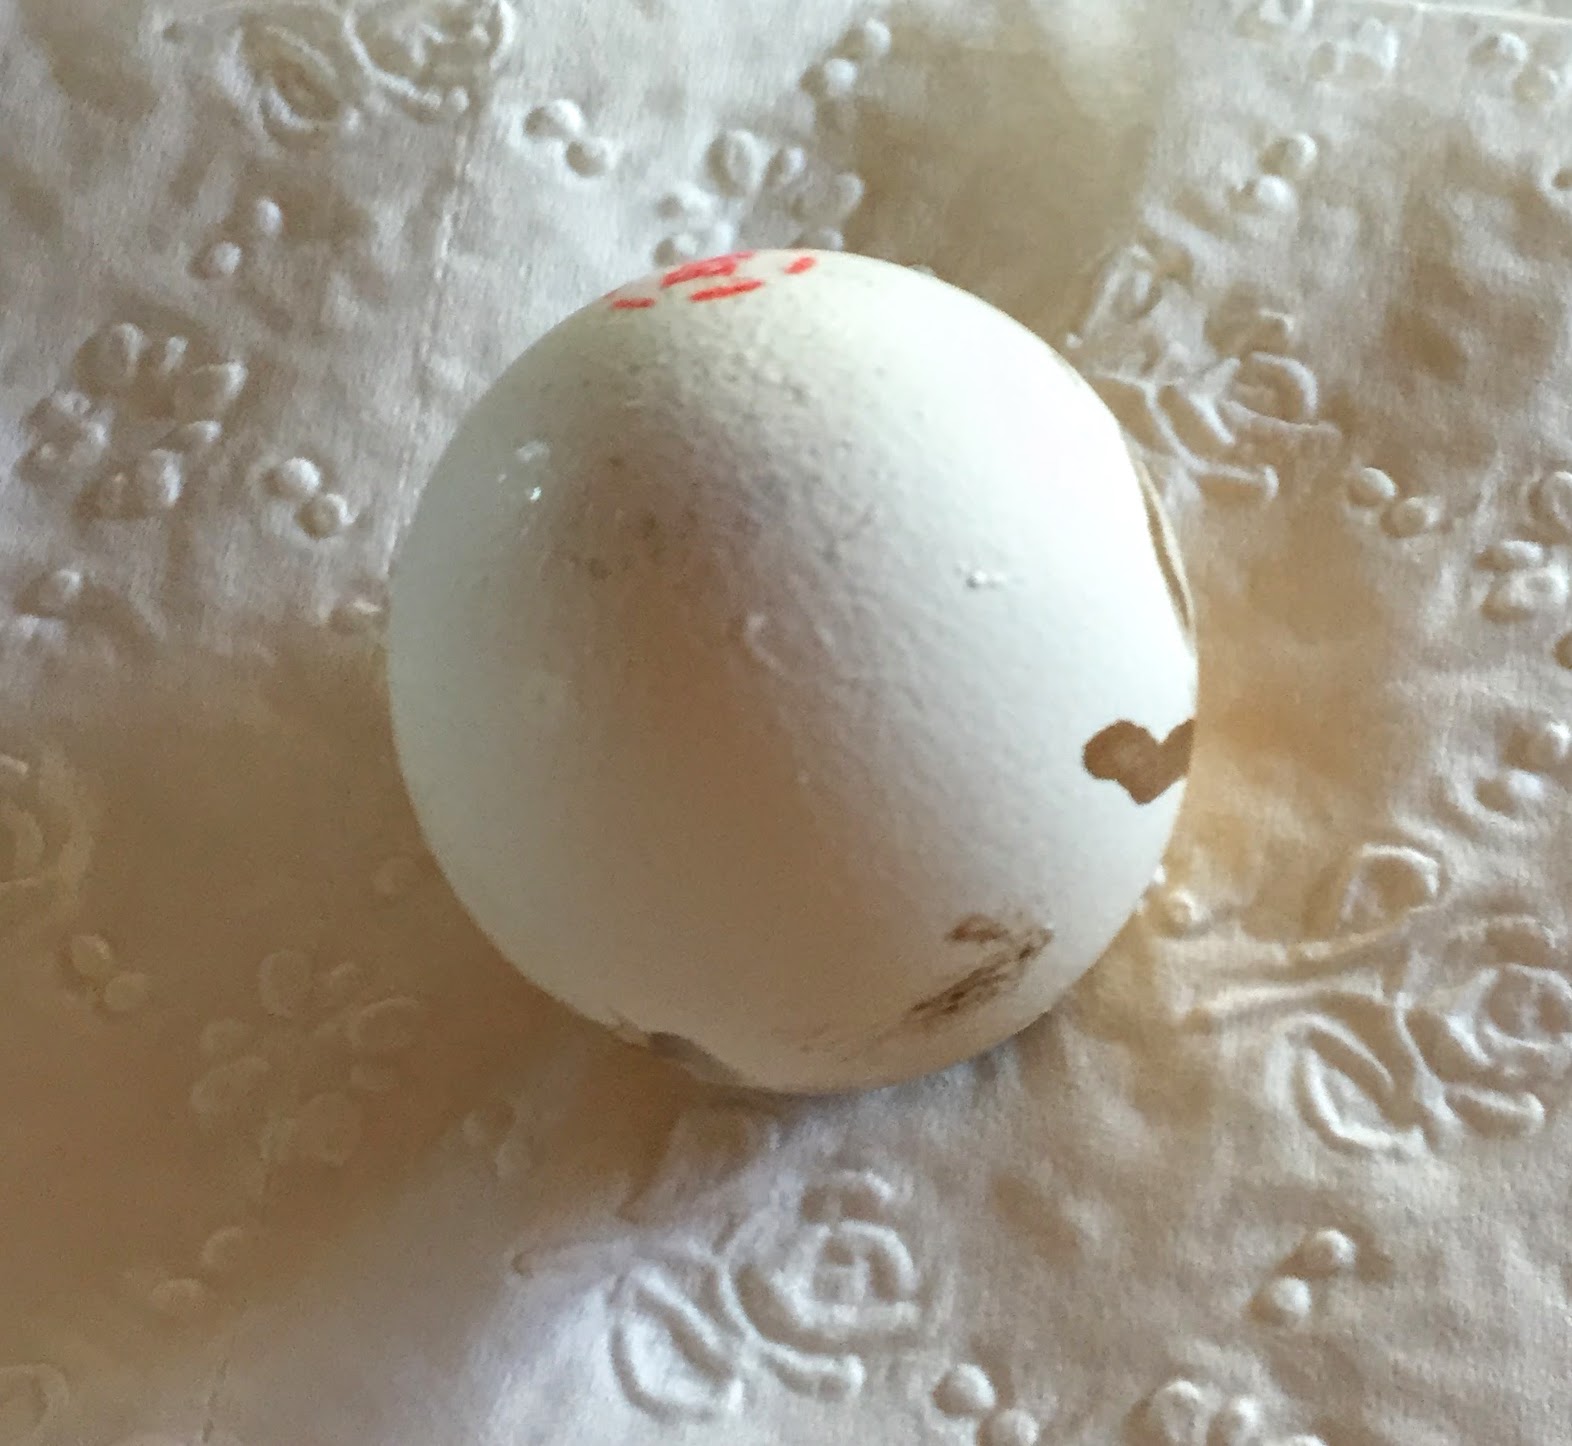
Let’s get started! The first thing you will do, is to take a small spoon and crack around the top of an egg, like so:

Try to remove as much from the top of the shell, as you see in the image above (more or less). After you’ve painted it, you’ll have to take more off the edge, so don’t remove too much, initially. The opening does have to be large enough to spray inside, however. Now… cook the egg and eat it!
Next, rinse out the shell. Attempt to remove as much of the gooey film on the inside, as you can. Delicately, put your finger inside the shell, and pull it out (after you’ve rinsed it). You have to walk a fine line, because if you take too much, it may leave the shell so delicate, that it becomes unusable. Just remove what easily comes out, and know that you can always remove more, after you’ve painted and dried it. Now, put the shell upside down on a paper towel to dry. It will probably take a few hours (I usually do a bunch of eggs at once).
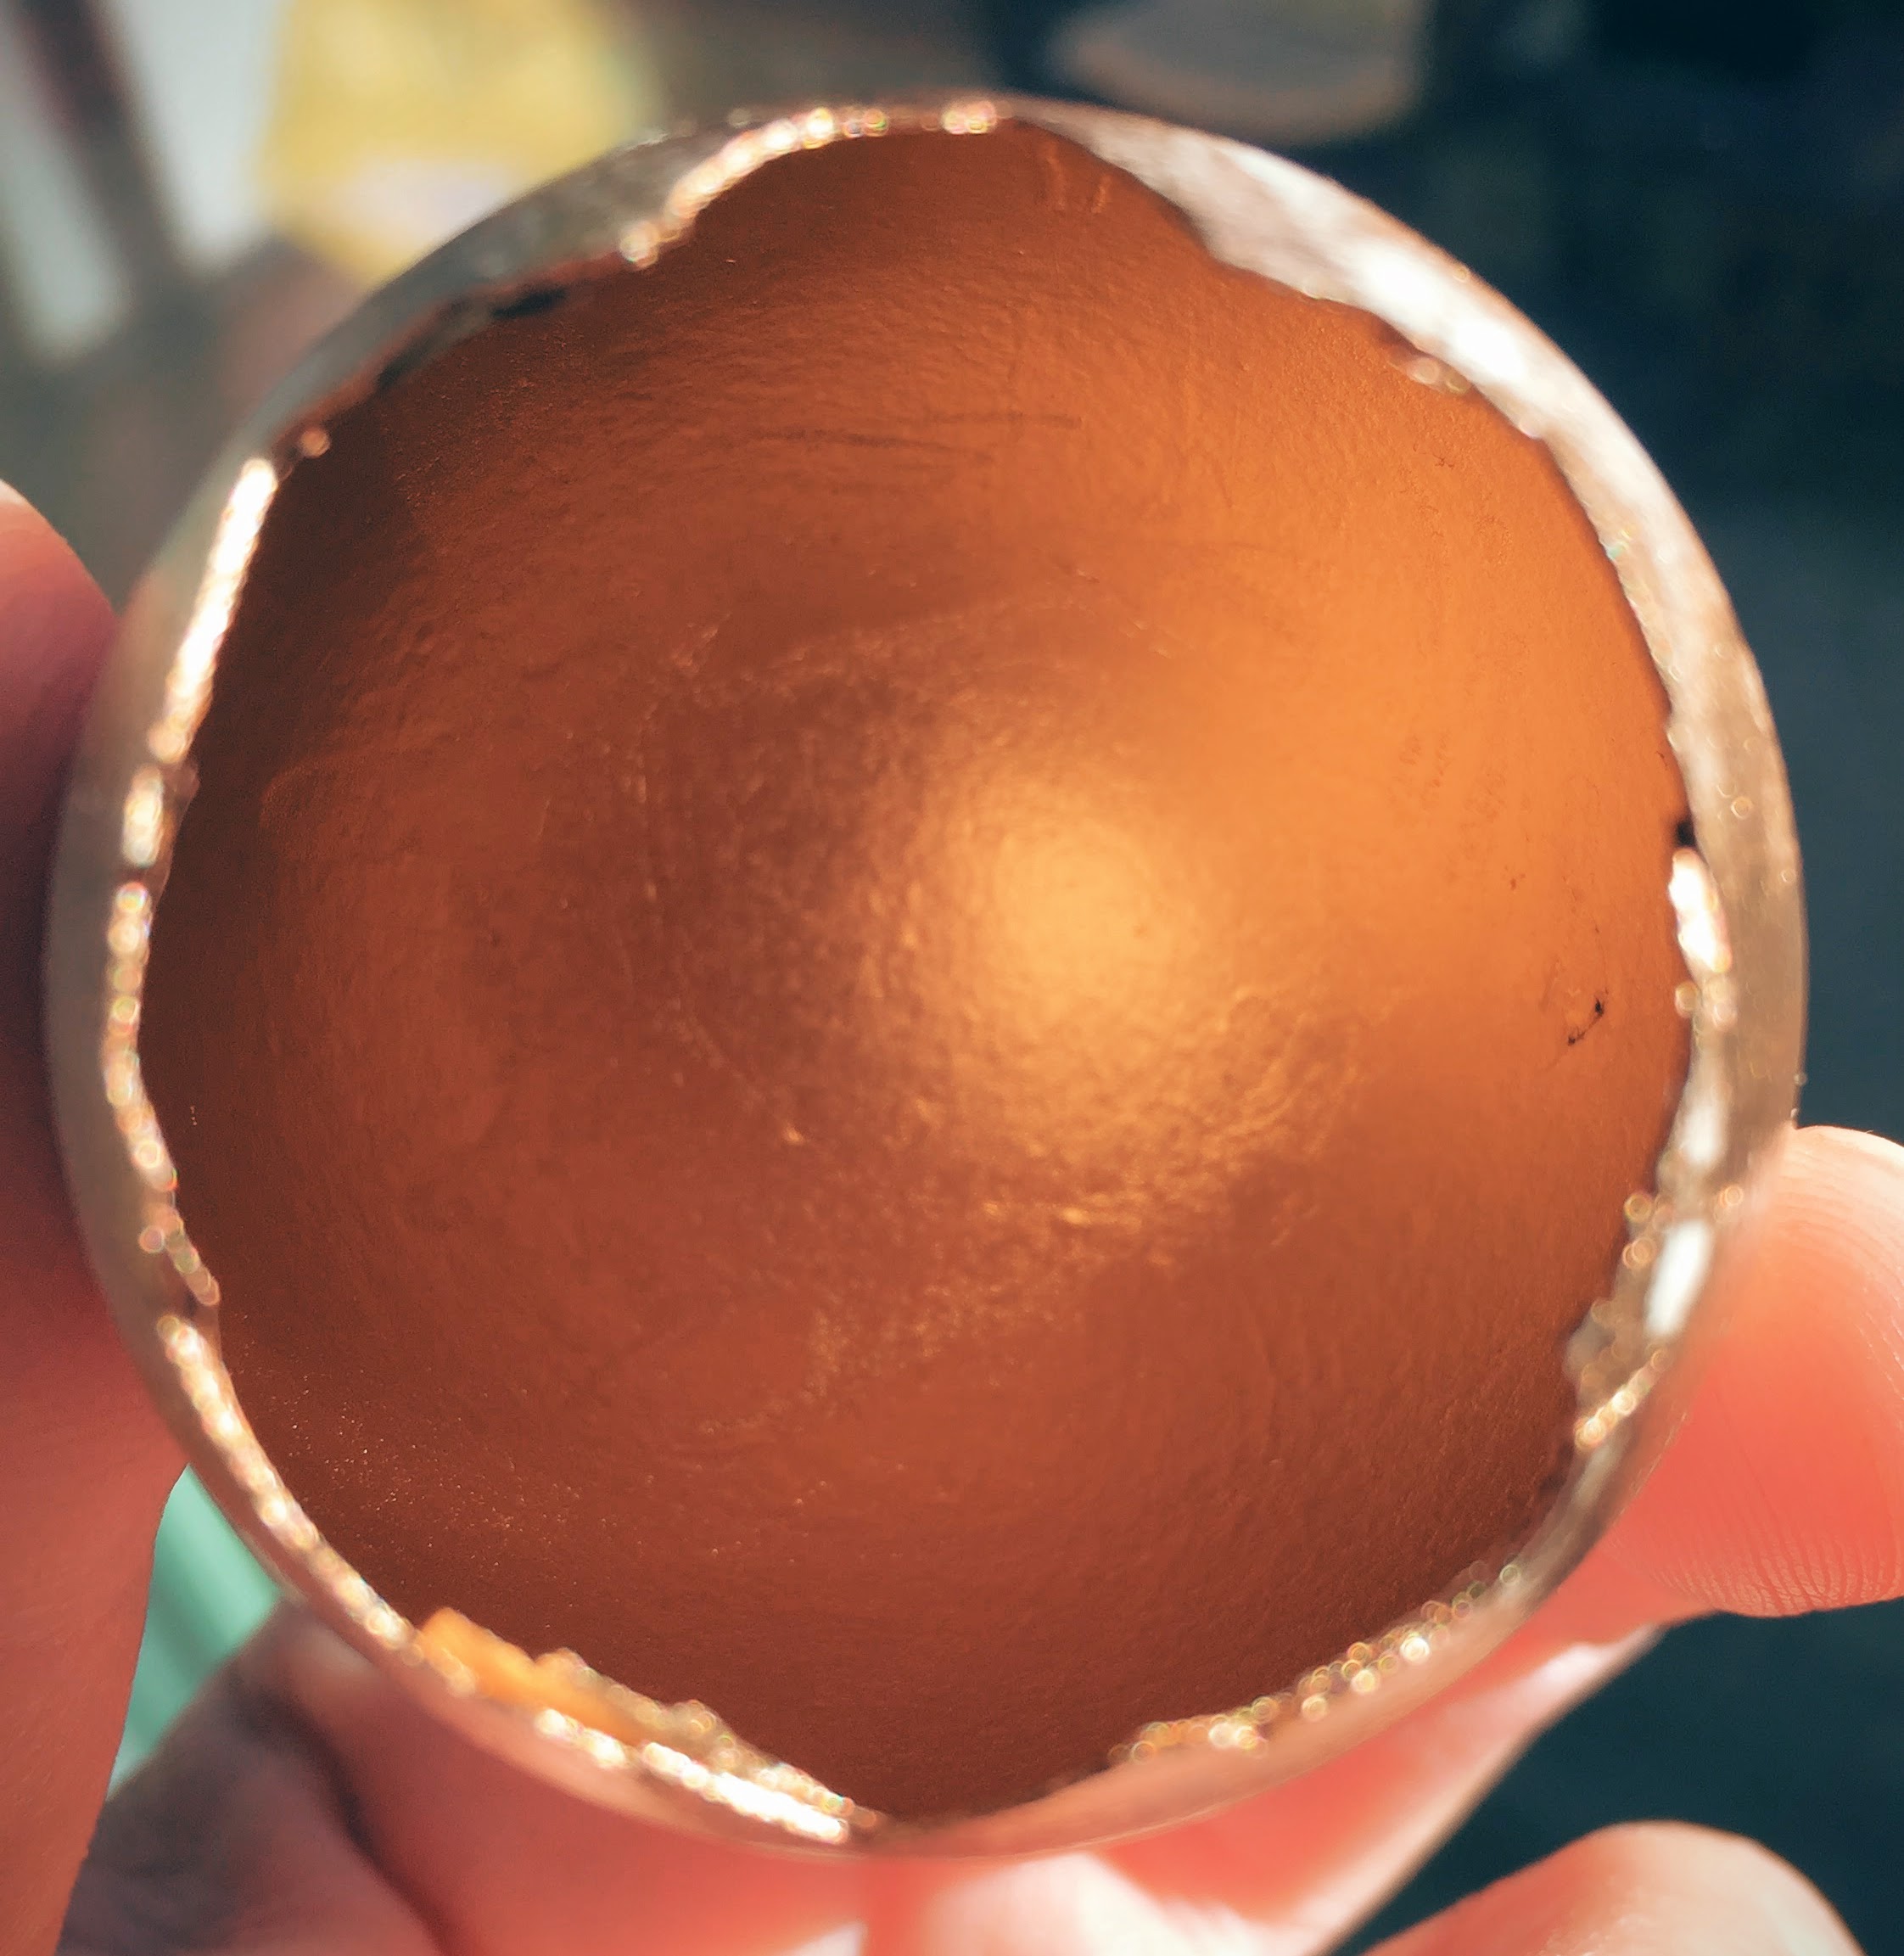
Next, when the interior of your shell has completely dried, put on some gloves, go to a well ventilated area, and spray the inside of your shell:

You will inevitably get some paint on the exterior, because you need to spray and cover the interior of the shell in one shot. In the image above, you will also see a little pool of paint at the bottom of the egg. Swirl the paint around to coat everything as evenly as possible, and then dump the excess into the garbage. Now, place the egg upside down on a paper towel or toilet paper, and let it dry like so:
At this point, you may want to take some acetone and a paper towel or TP, and try to remove some of the gold spray from the exterior of the shell. If you leave it, and you are using a light colored spray paint for the outside, it may be hard to cover:

Just remove as much as you can. The remaining gold paint should be easily enough covered, when you spray the outside of the shell.
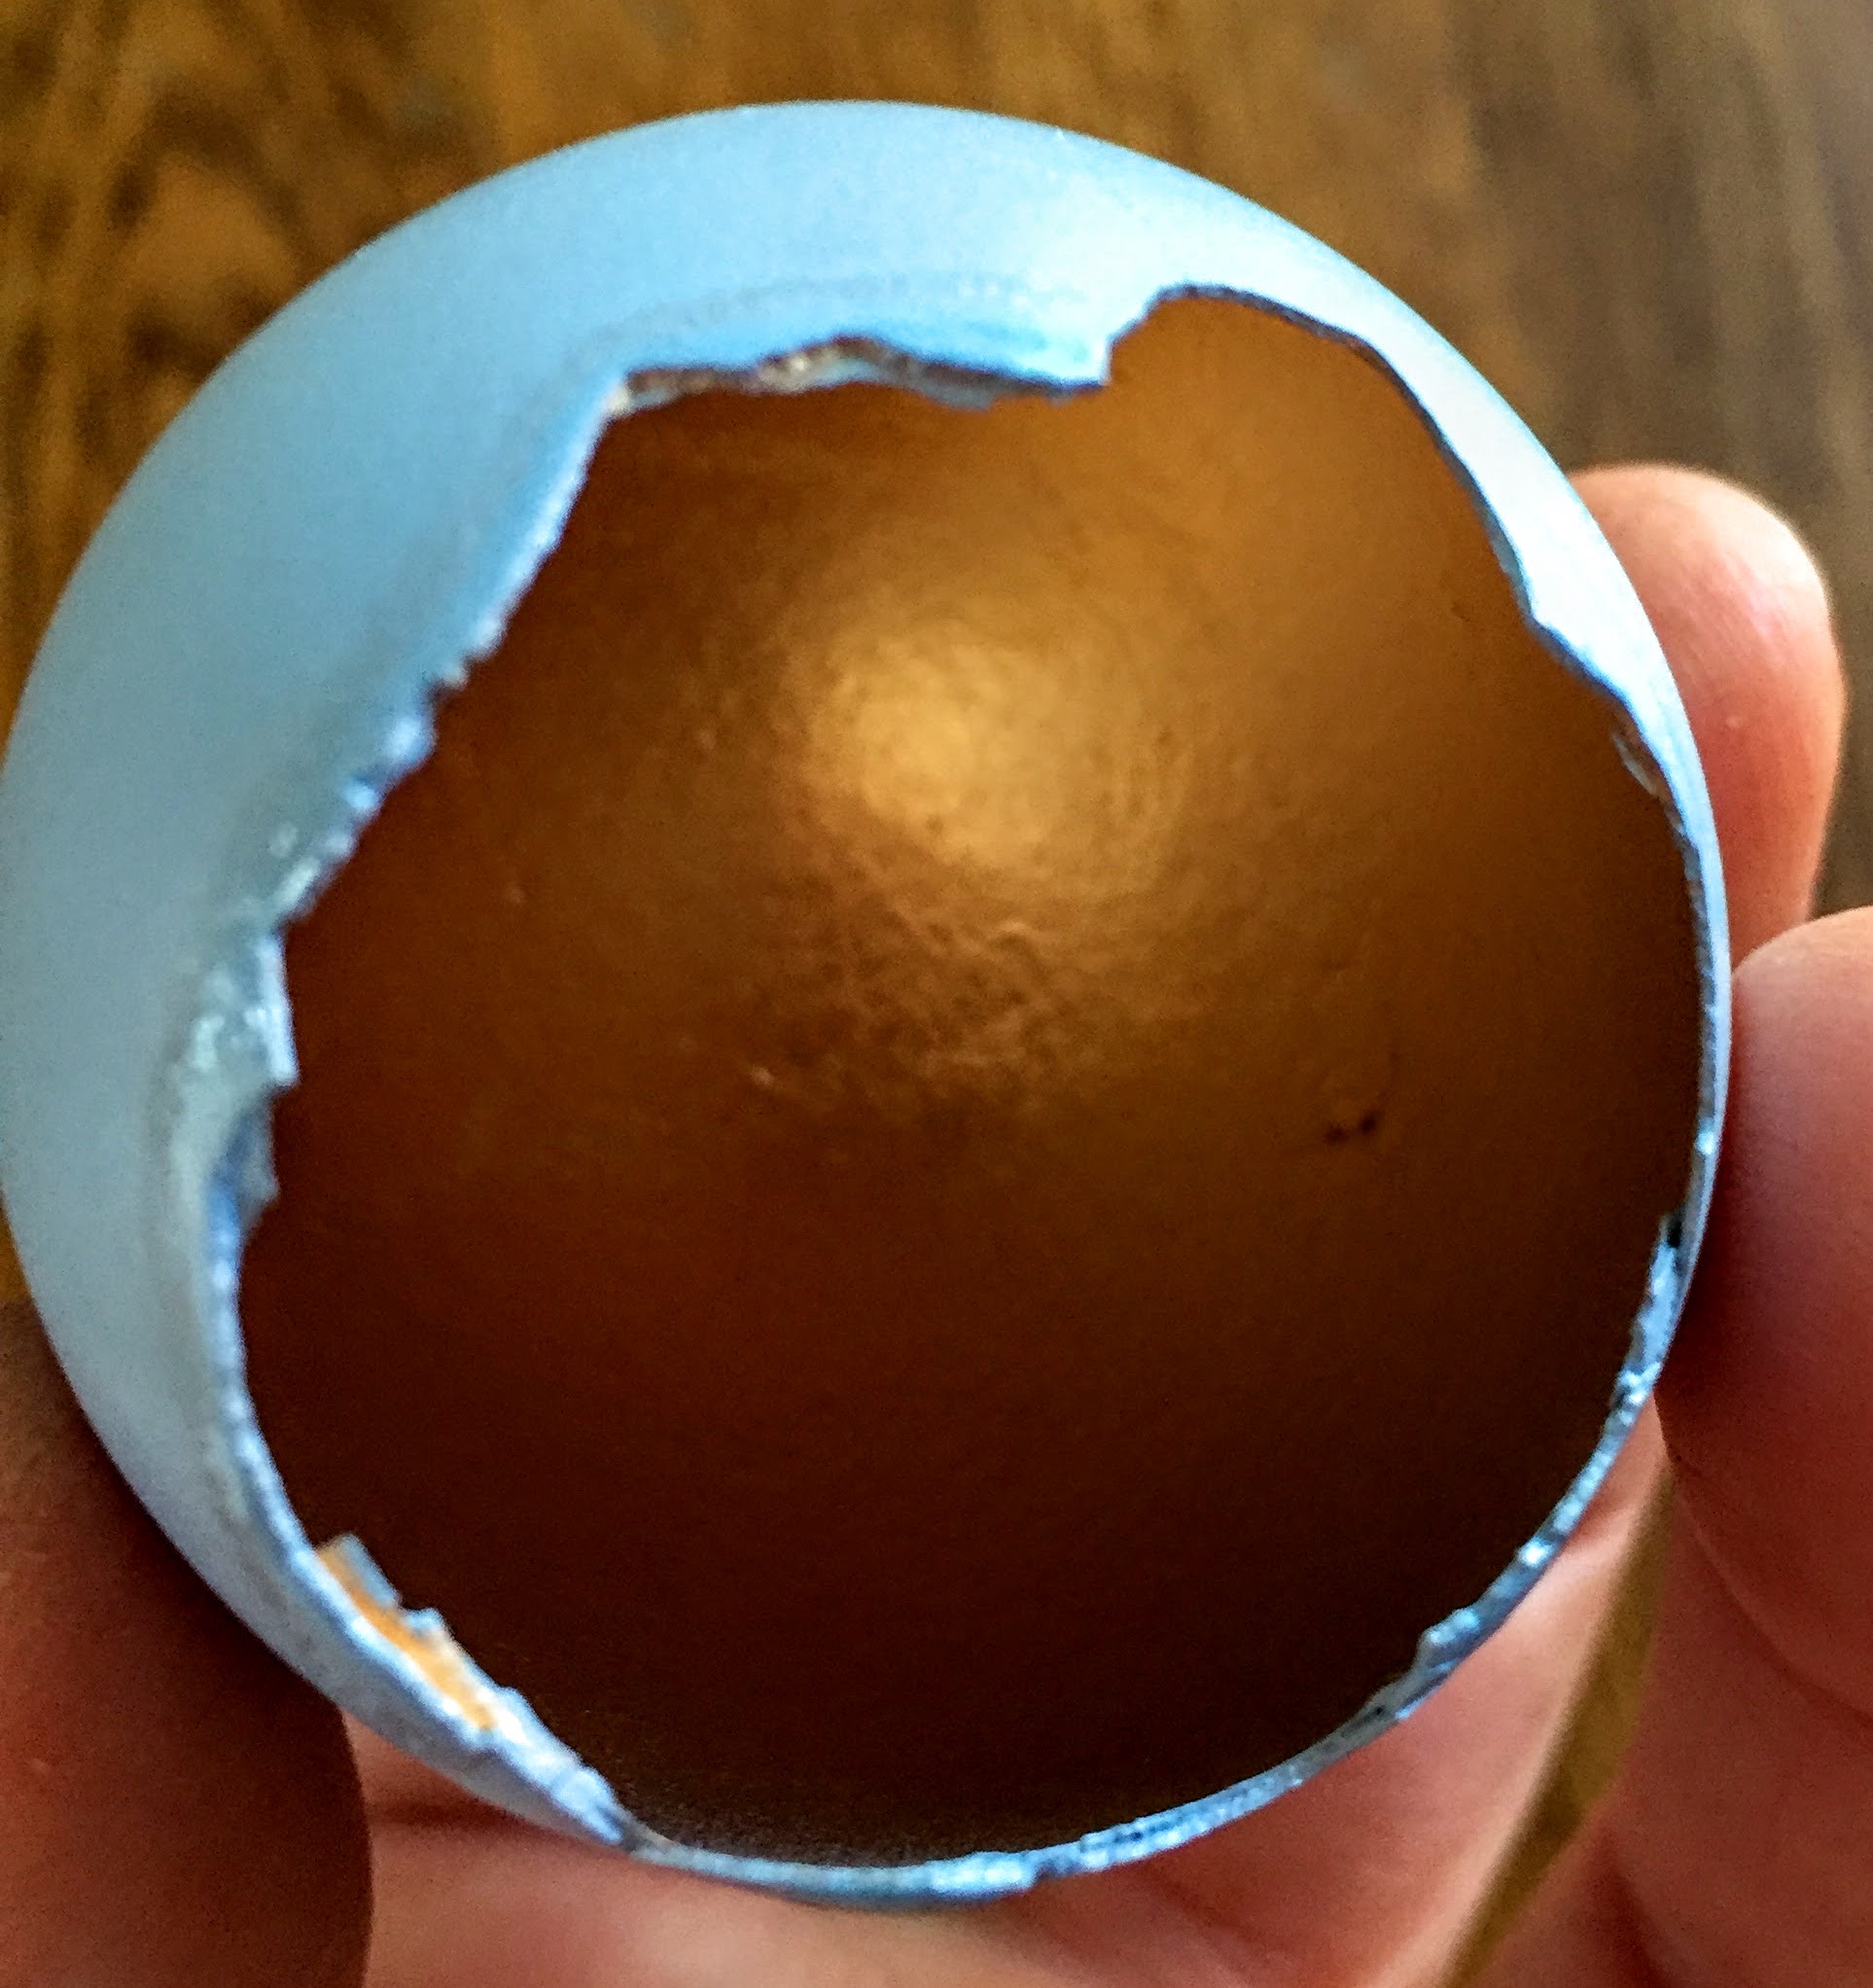
Here is an image of the egg after the paint had dried and I had scrapped off more of the puckering film on the inside:
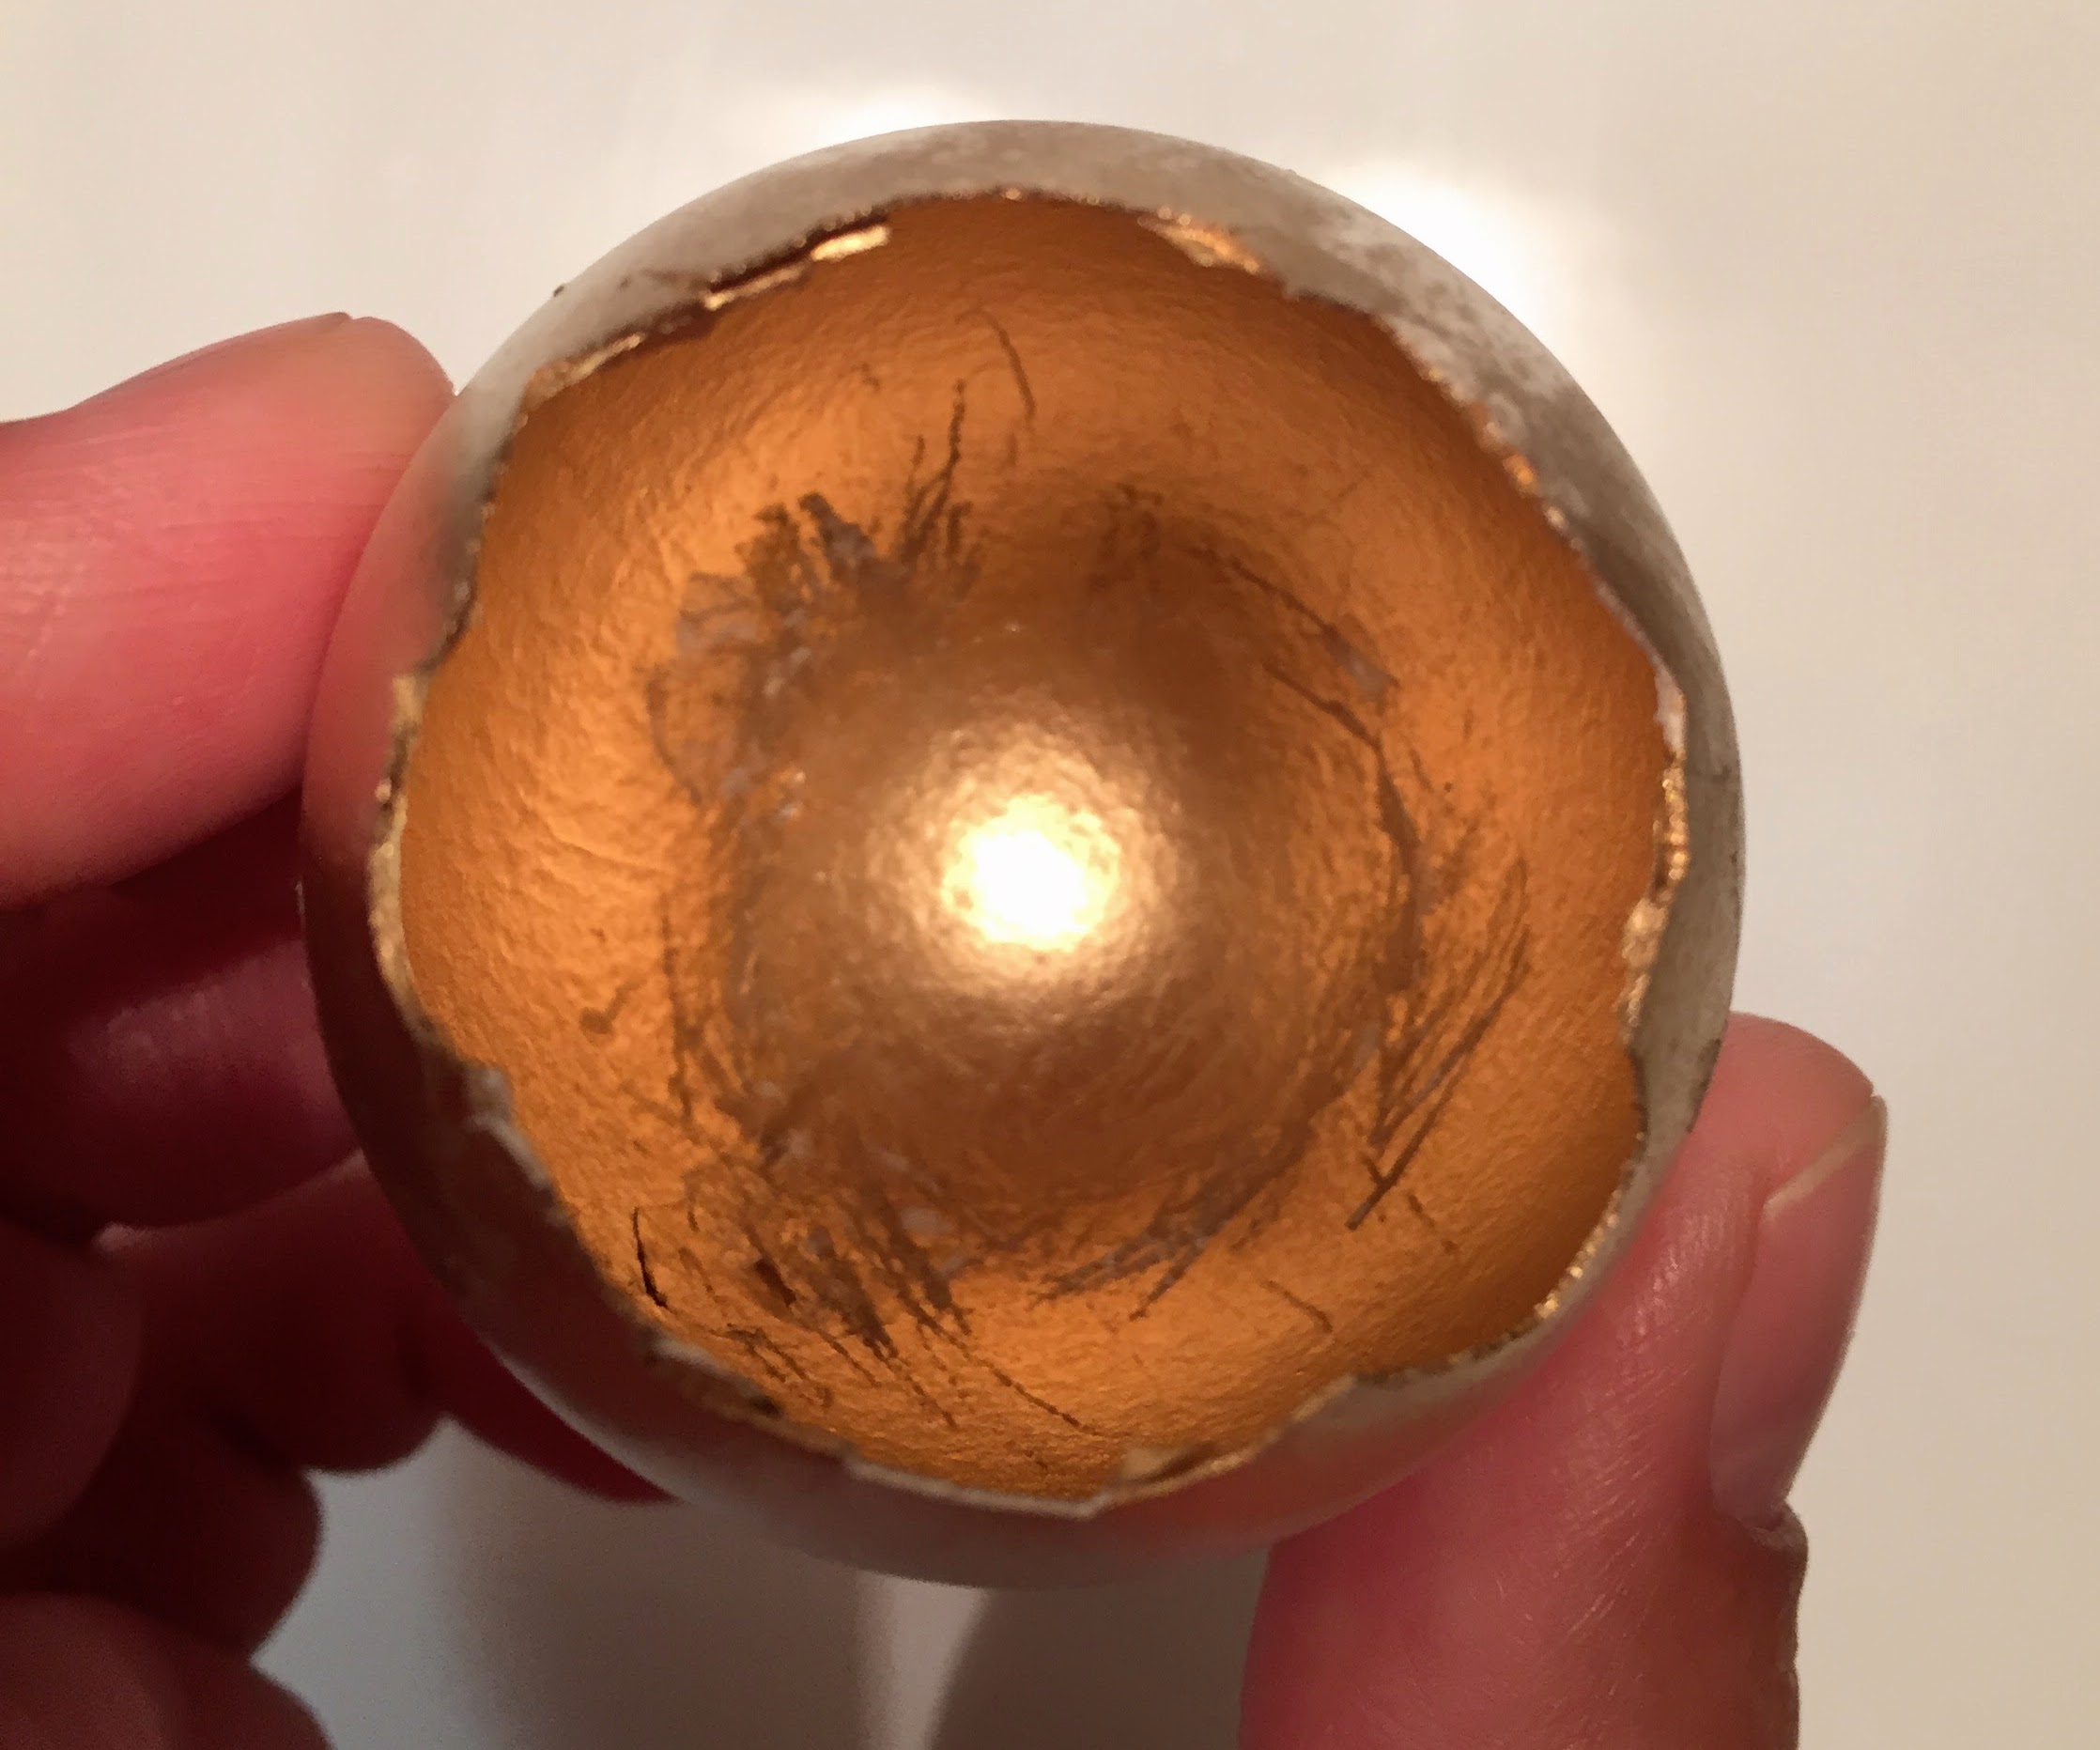
Sometimes, the puckering spray paint, flakes off like gold leaf and looks pretty, but this time, it was really stuck on. I had to use my fingernail to scrap it off. In this case, you probably want to respray for a finished look:
Next, once the inside of the shell is completely dry, use a stick to hold the egg while spraying the exterior:
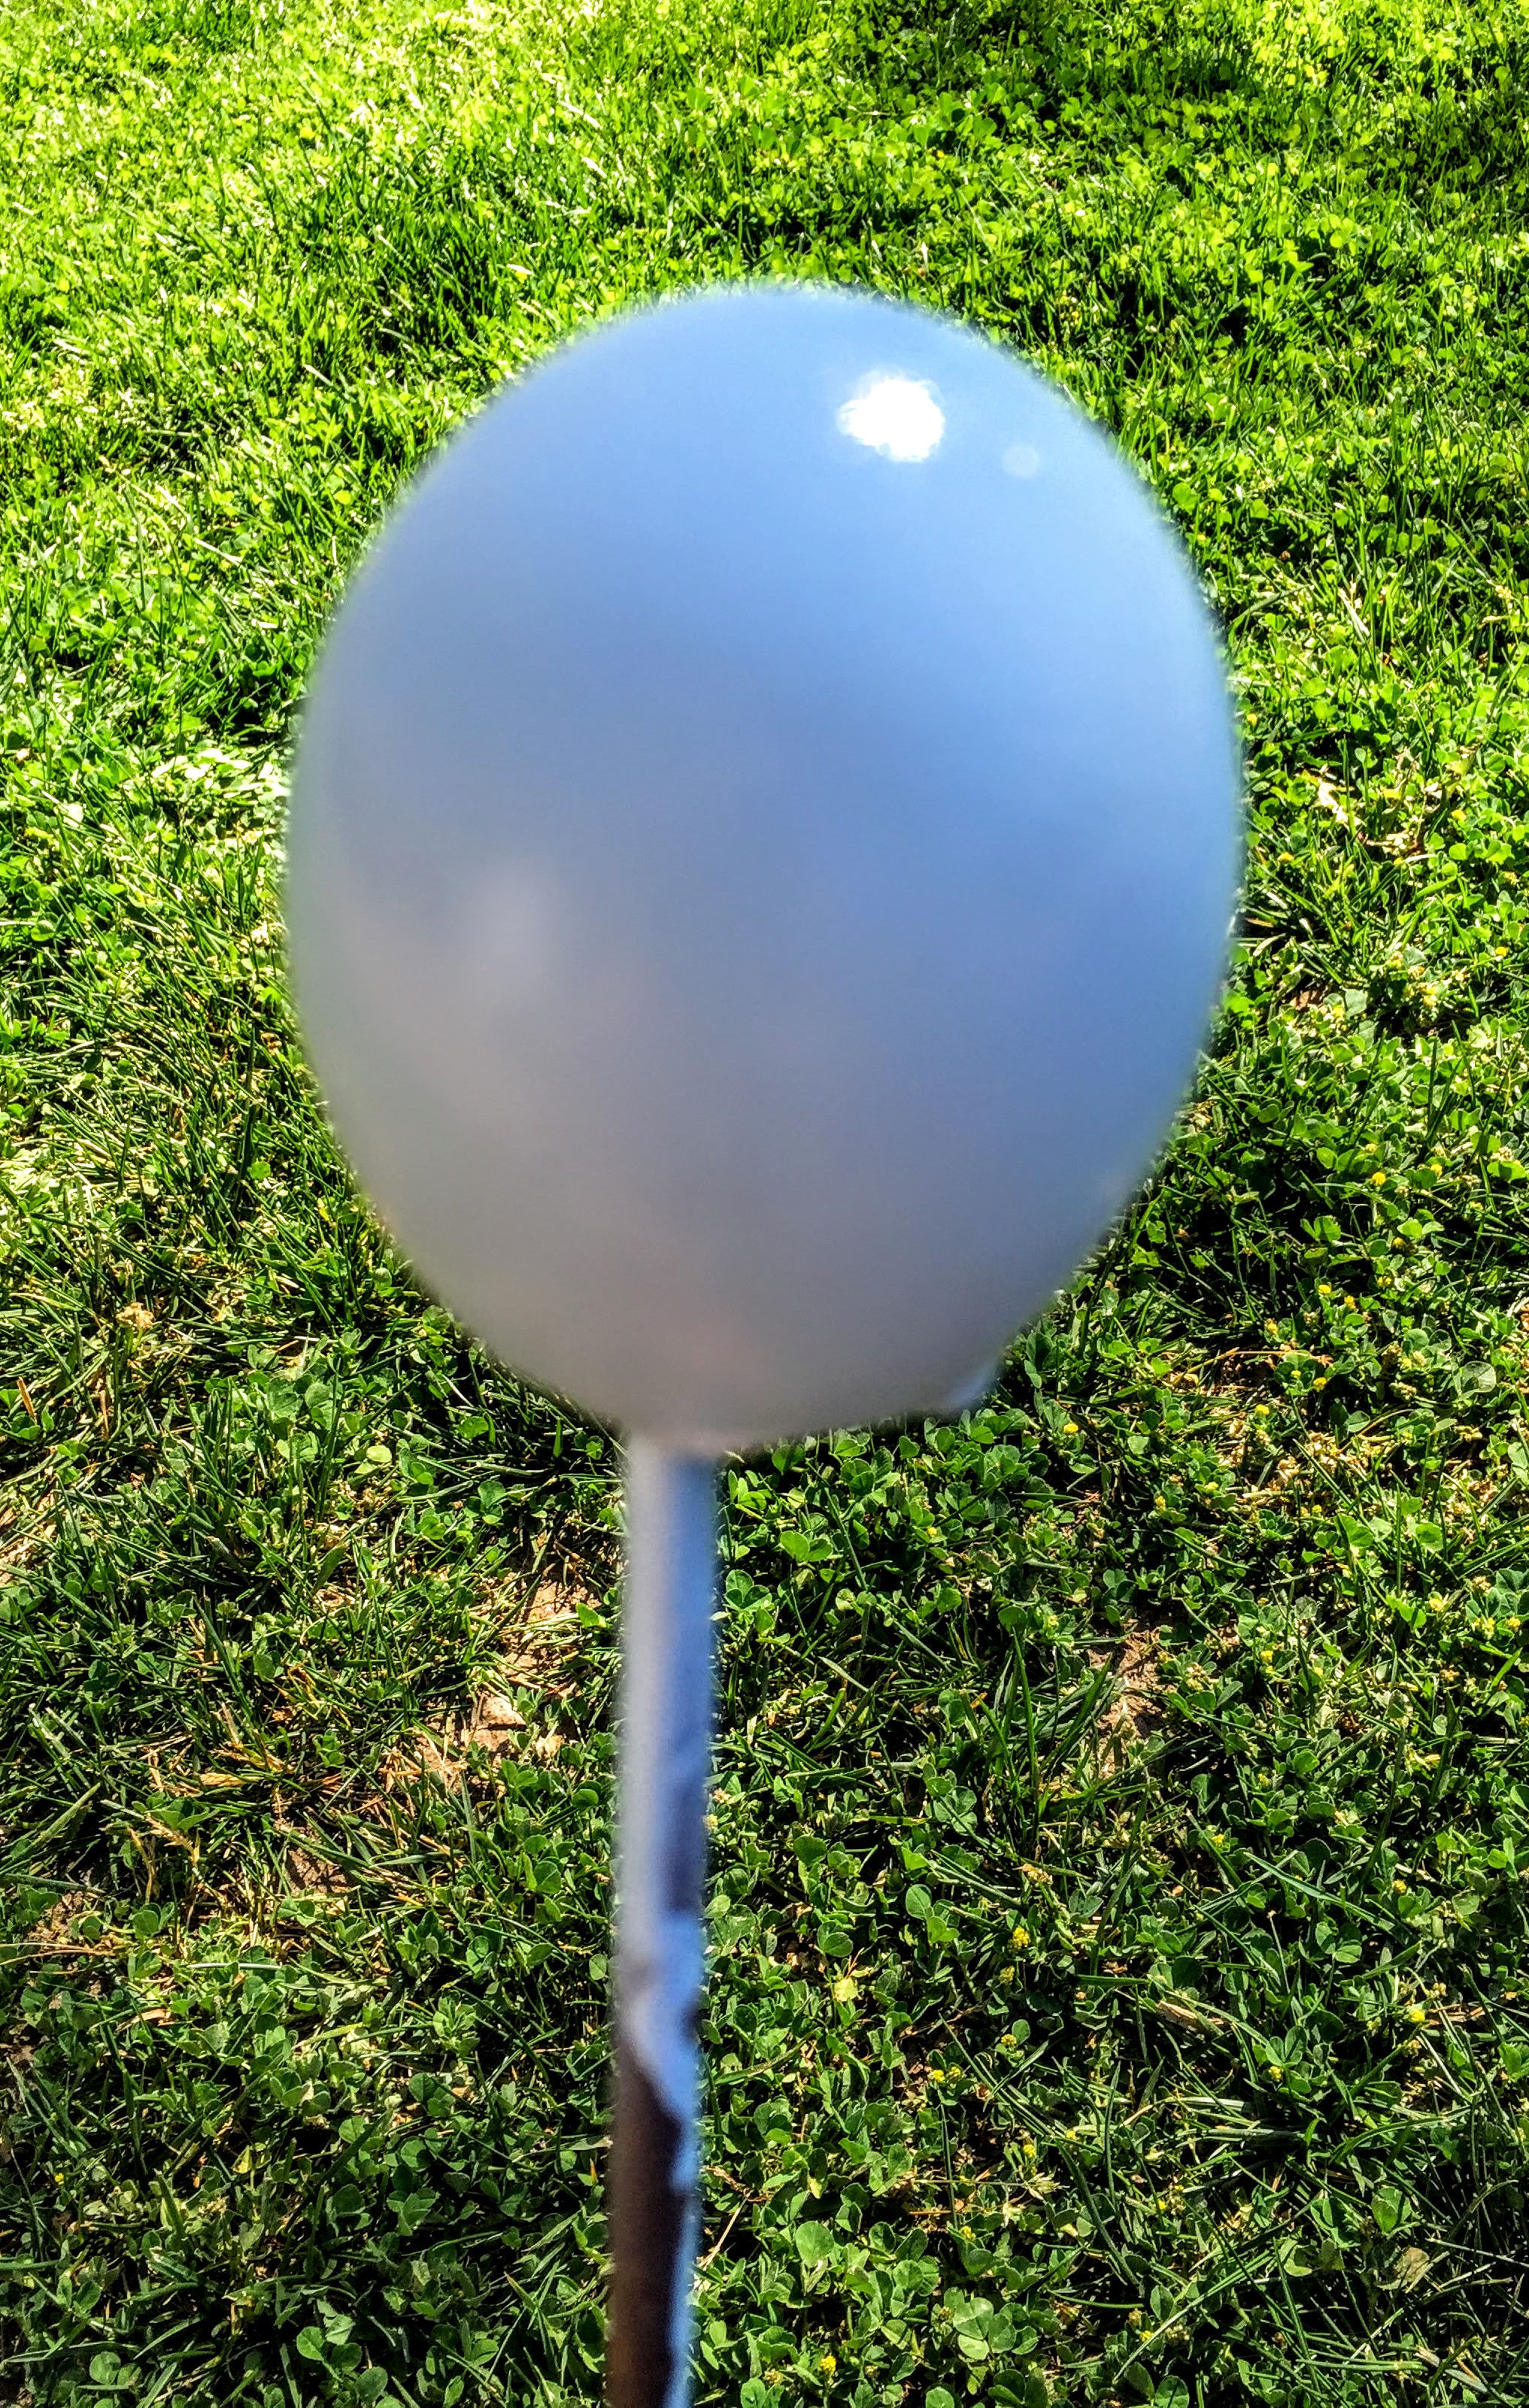
Because it’s hard to get the paint to stick to the egg initially, I give it a really good, heavy spray. The goal is to try to get it very smooth, without drip marks on the body of the egg. There will, inevitably, be some dripping coming off the bottom edges. Let it dry on the stick. I usually put the stick in to grass and let it dry outside. Coat it again, if necessary. The goal is to make it look lacquered.
Once the egg has thoroughly dried (a few hours so that the edges thick with excess paint are also dry), take it off the stick, and crack the drippy edges off. In this image, you can see the thick paint on the edges:
The goal is to shape the egg, while removing the flaws:
Once you have cracked the edges off and achieved the shape that you want, you will be ready to finish your masterpiece! Take your small paintbrush and your 24K gold spray and get a small tupper ware container. Make sure that it’s a container you can throw away or use exclusively for paint in the future:
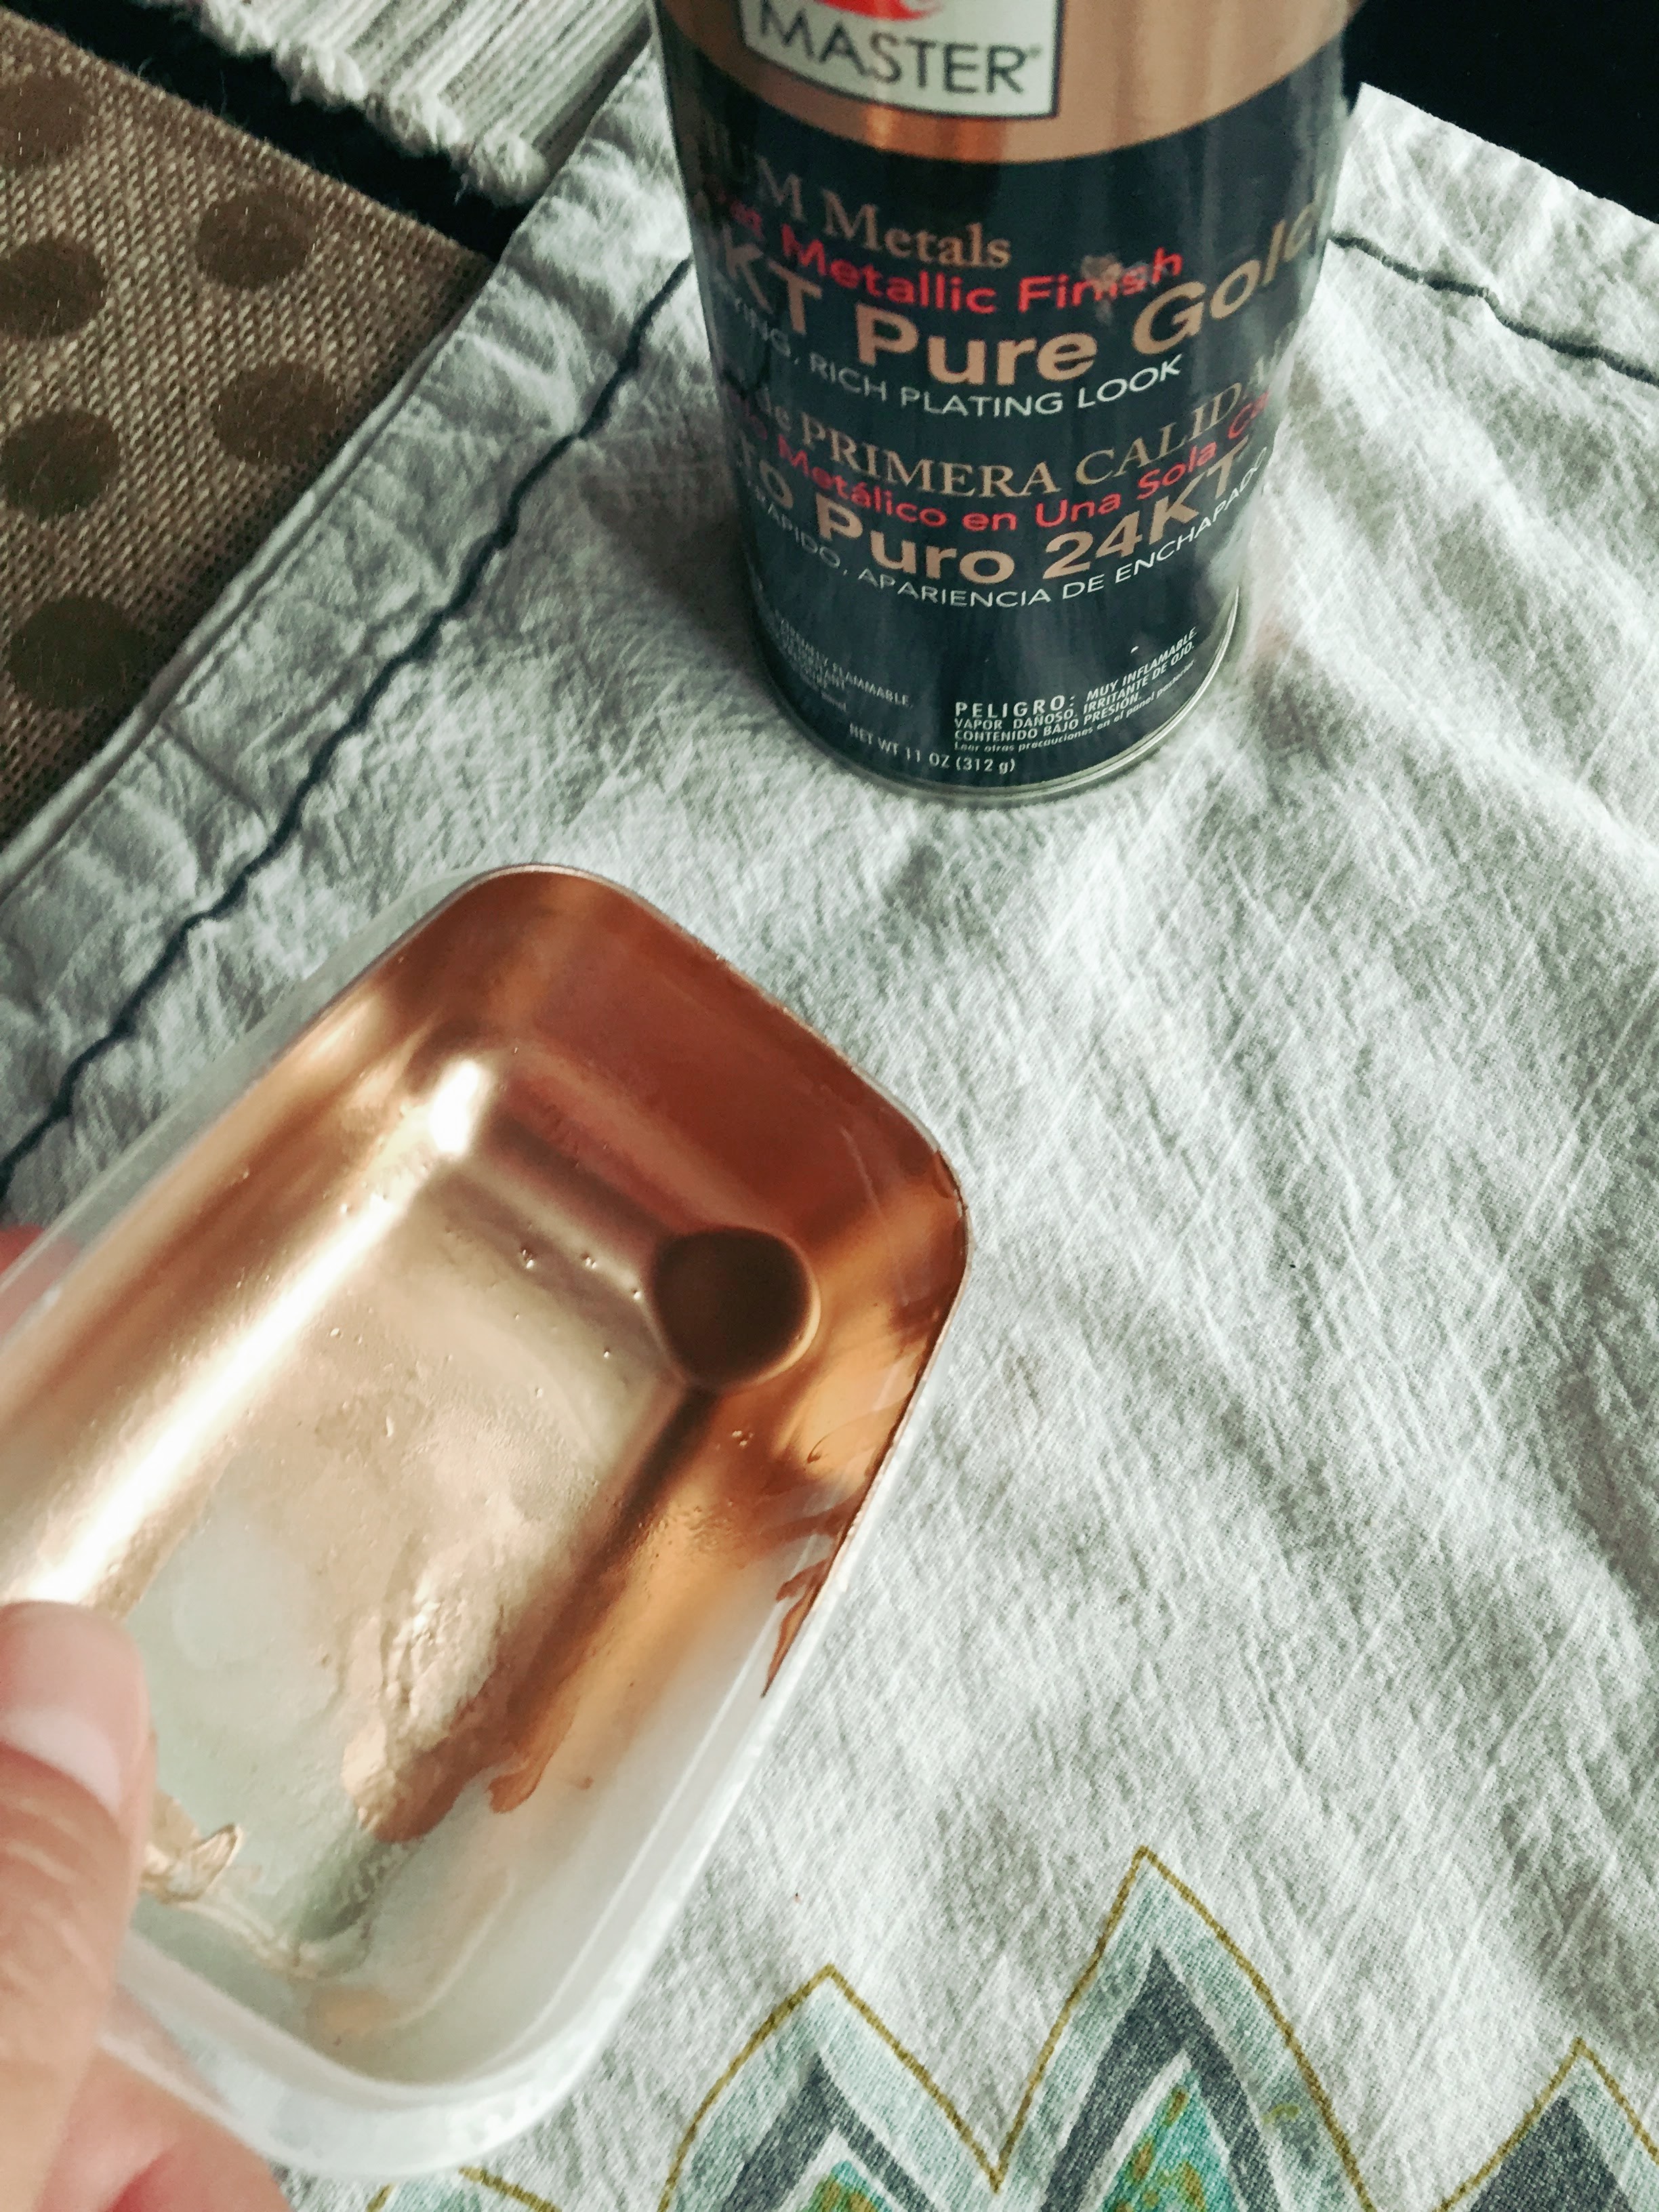
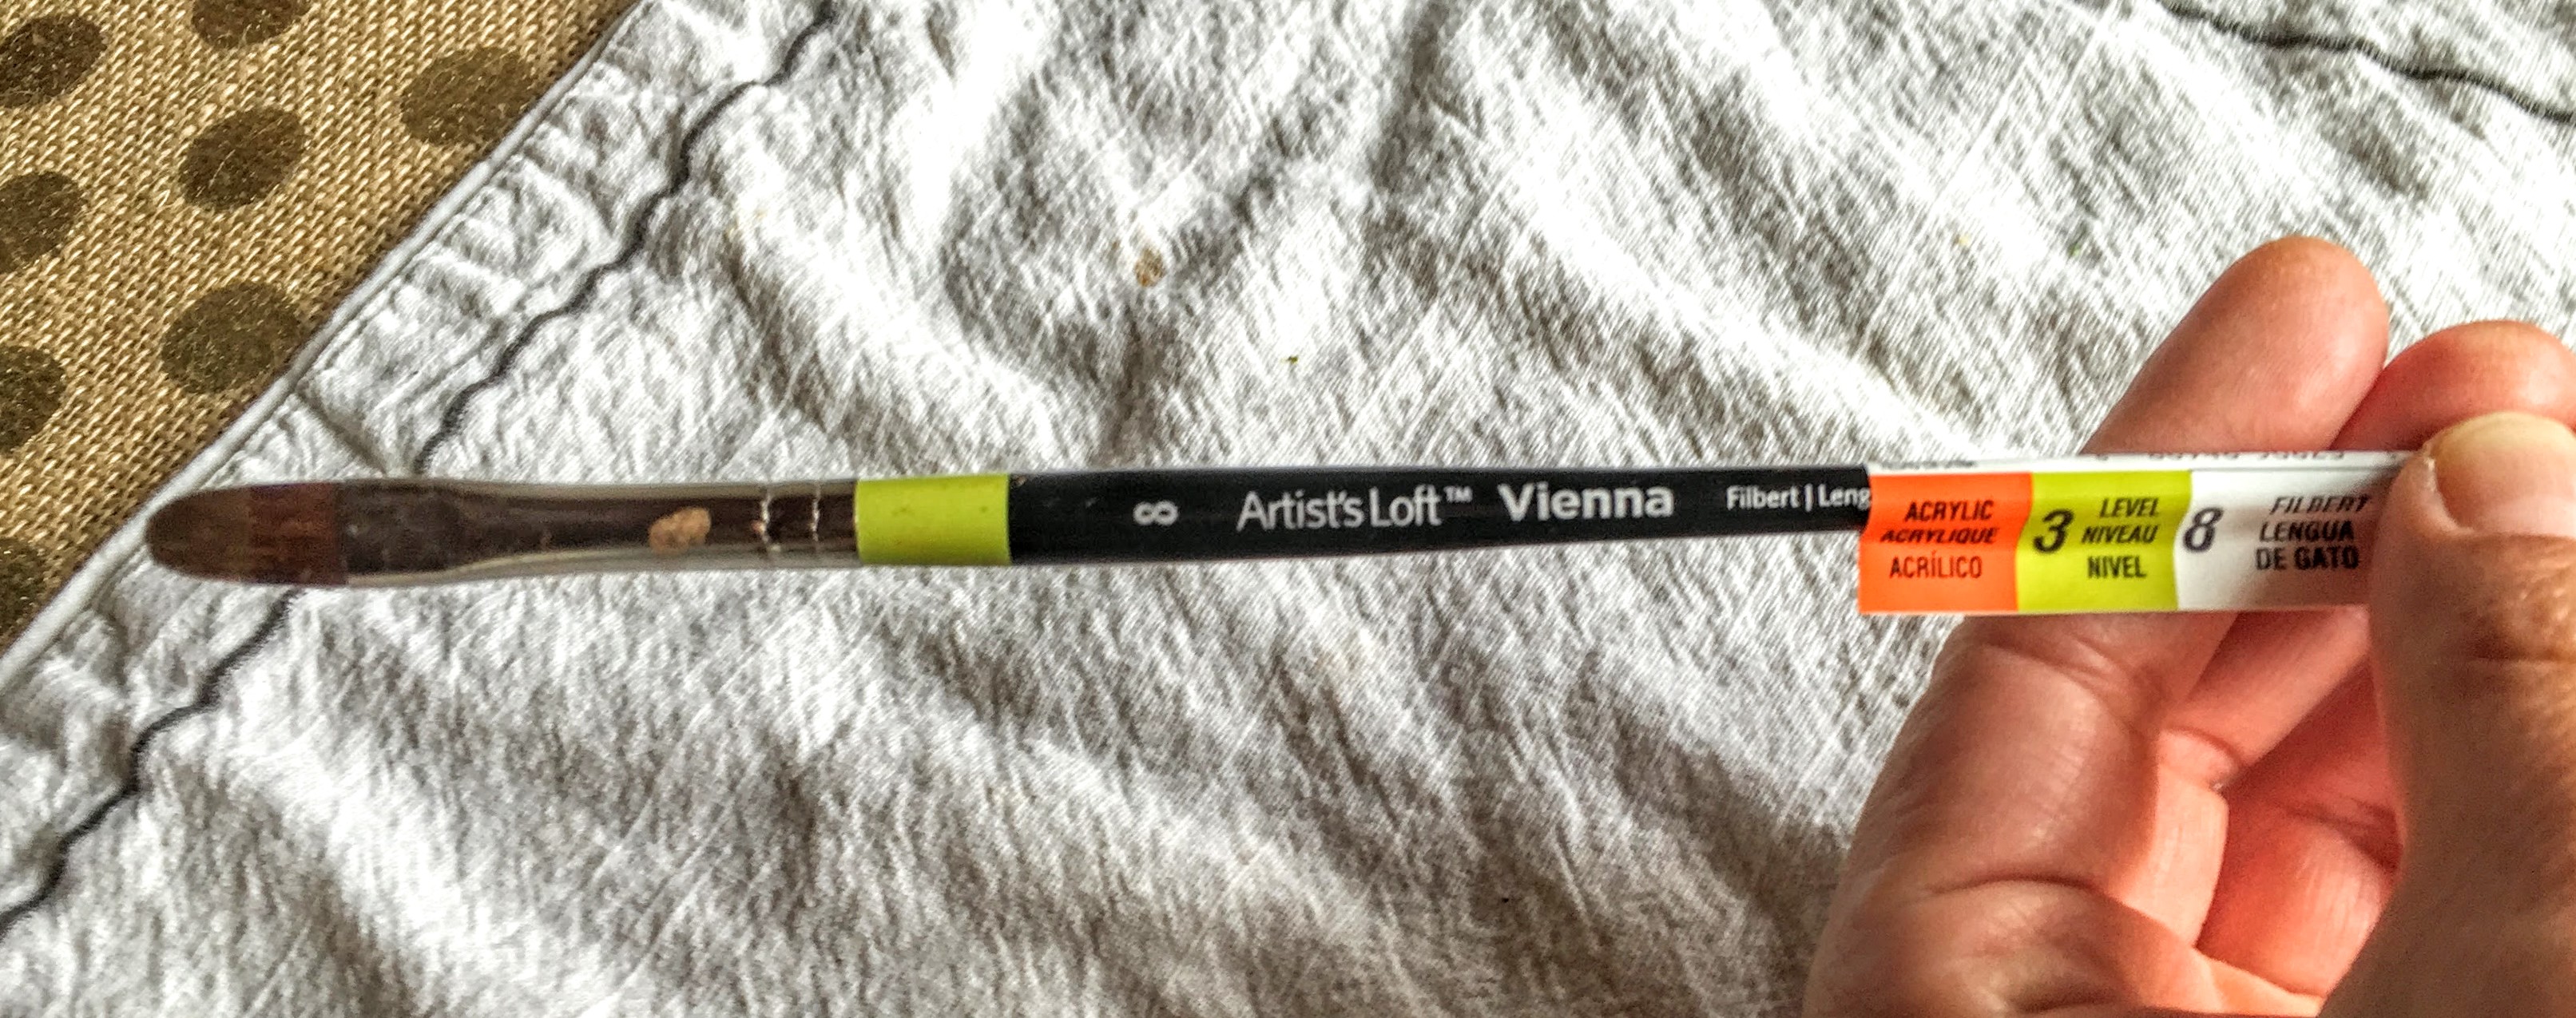
Spray the paint into the container and grab your little brush (as shown in images above), dip your paintbrush in, and lightly brush around the exterior edge of the eggshell.
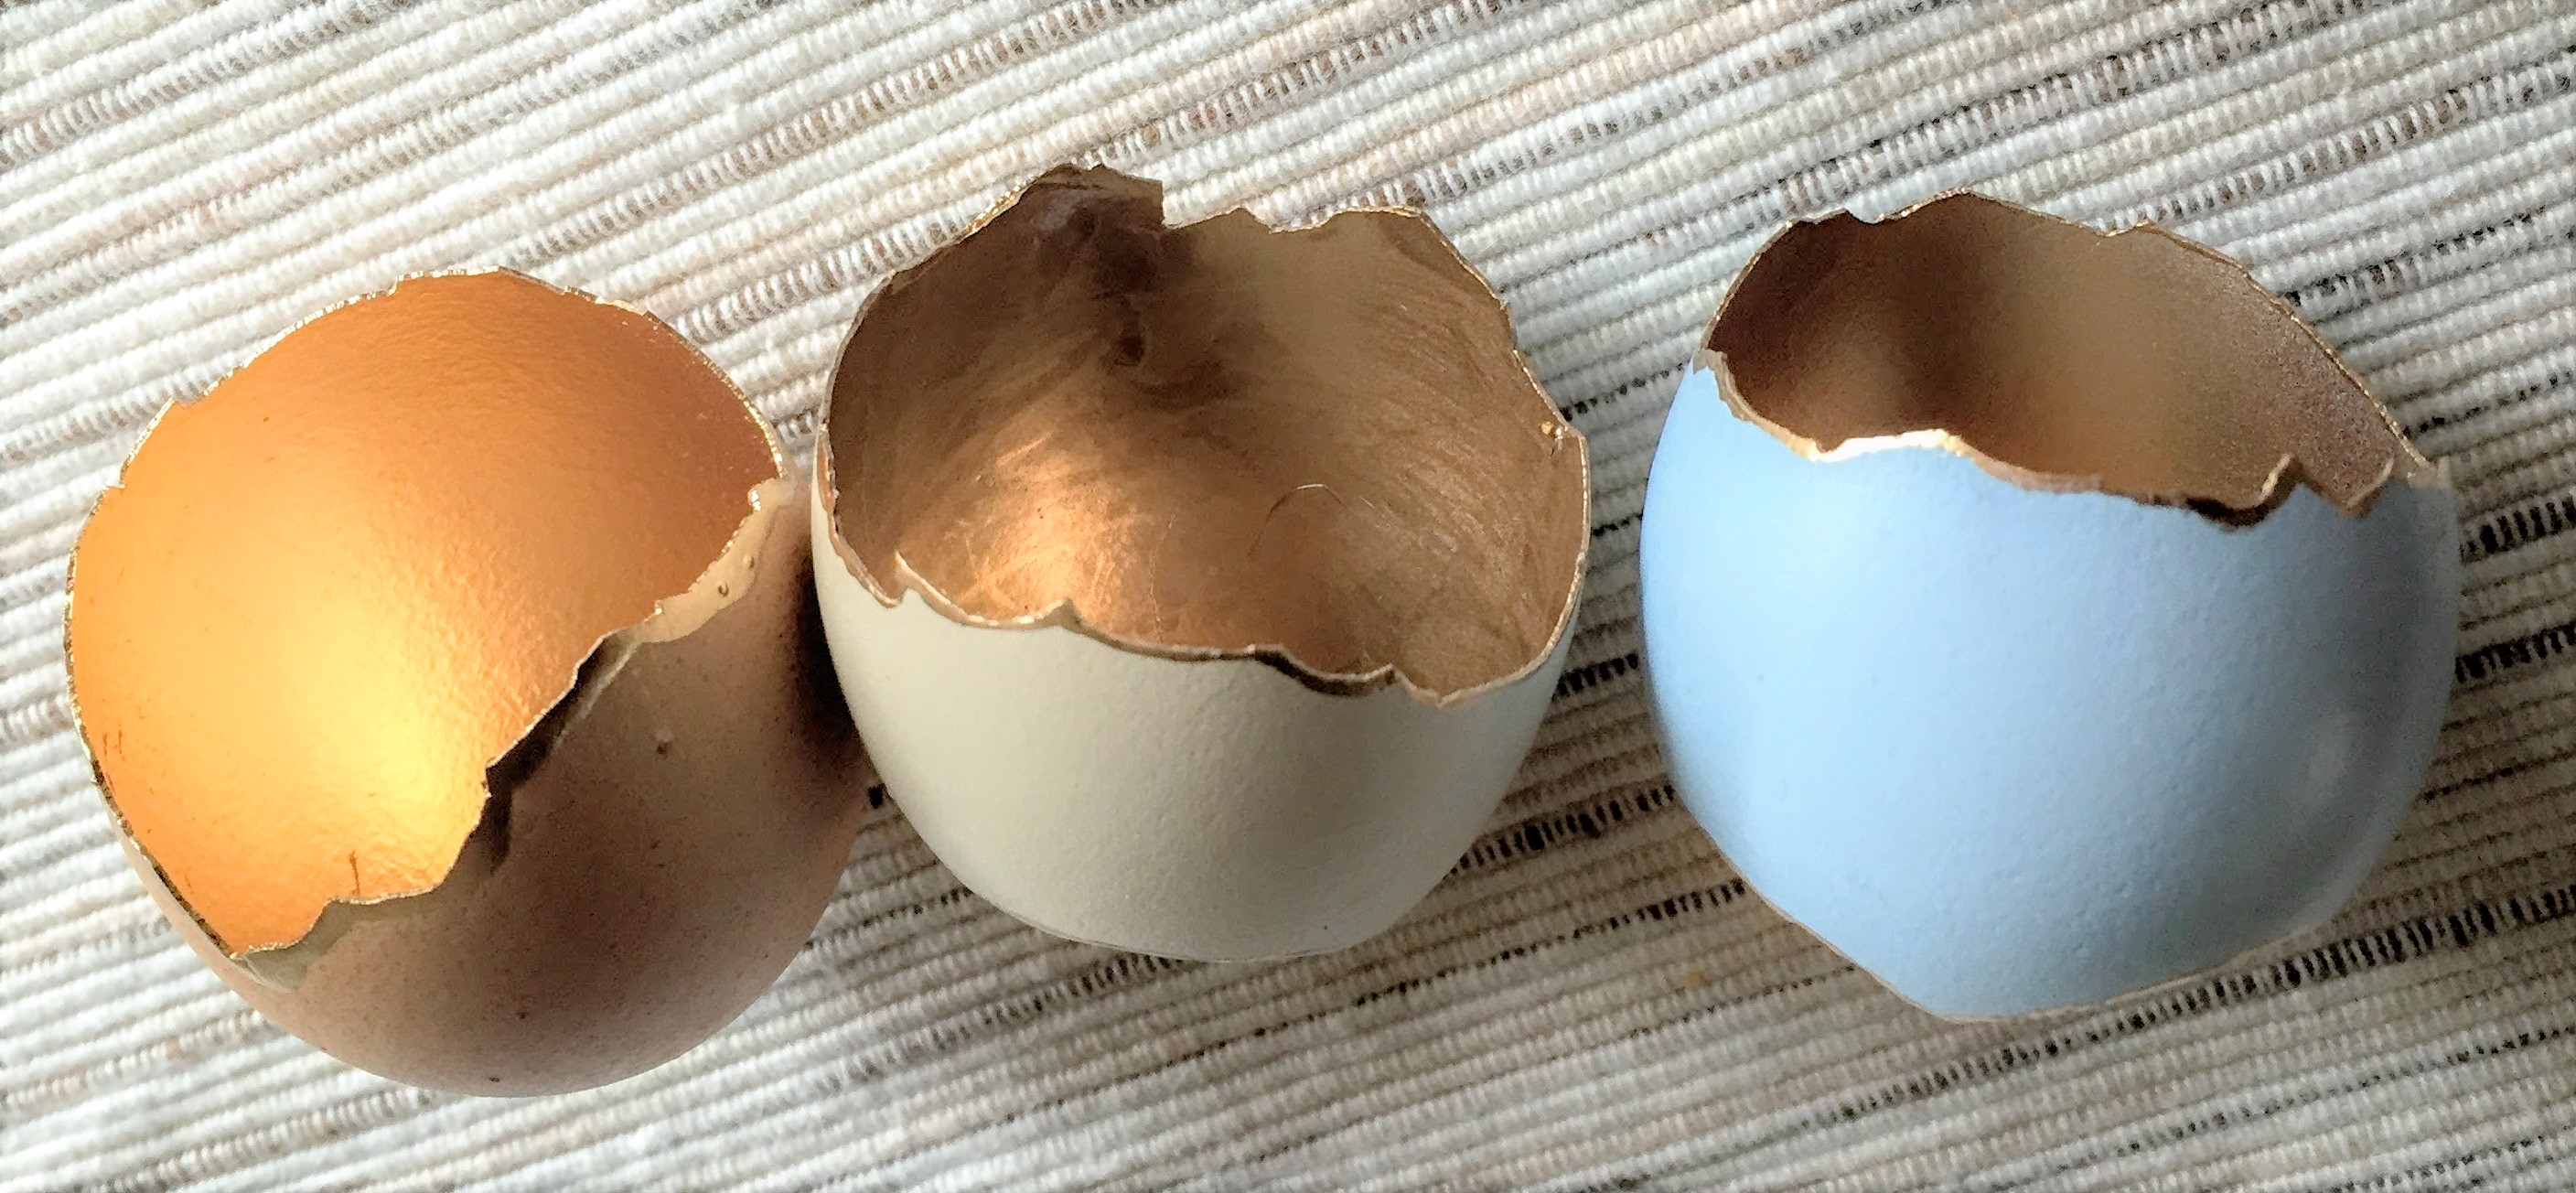
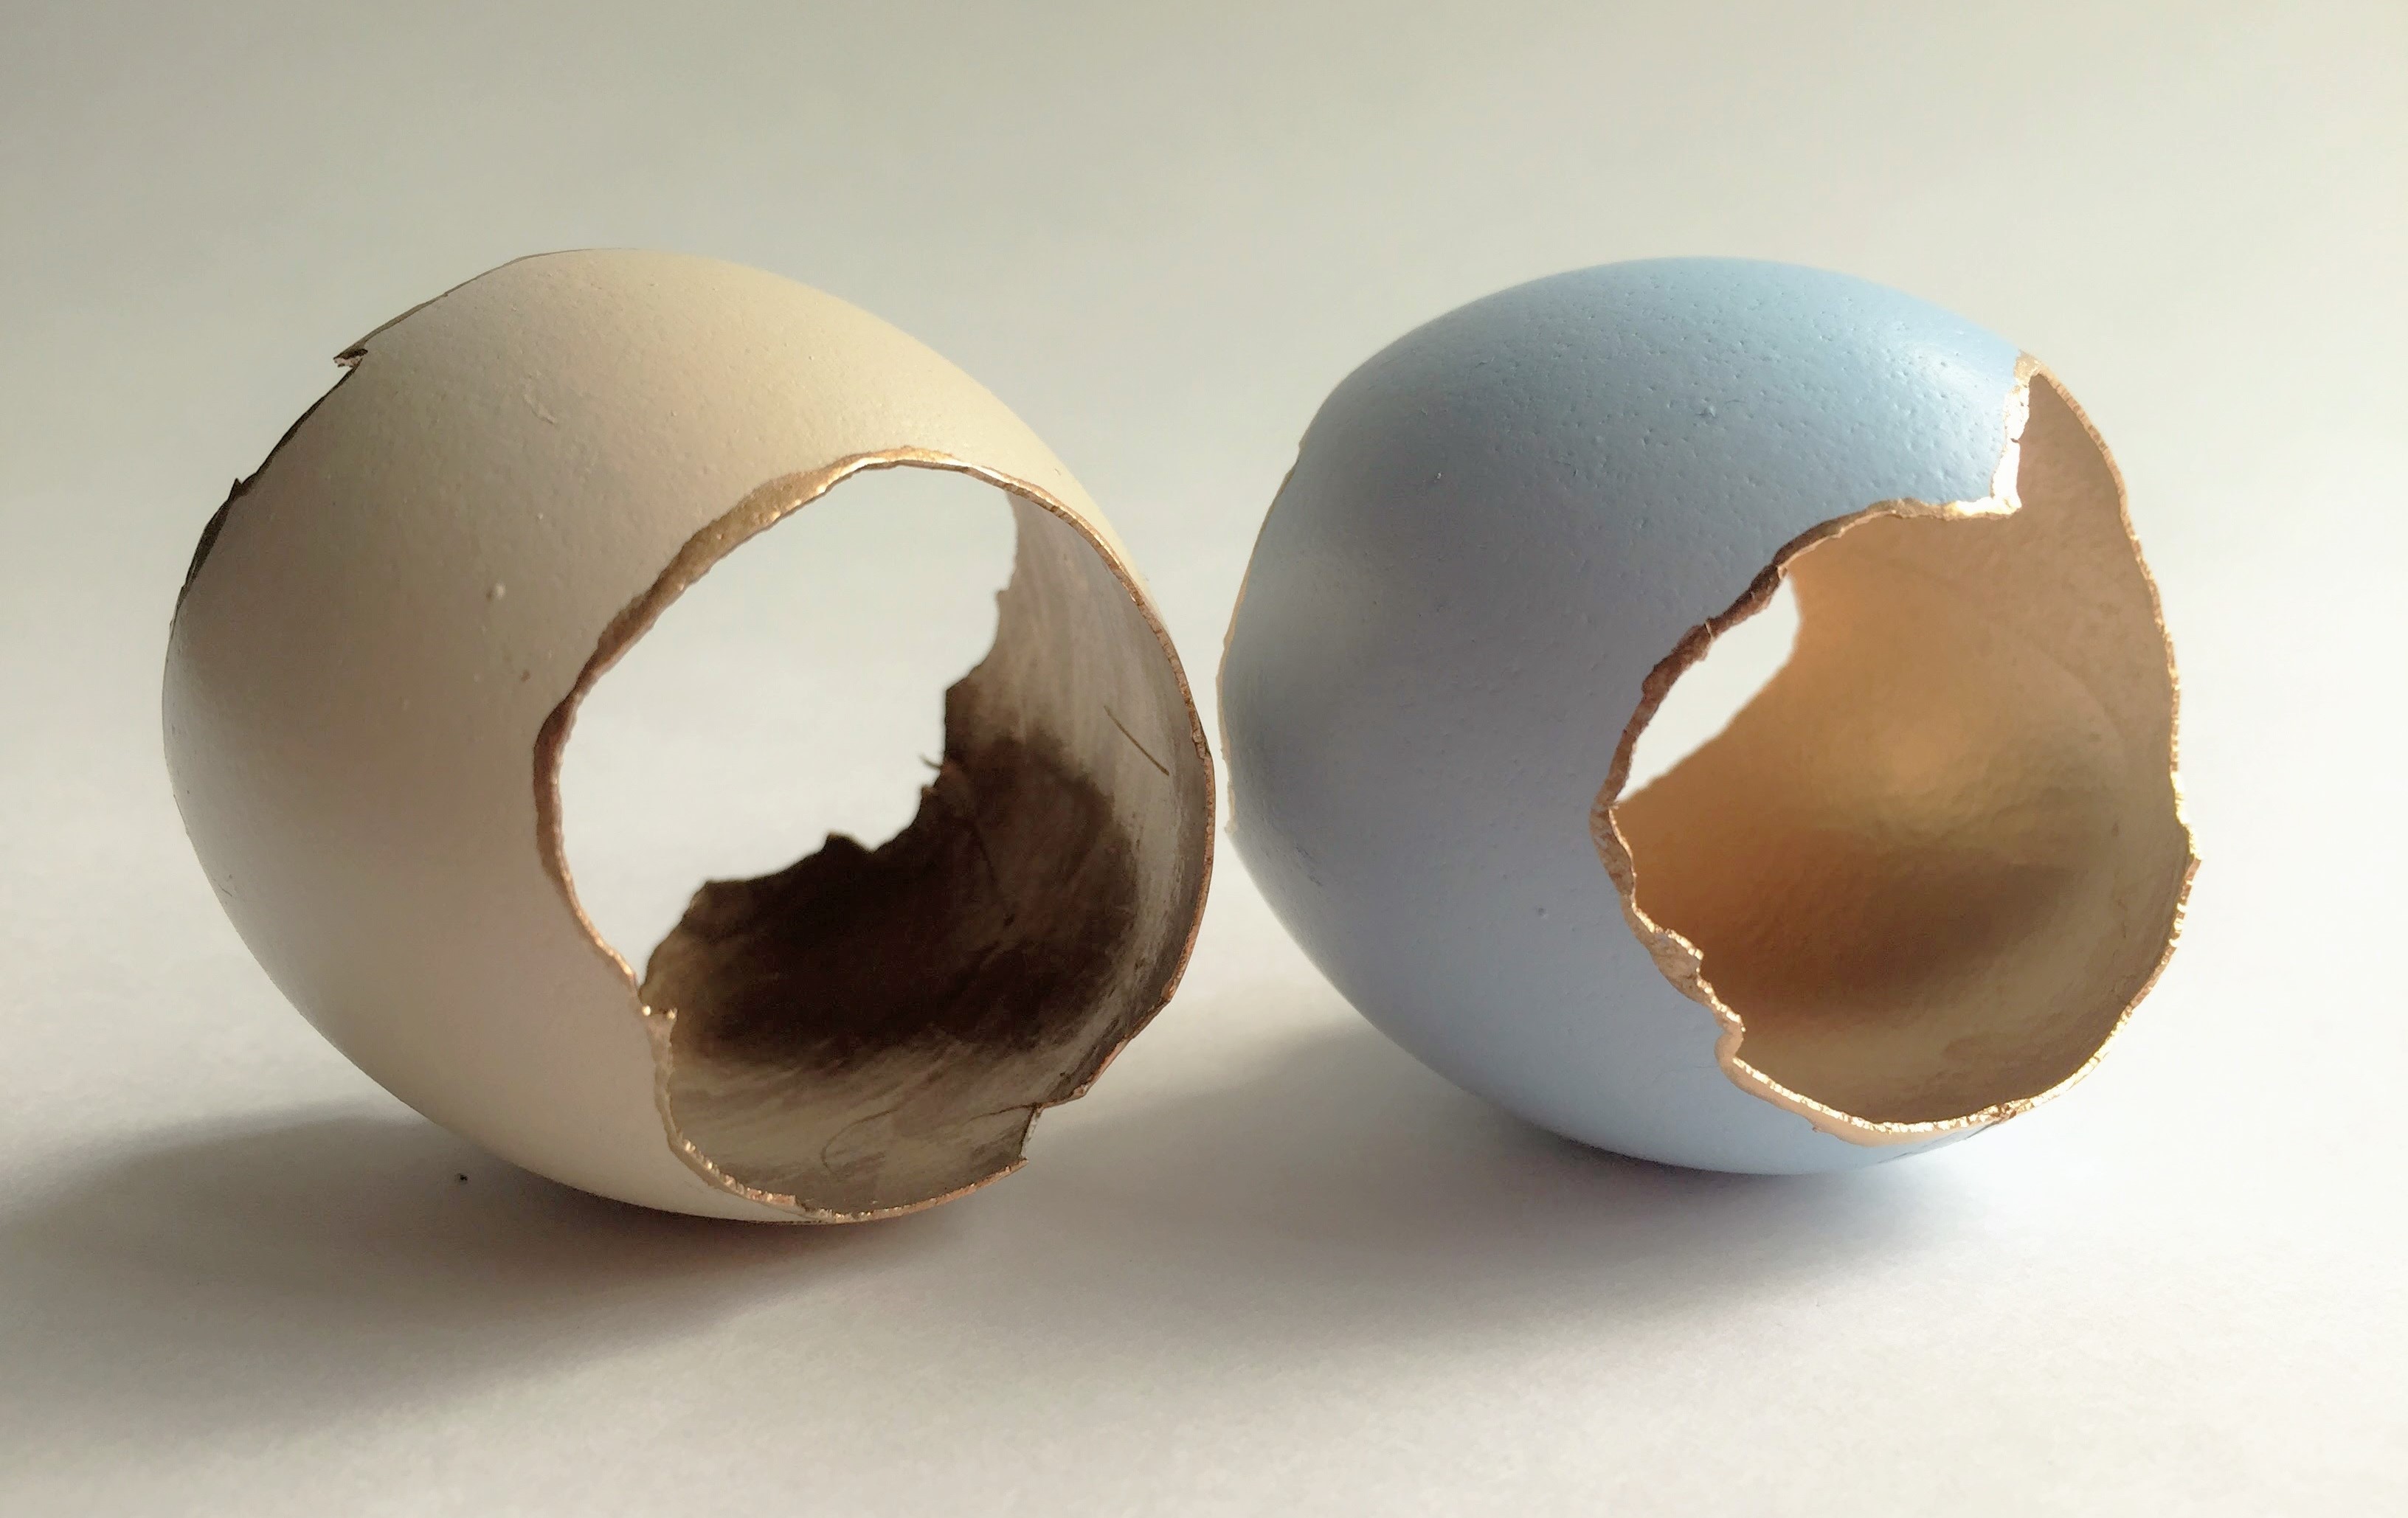
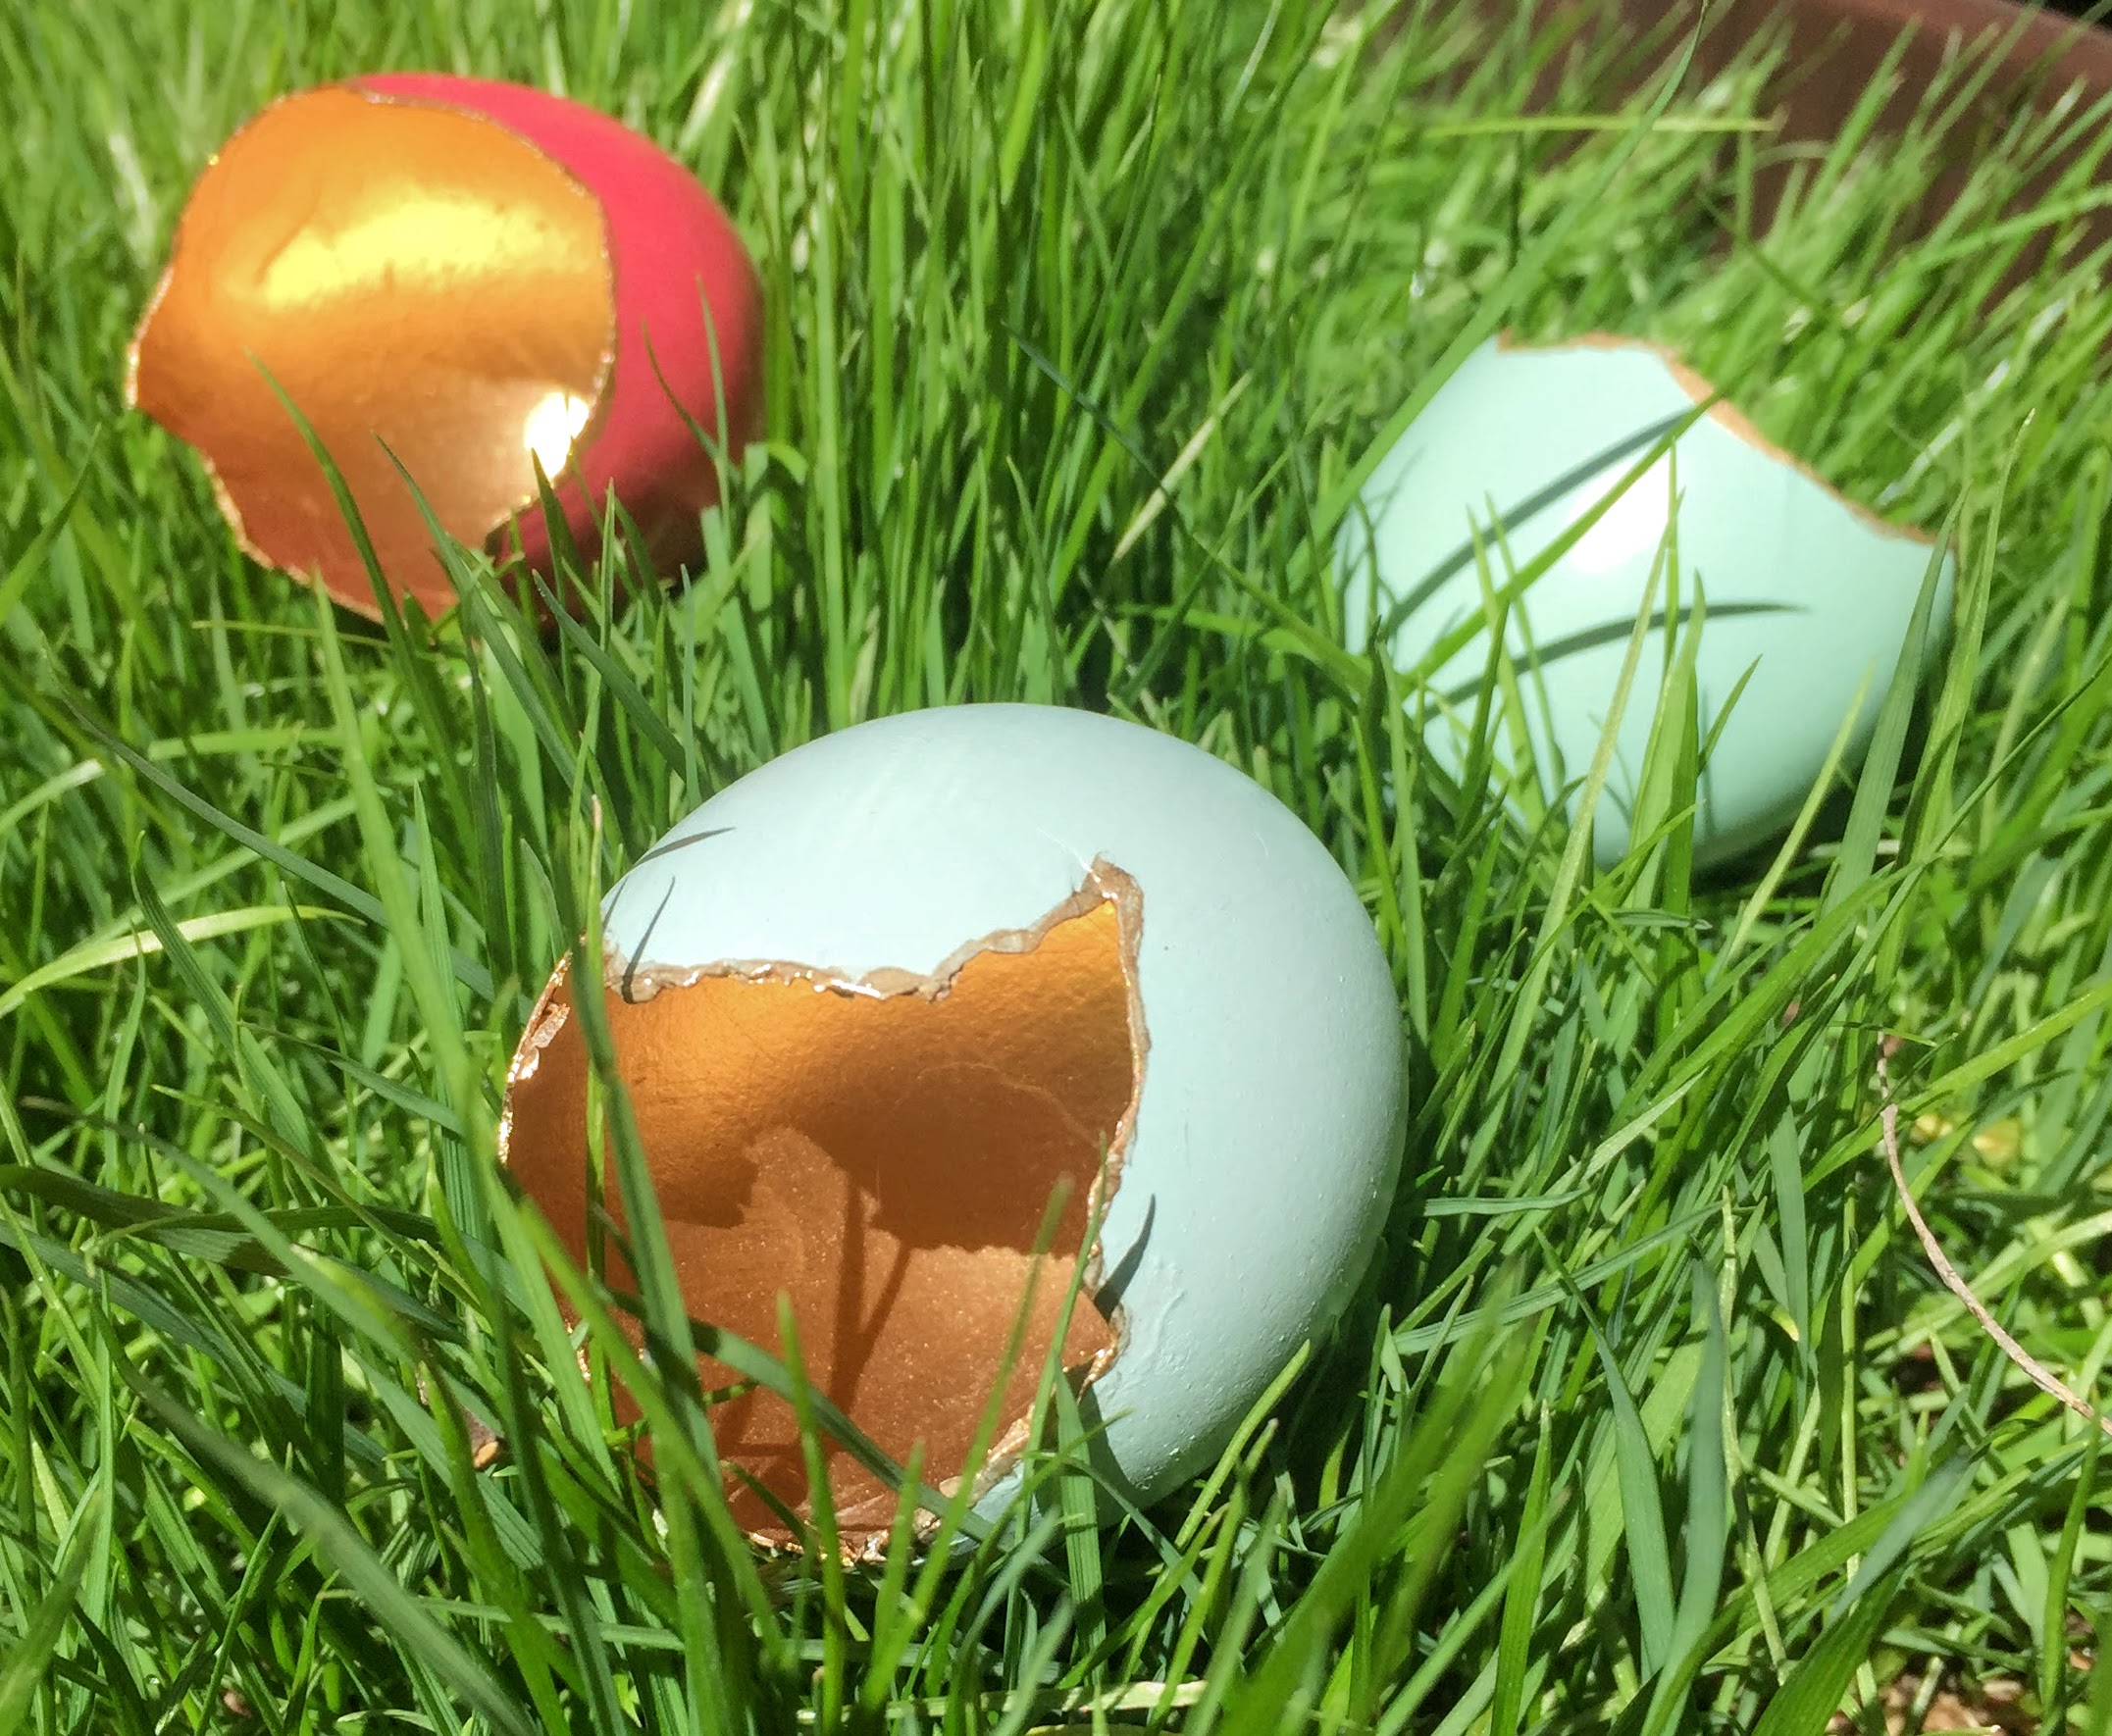
It doesn’t have to be perfect, just follow the jagged edge all the way around the exterior edge of the shell. The line can be as thick or as thin as you like. Here is a picture showing a variety of edges from thick to thin (left to right):
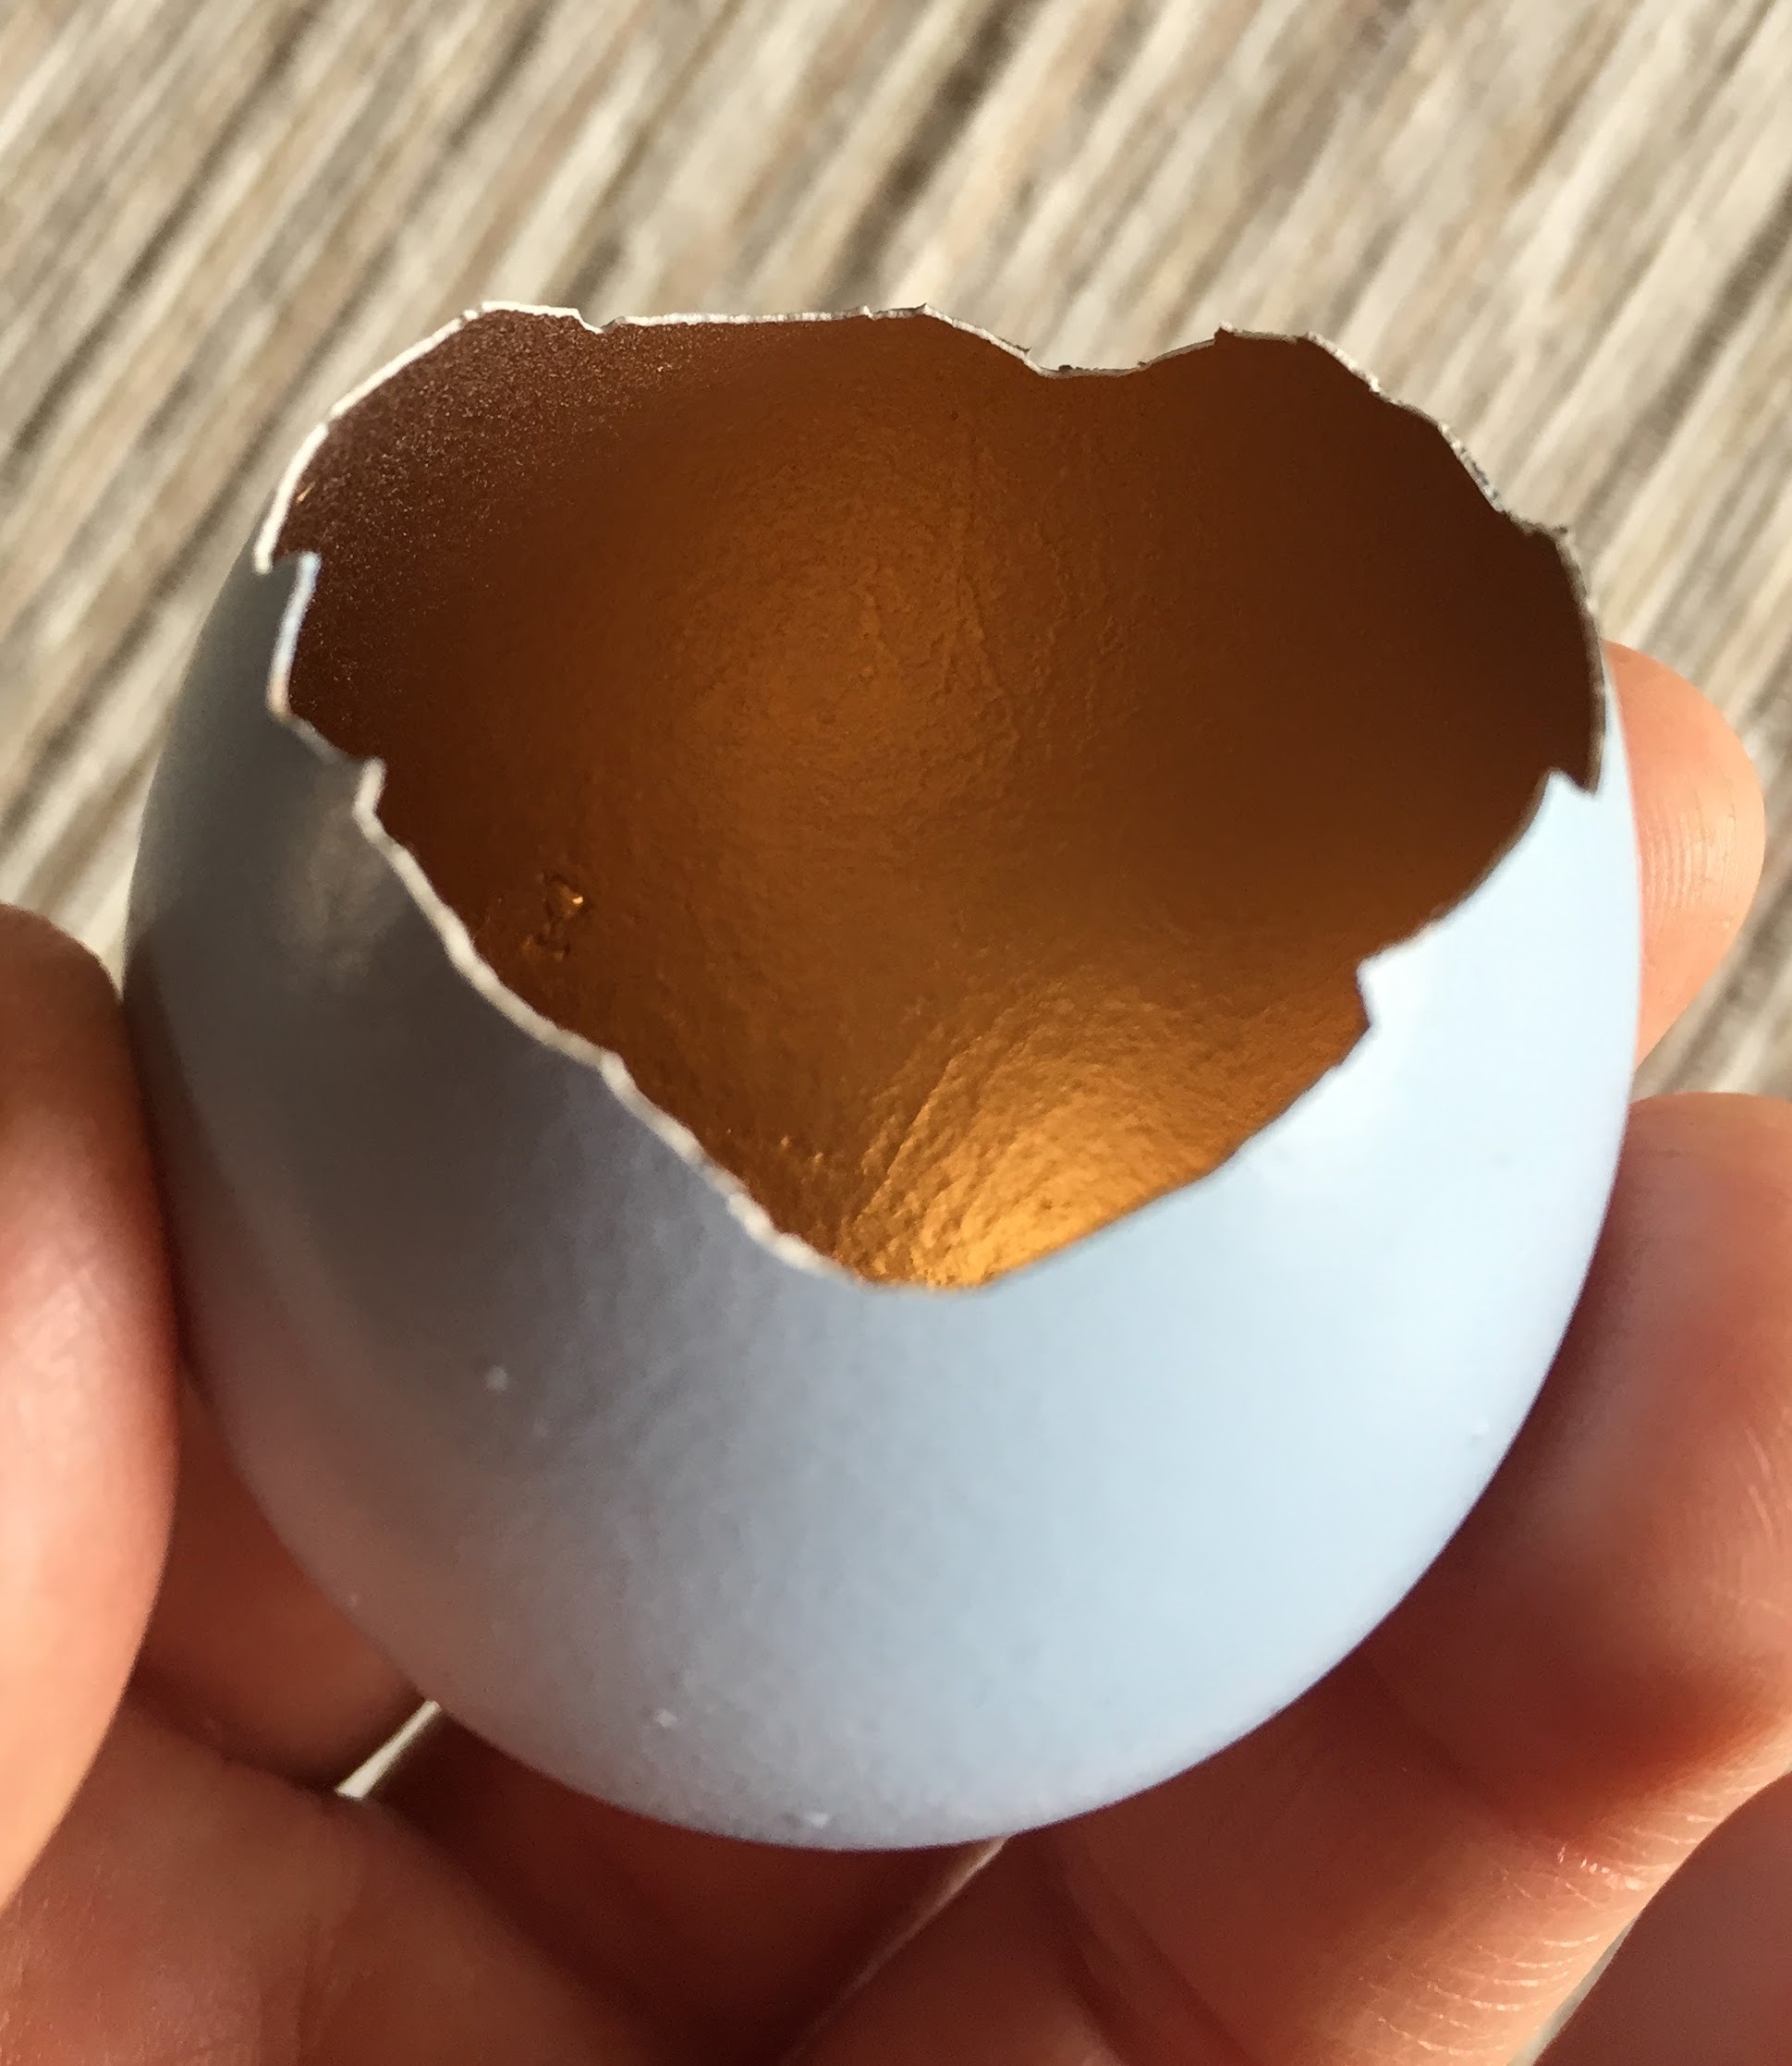
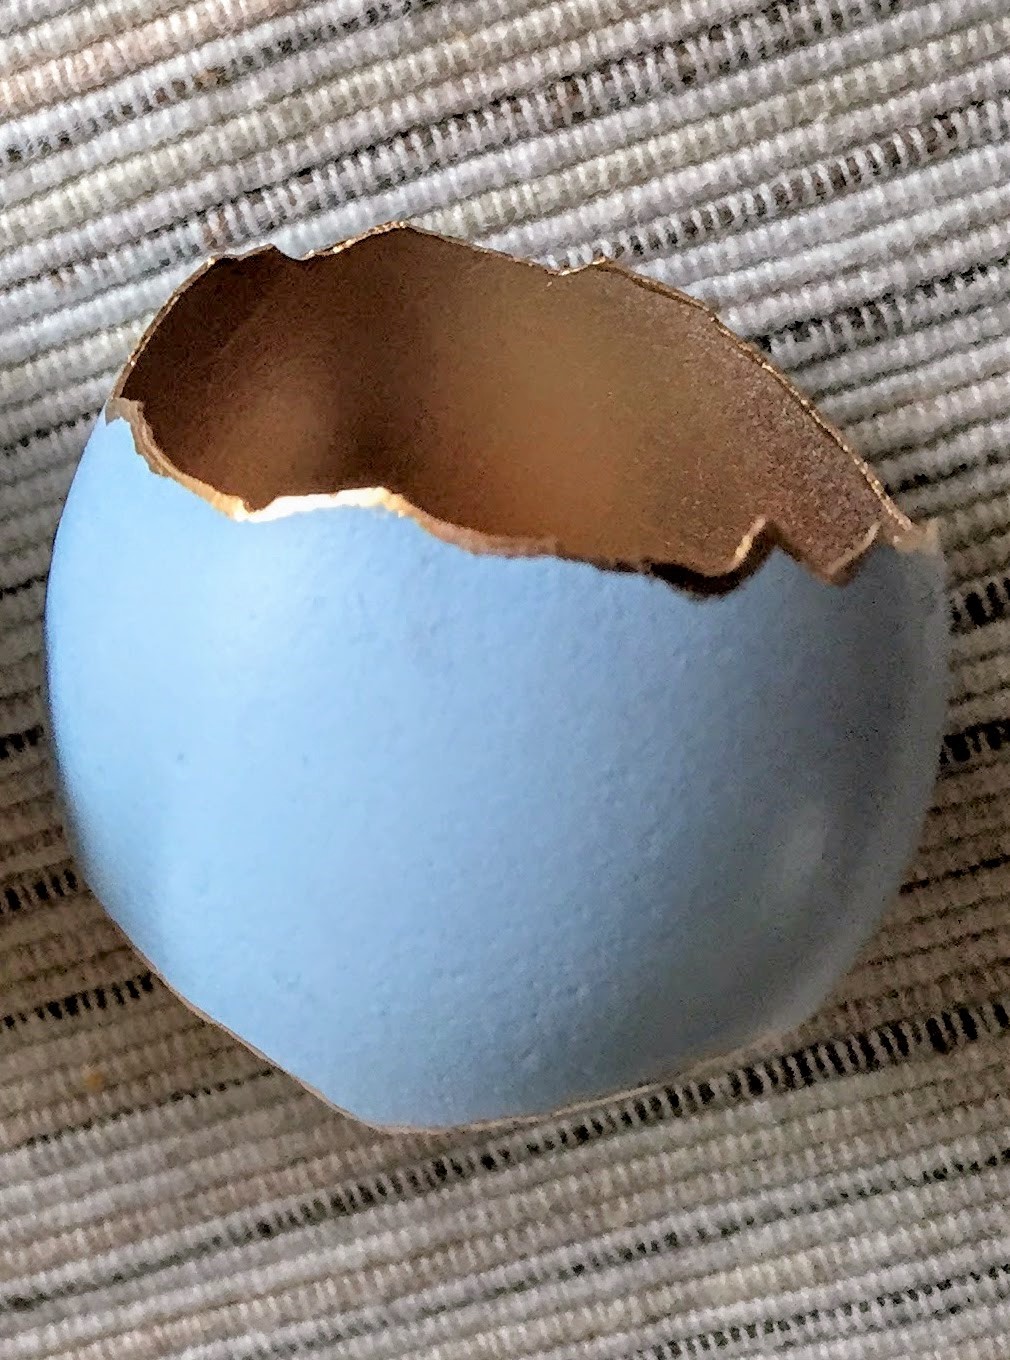
Here is one with a very thin edge:
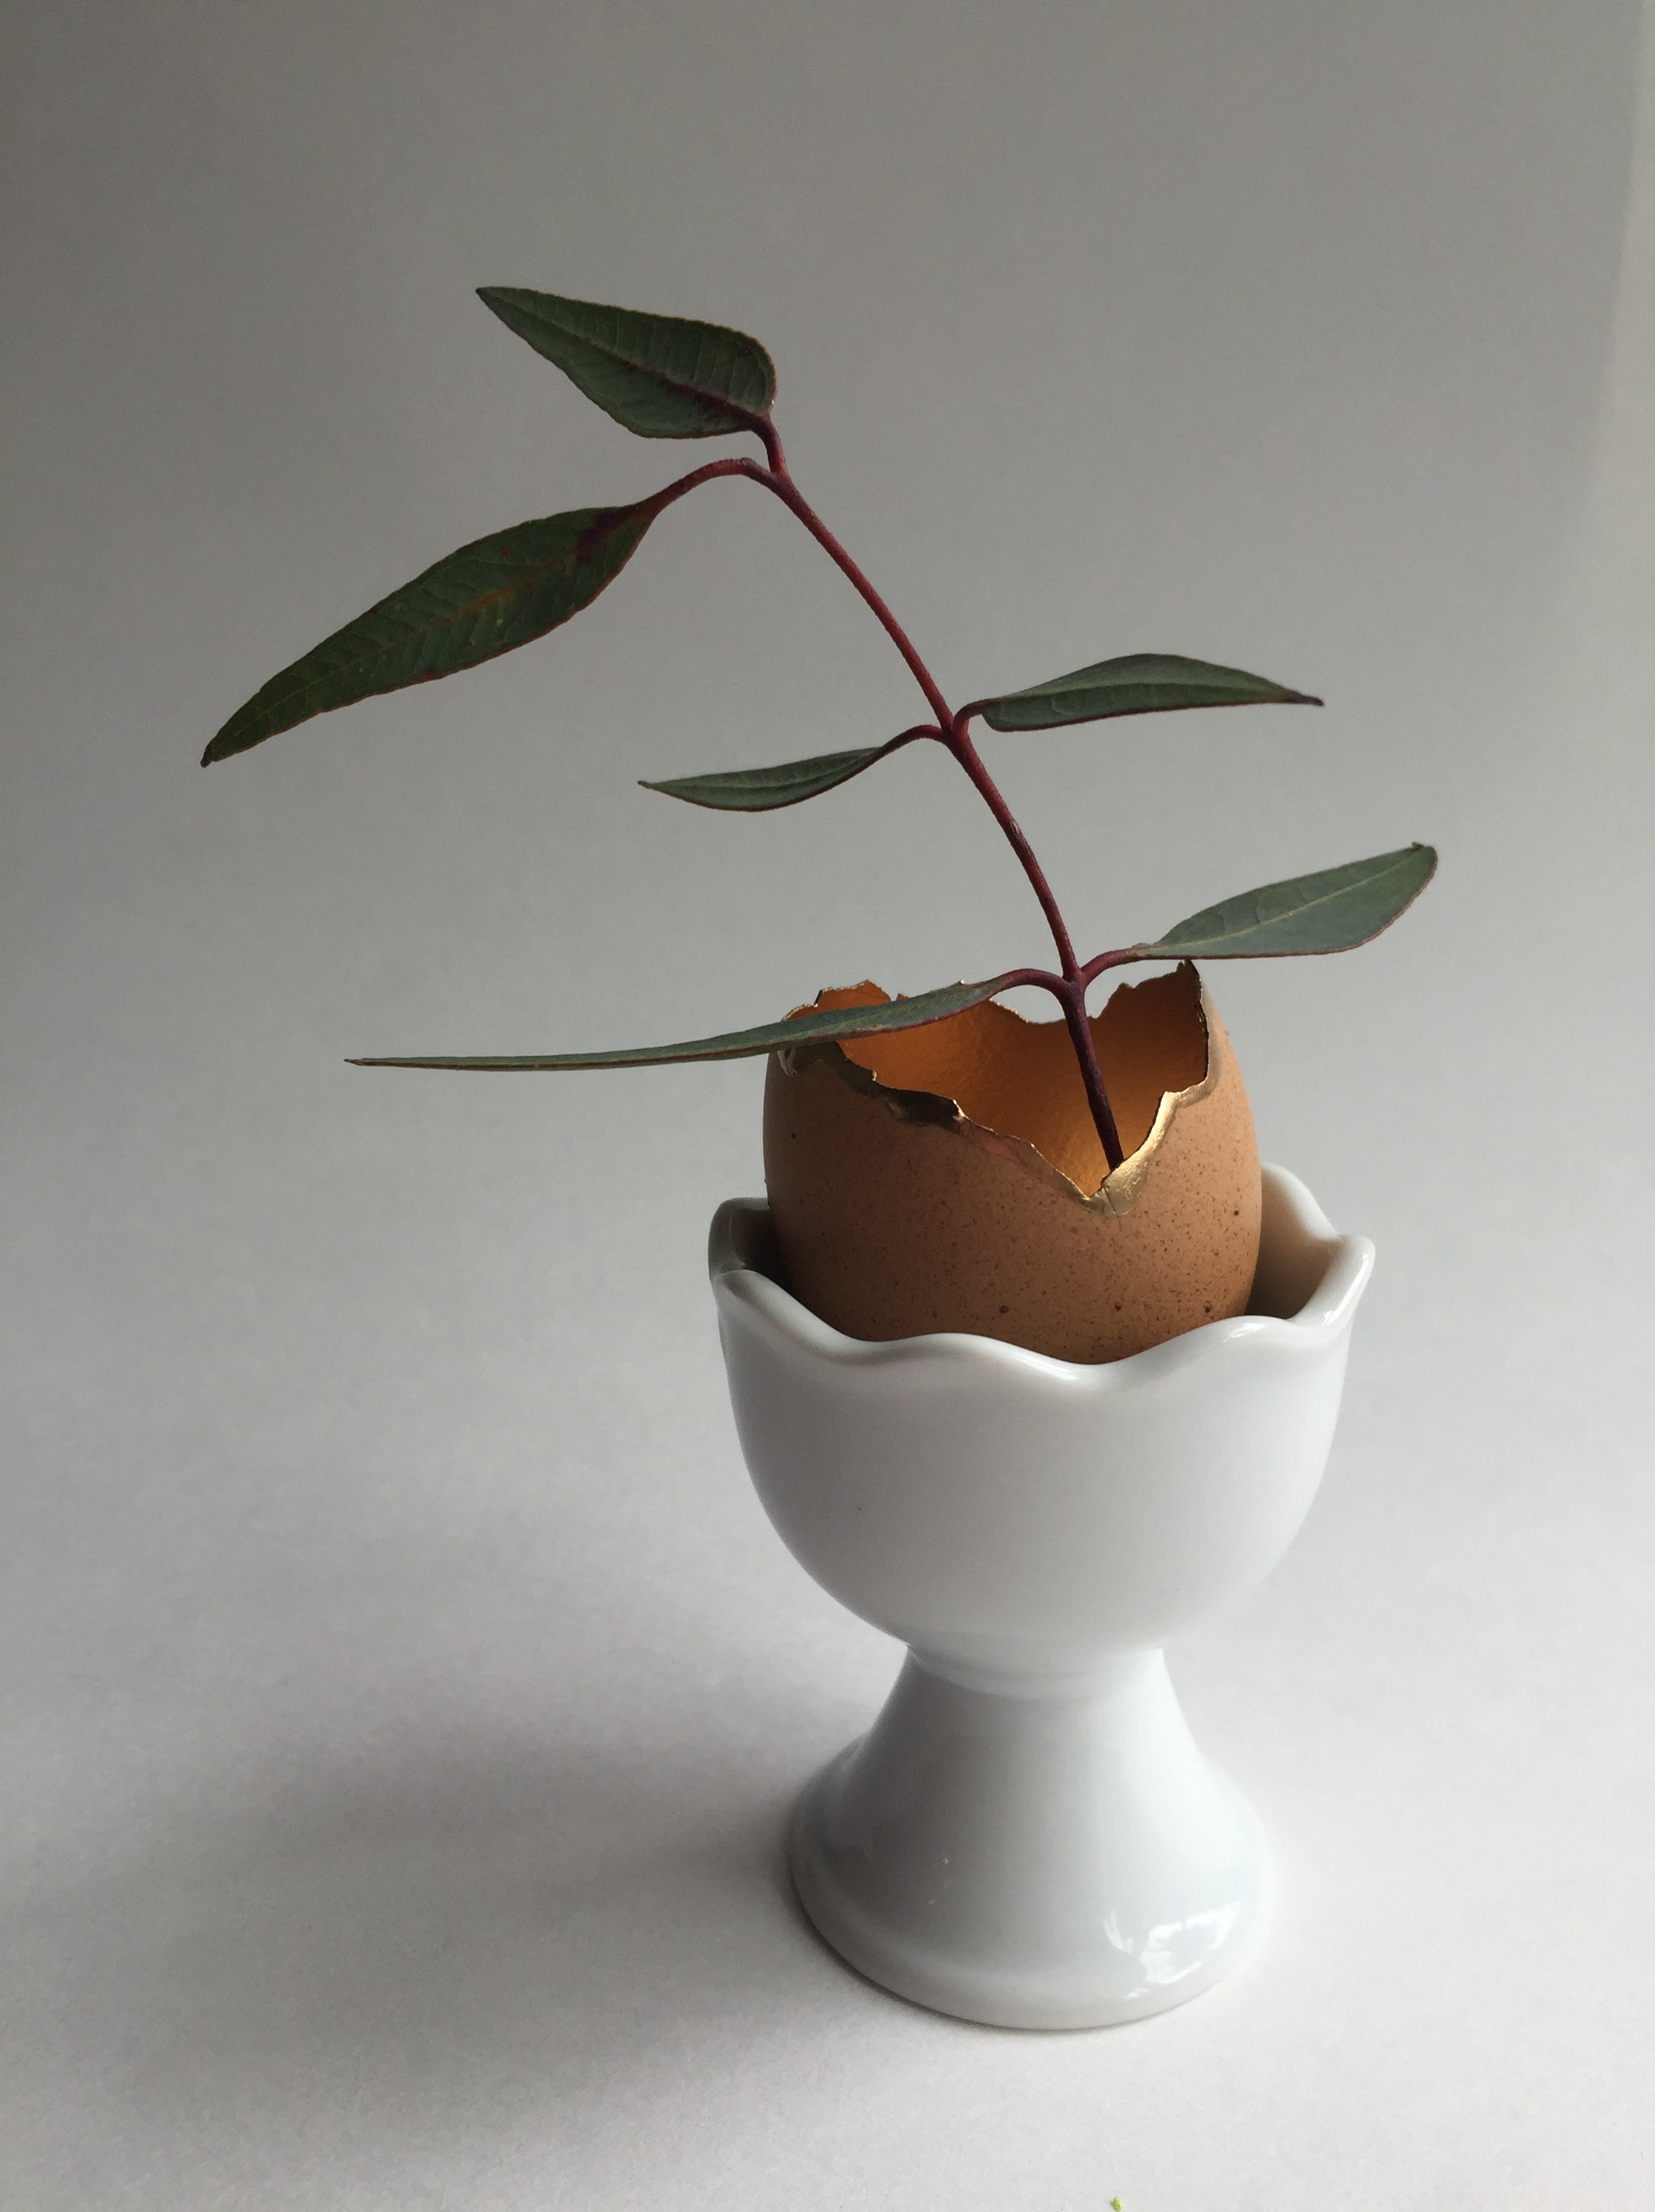
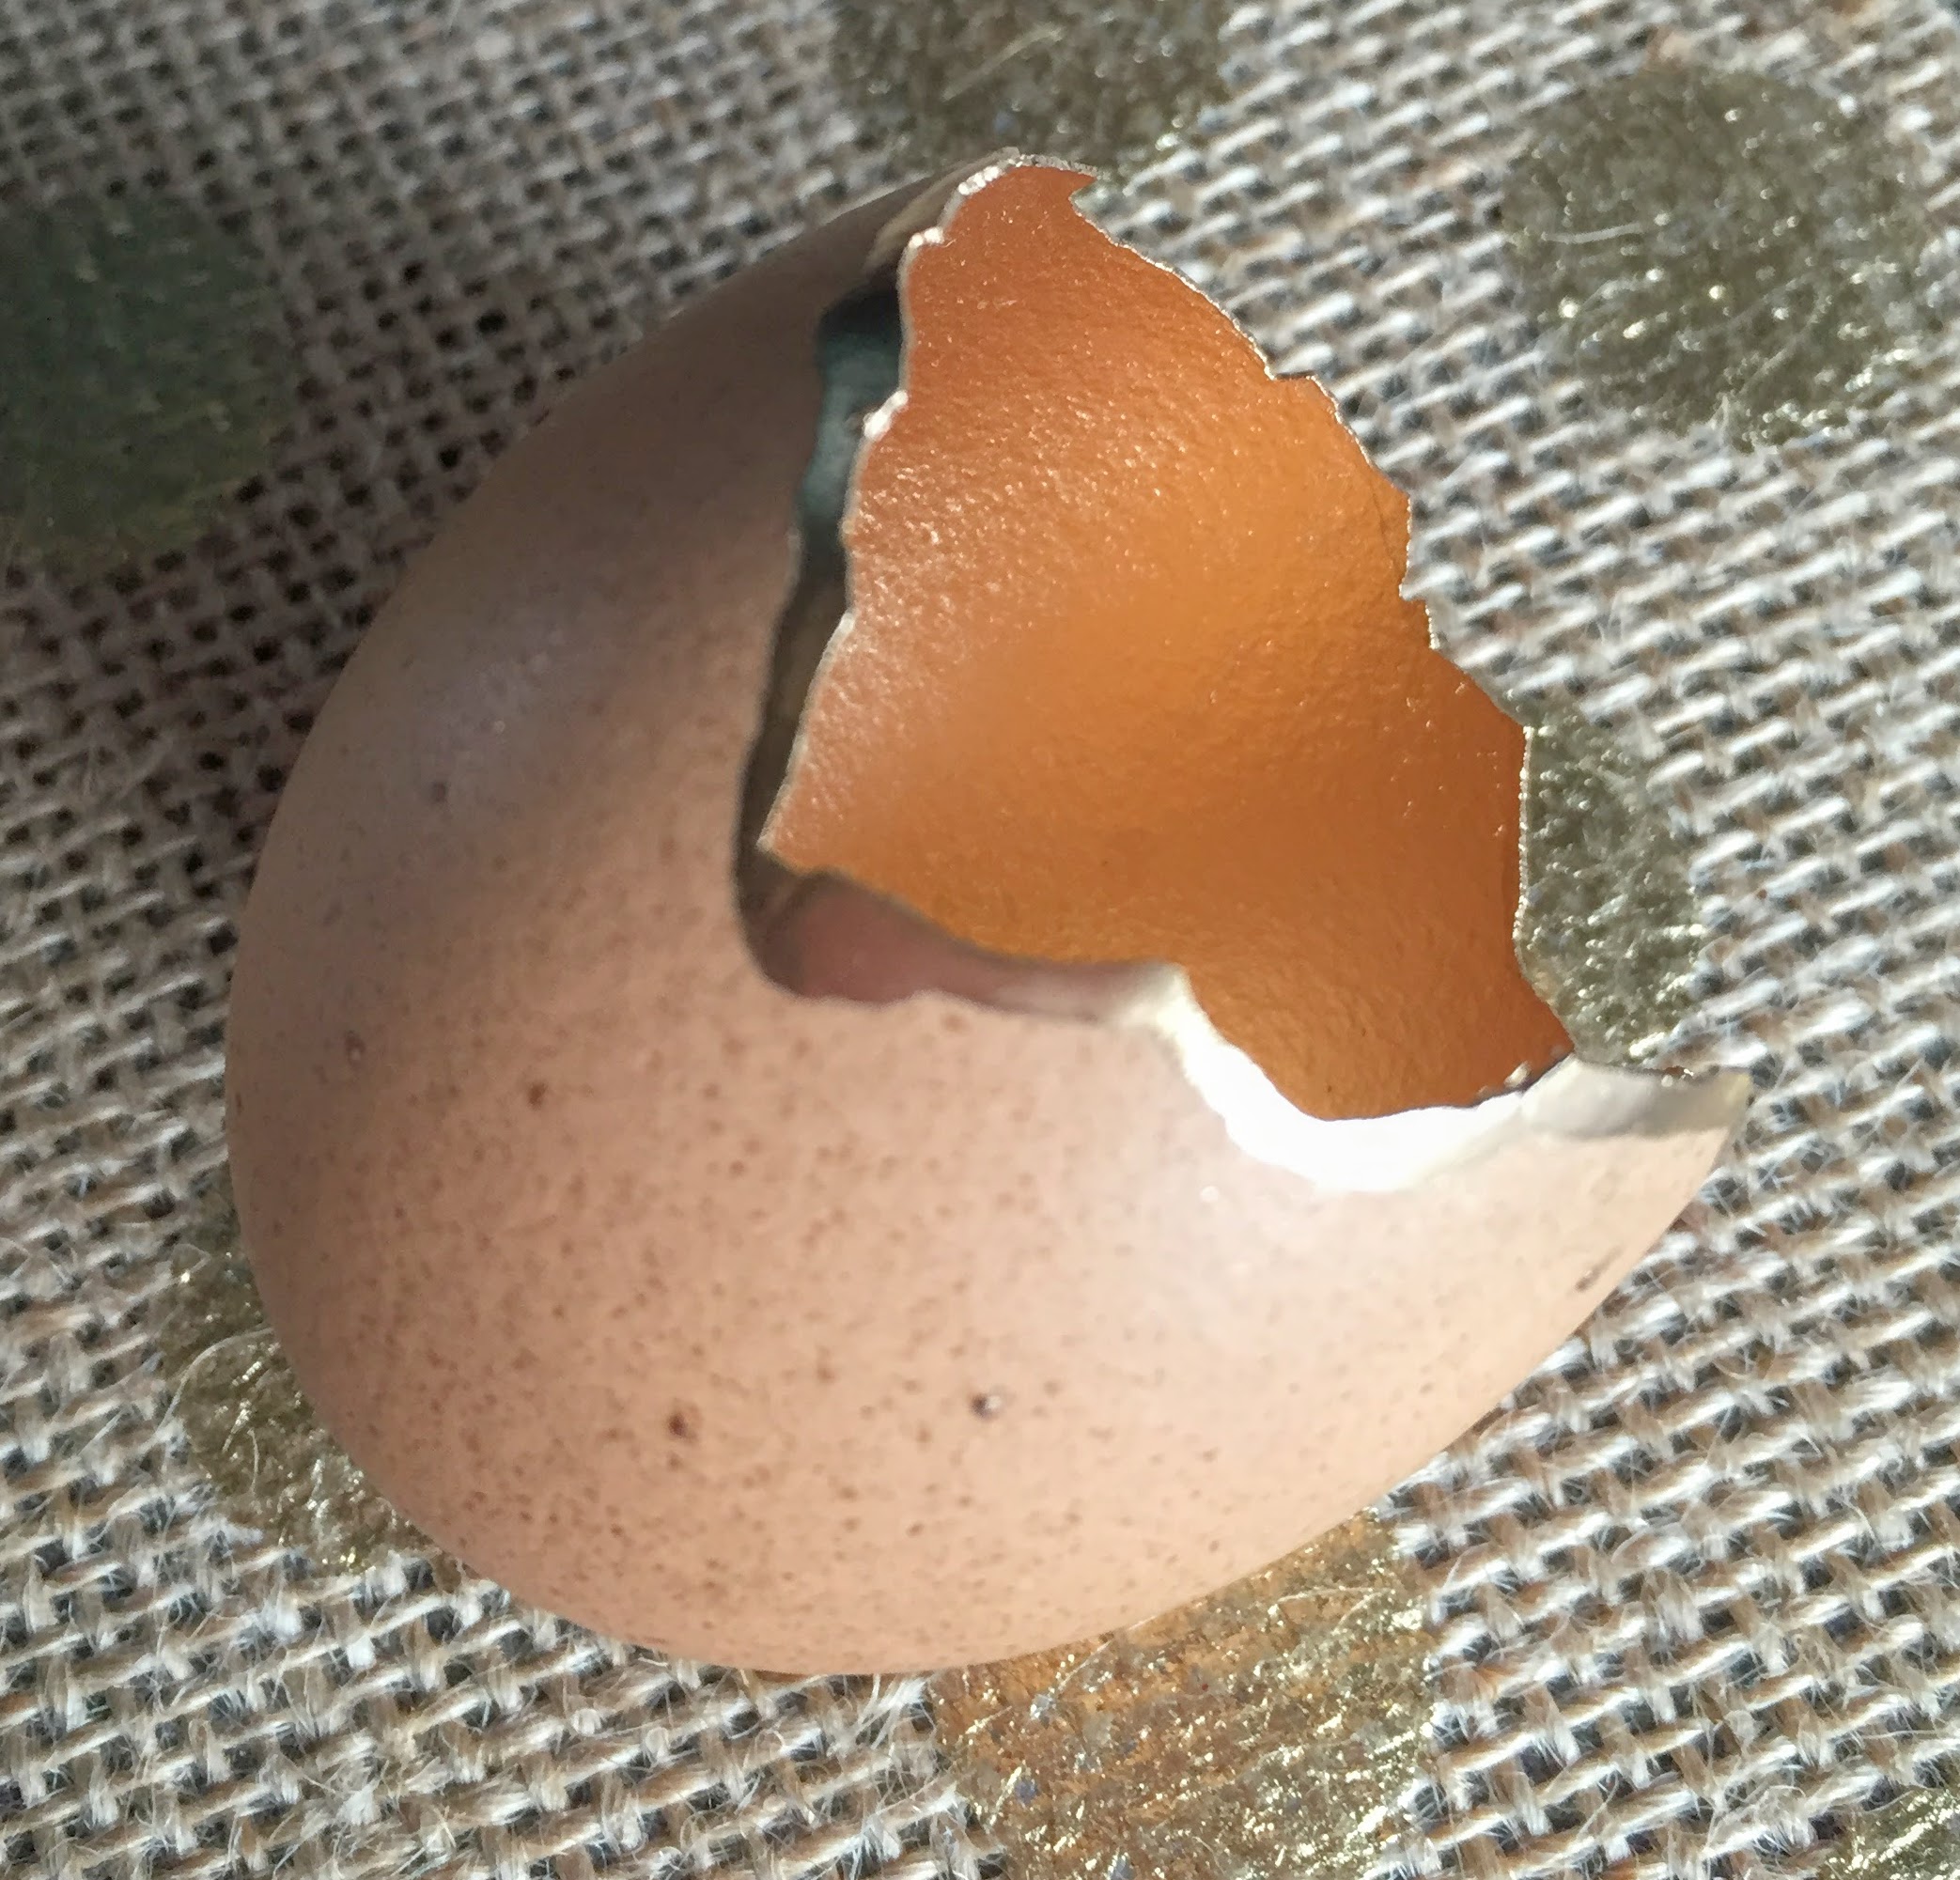
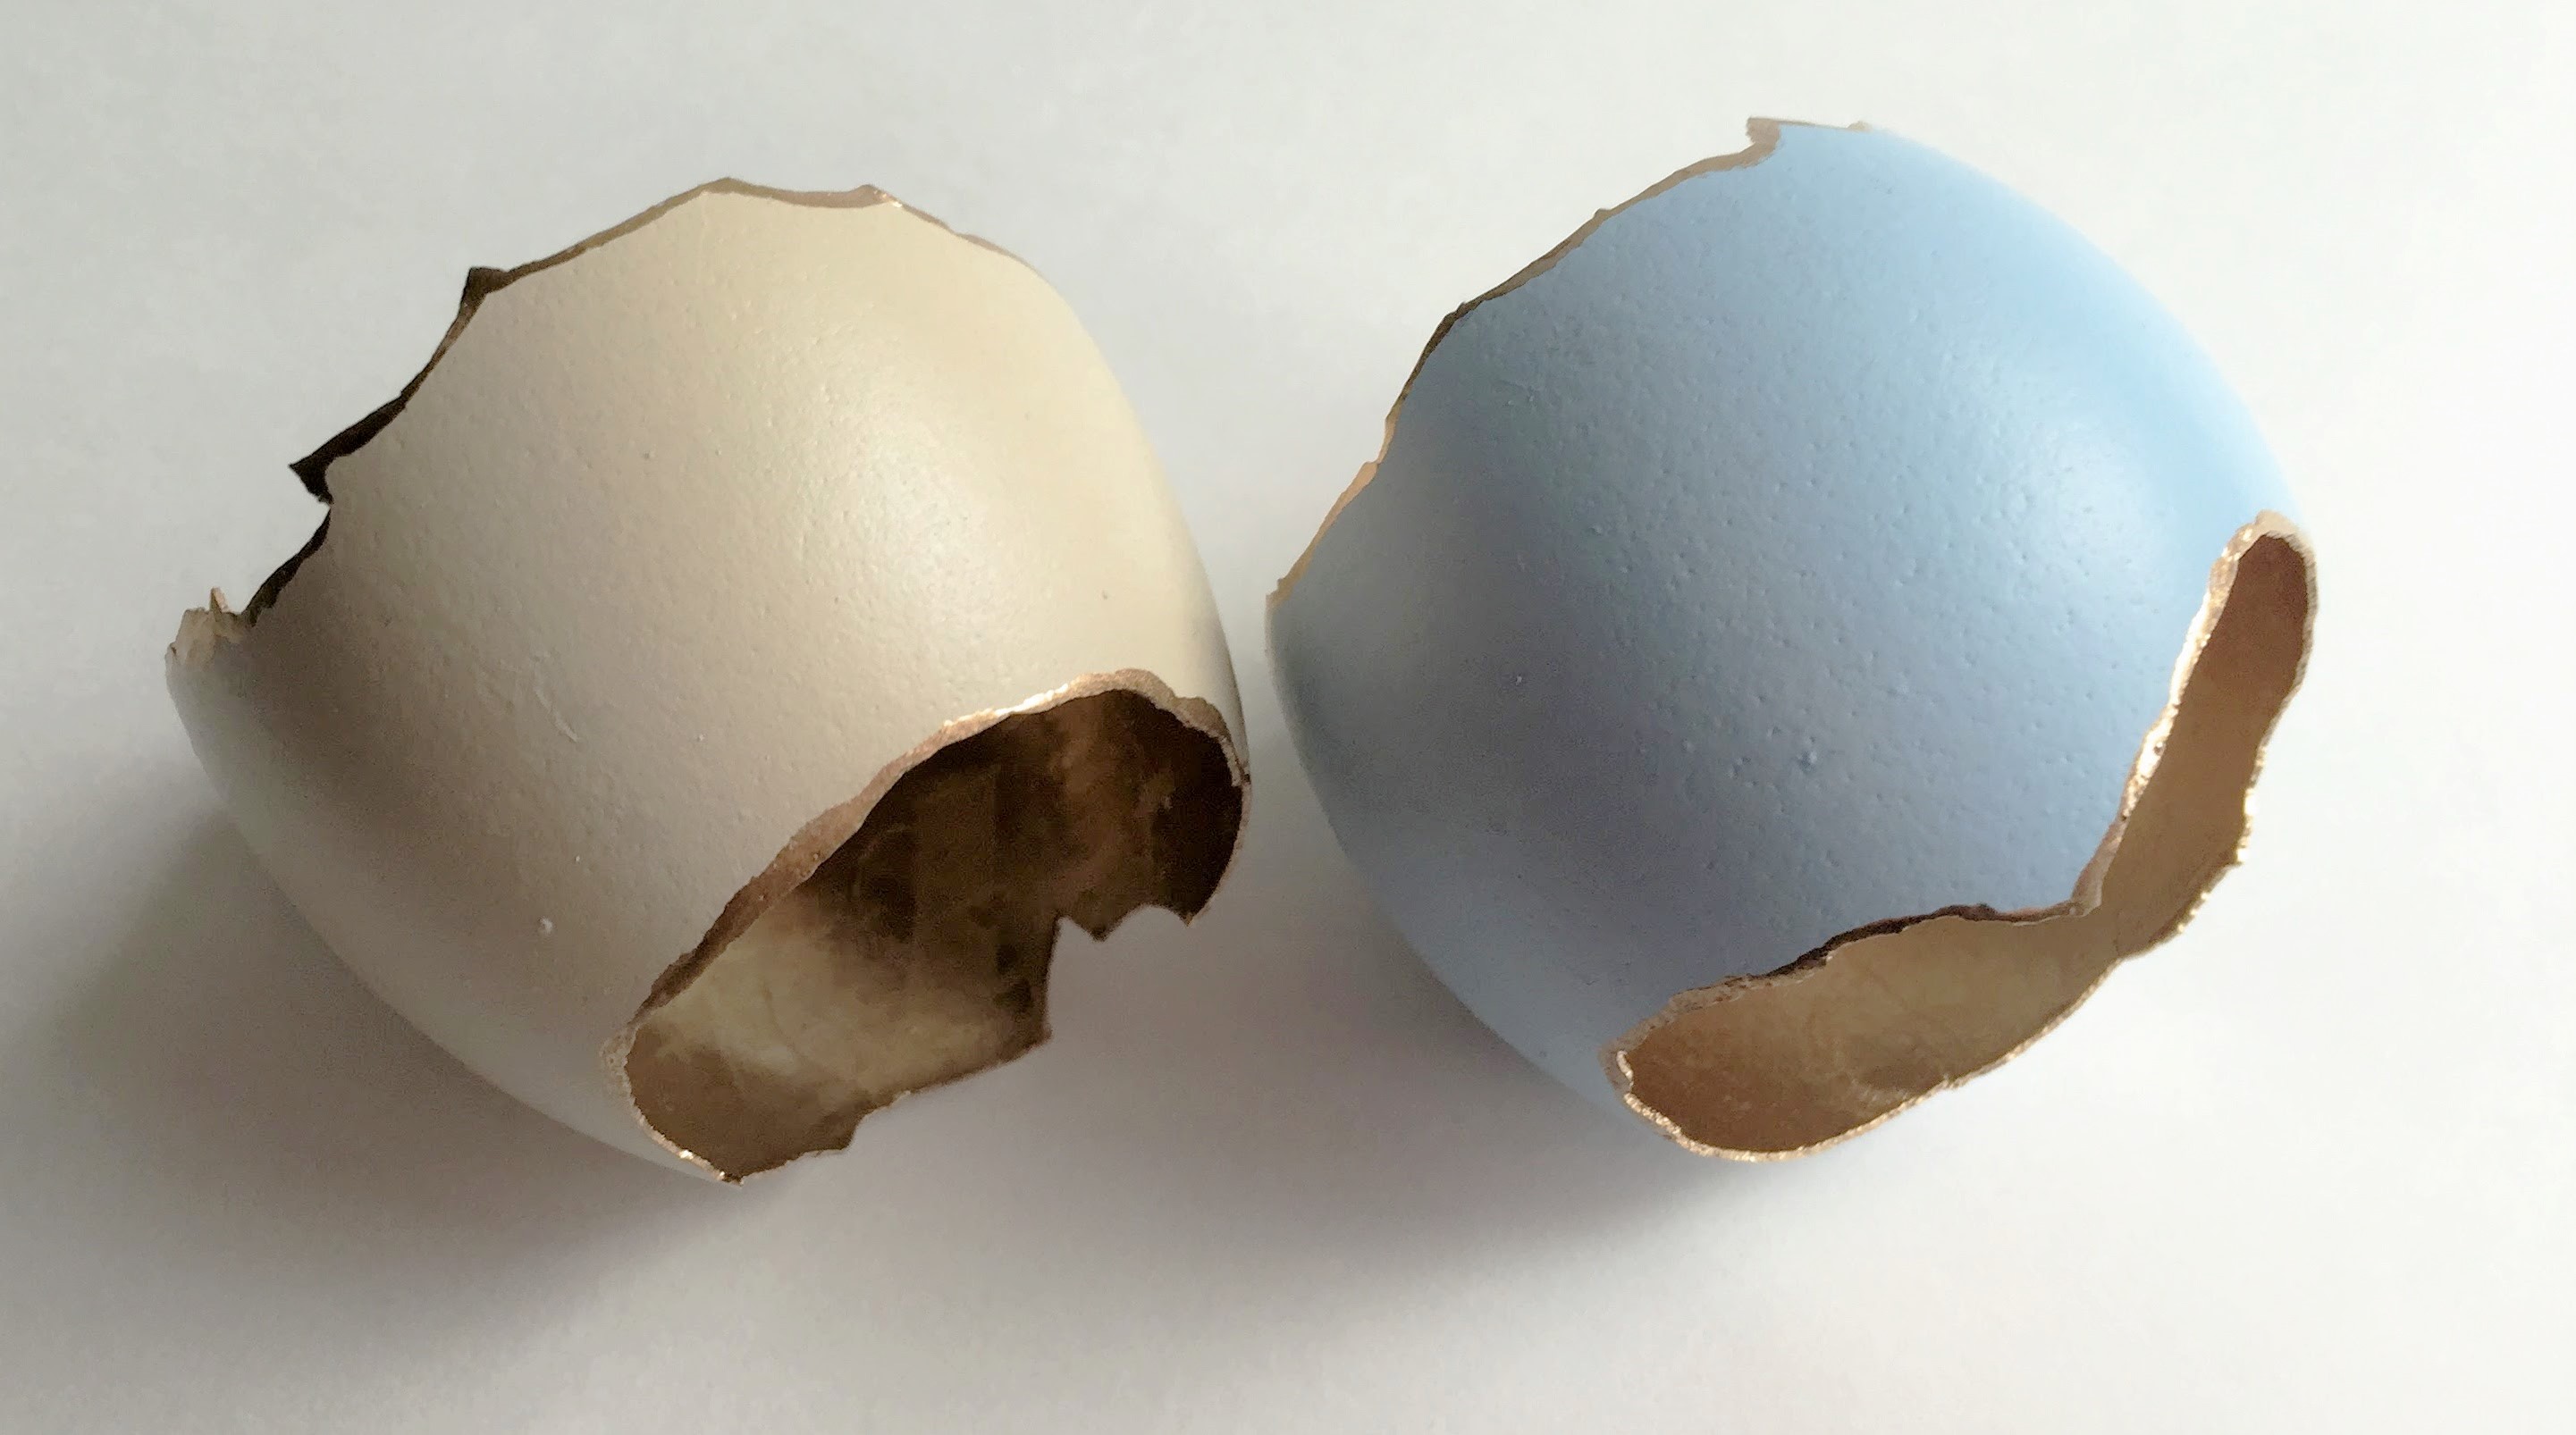
And another with a much thicker edge (and with this one, I loved the brown speckly complexion of the original egg, so I left the exterior au naturale!):
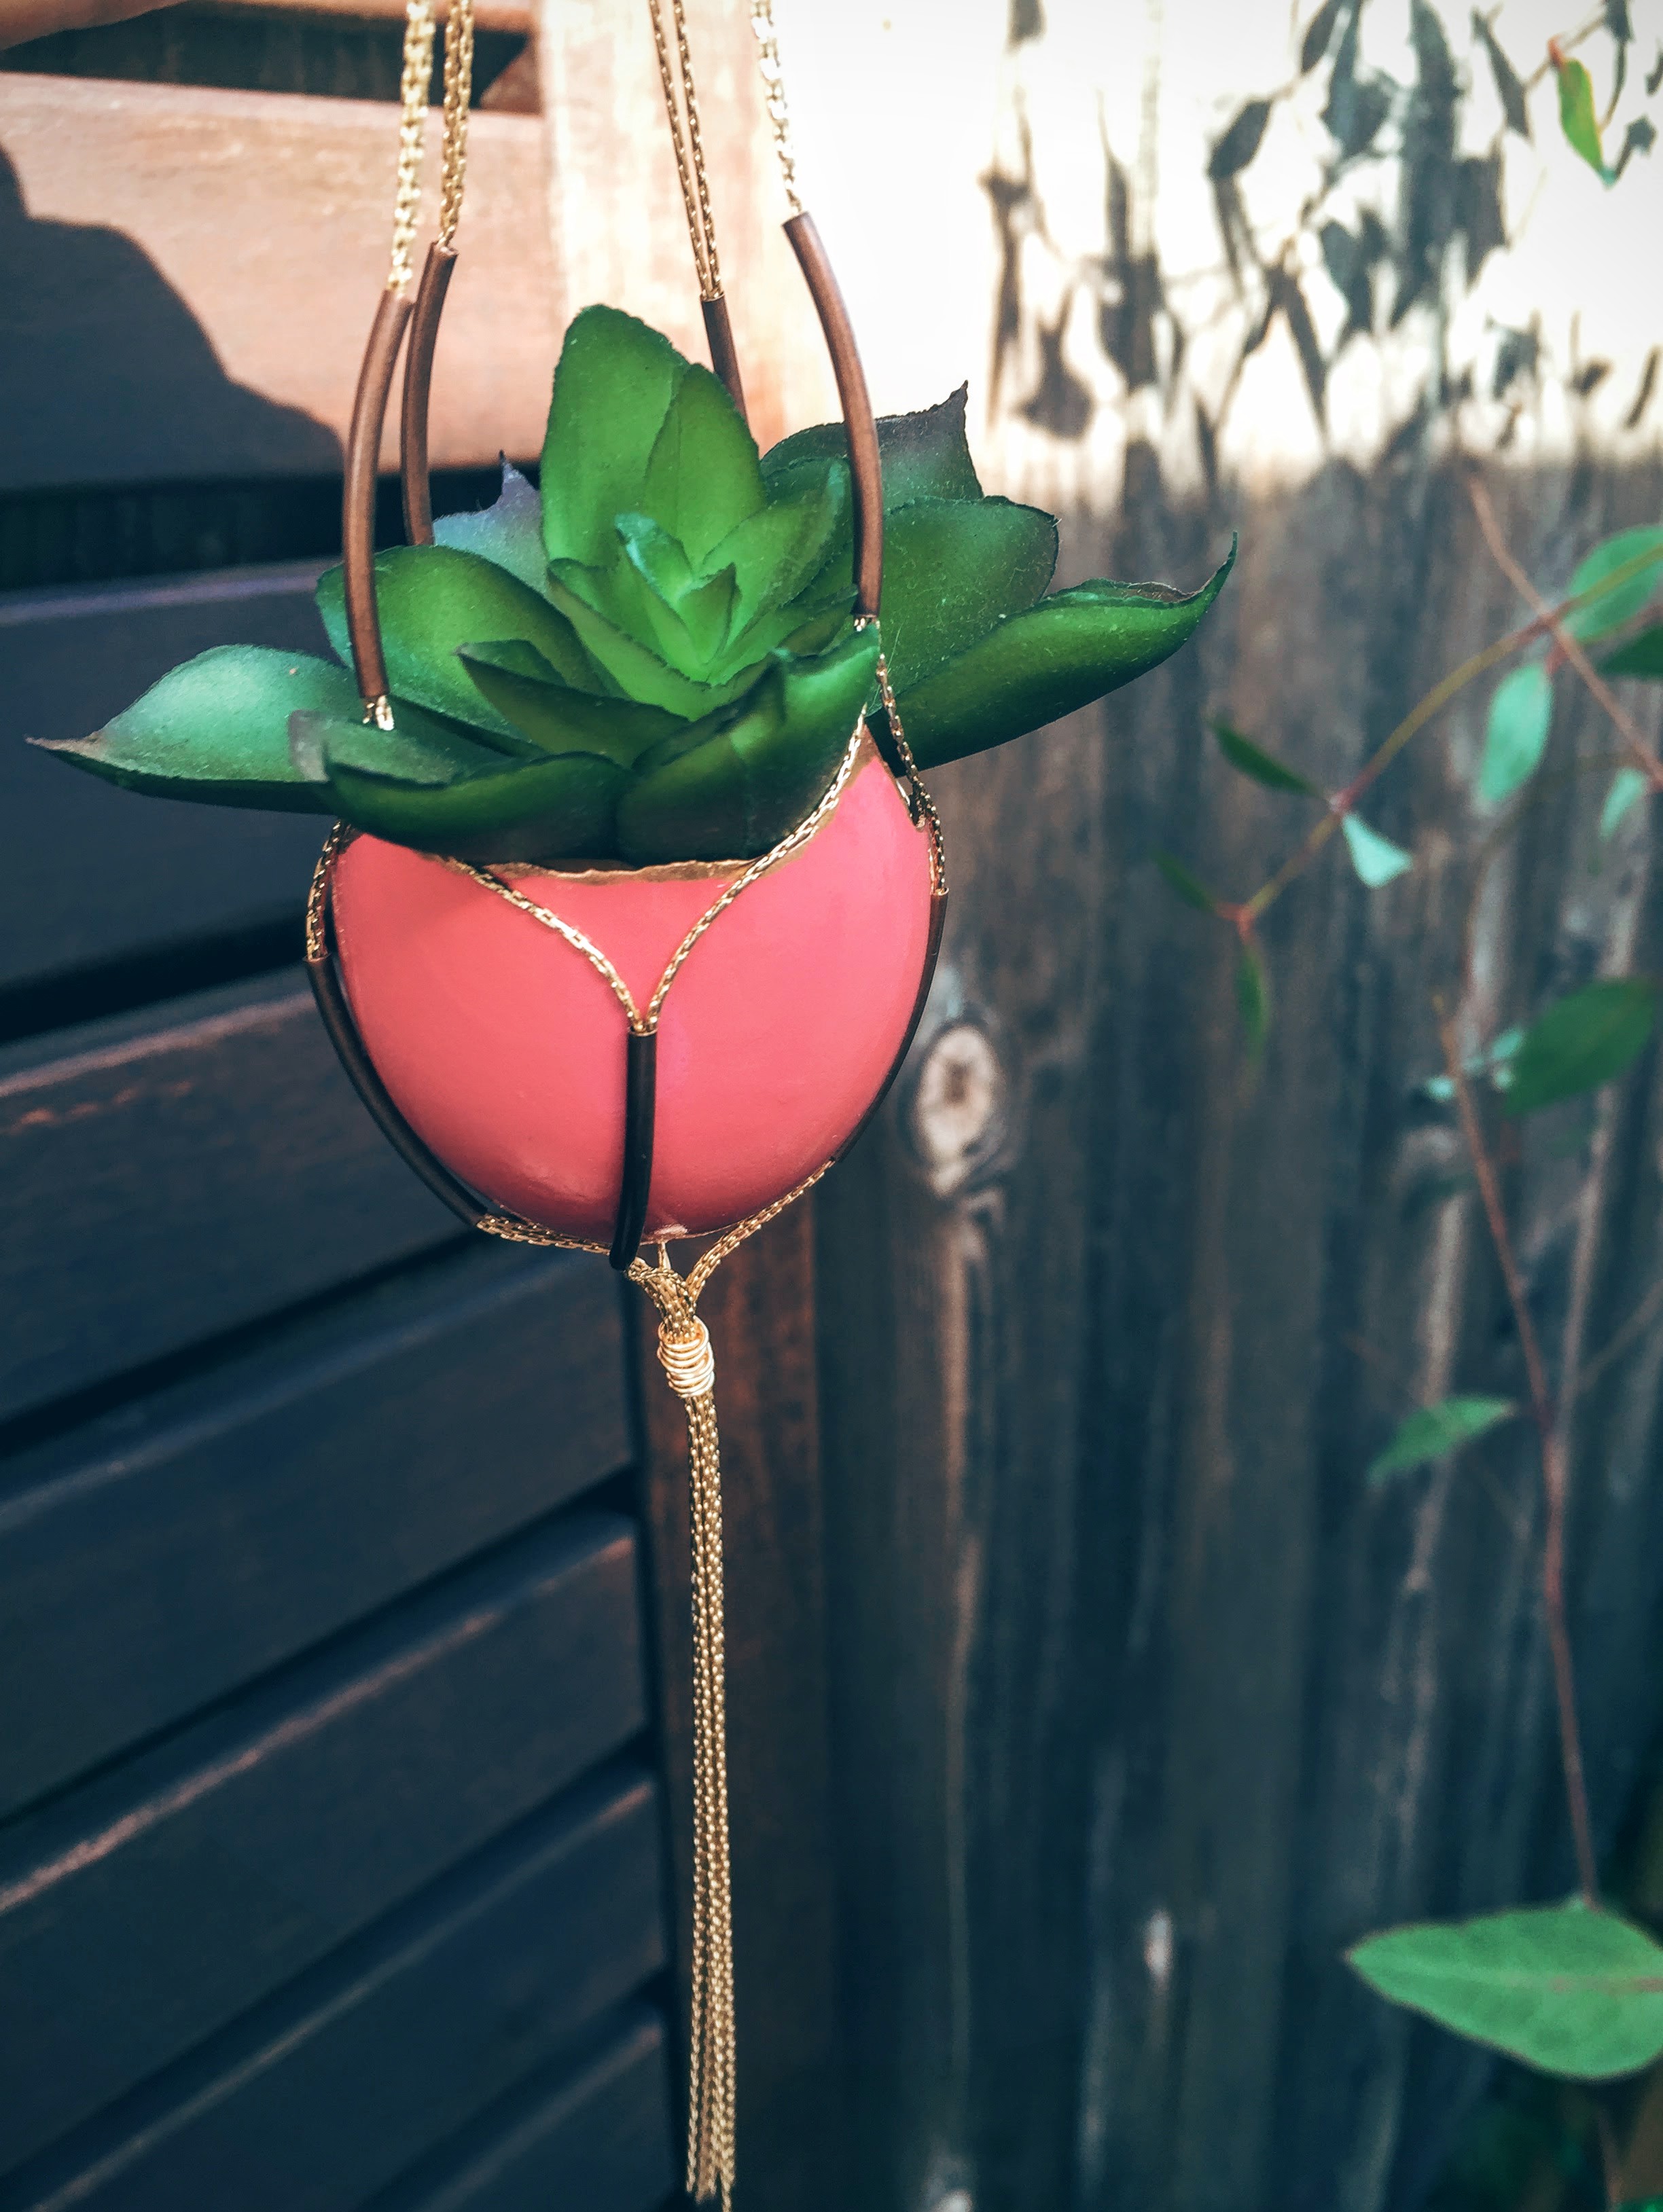
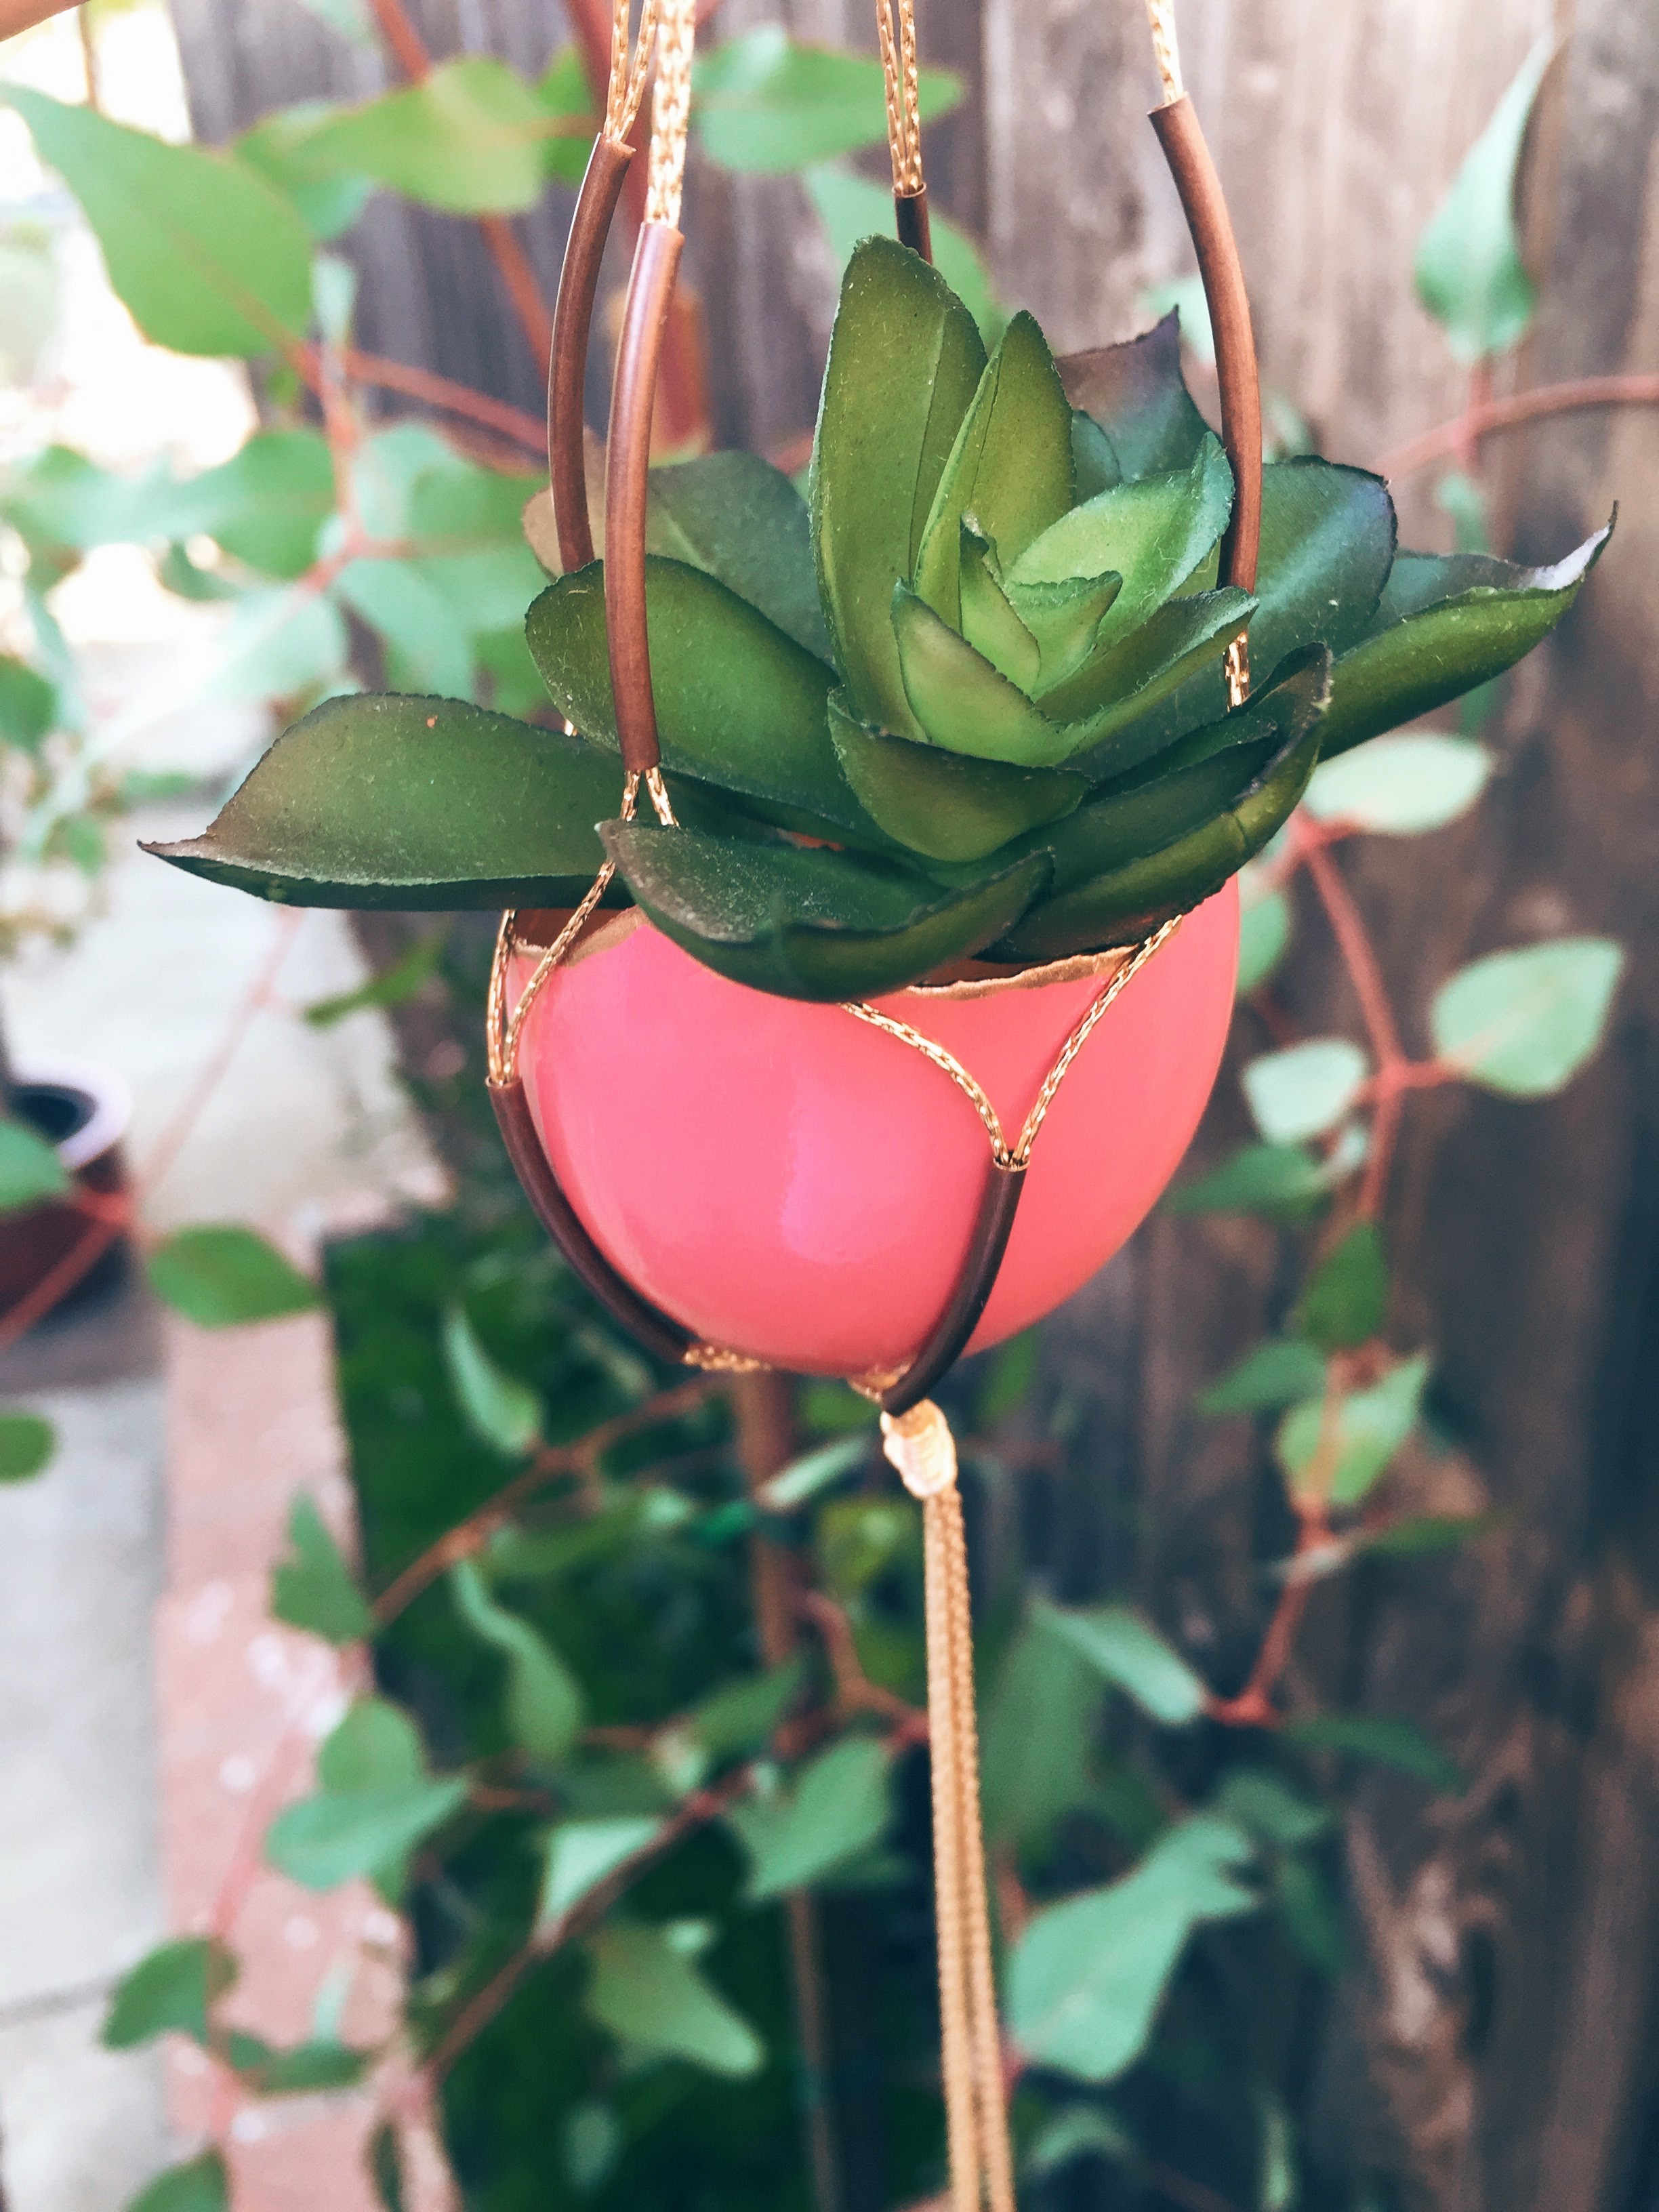
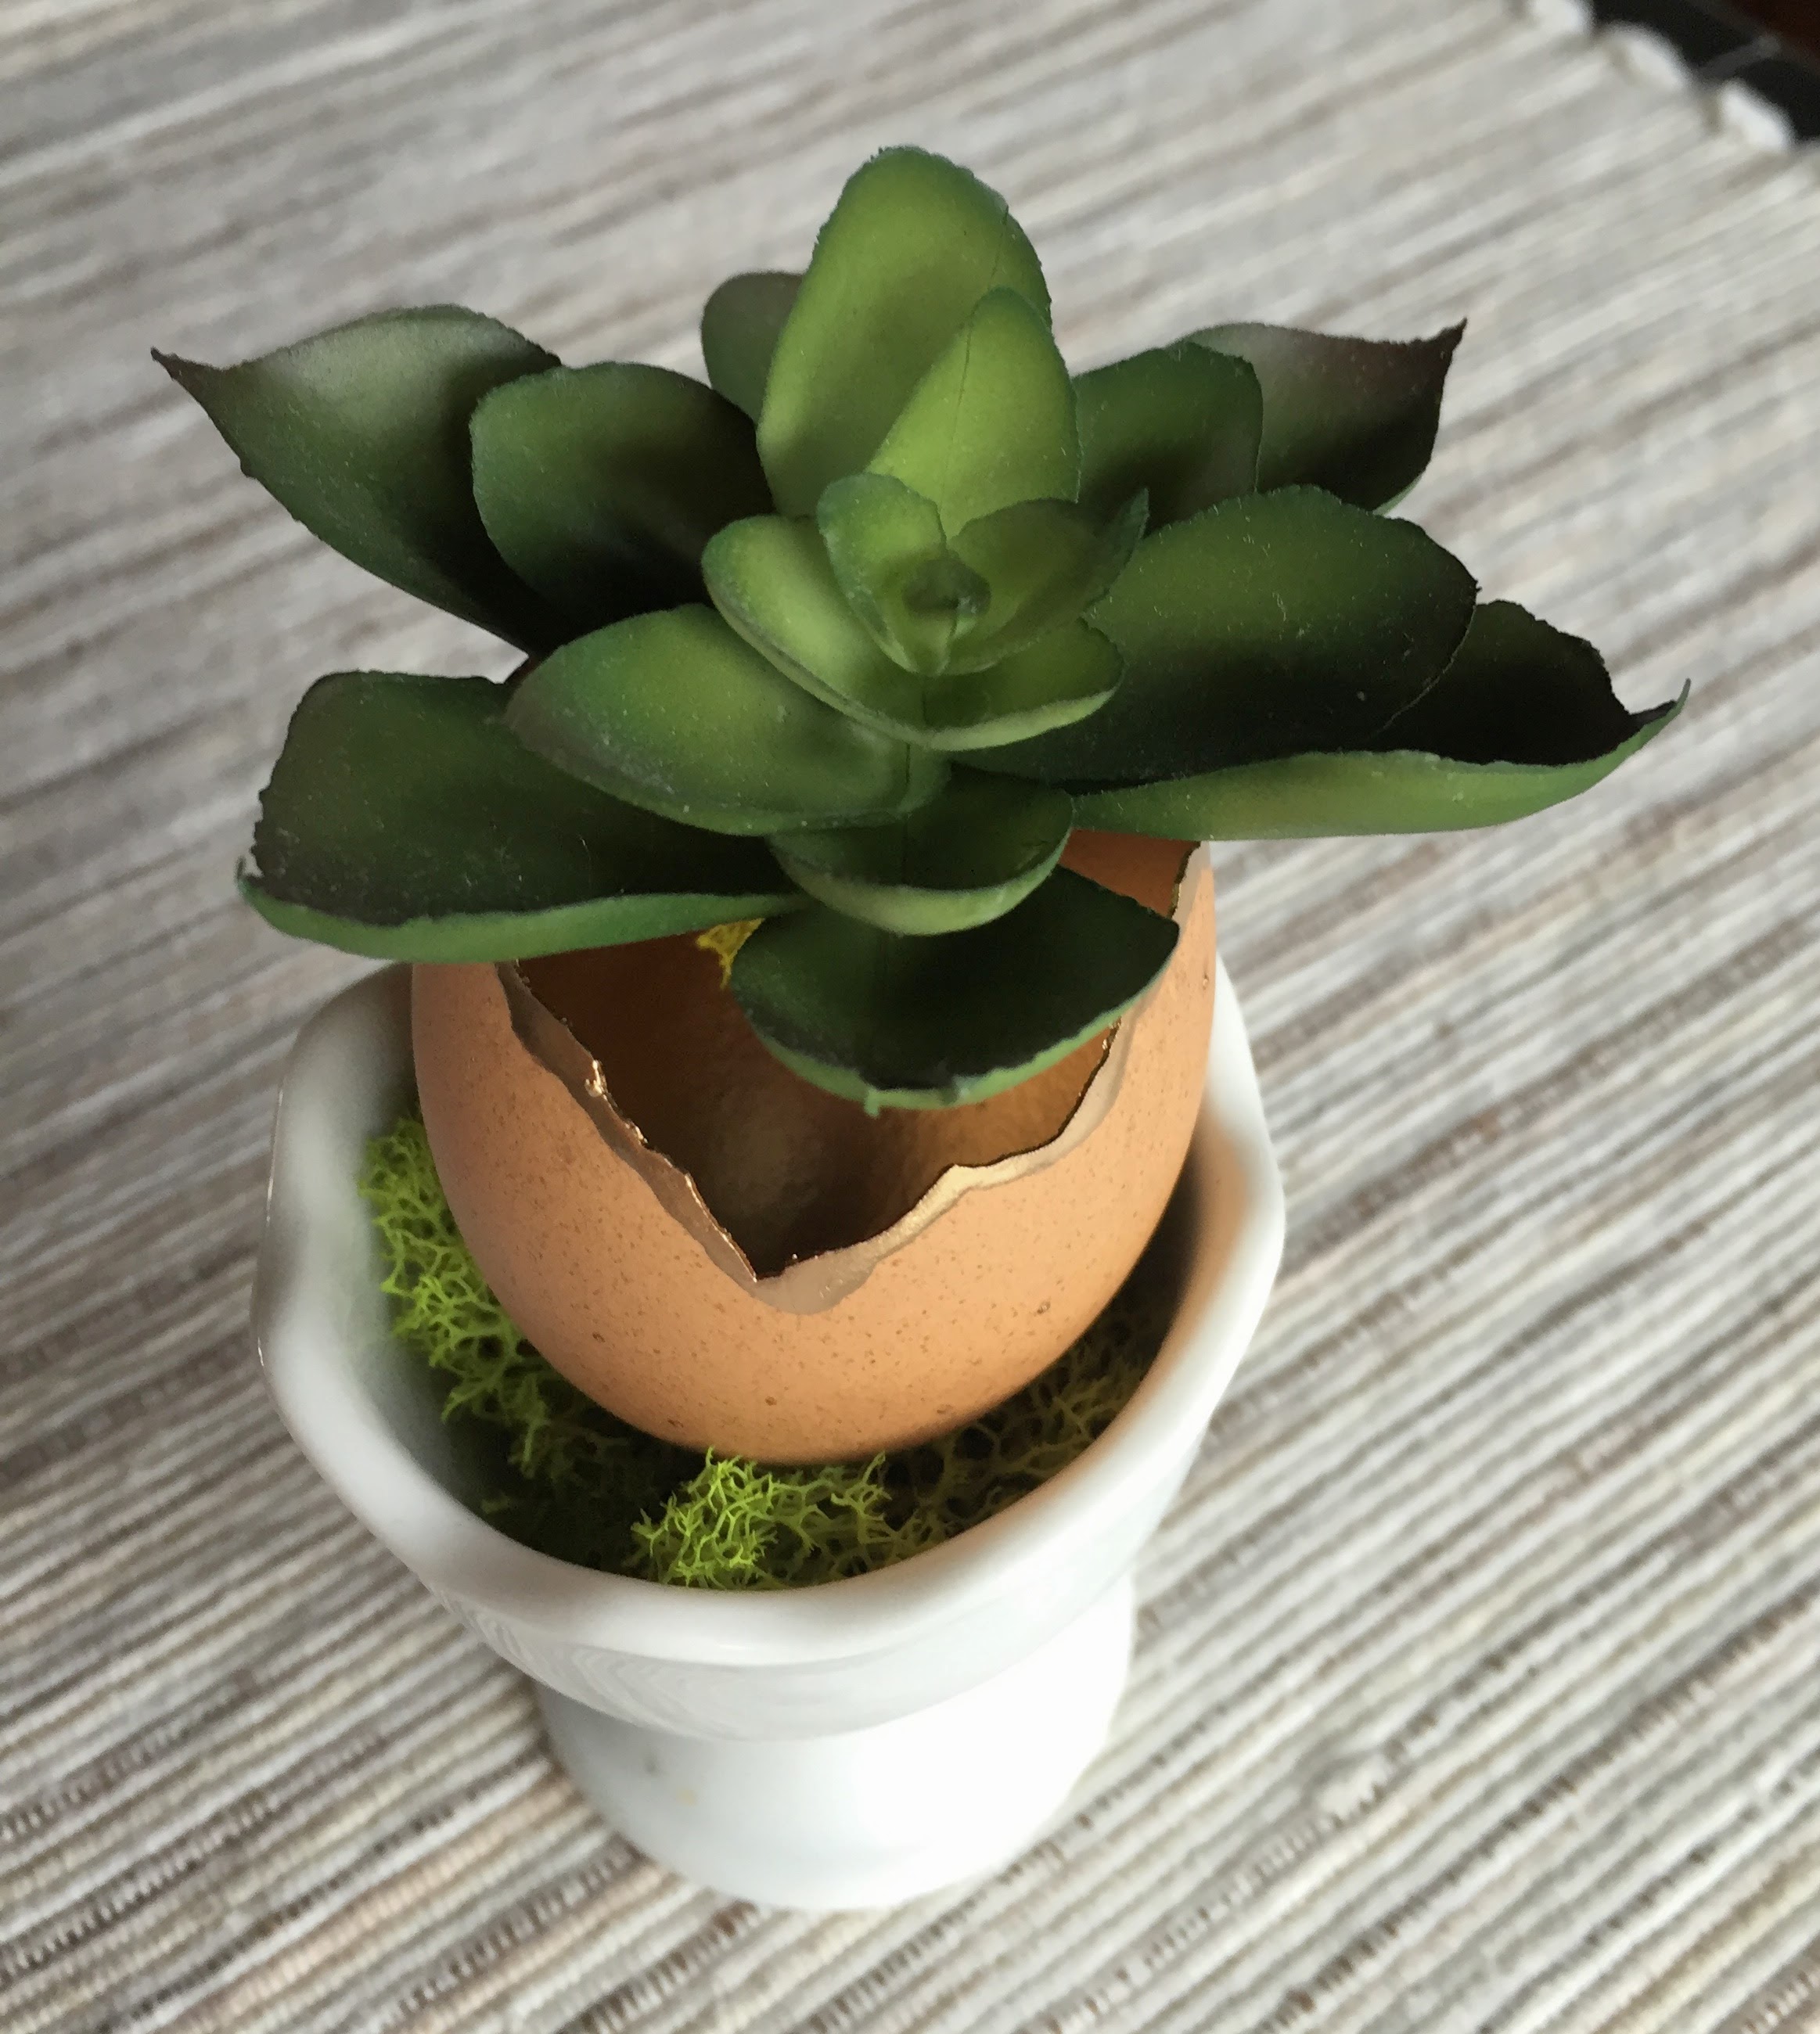
You could go even thicker if you’d like. It’s just a matter of preference. The benefit to going thicker, is that the gold will be more noticeable, when there is a plant inside:
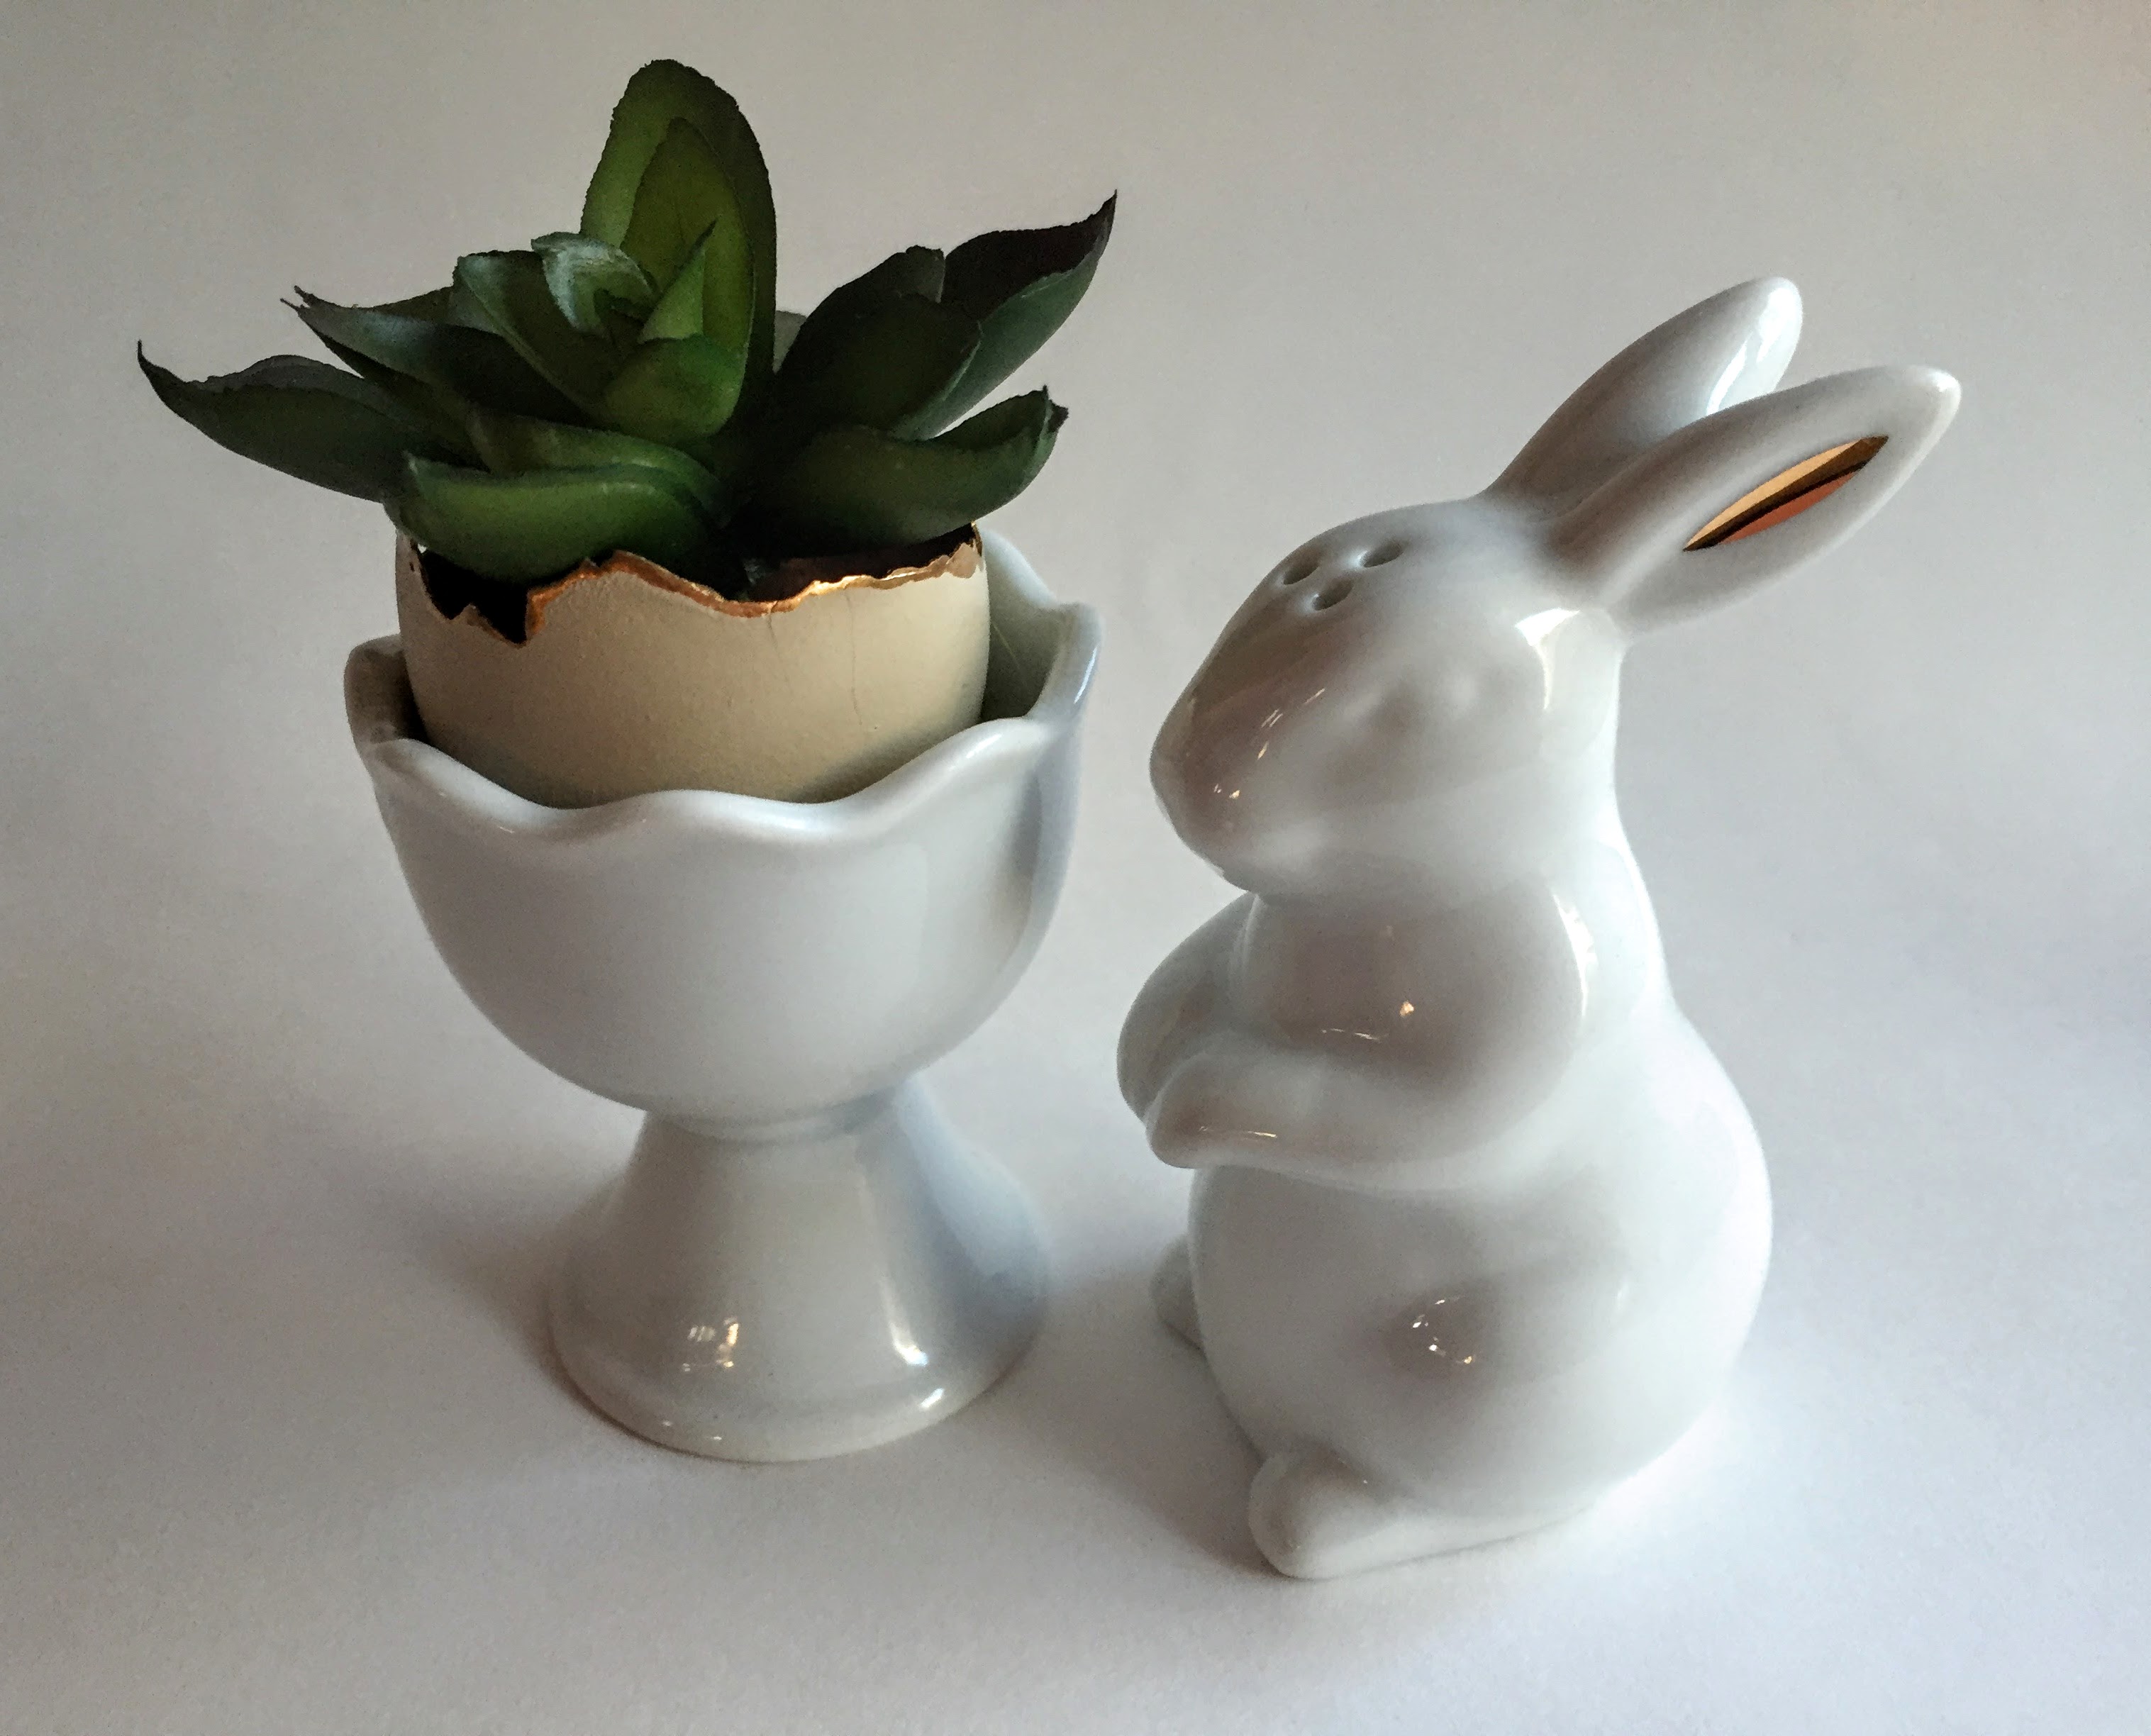
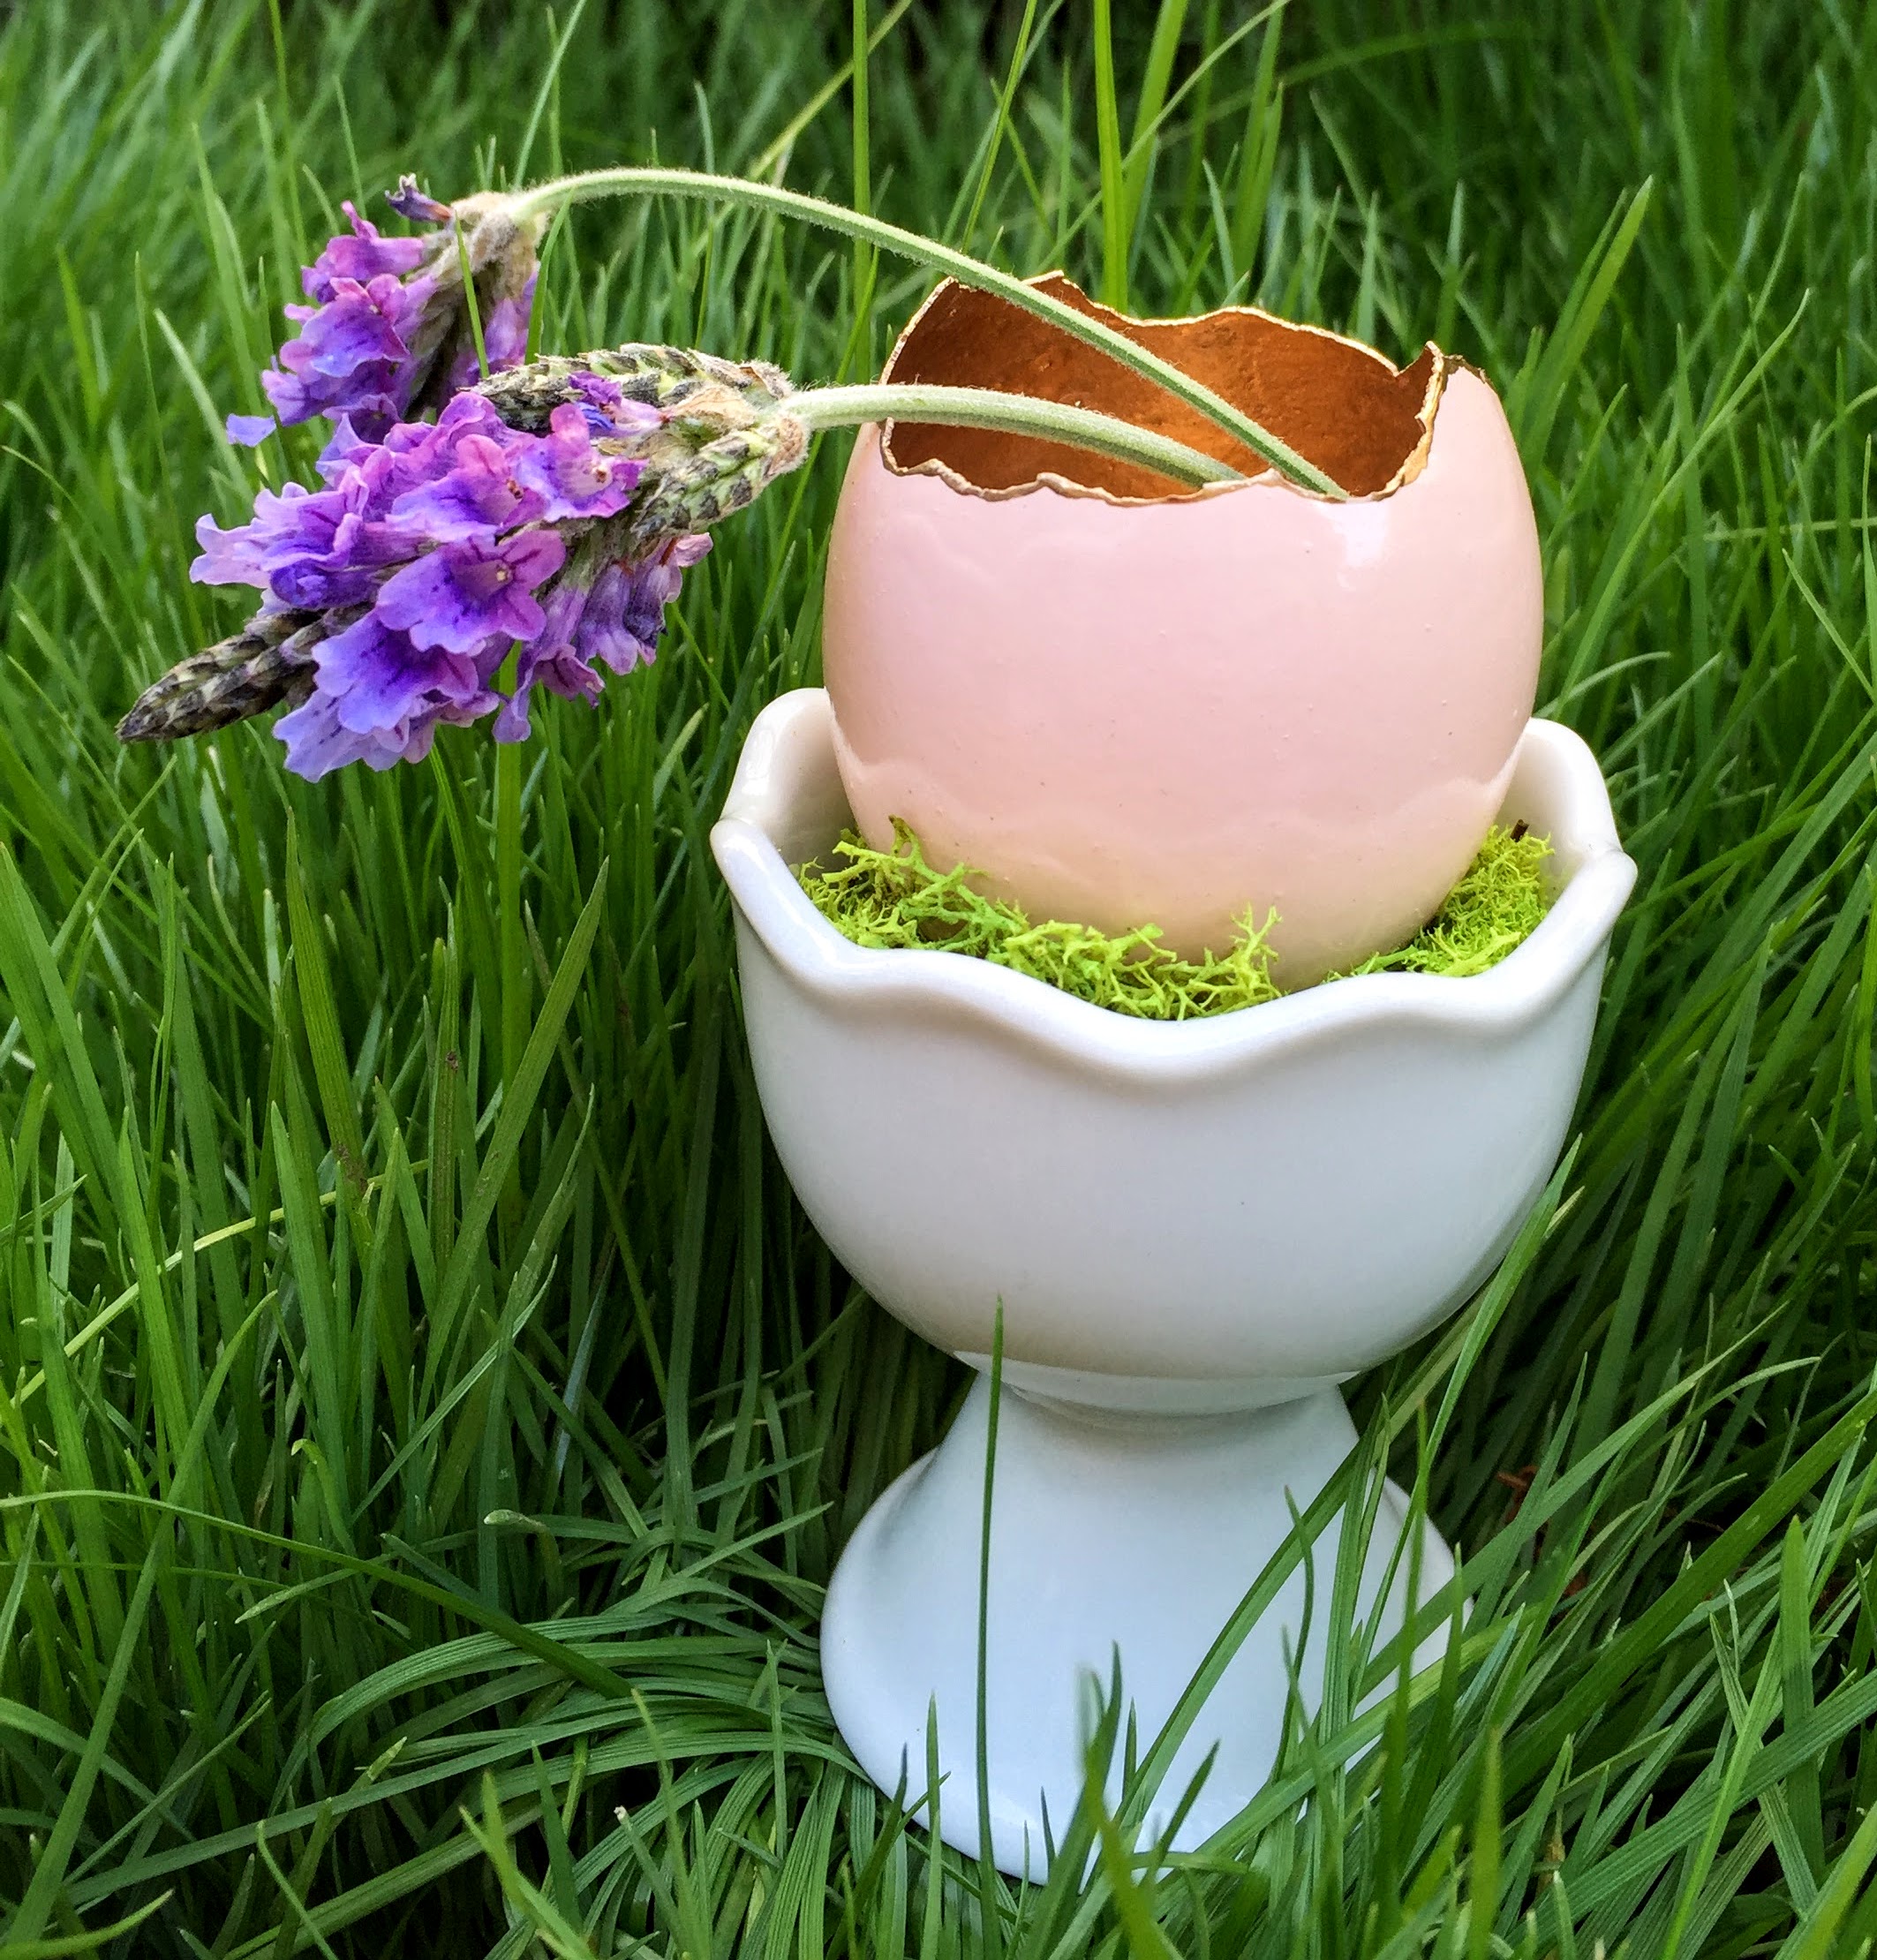
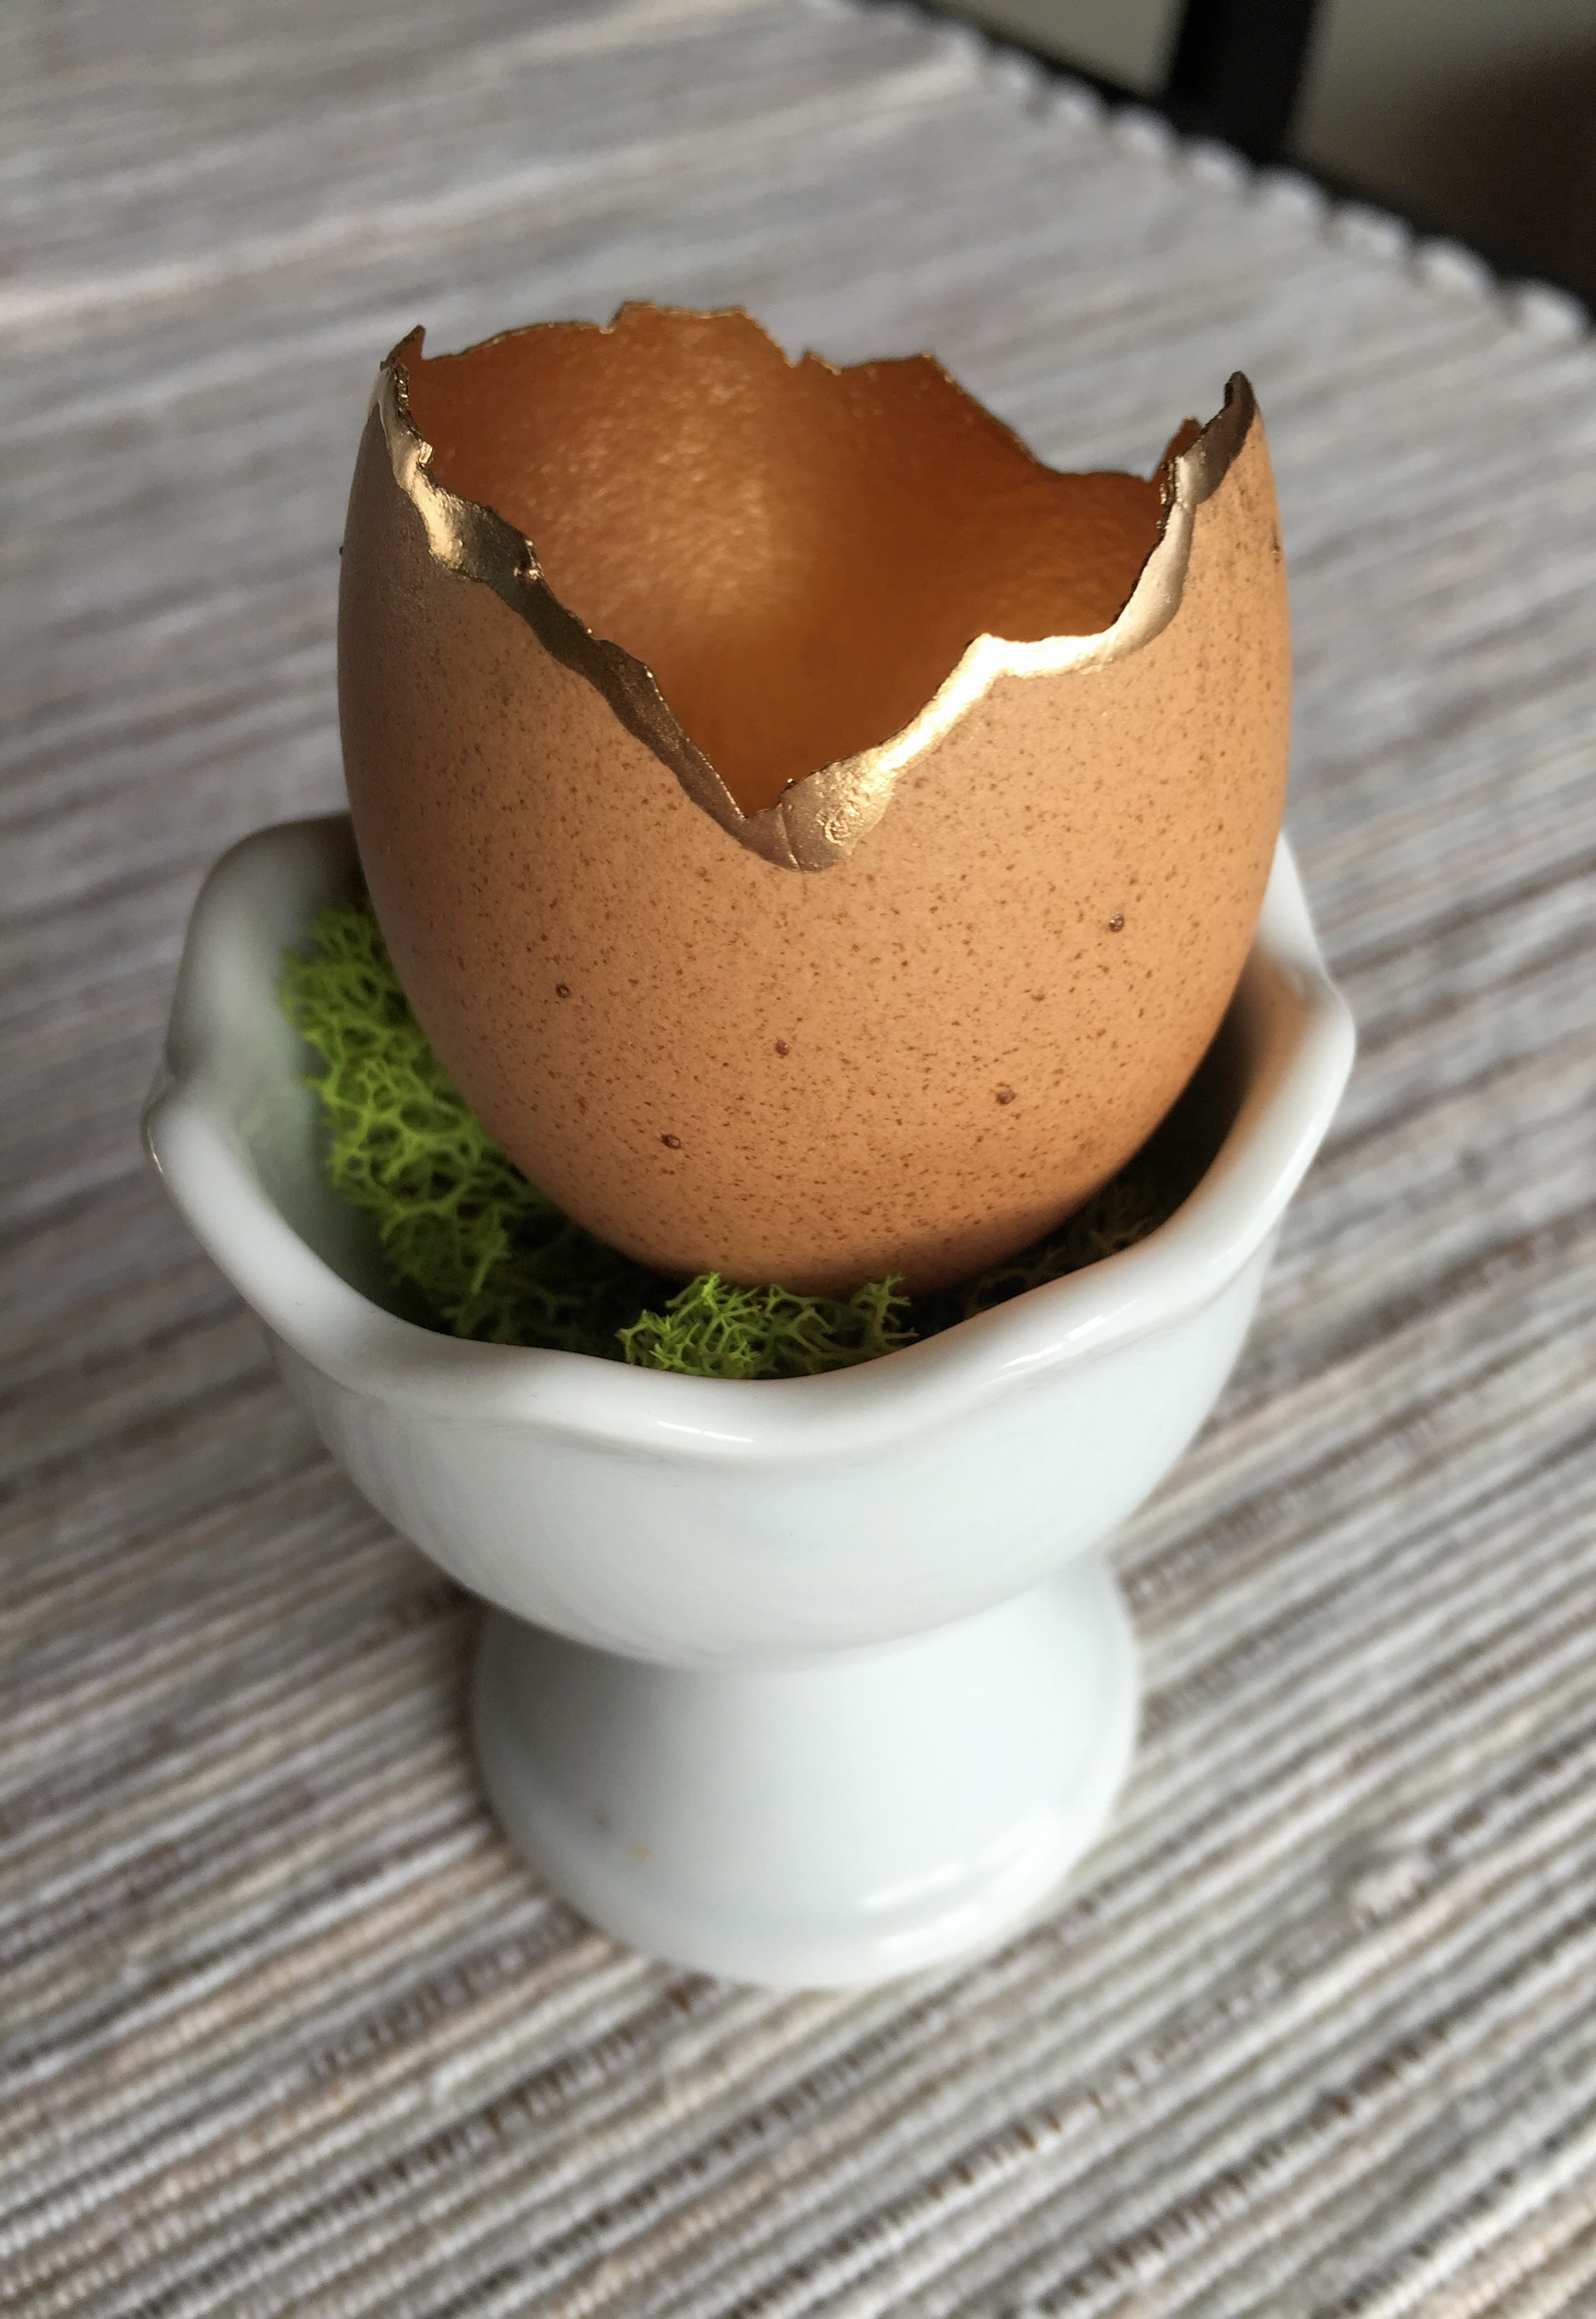
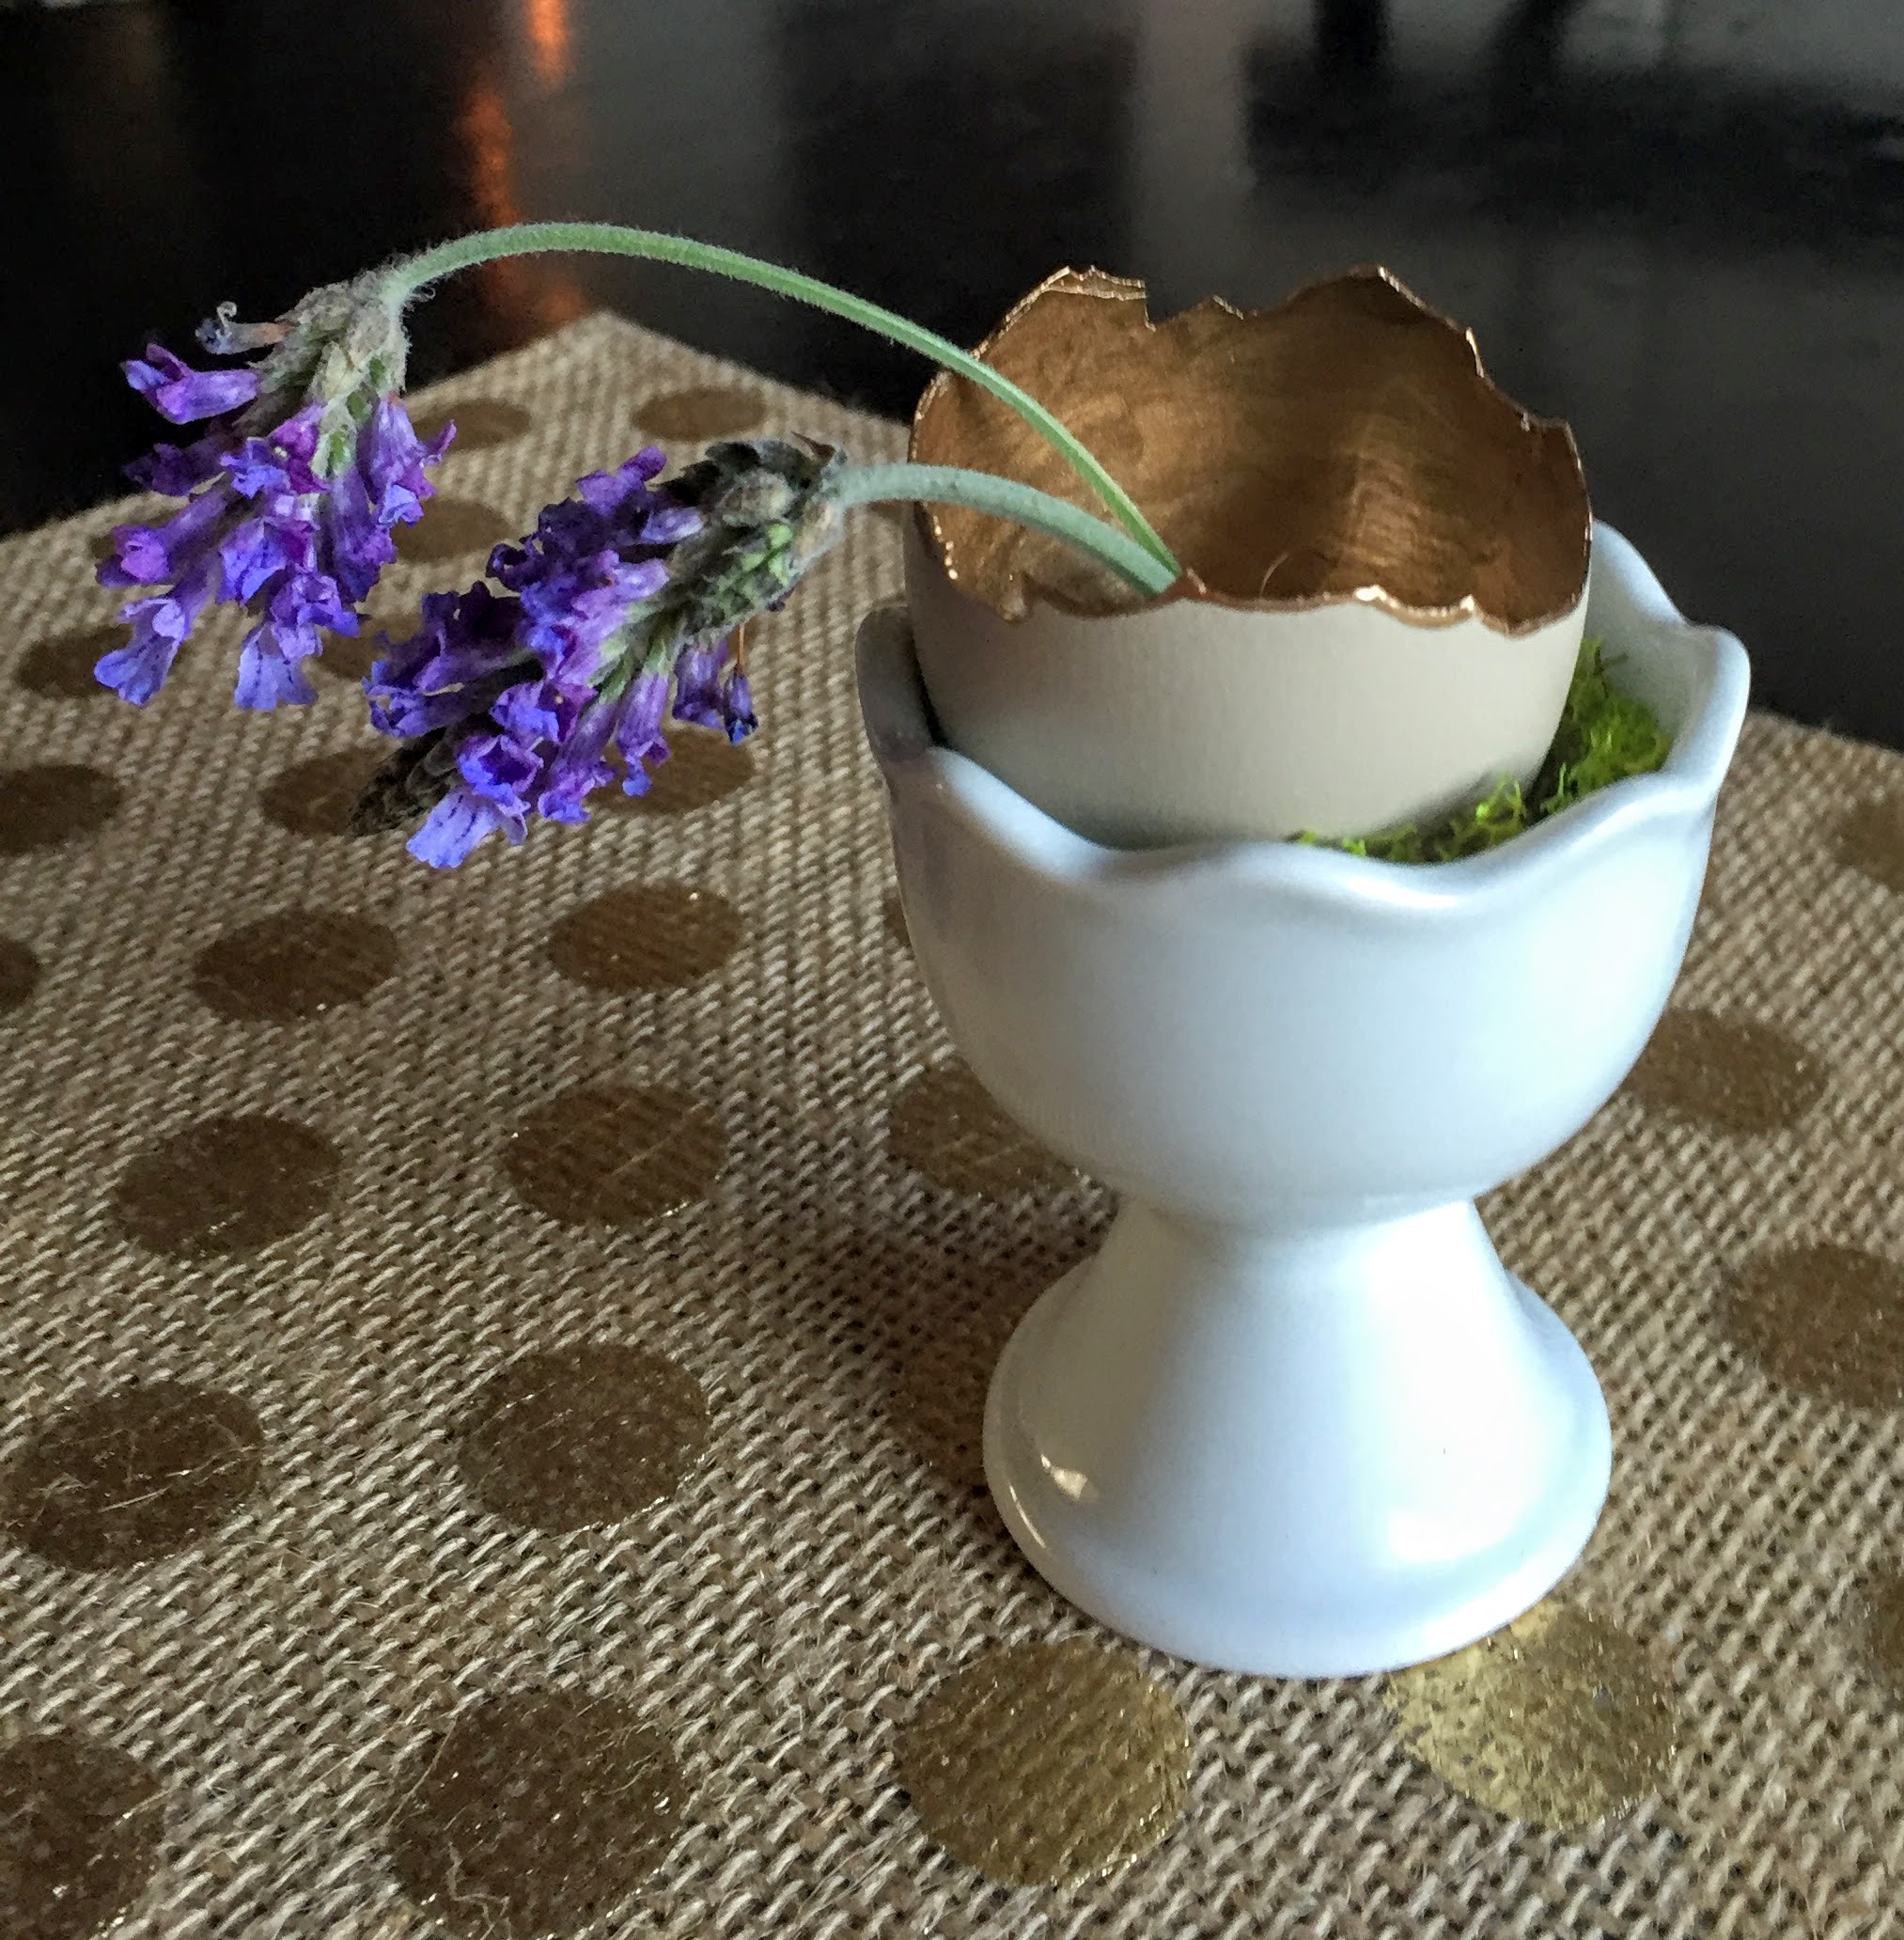
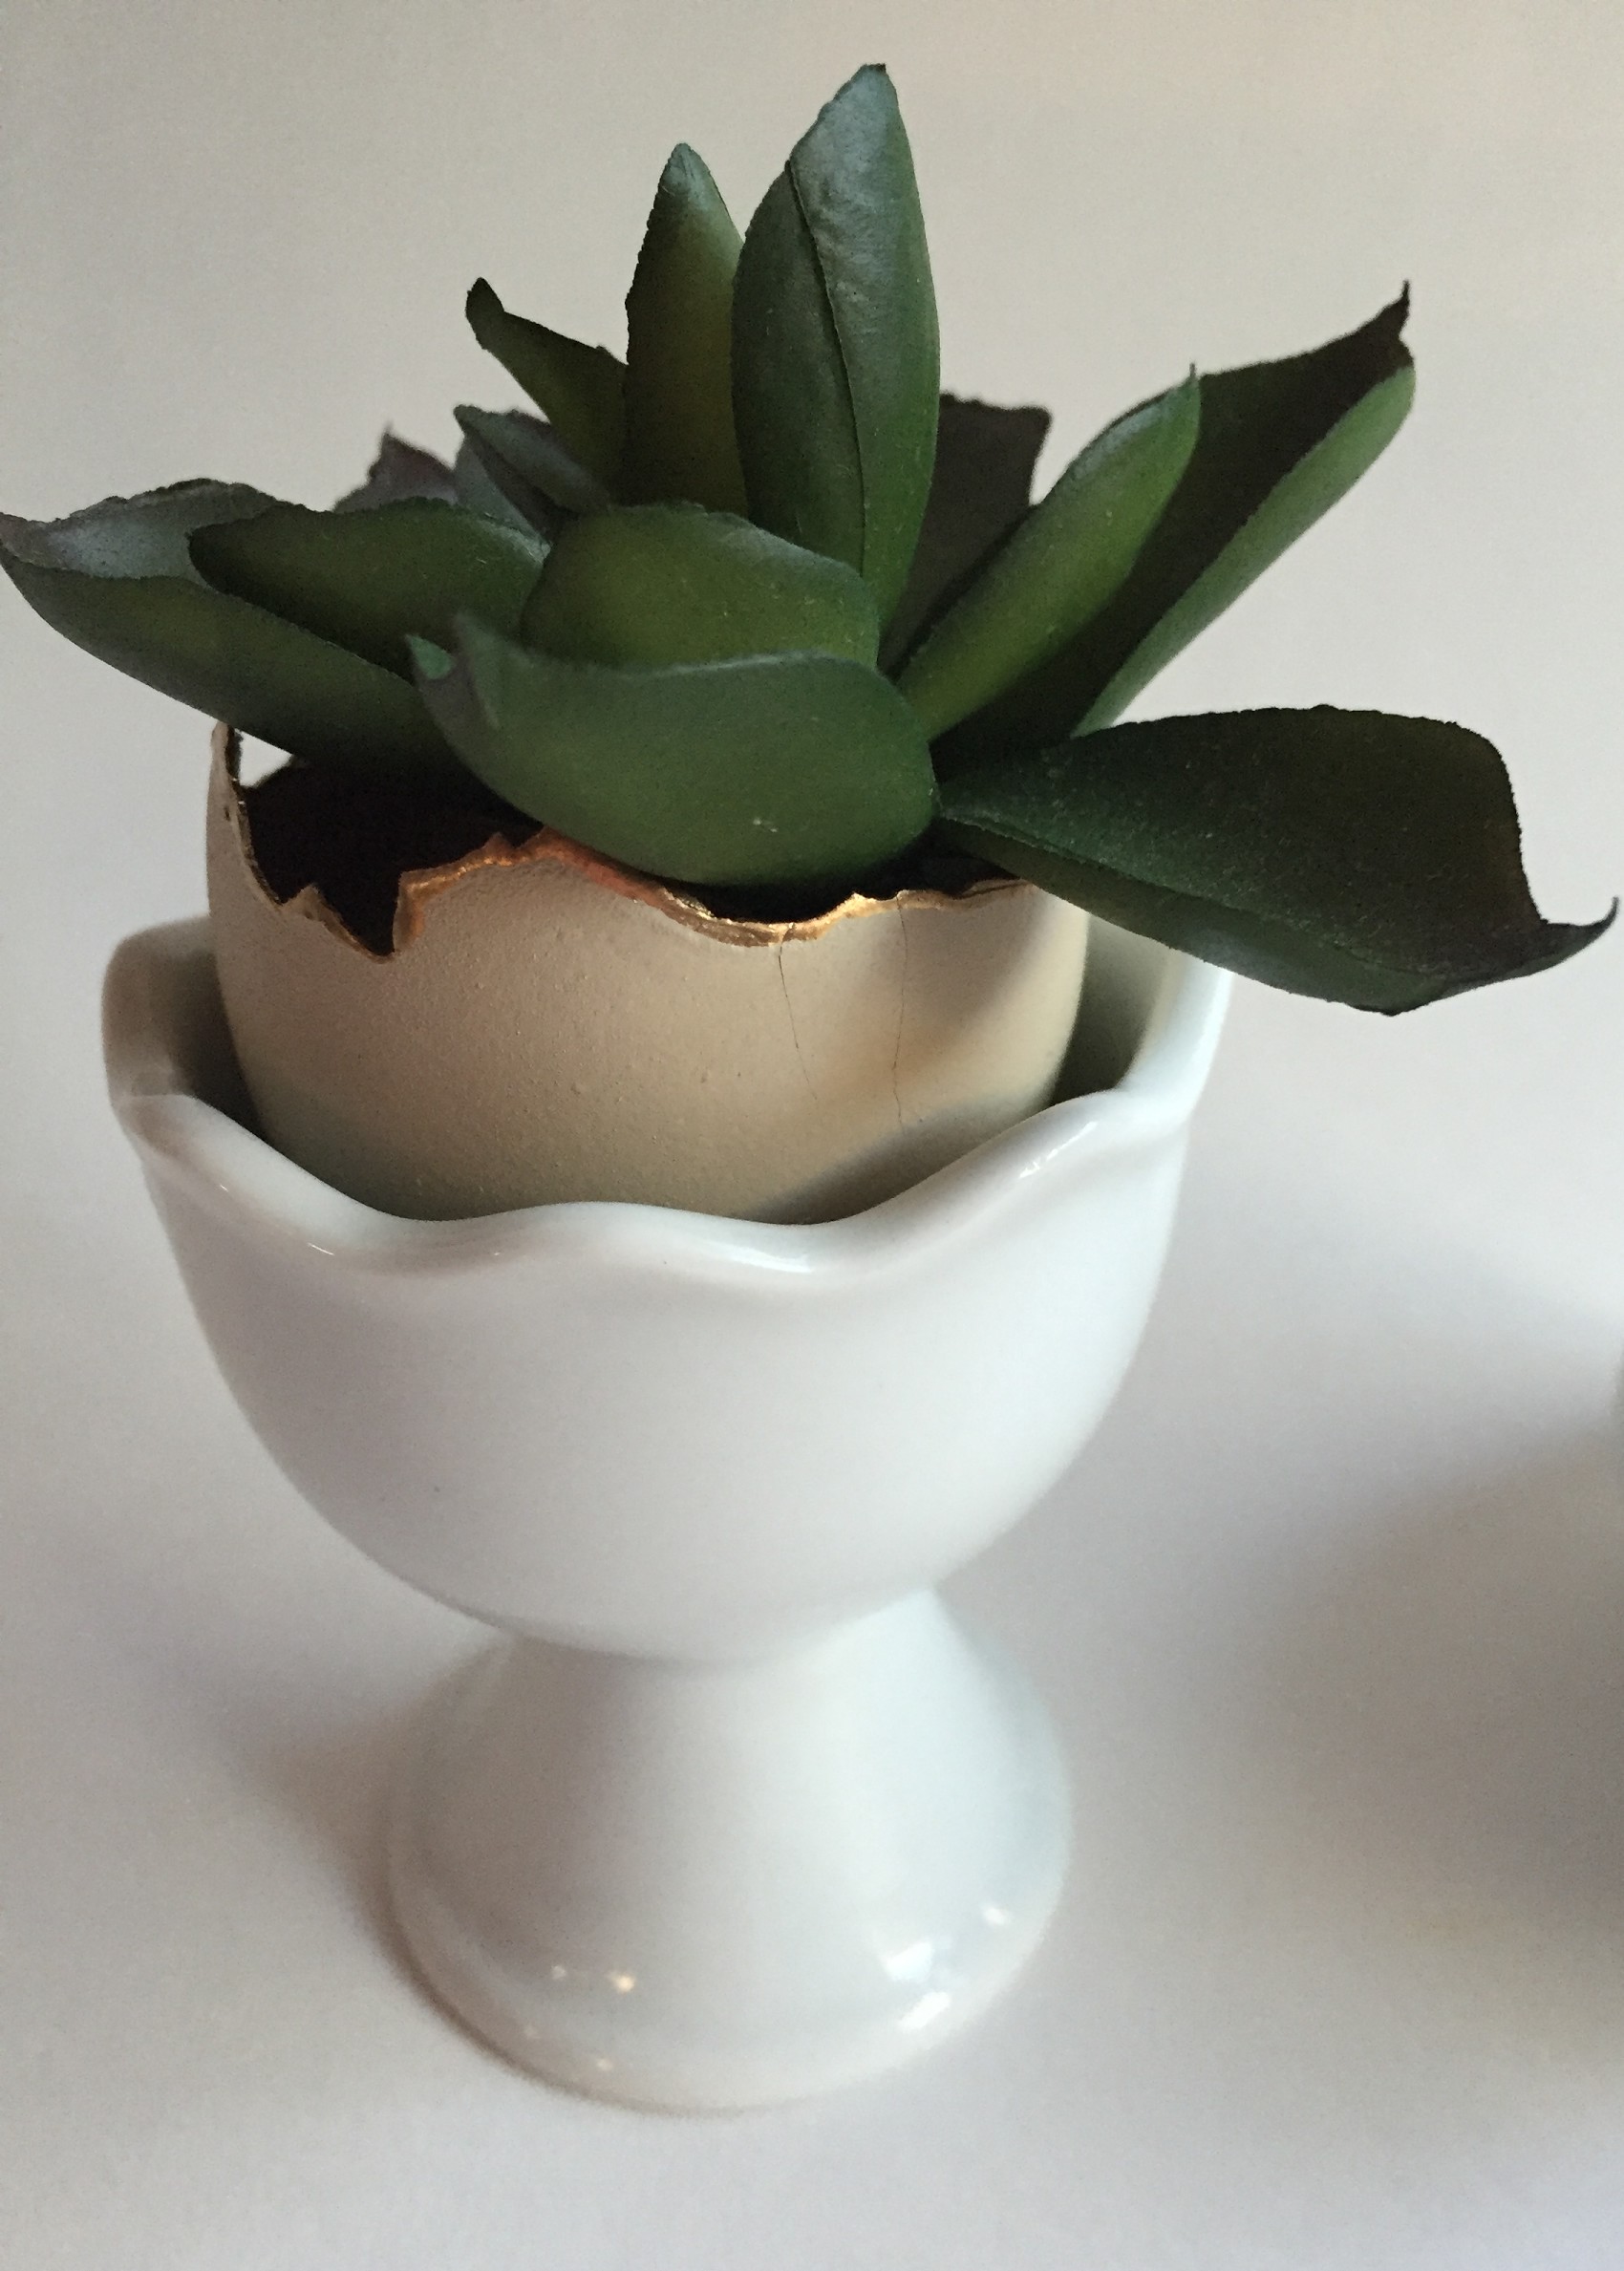
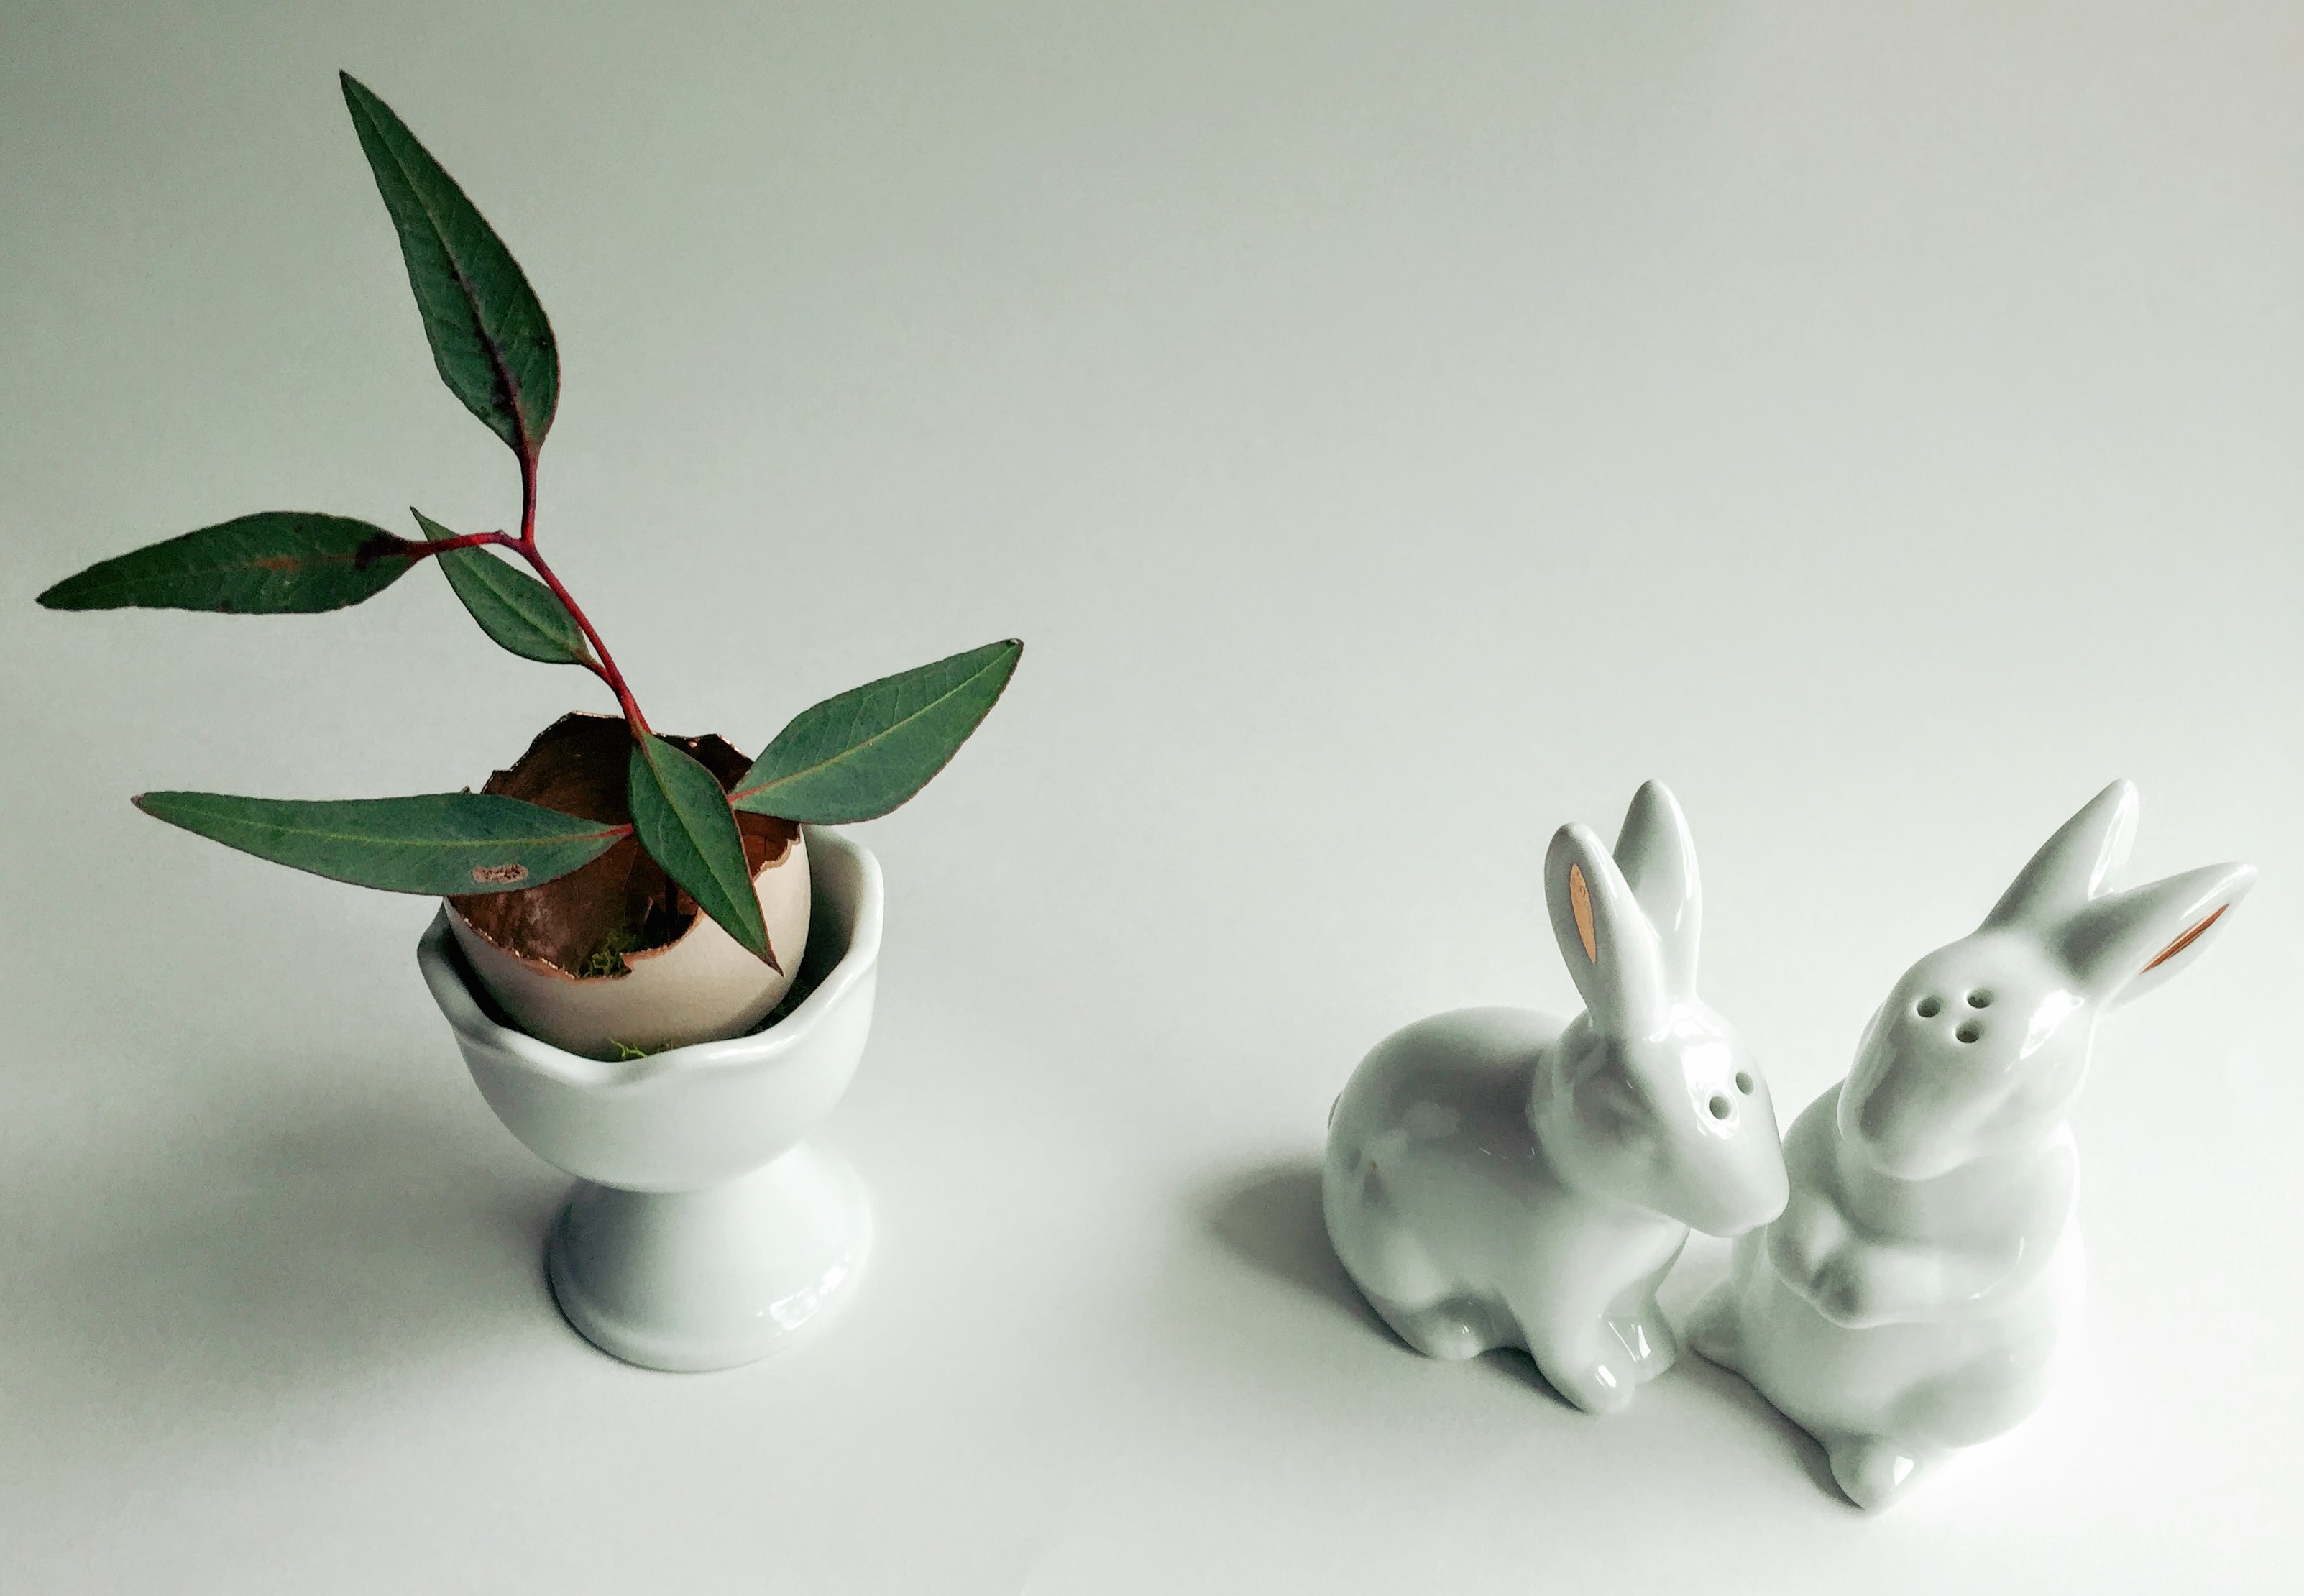
Just a quick note to say, that if you do drop your egg, and it’s not completely destroyed, you can paint around the broken edge, and it’ll be great for the egg cups (probably even better than the unbroken shell):
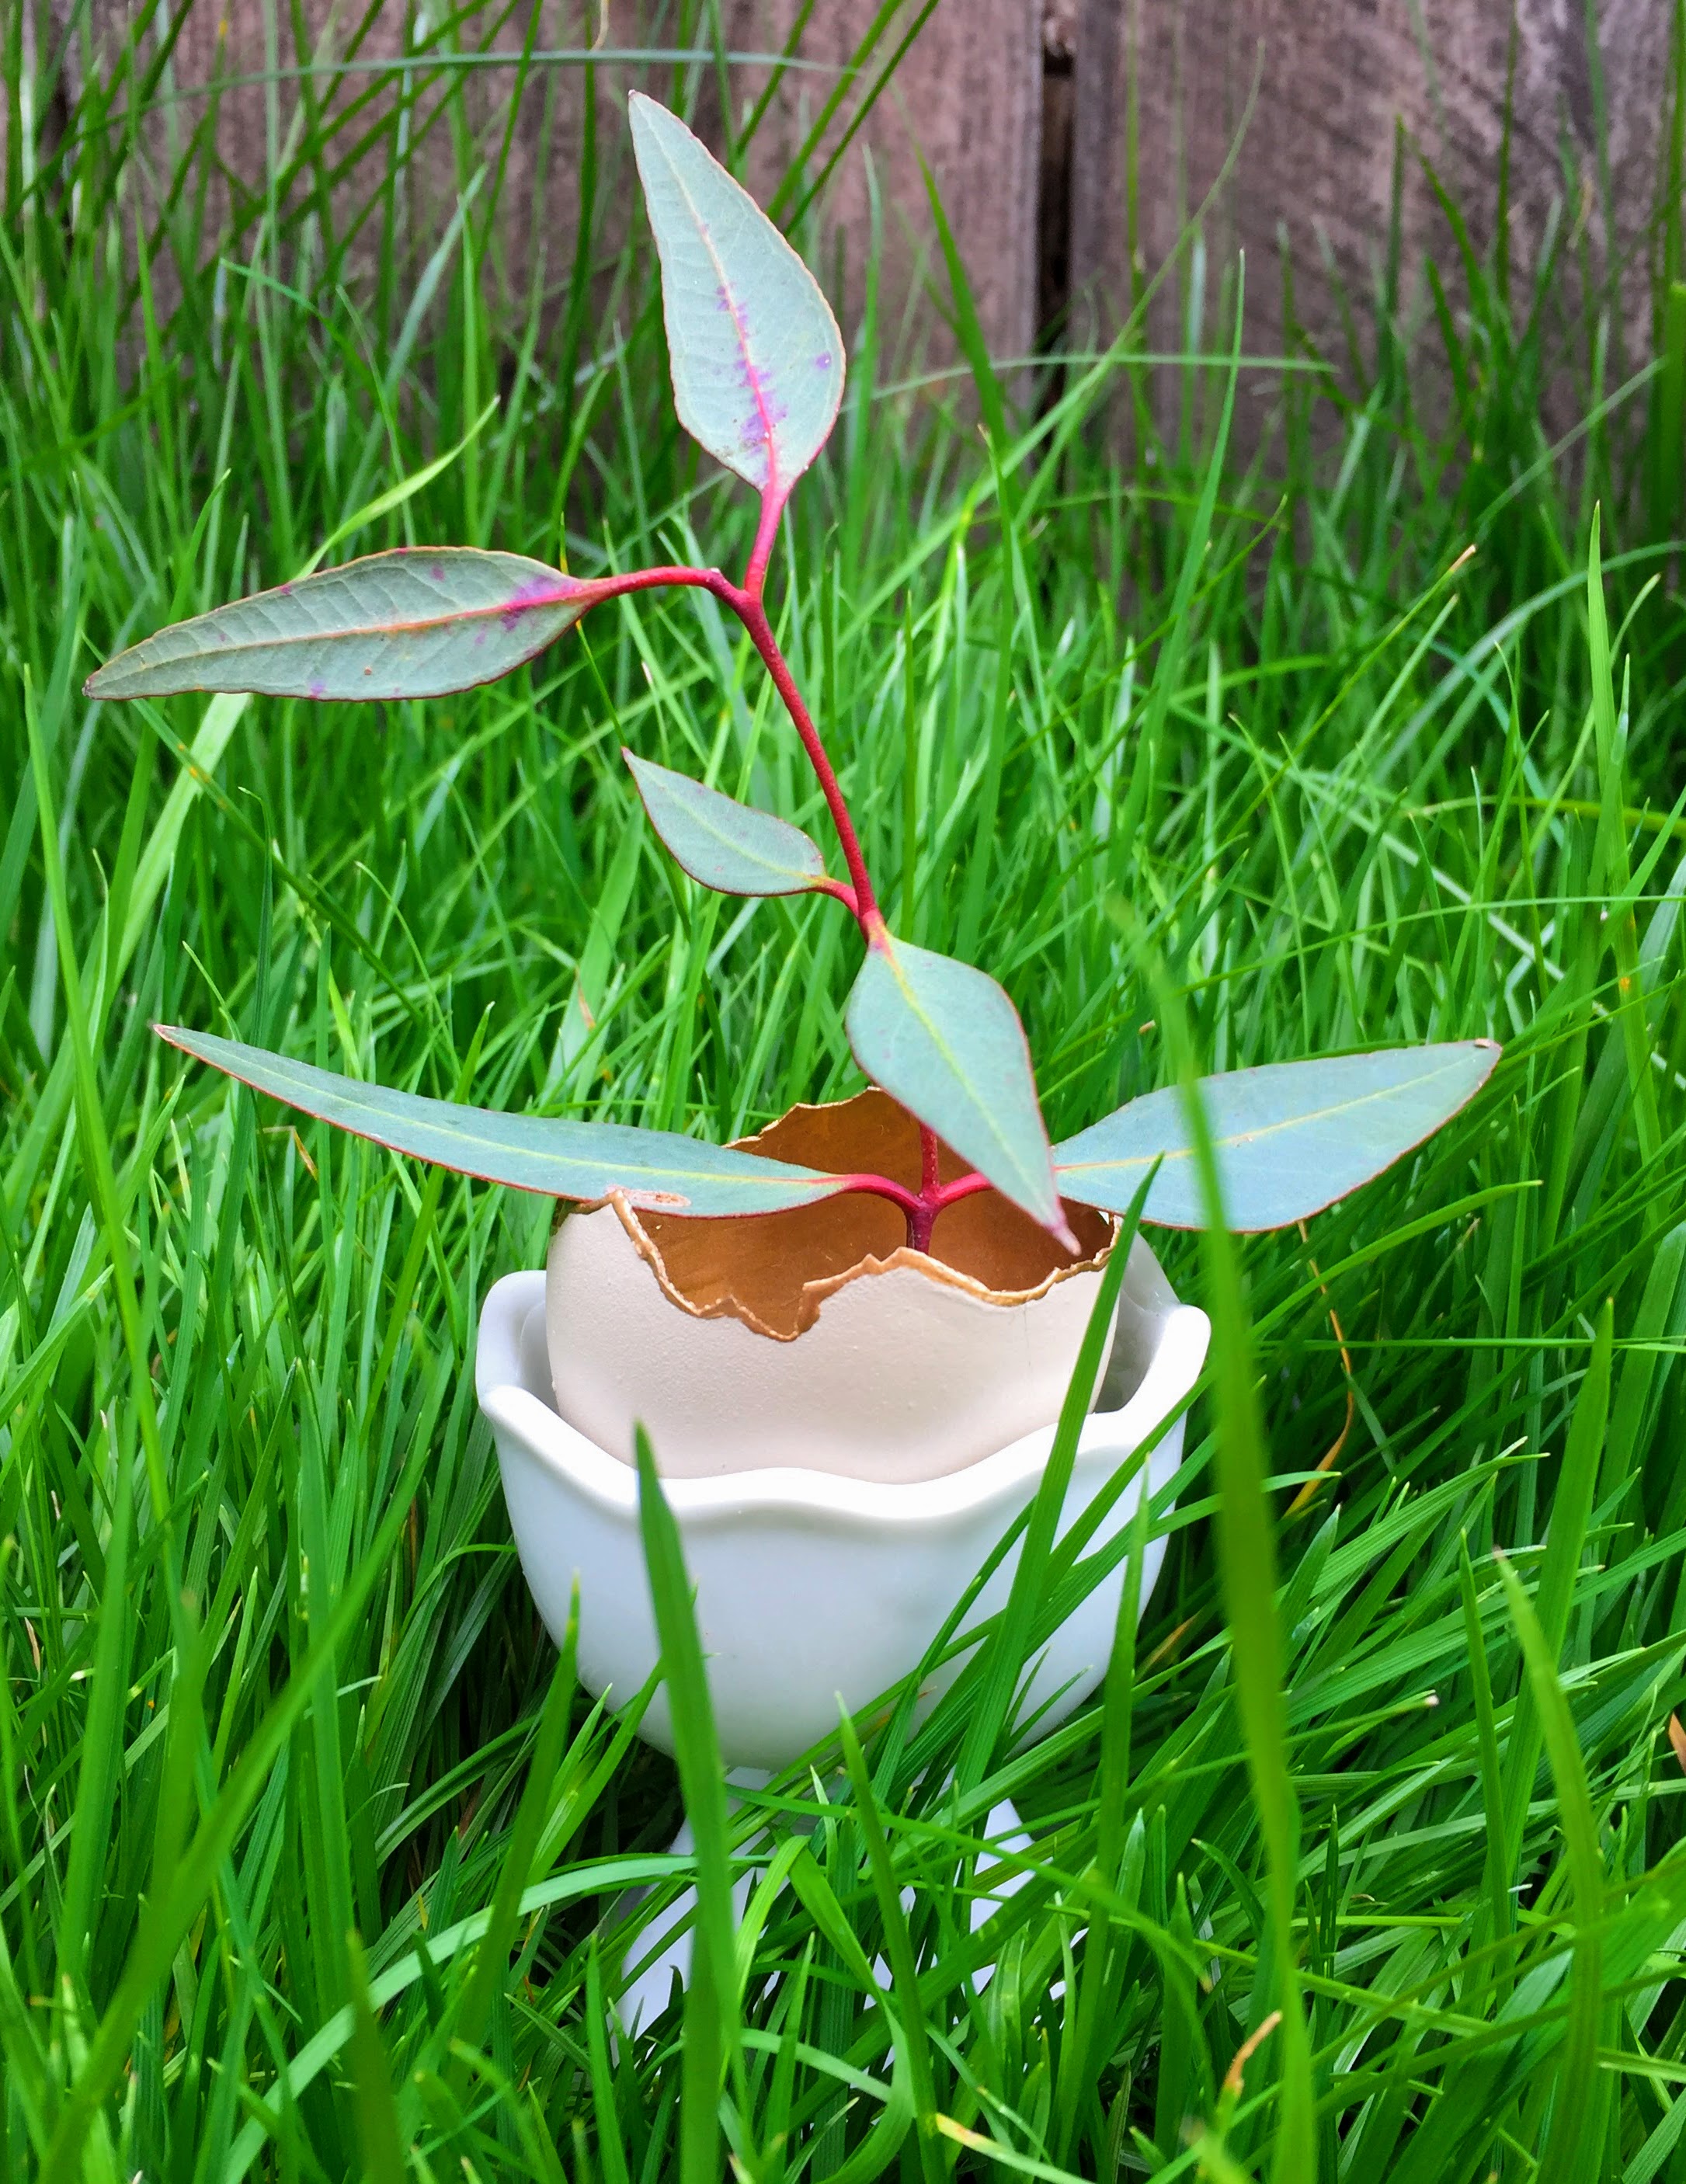
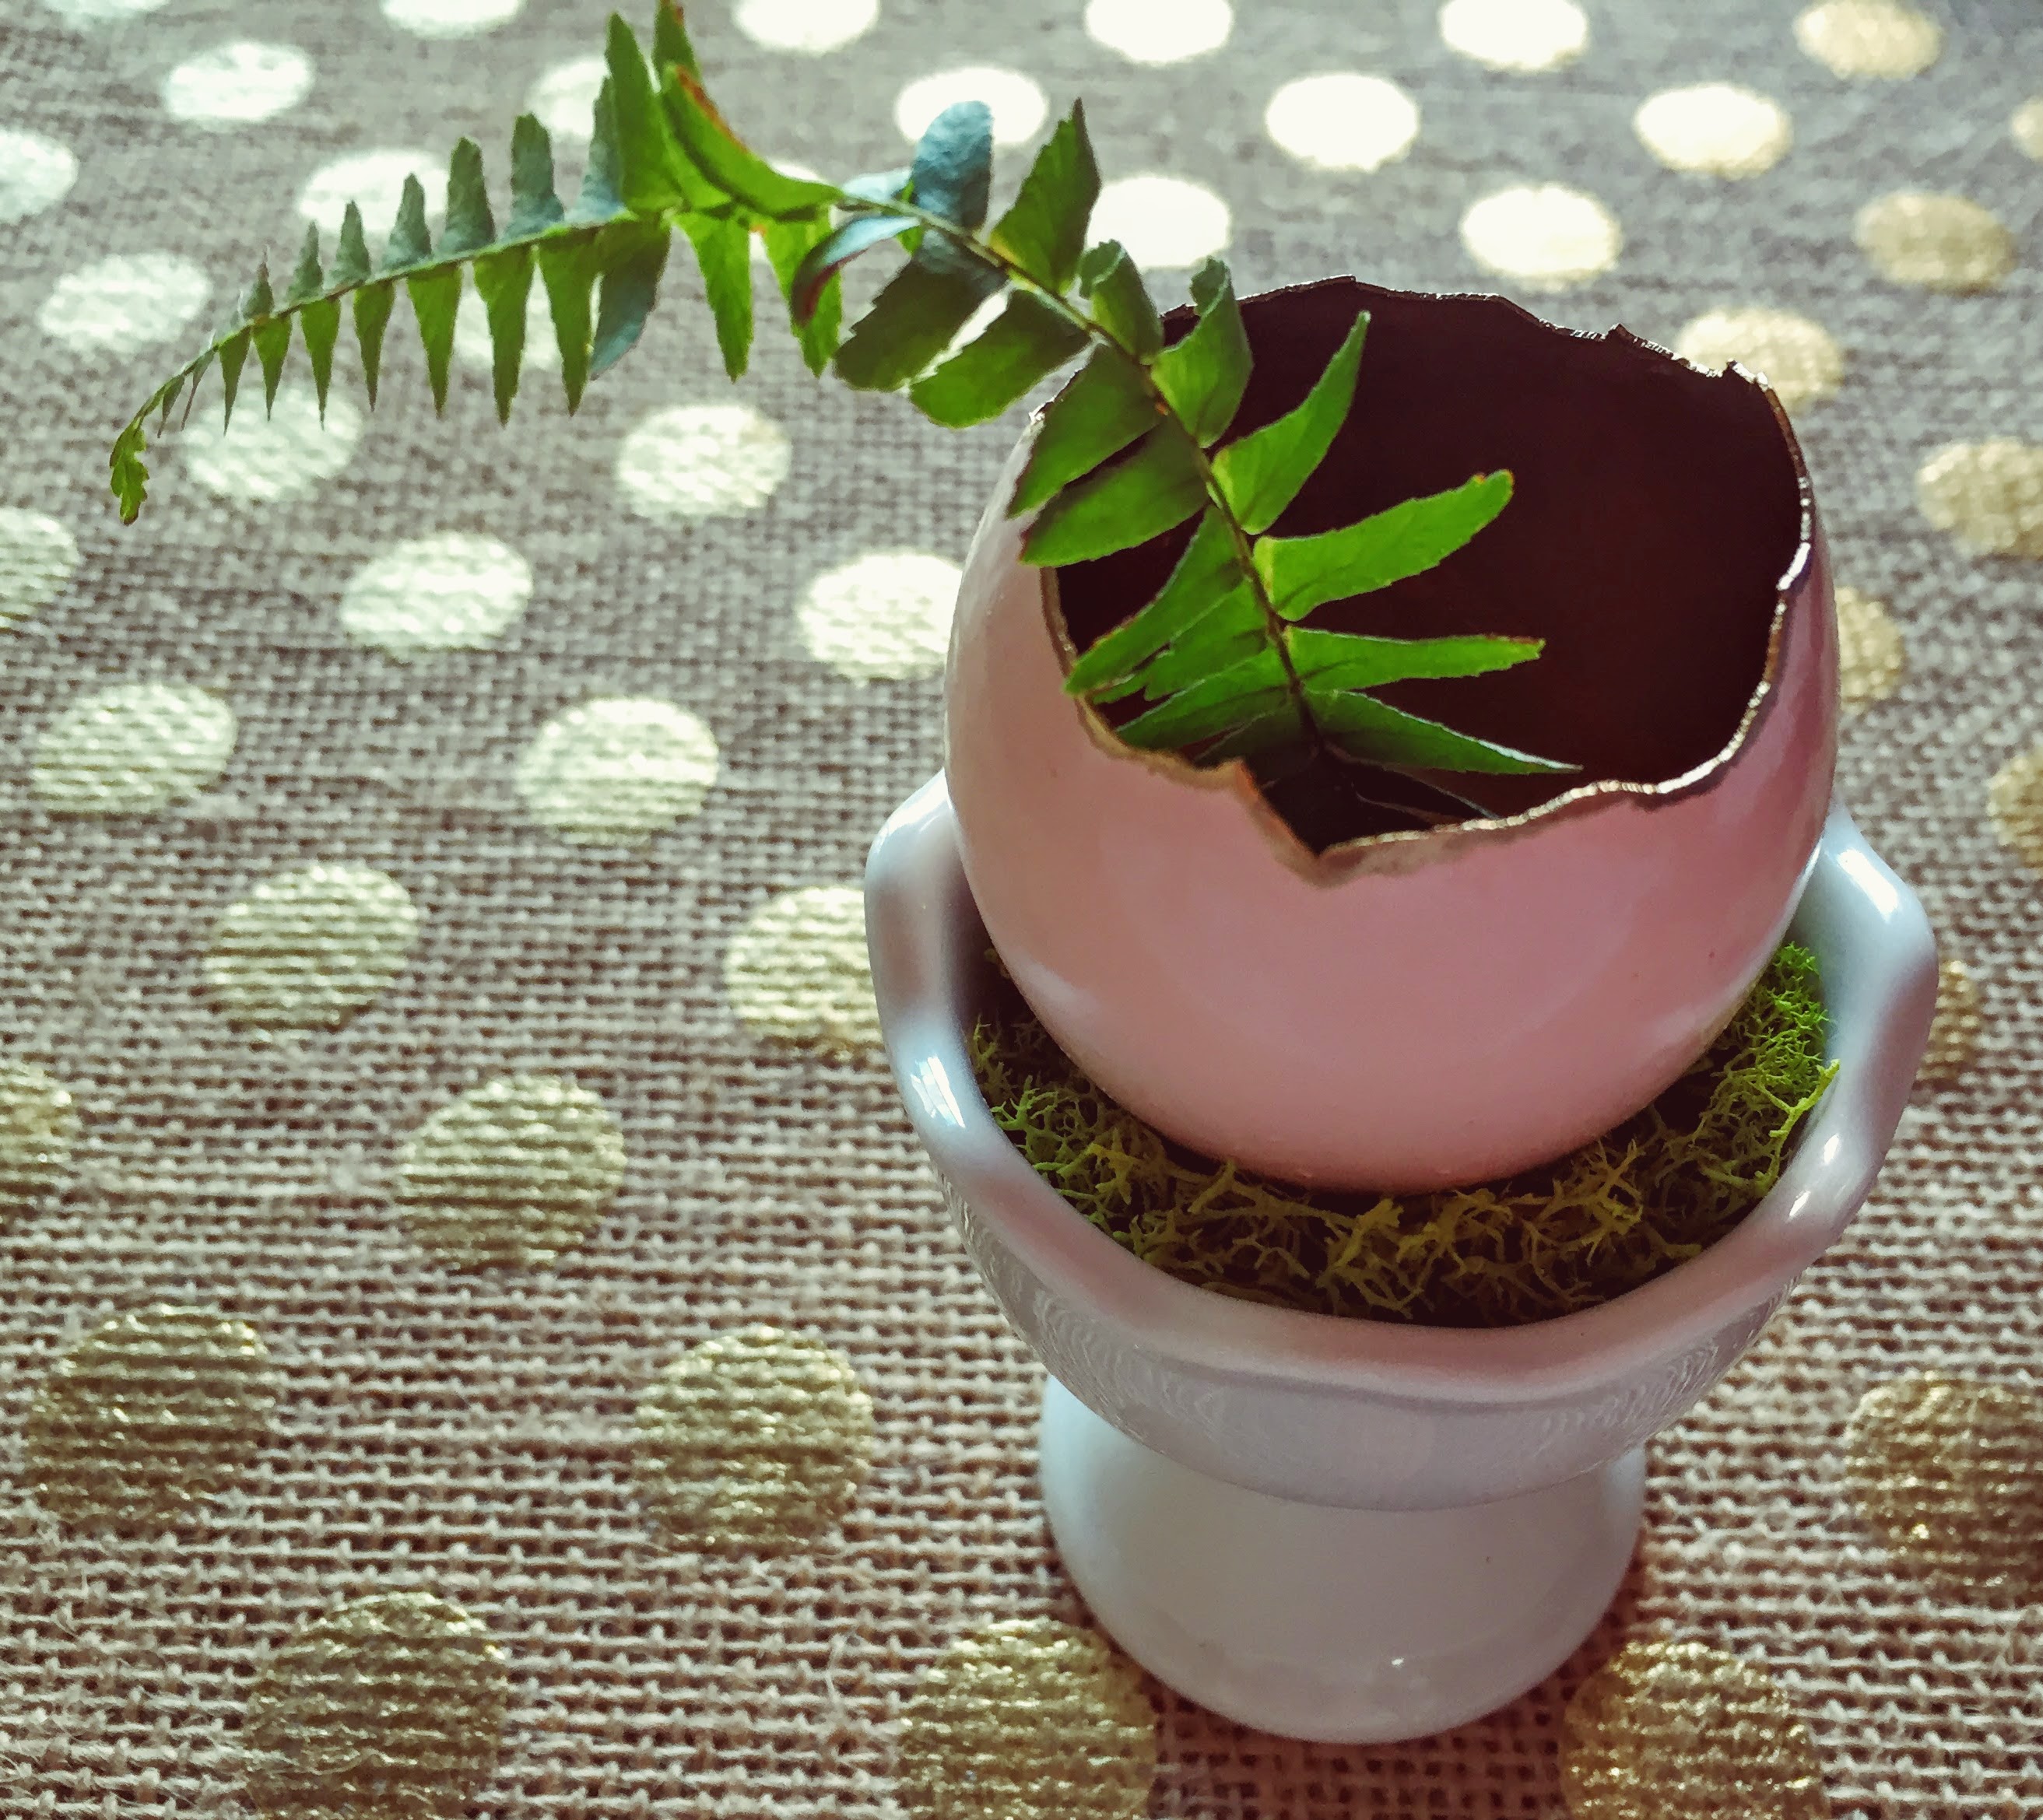
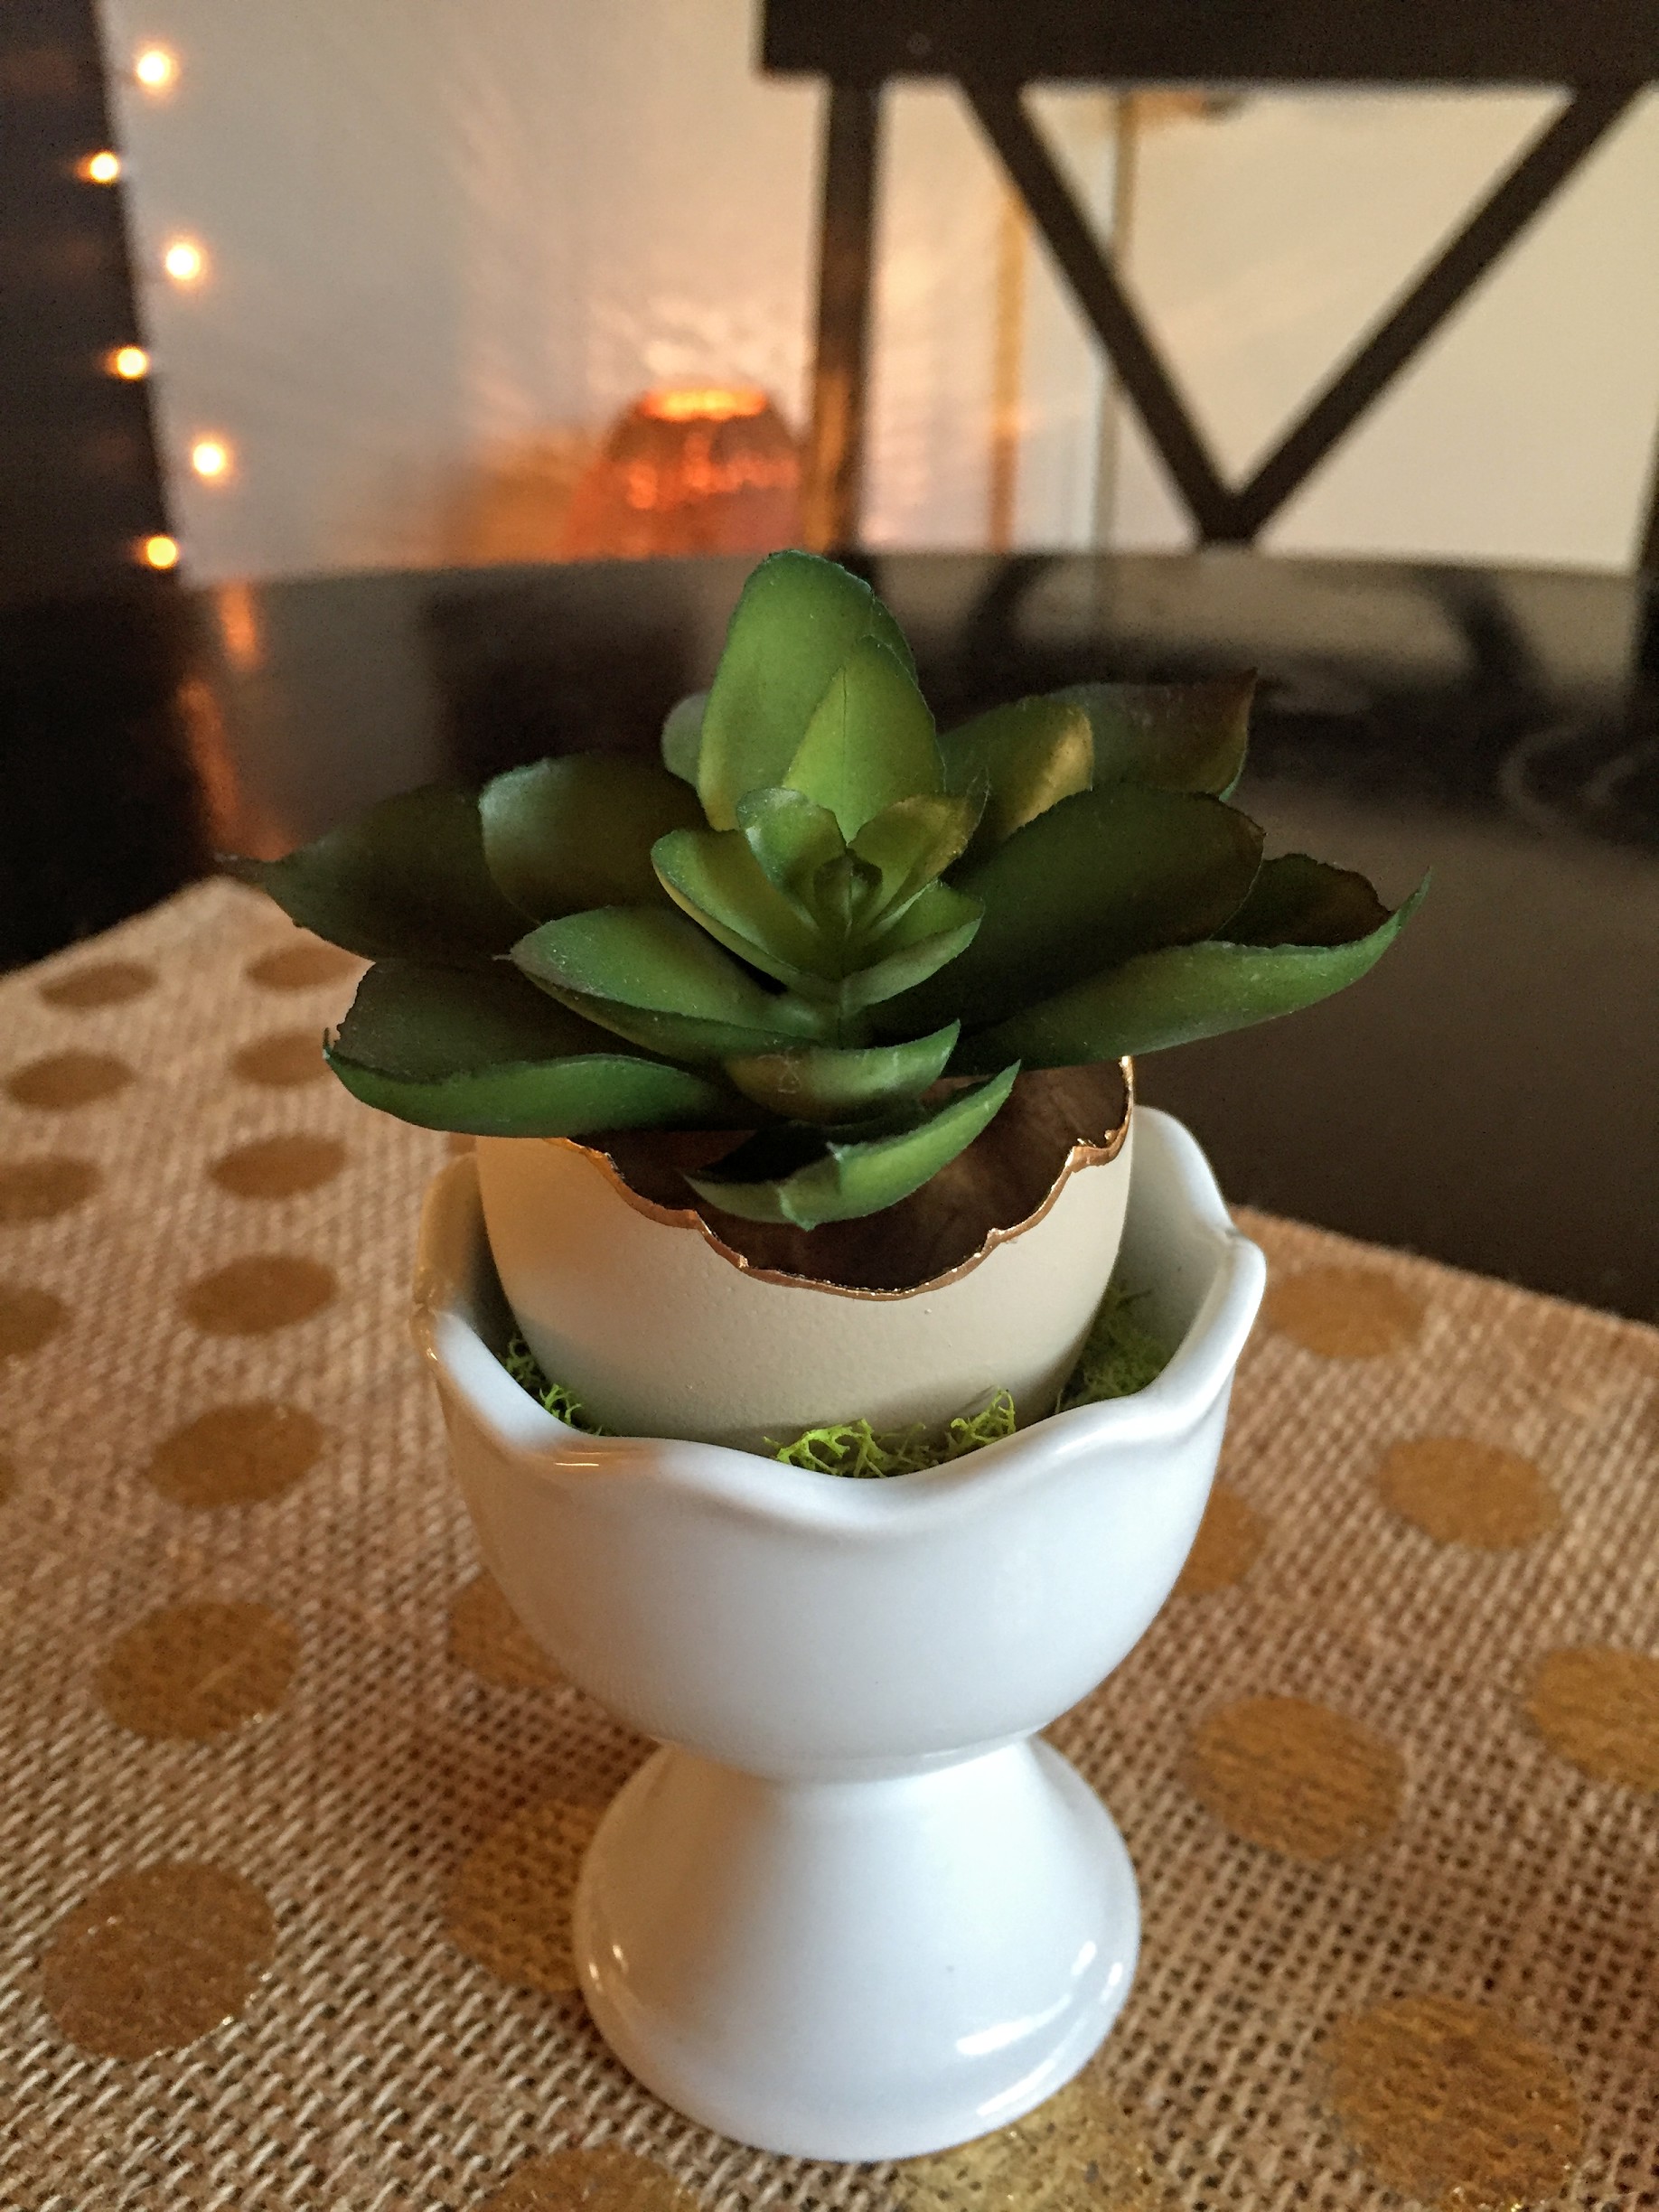
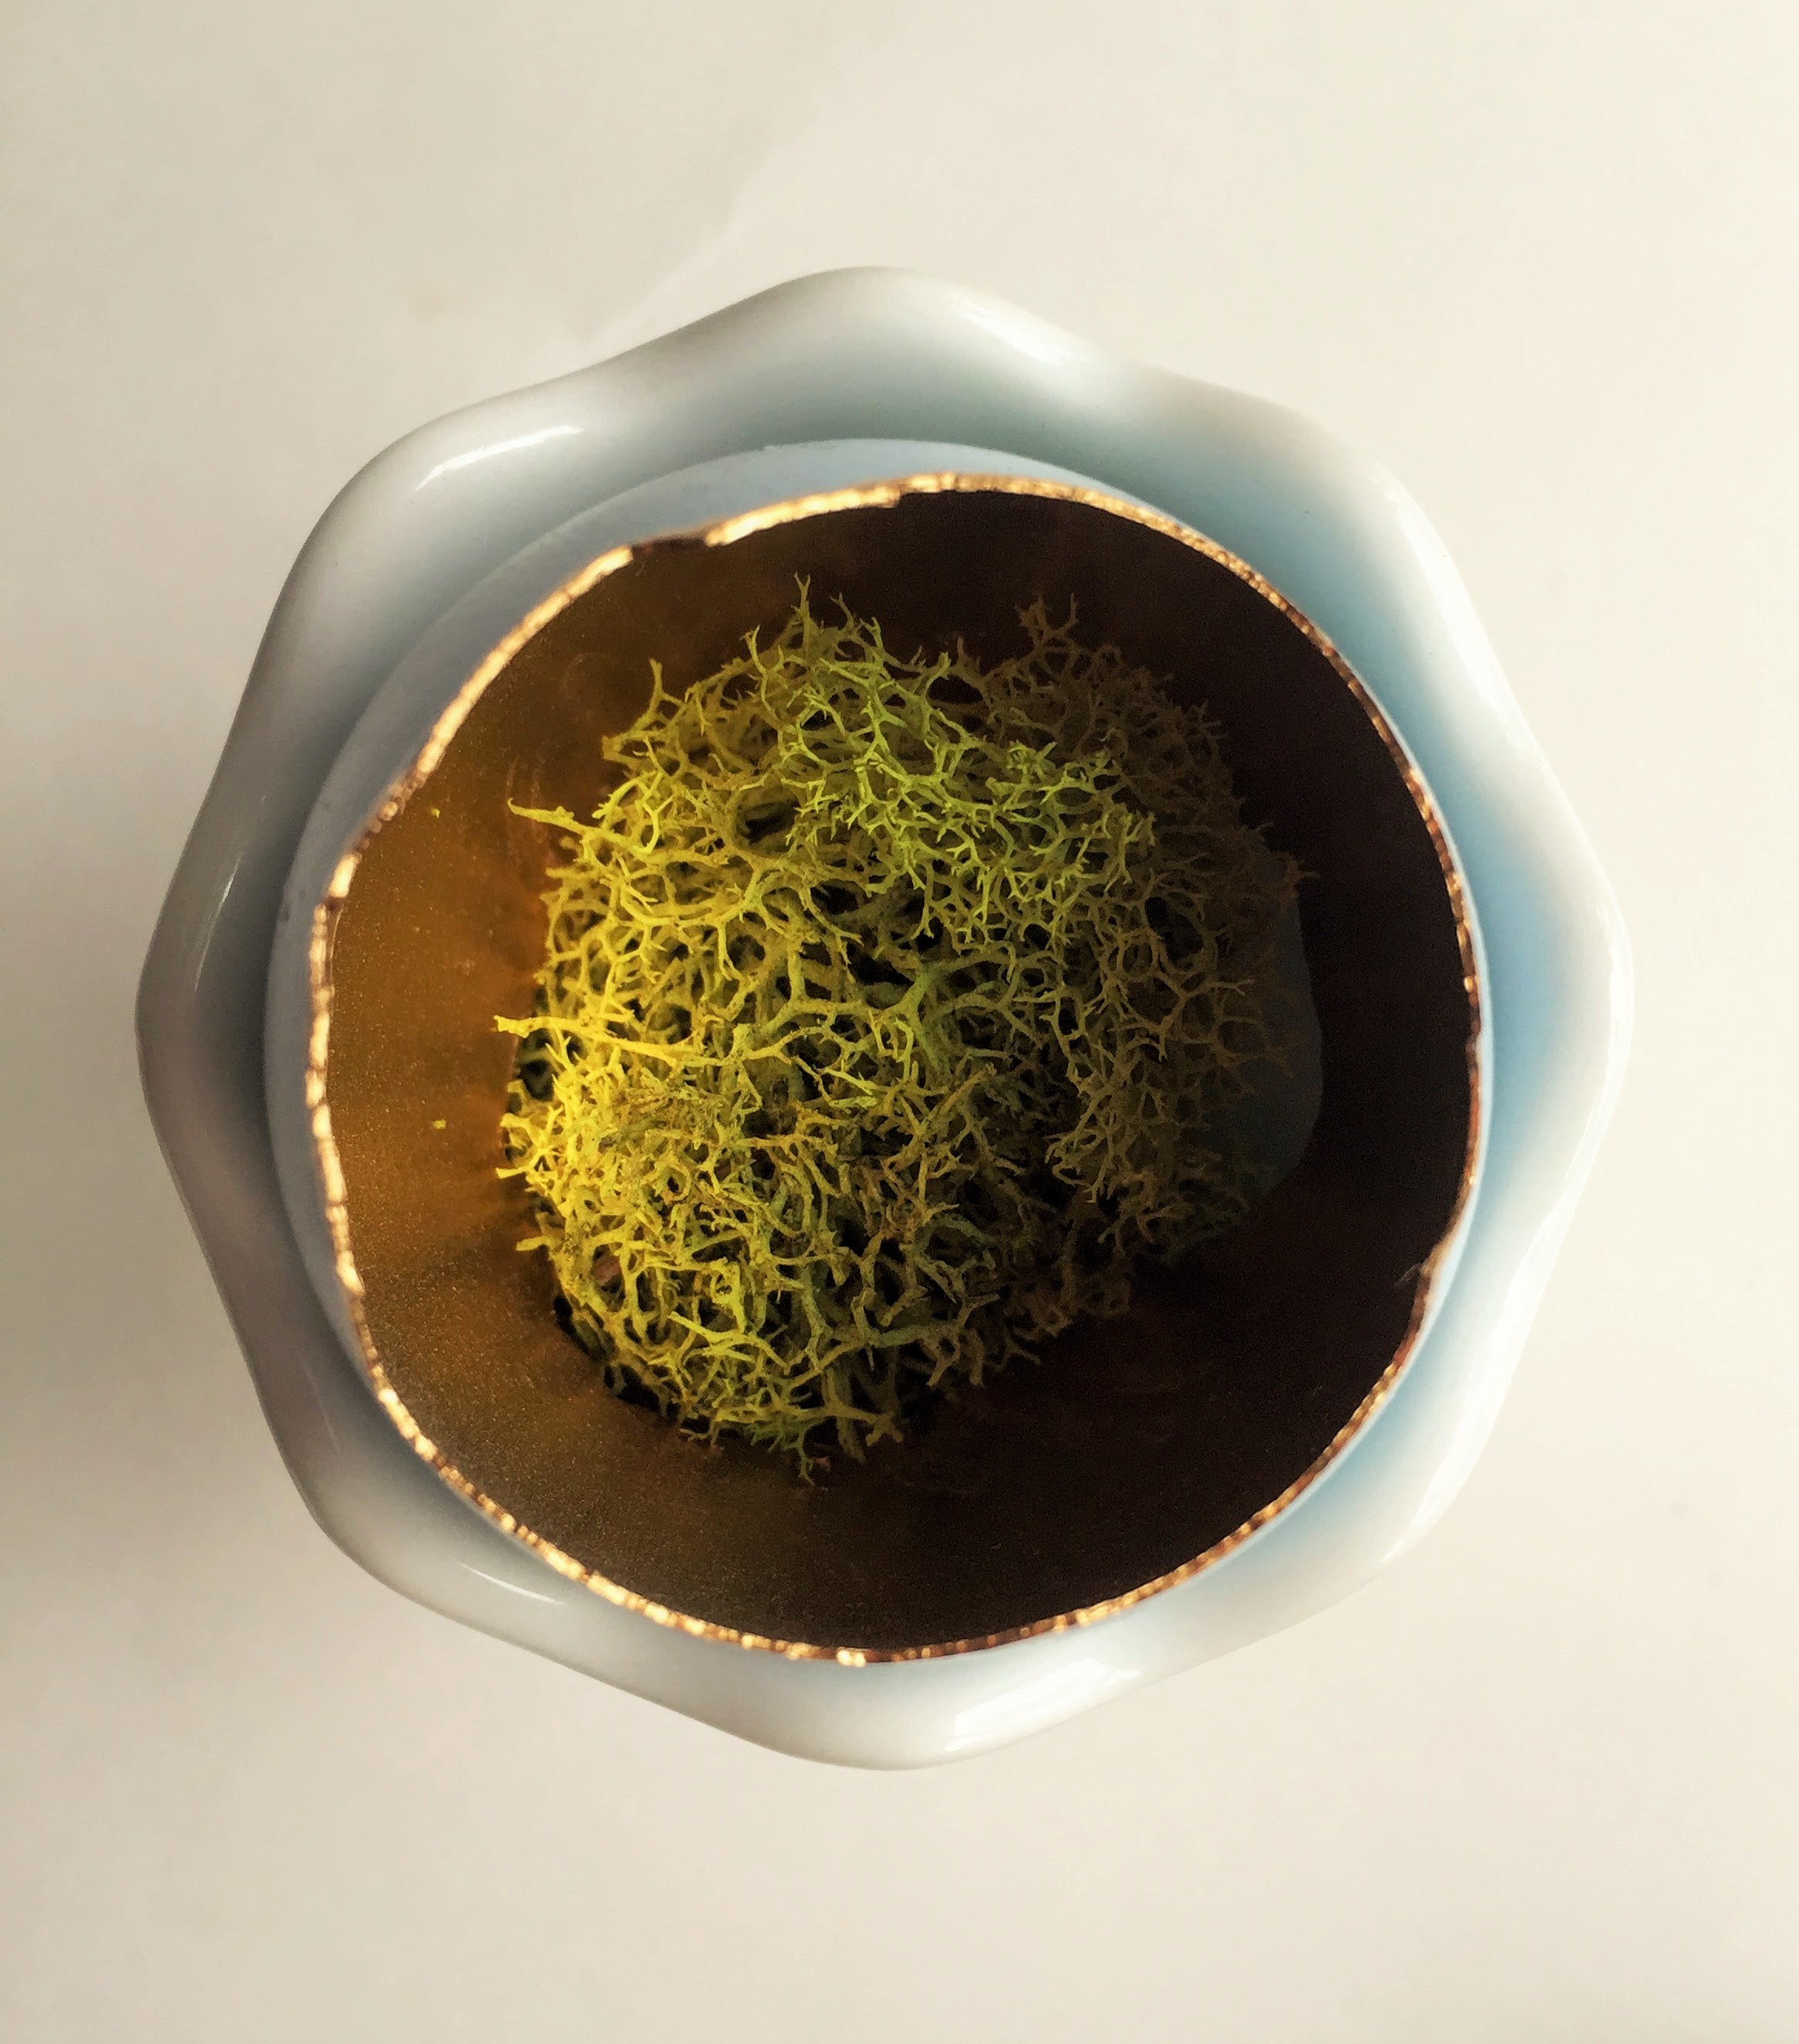
Just put some reindeer moss in the bottom and the broken shell sits very nicely in the cup. You could even put a little water in the bottom with the moss, and put in some fresh sprigs:
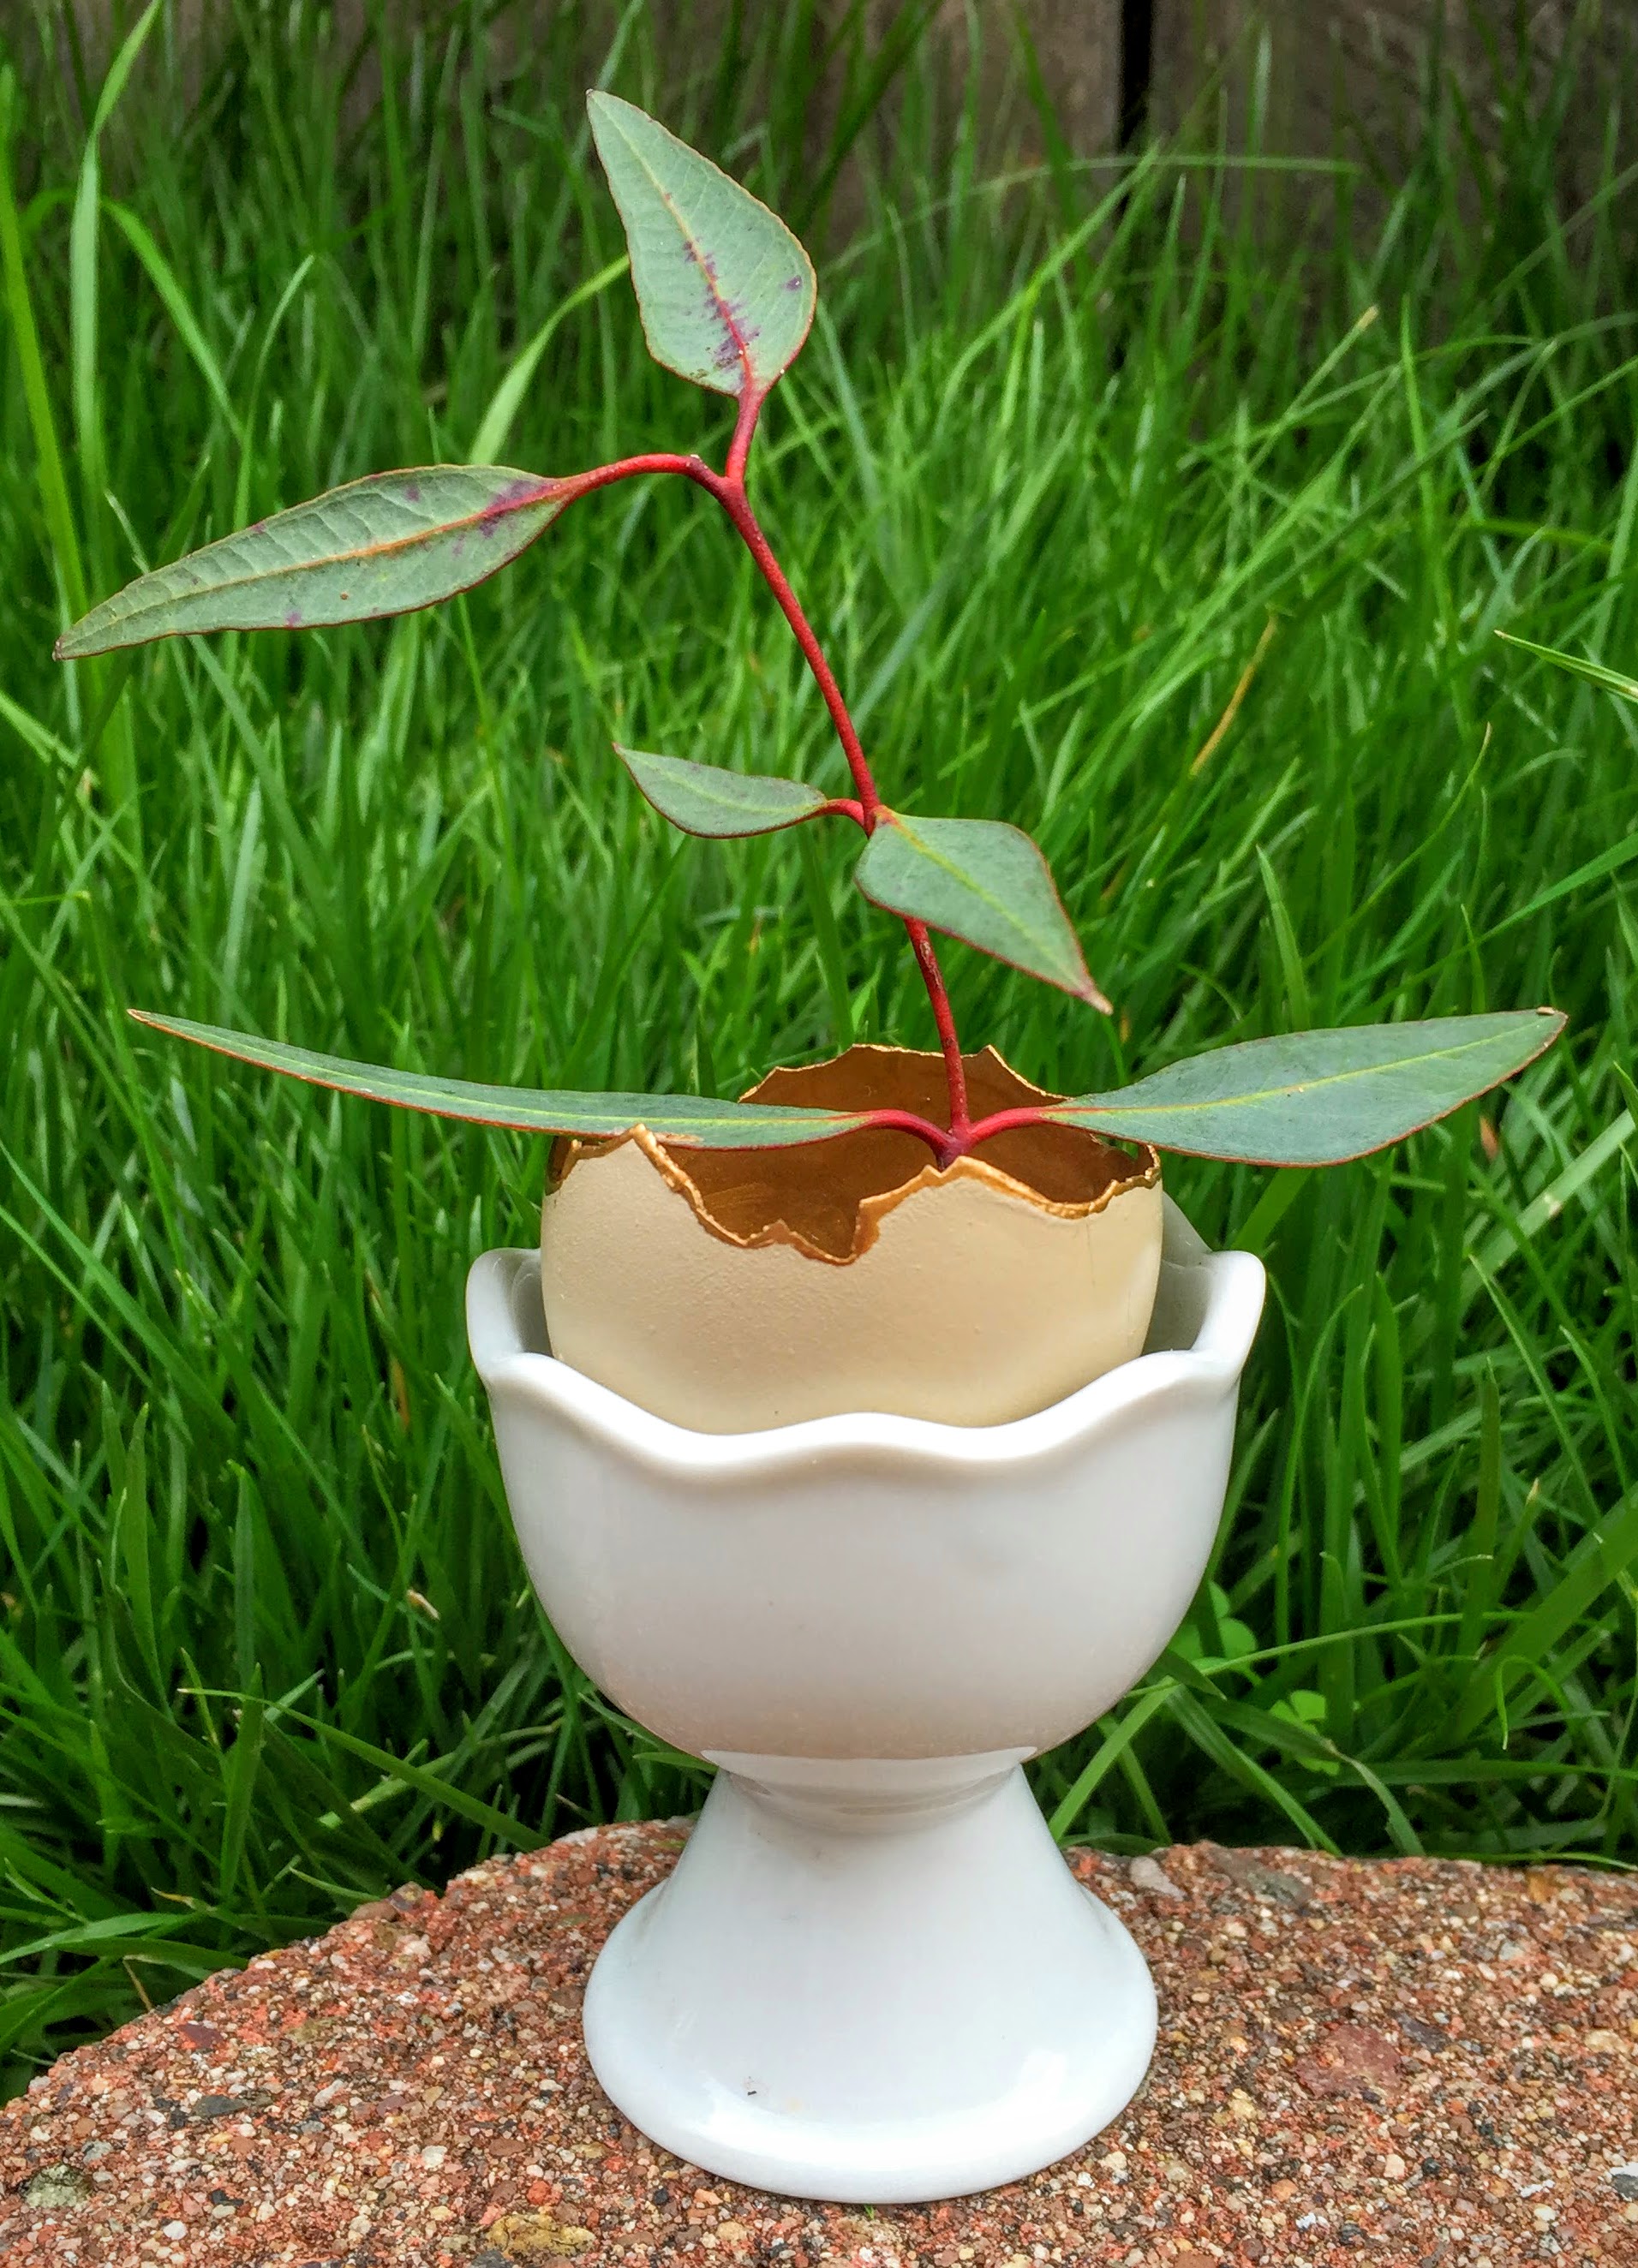
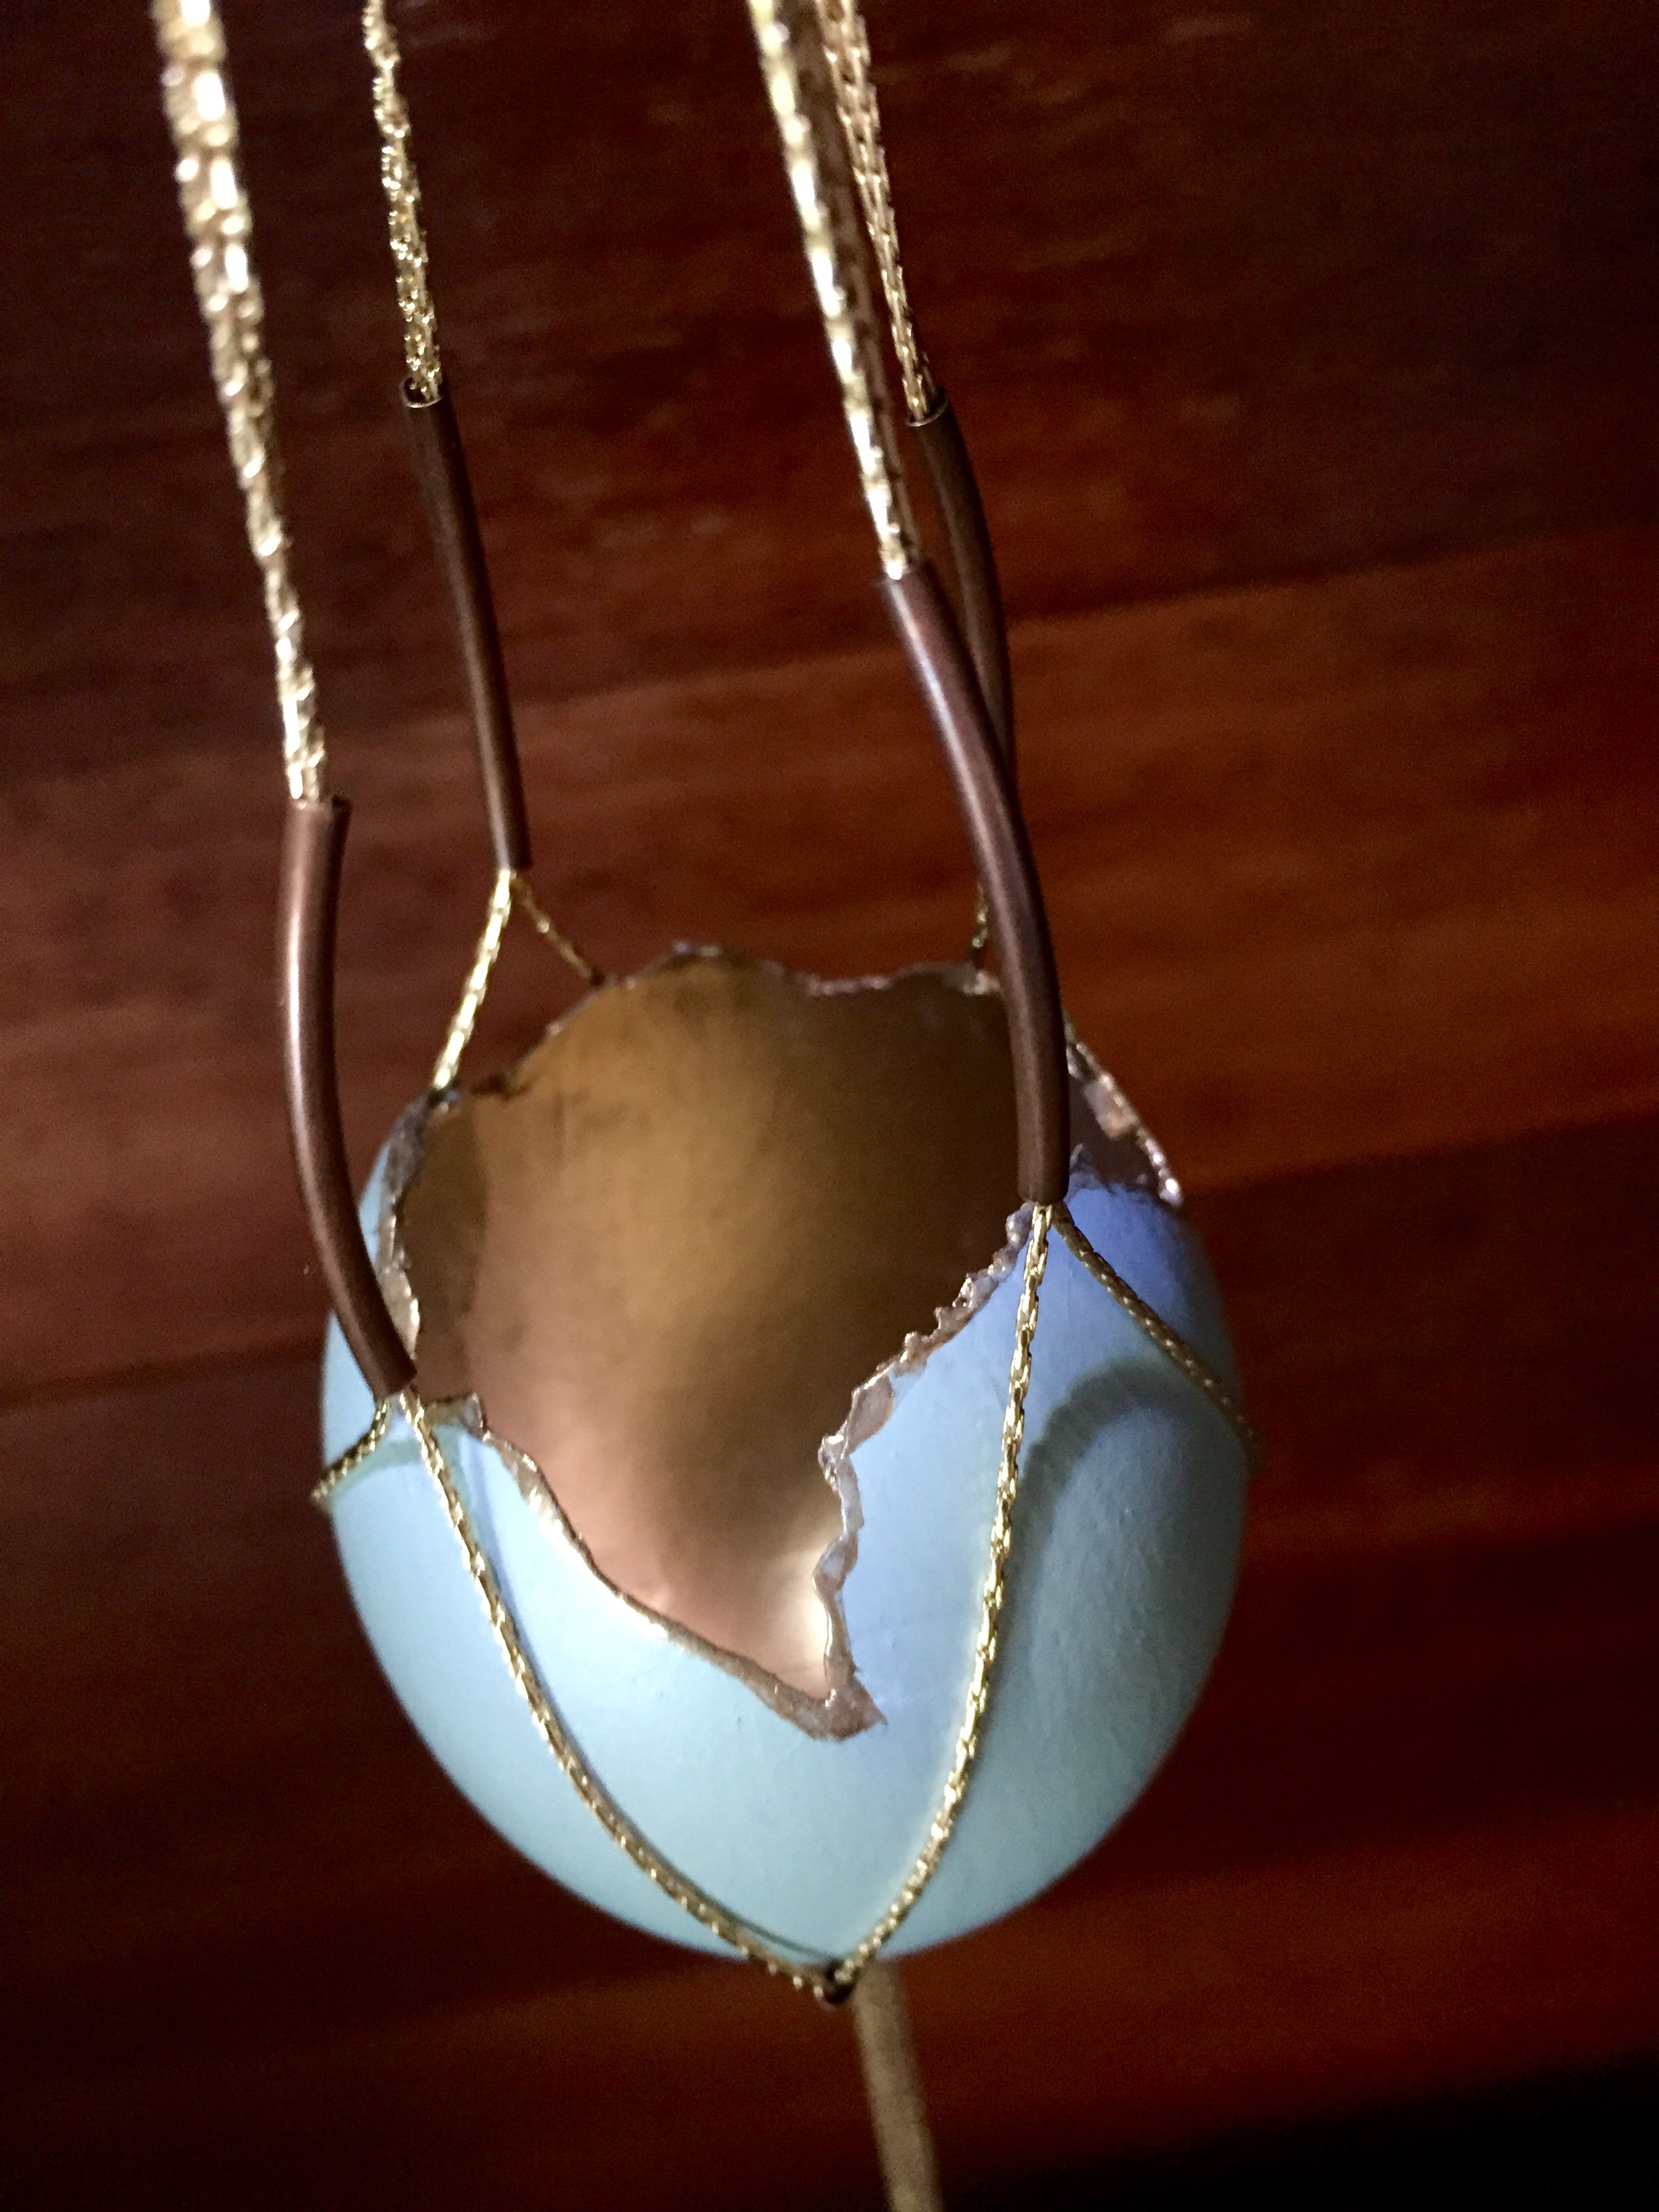
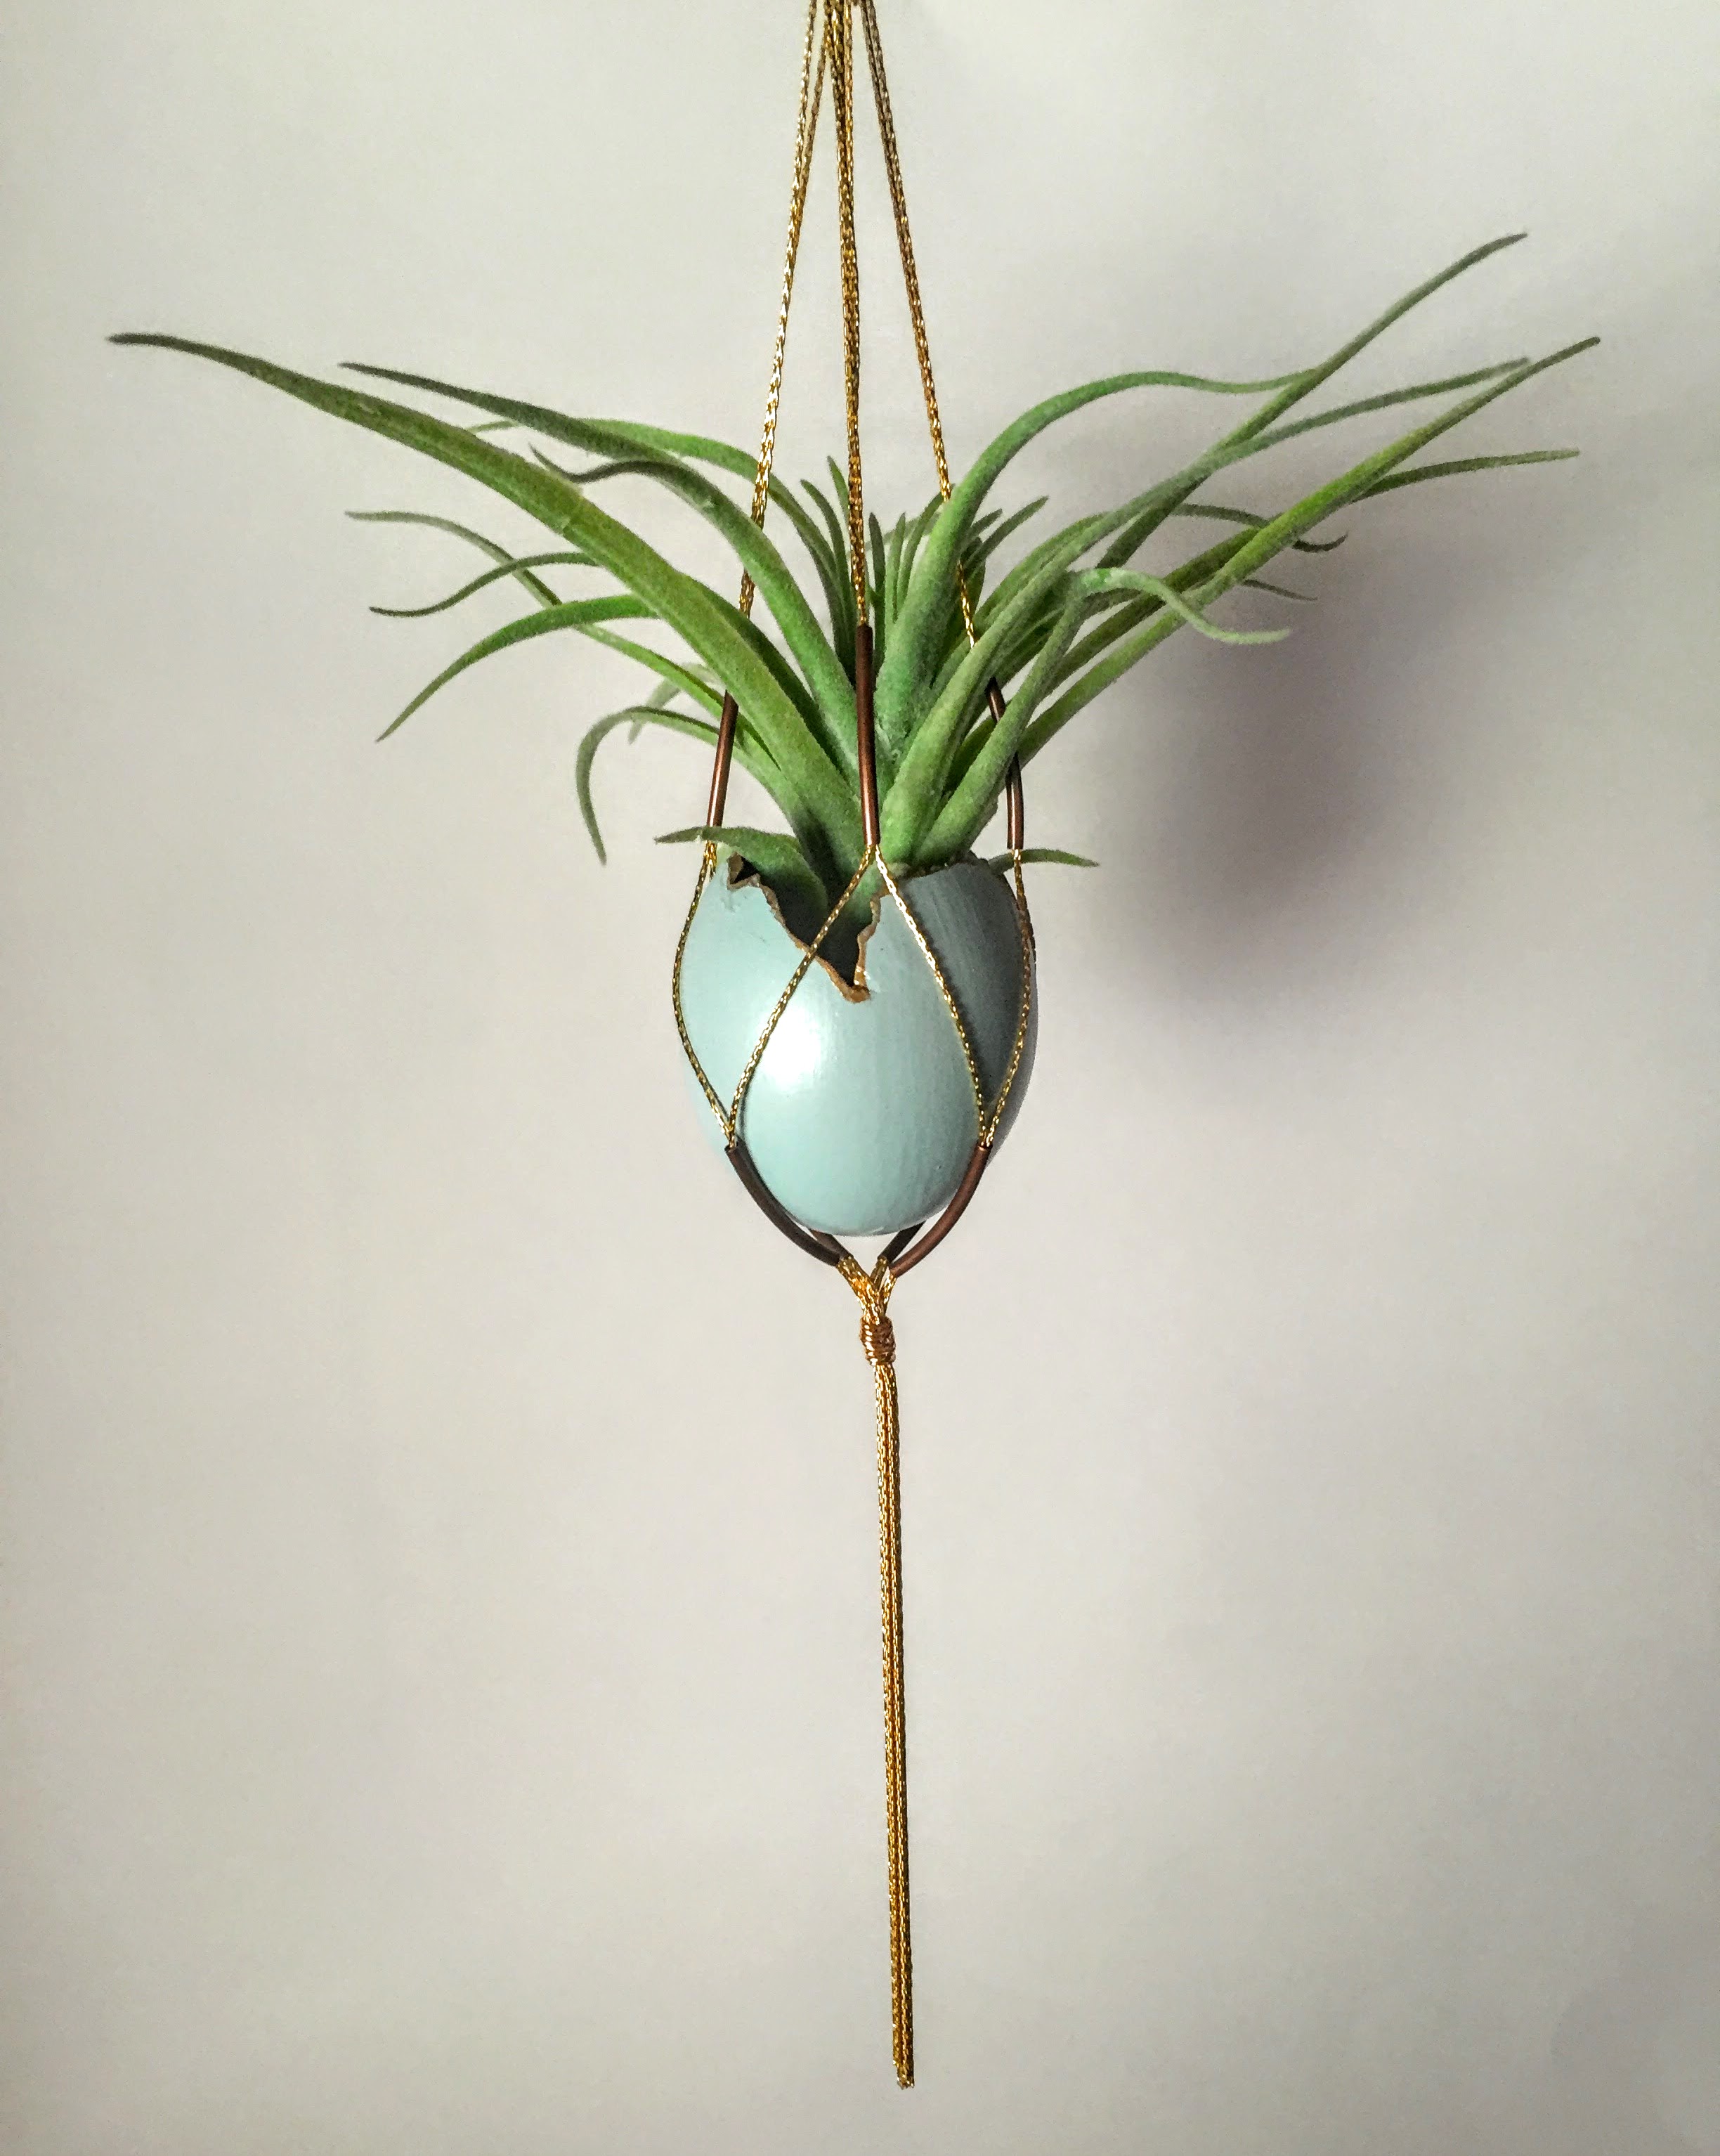
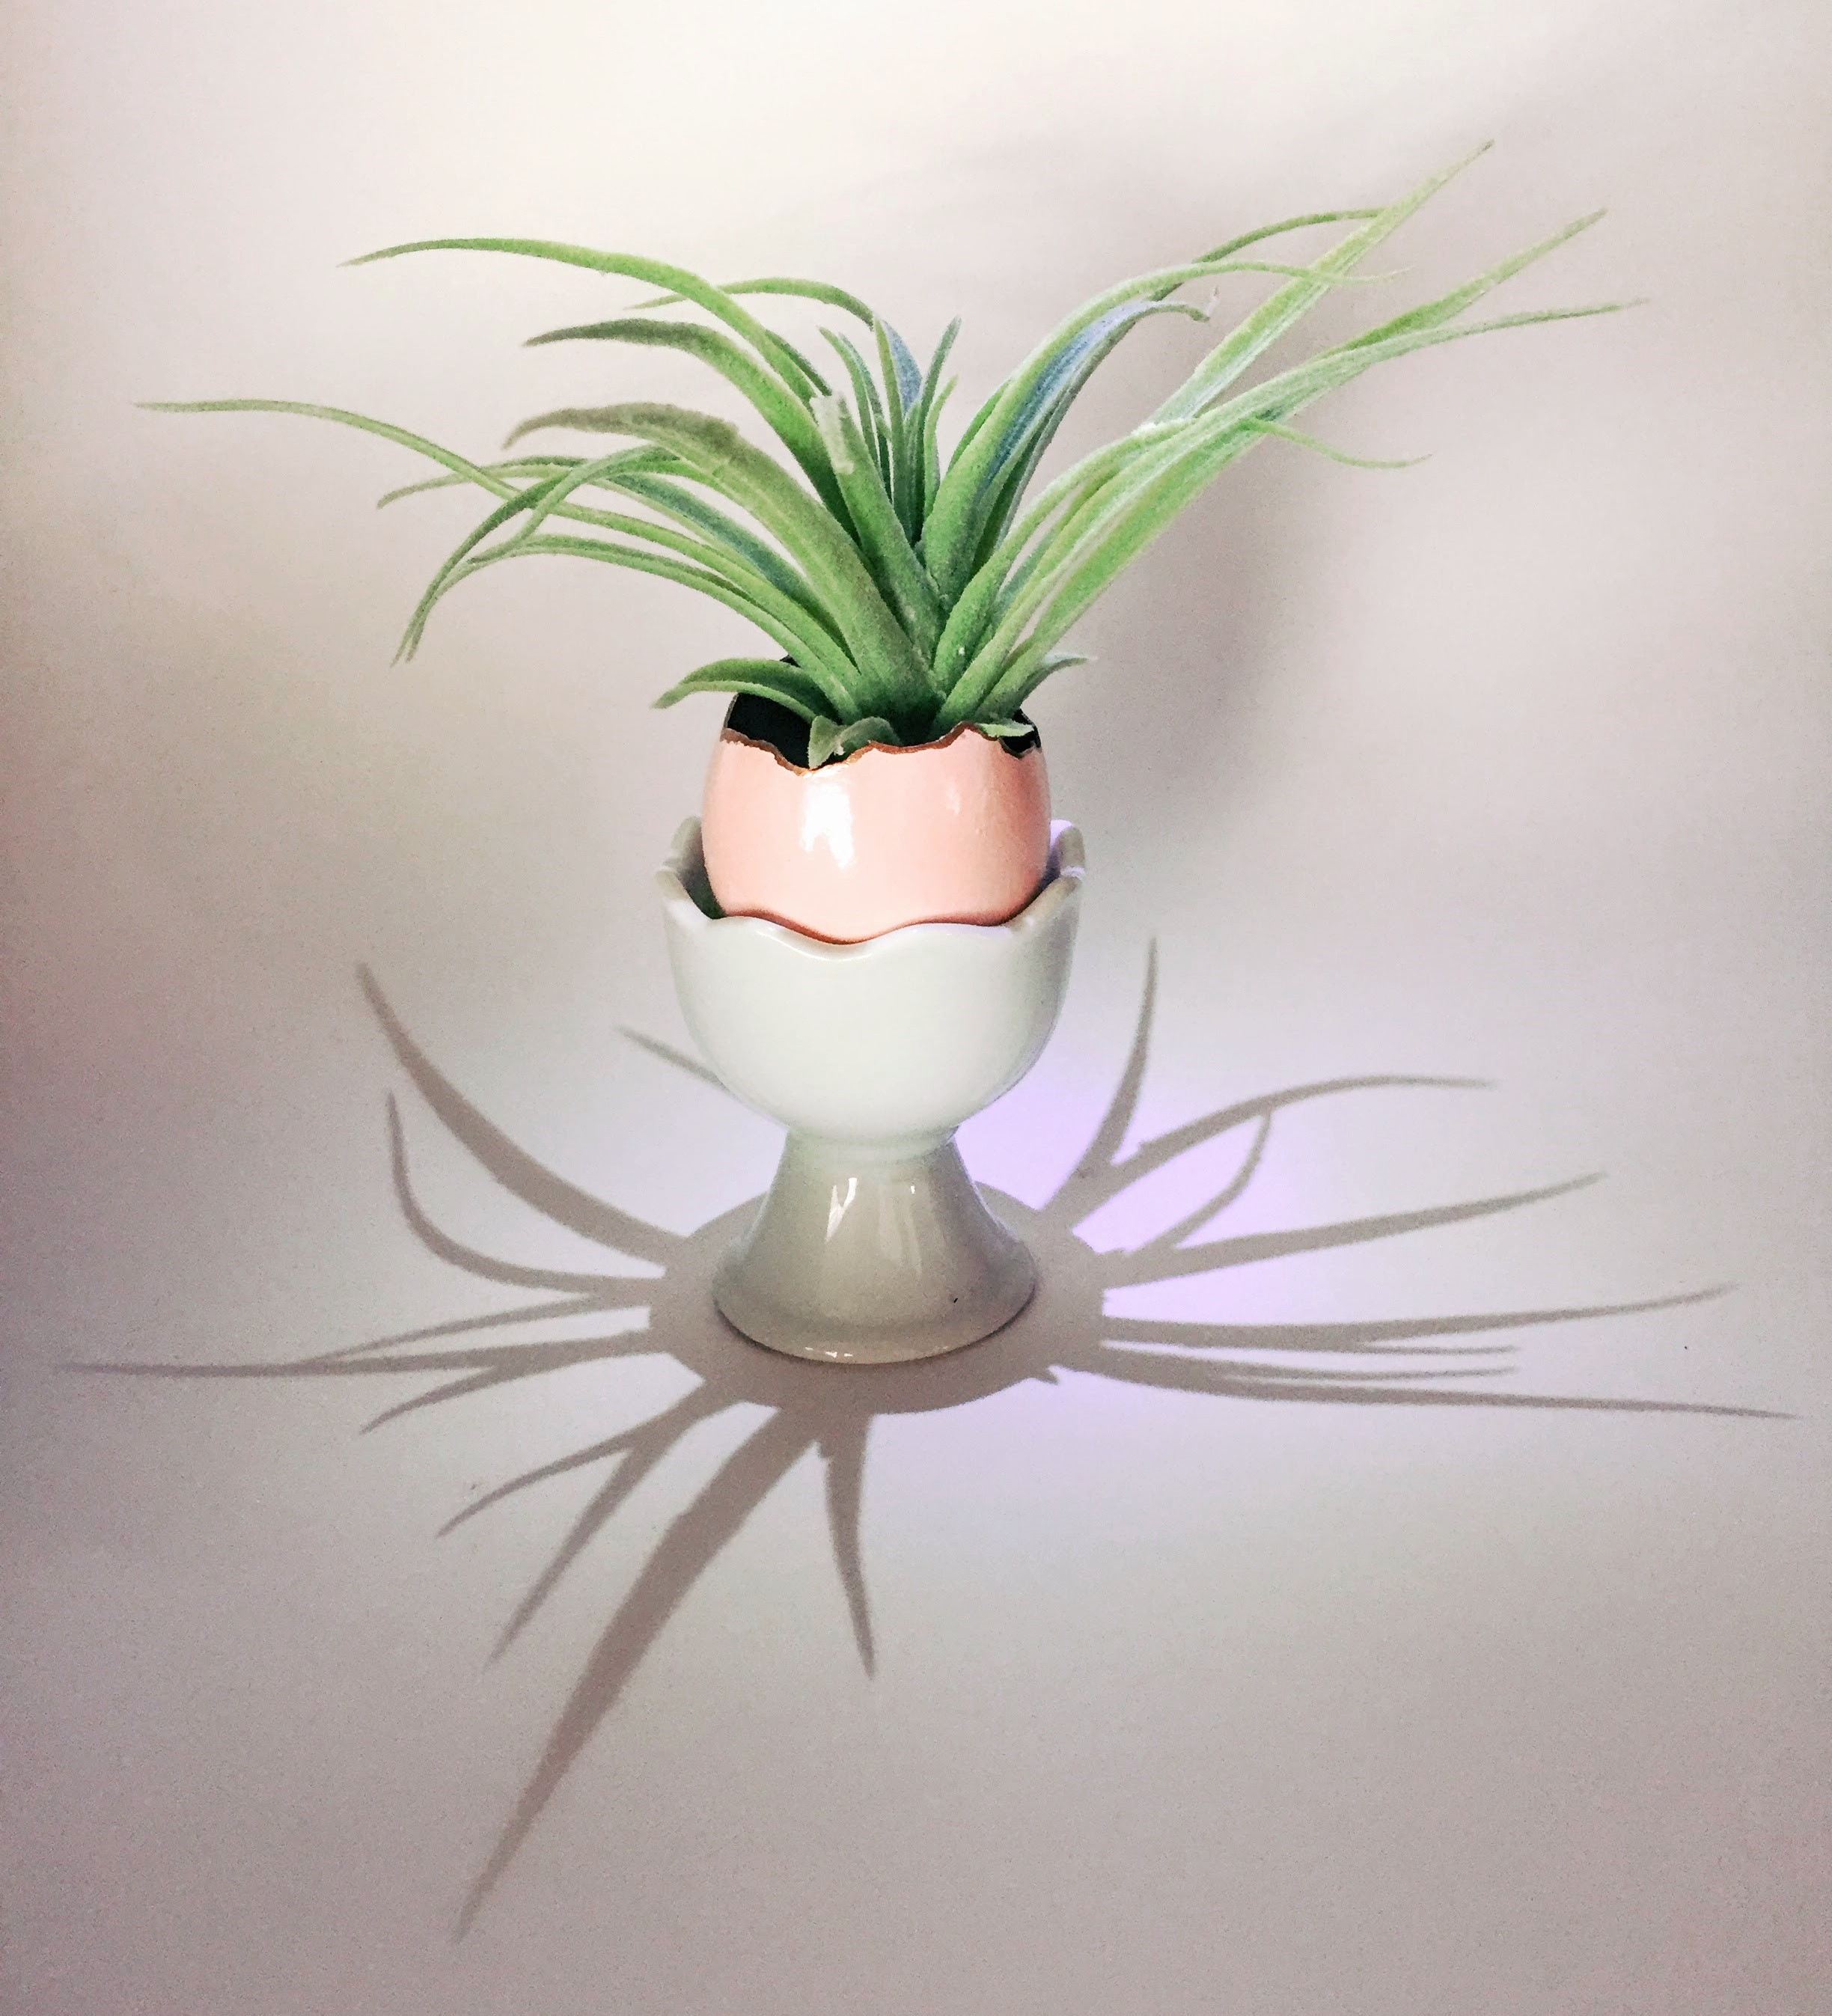
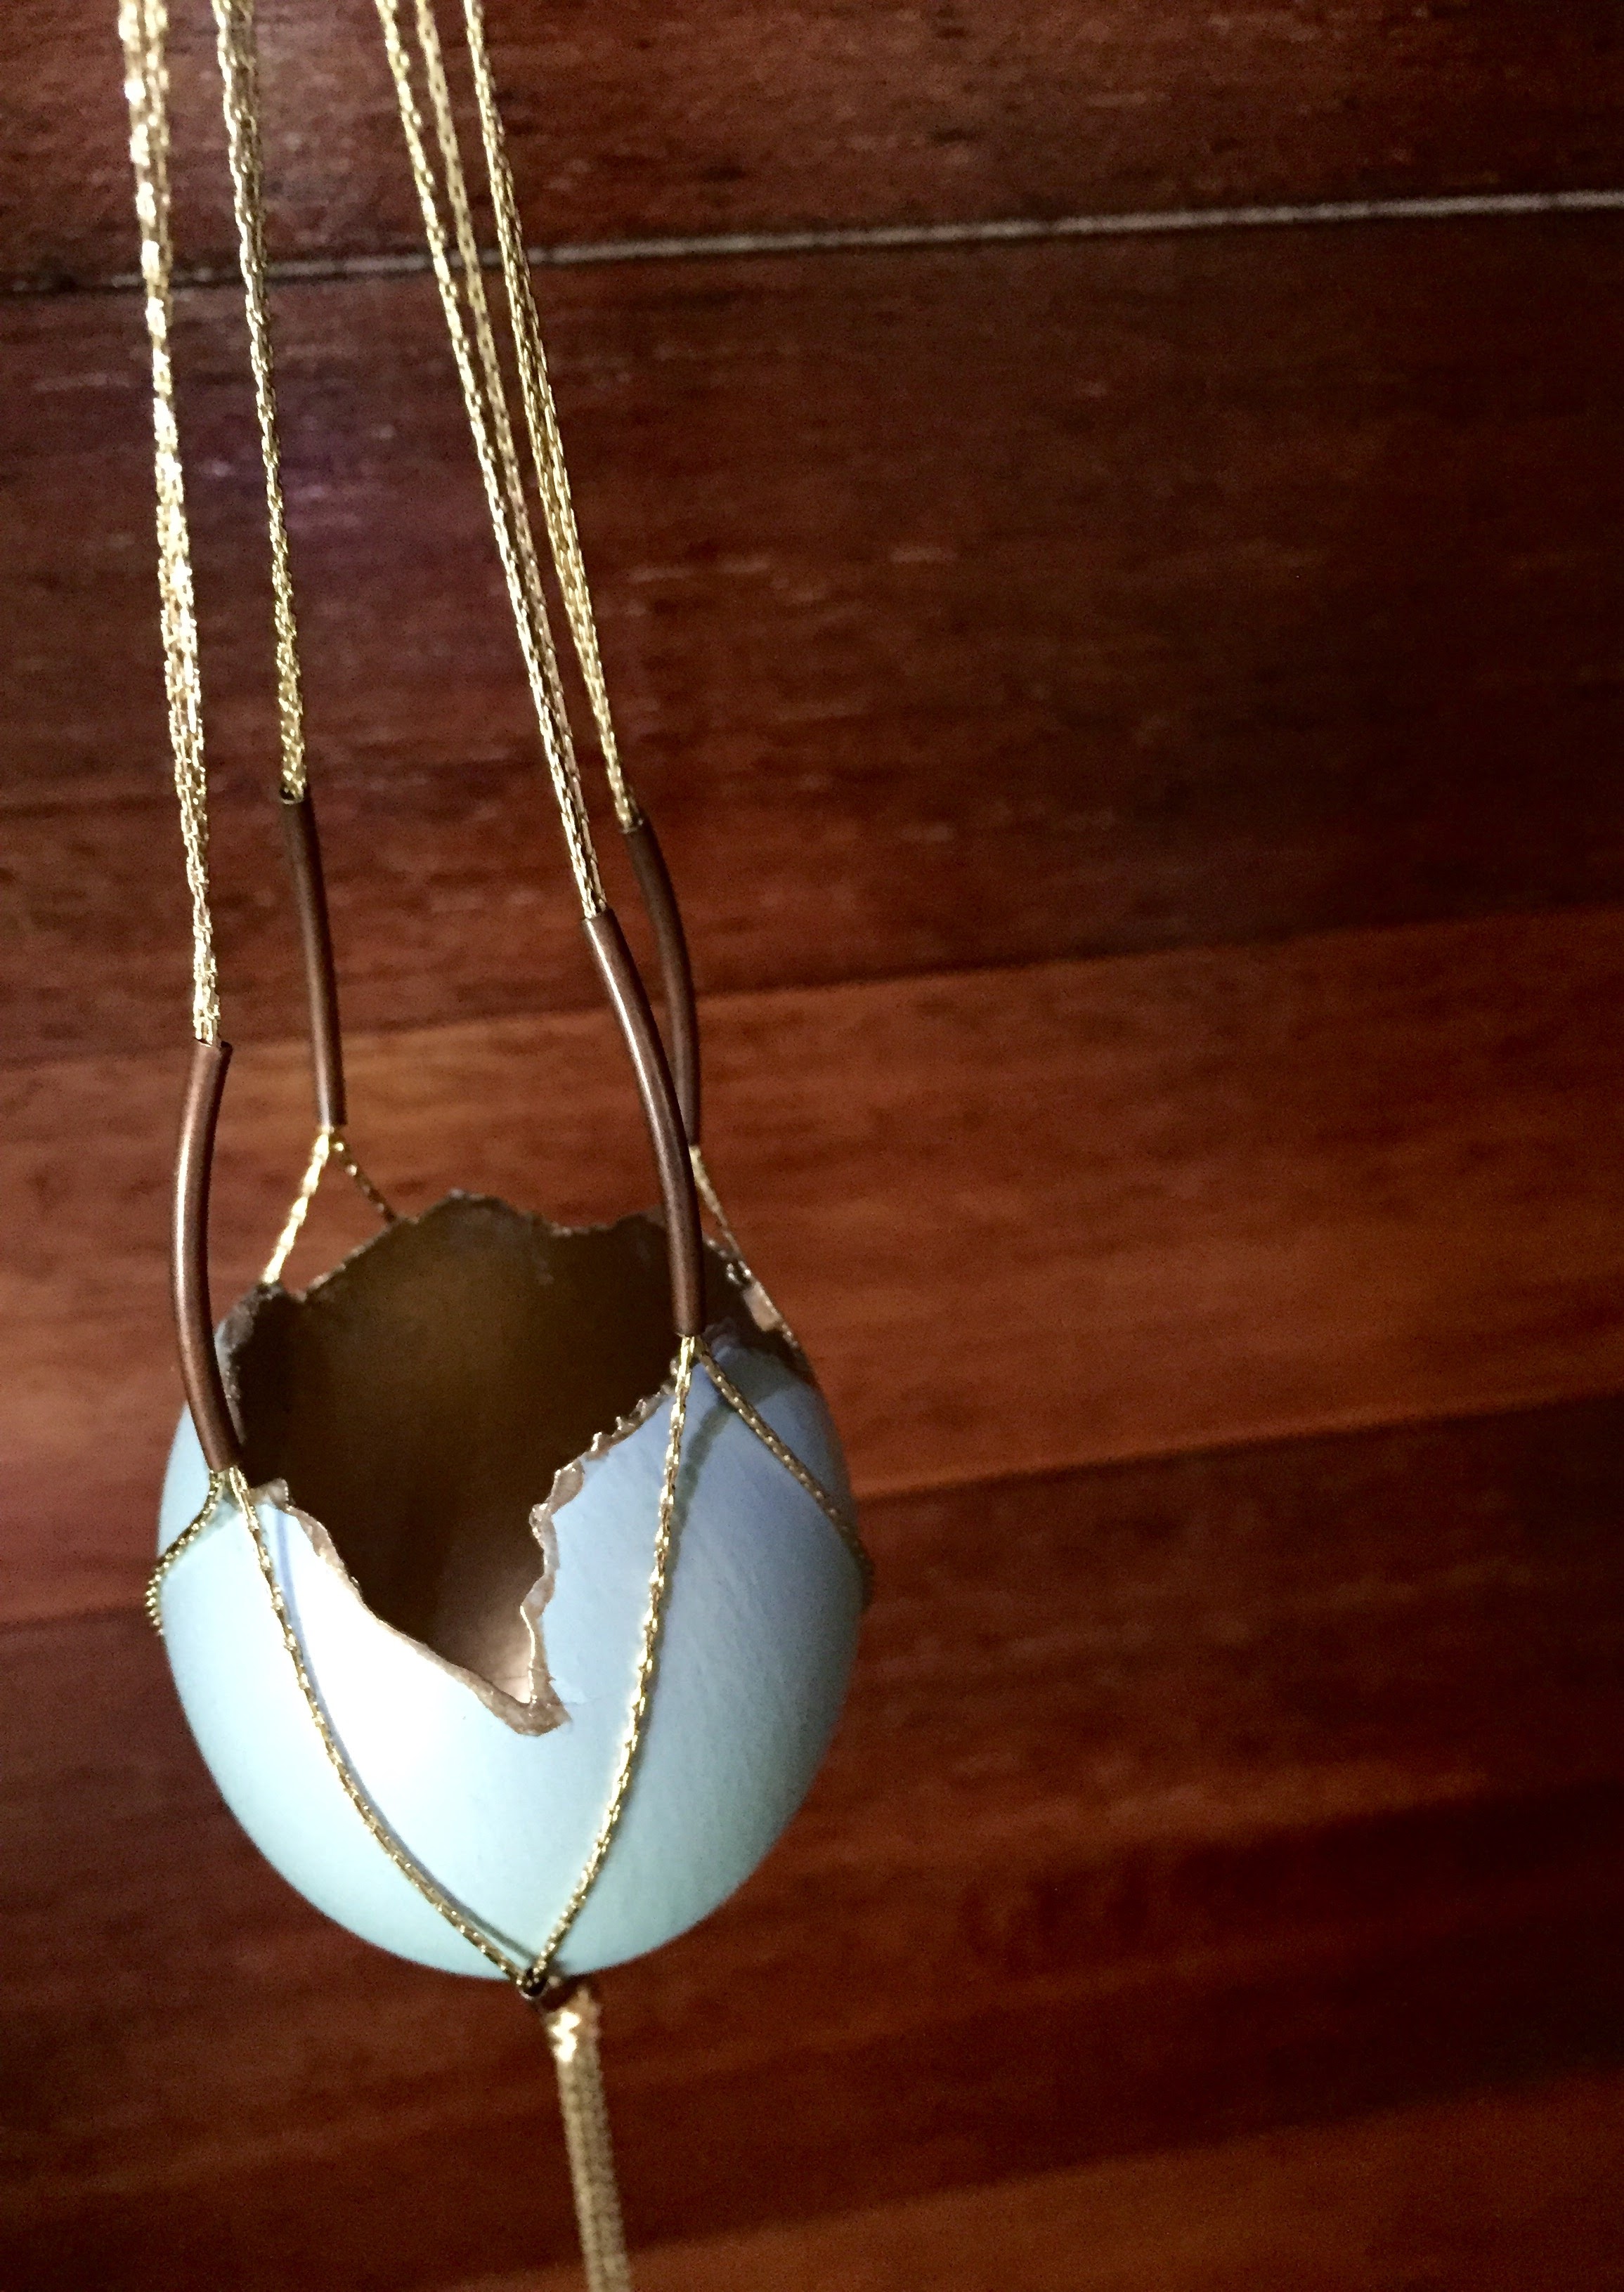
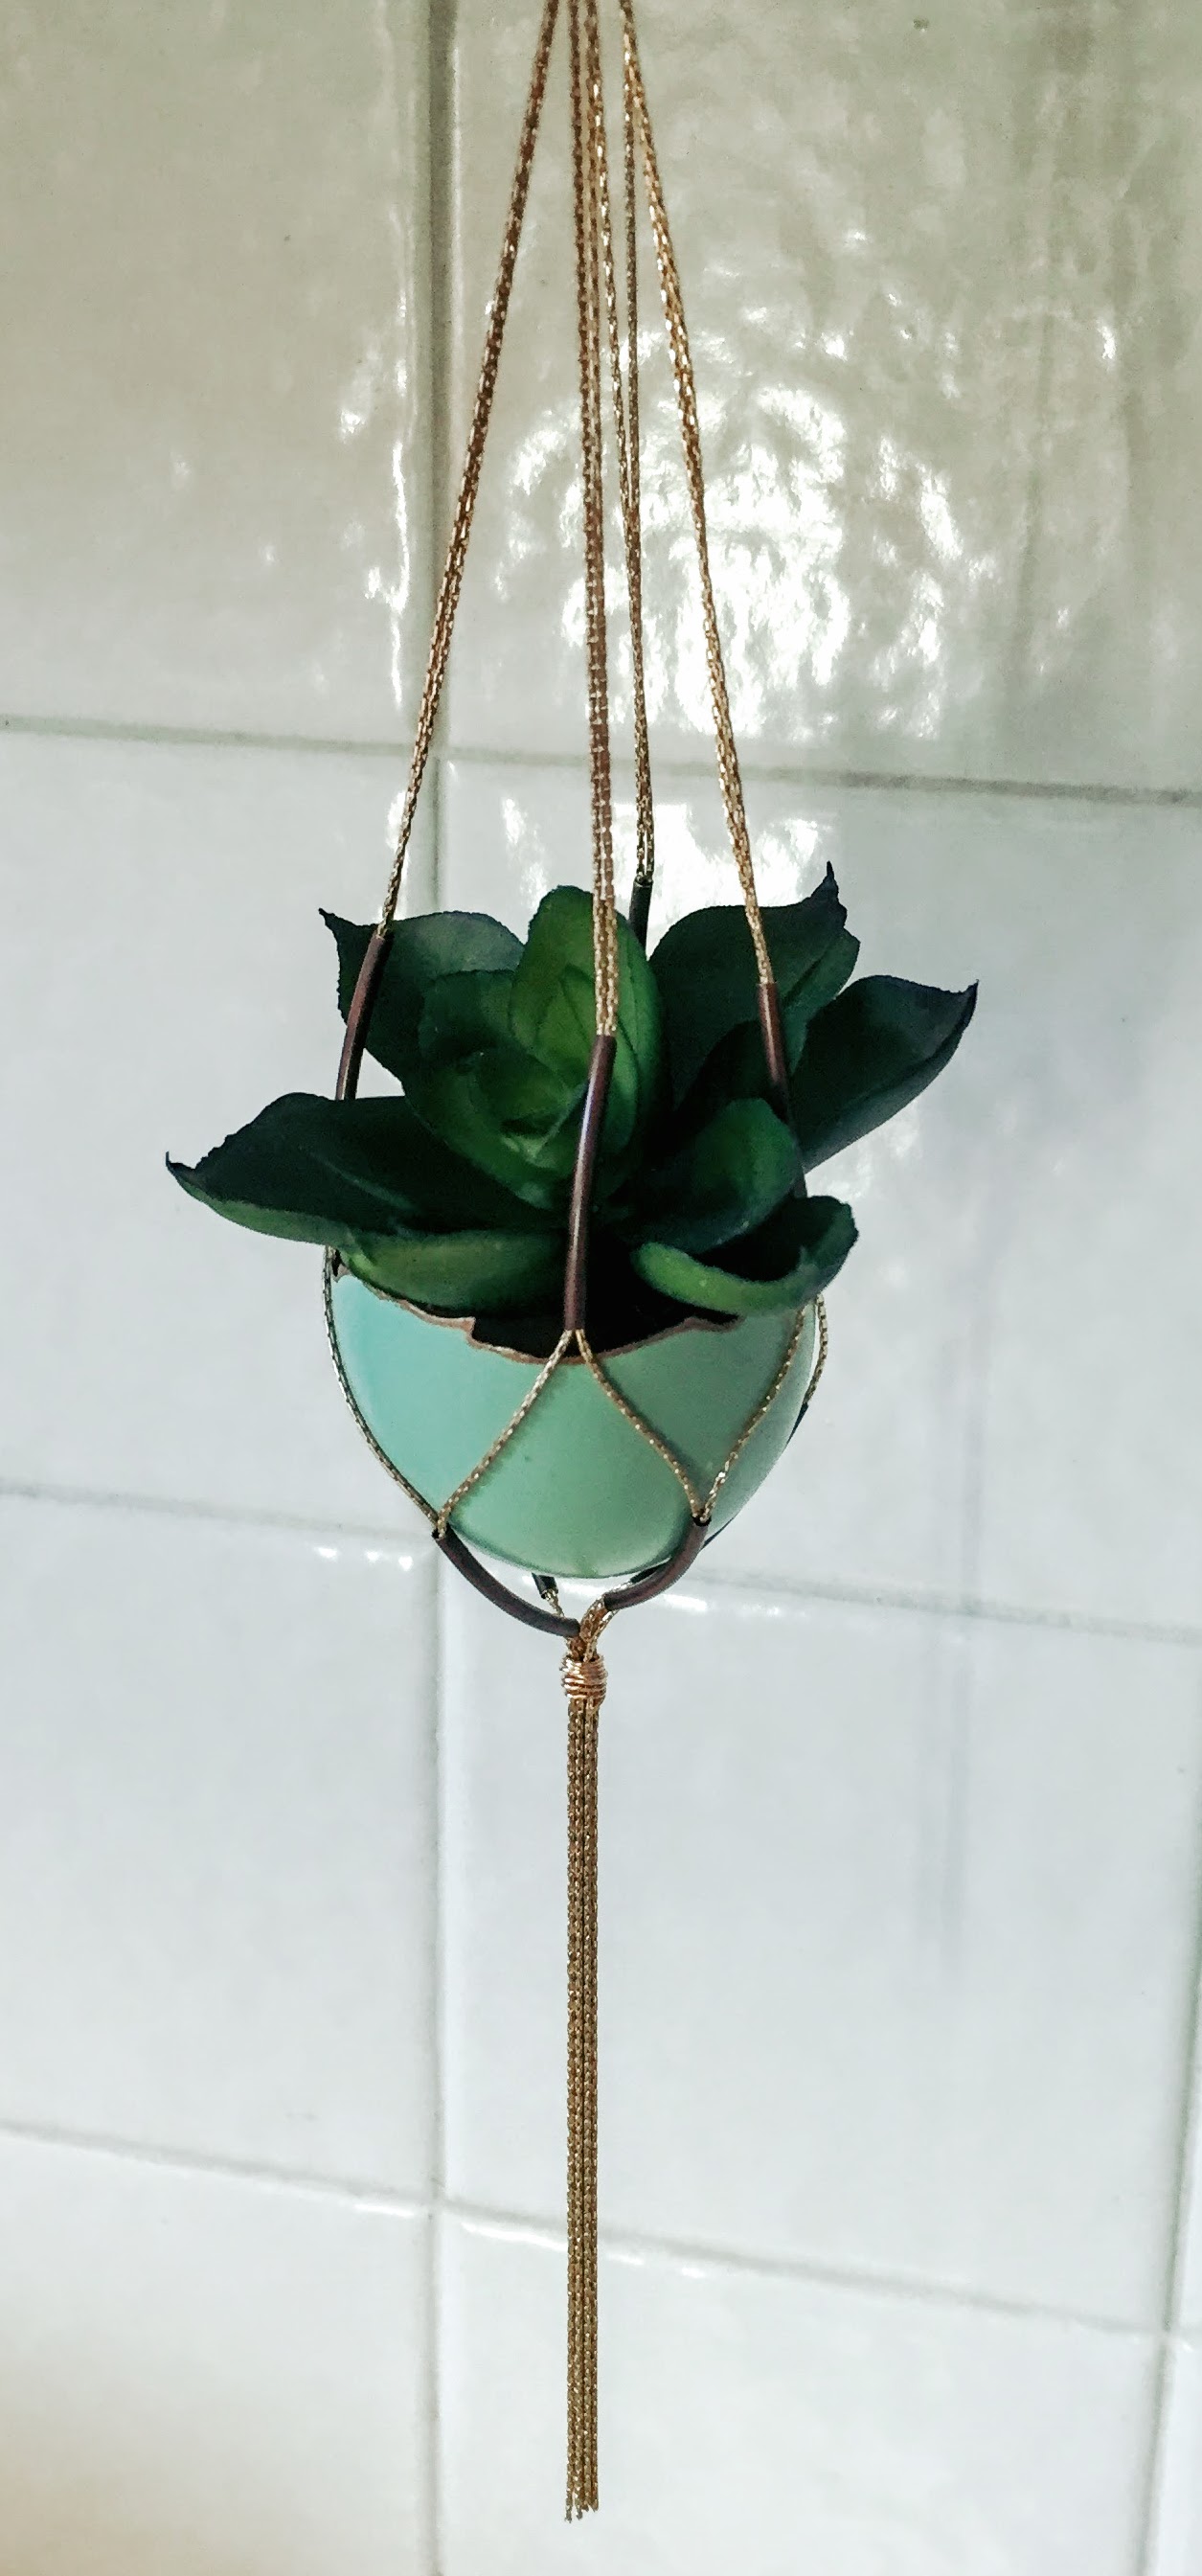
So, there you have it! Nest Egg Planters. Beautiful little treasures that can be set on your Easter Table, and displayed around your home all year round. Add a little sparkle and shine to what used to be a boring bookshelf corner. Mine will be hanging in nooks as planters for airplants, long after Easter is over. Perfectly sweet Spring accessories!
Thank you so much for spending time at The Craine’s Nest! Please send pictures if you make these little guys. I would love to see your unique and creative visions. Have a fun, festive, and sweet Easter!
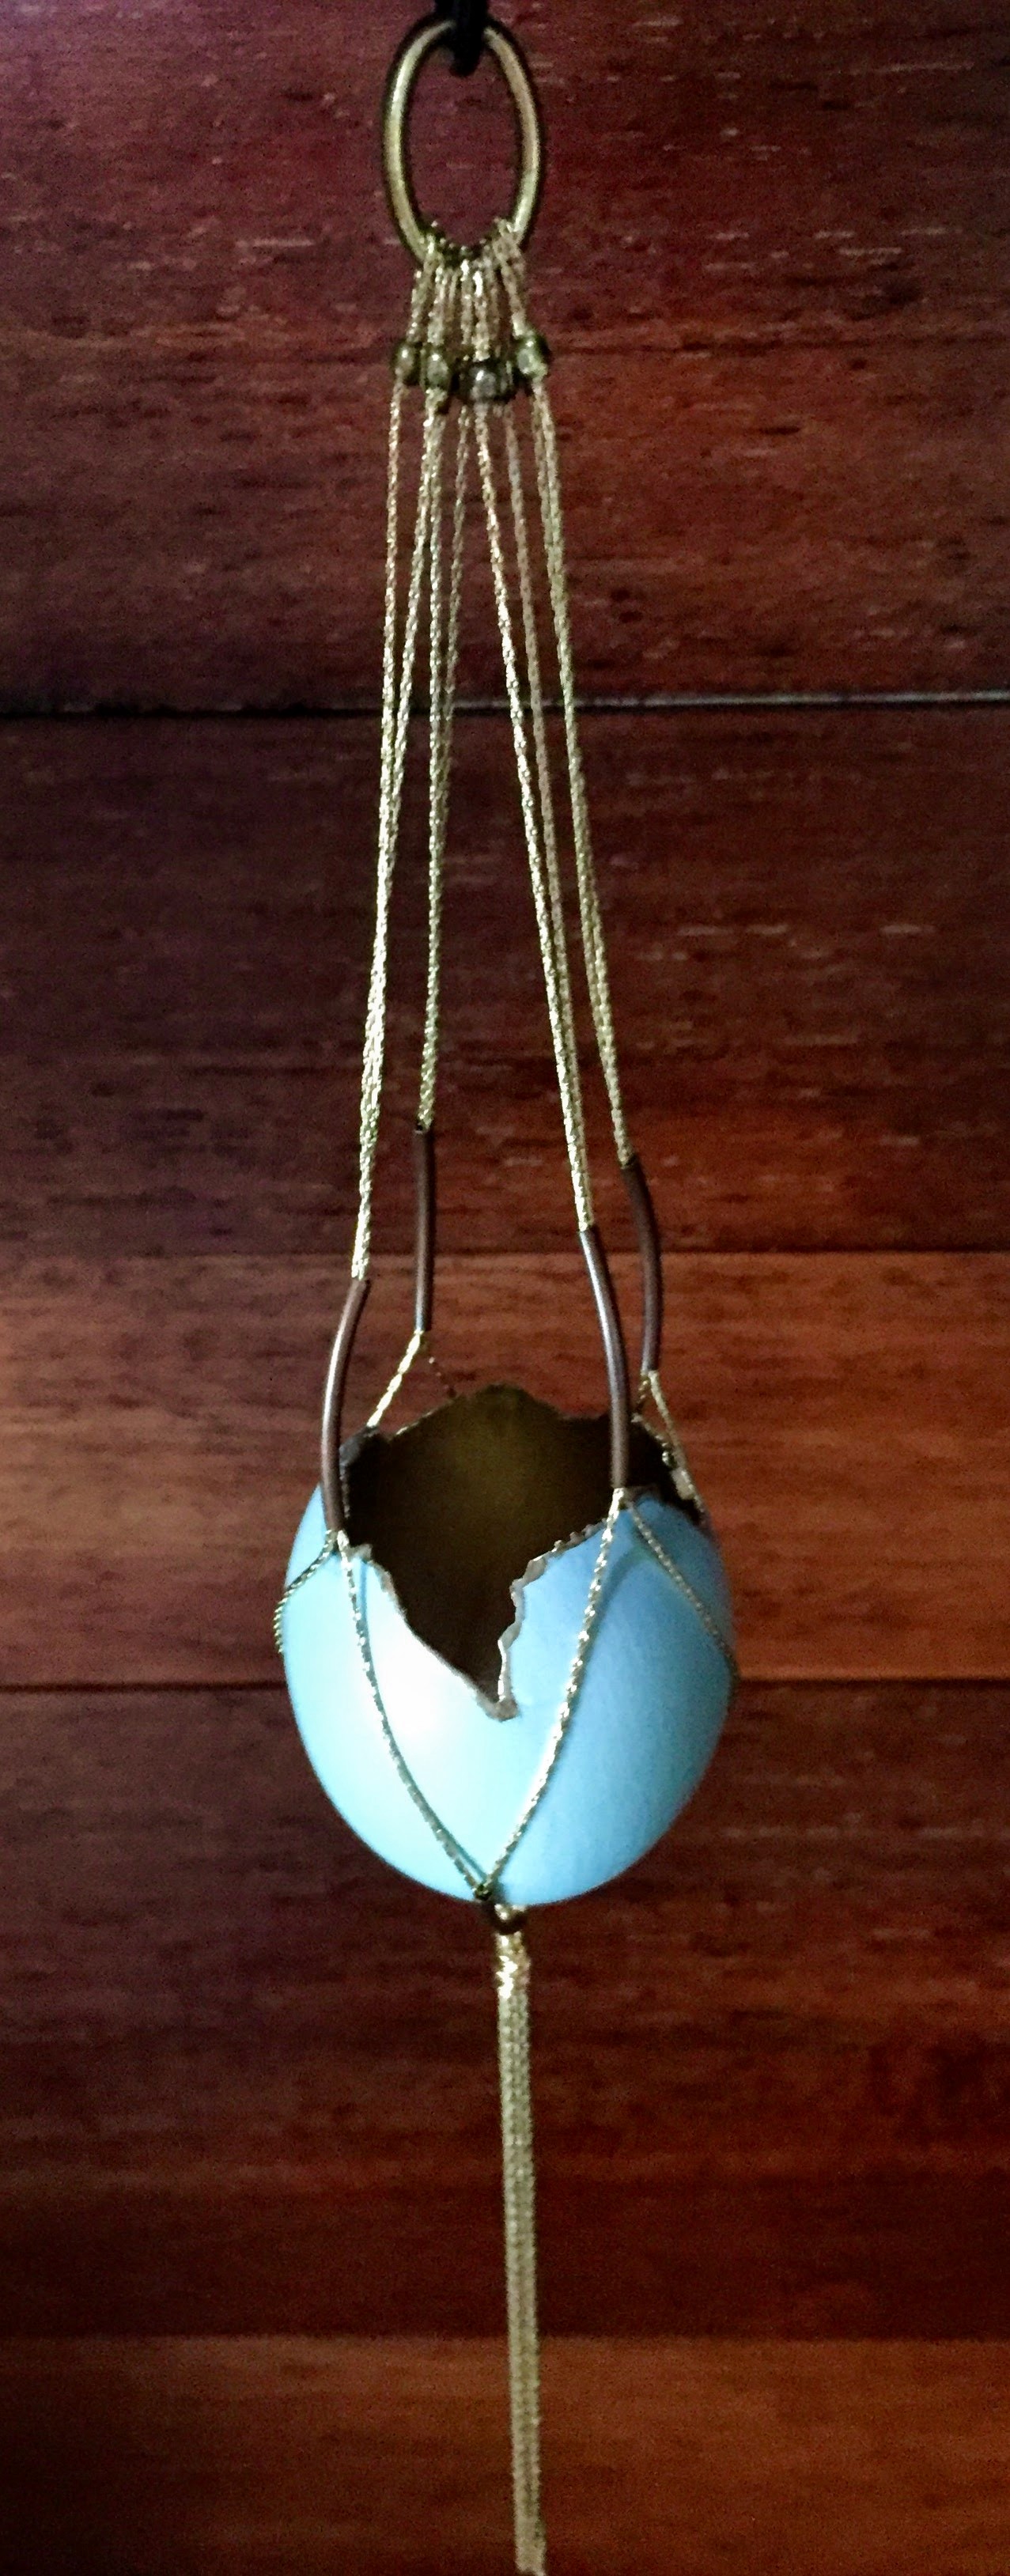
PS: I will be doing a post on the cute Macramé Jewelry Egg Hanger, soon. Stay tuned!
Happy Nesting.
Kirstie xo
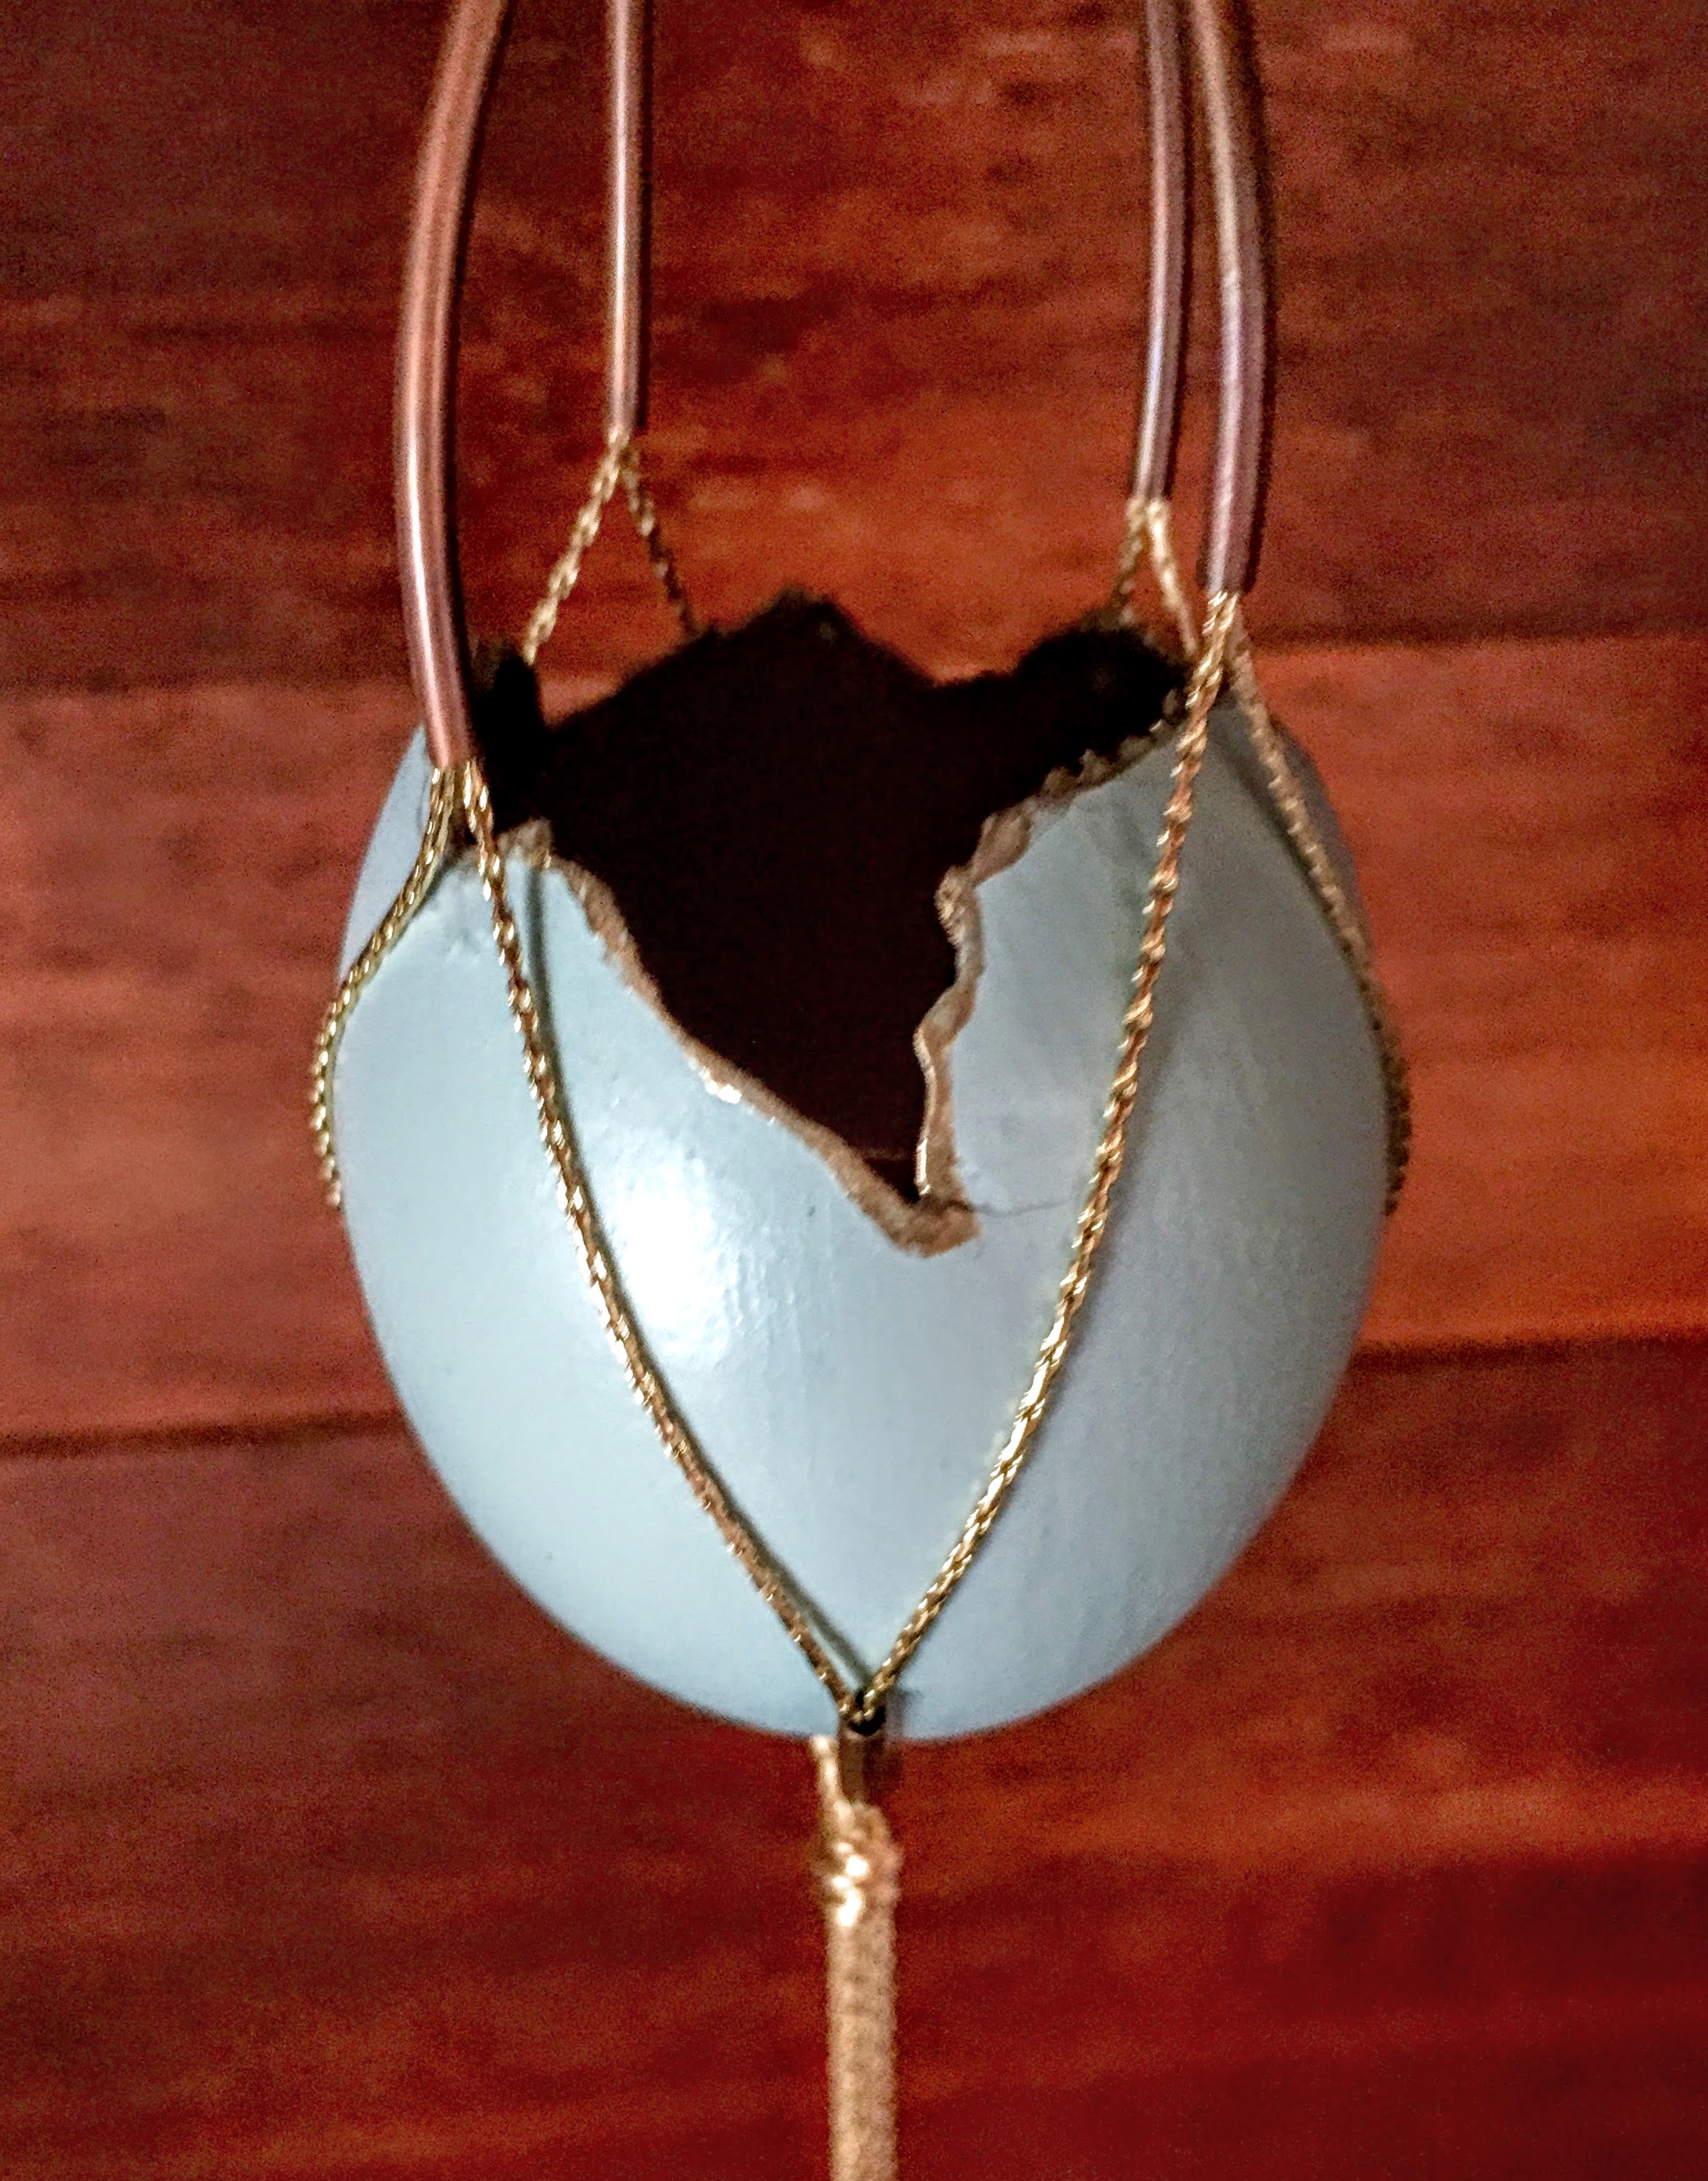
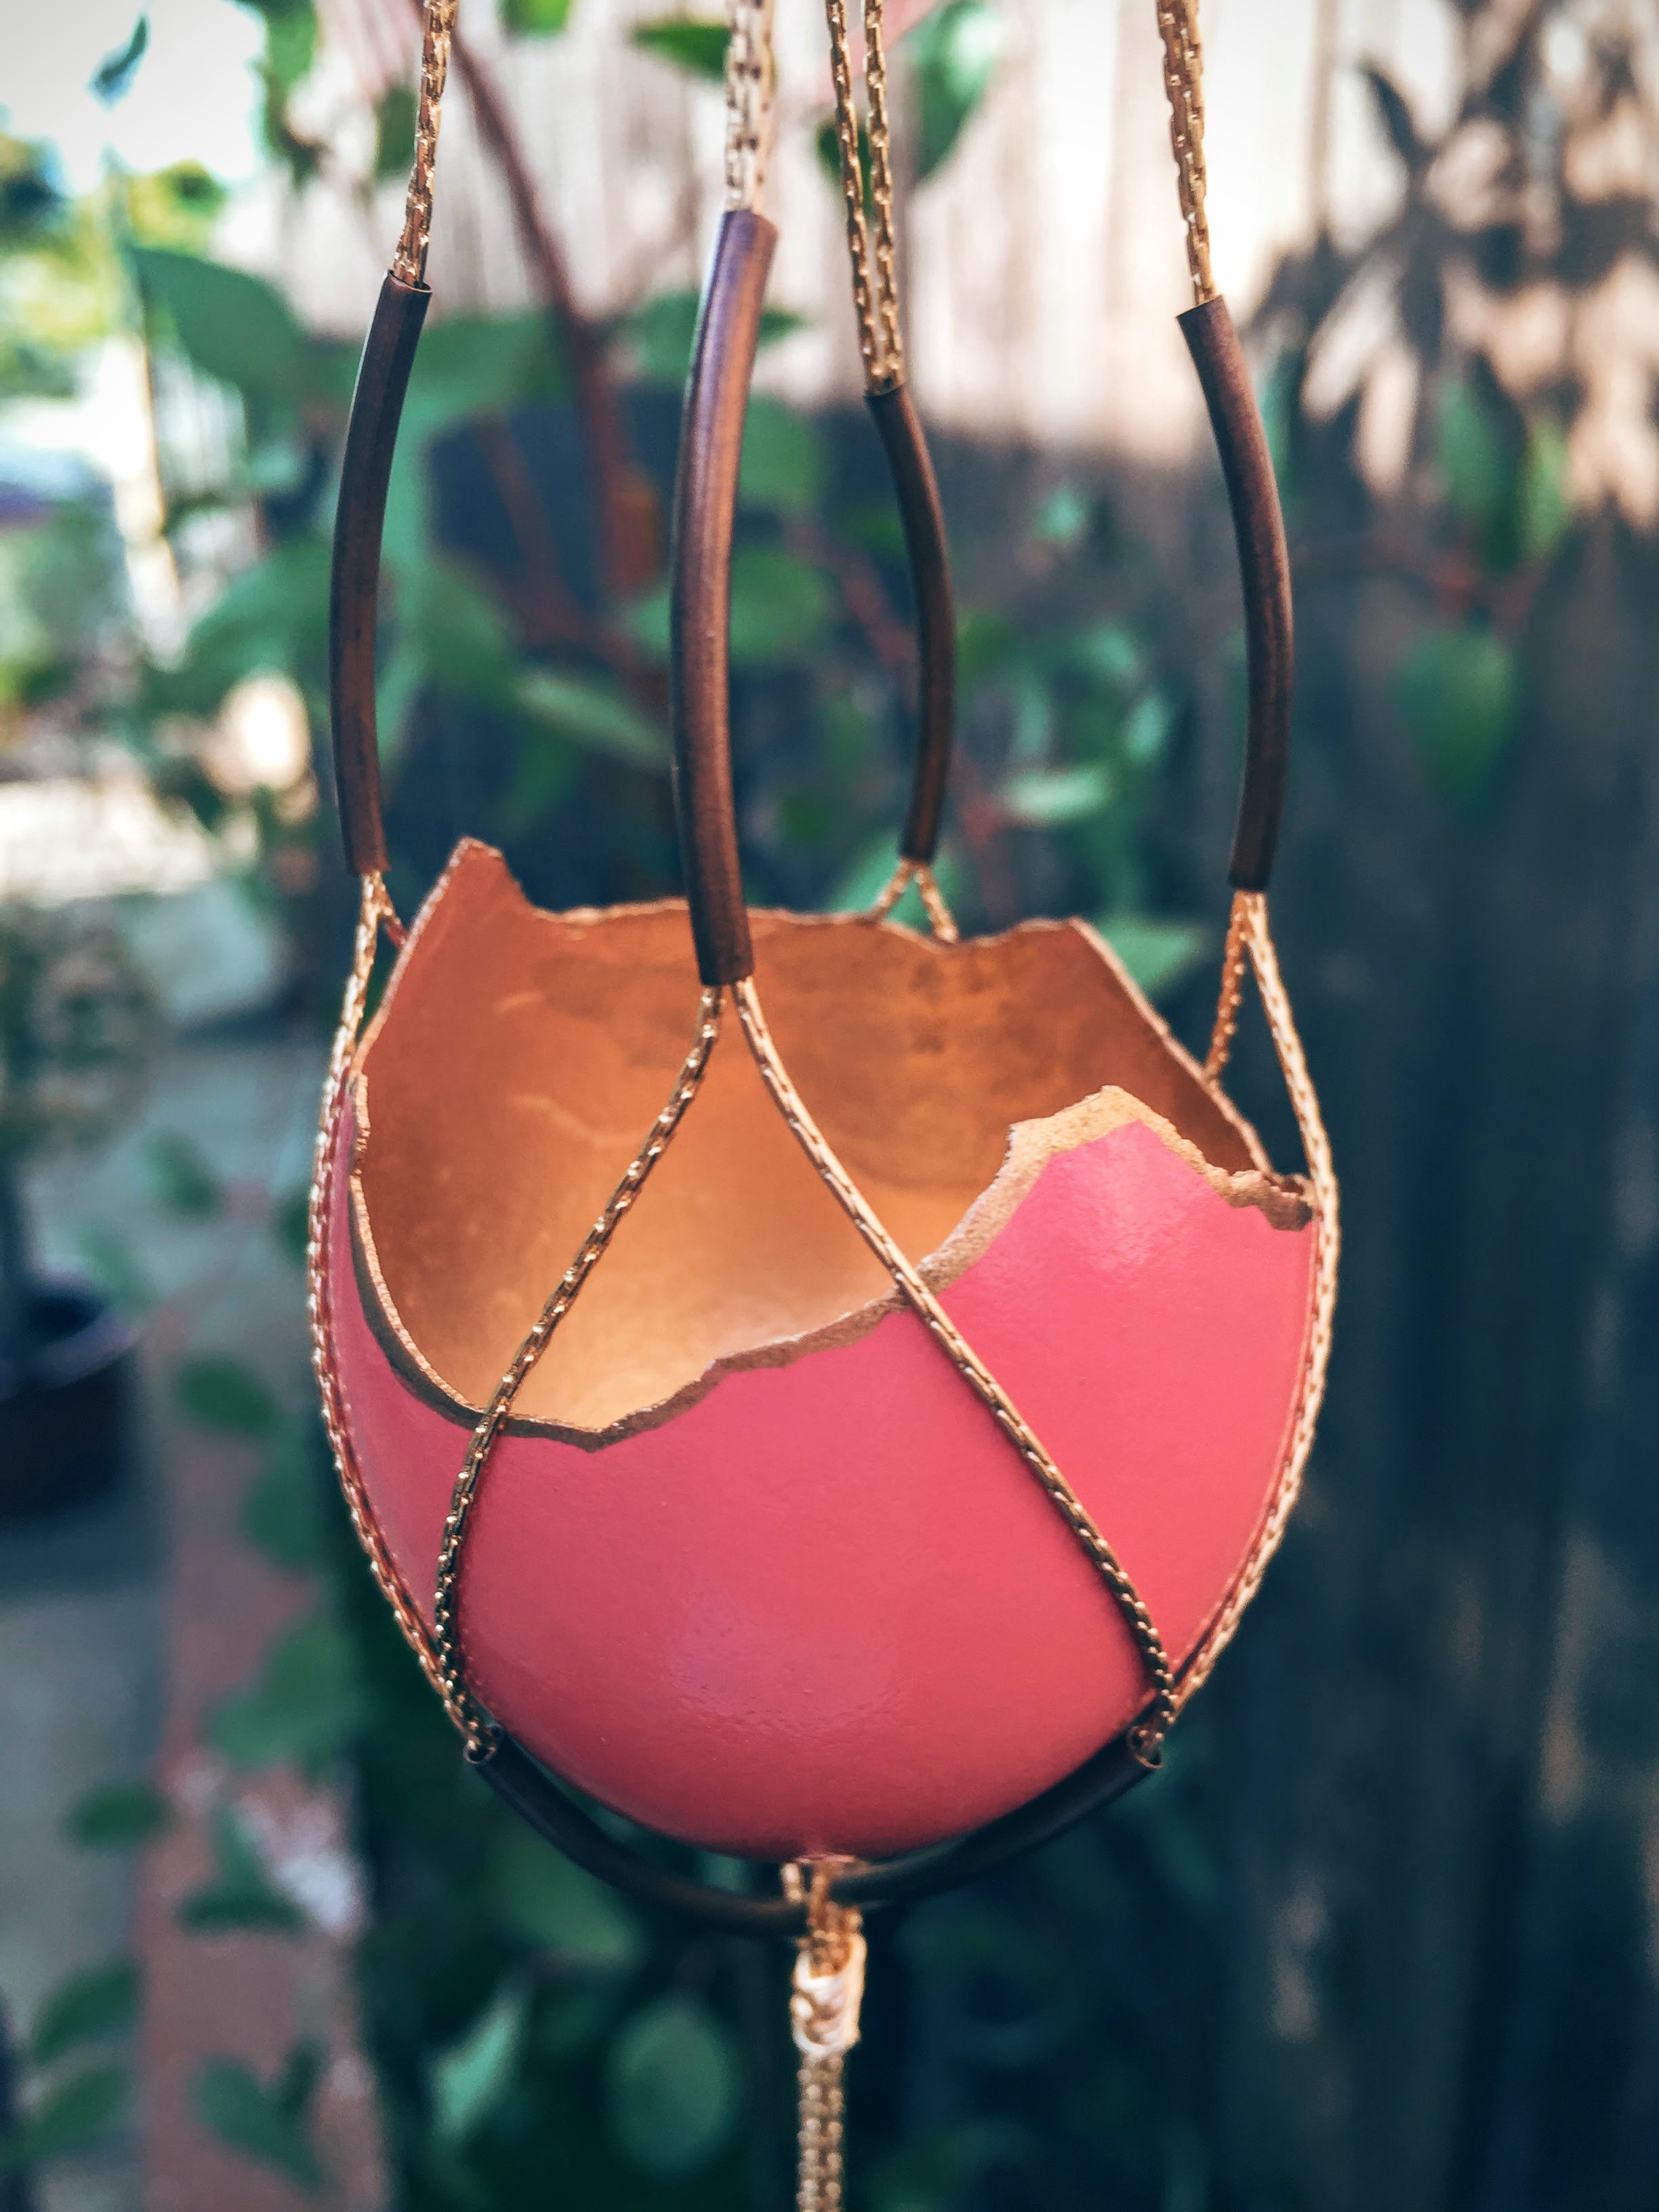

So cute! Question. where is the best place to get the gold chain that you used on the hanging egg.
thanks
Hi Olivia!
Thanks so much for your comment! I bought my chain at a little bead shop in La Mesa, CA (East San Diego), called The Bouncing Bead. I think it might be called snake chain… if you pop into any local bead store, you could probably find it. It’s not at any of the big chains like Michael’s or Hobby Lobby, though. Sorry I can’t help more! If I find it online, I will send you a link! I will be posting a DIY on how to make the Macrame Chain Hanger in the next week or so. Thanks so much for your interest! xo