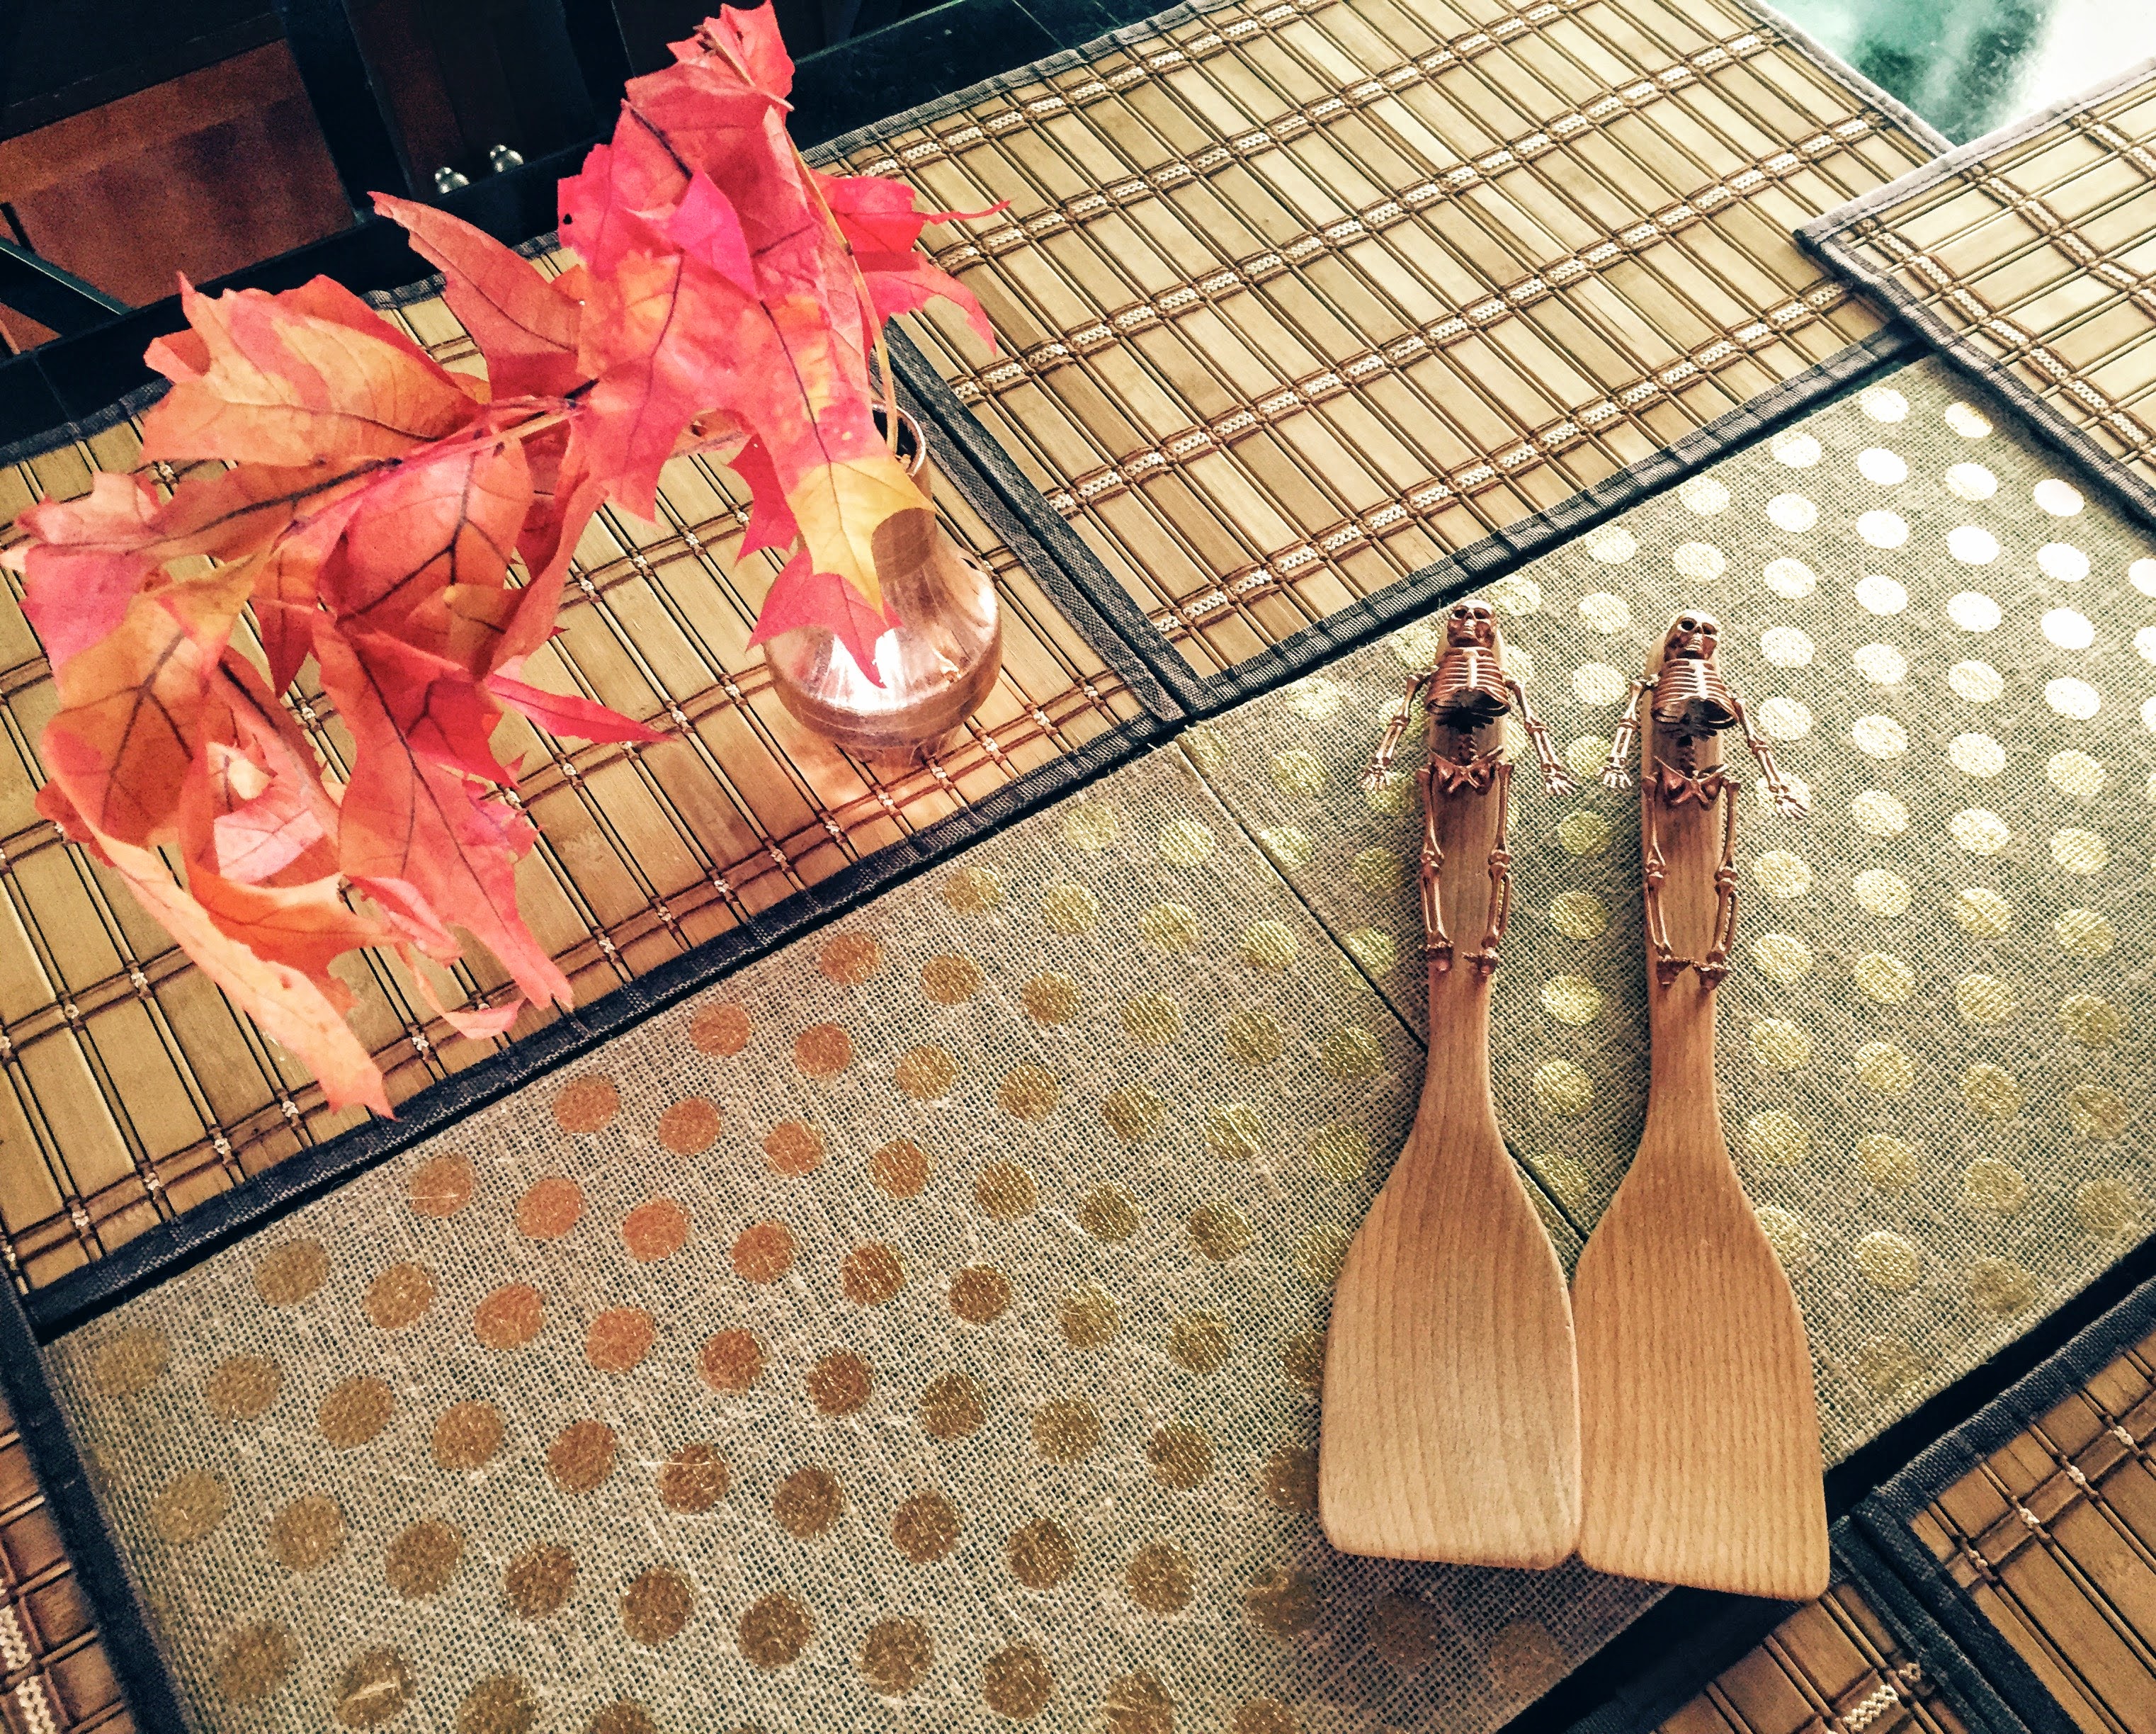
Welcome back to my last Spooky Skeleton Post! This will round out the series. I’ve had fun making these creations, and I hope you’ve been inspired by them! In this post, I will be making 2 sets of Skeleton Serving Spoons.
This project is a snap, so let’s get these little guys ready for your Halloween soiree!
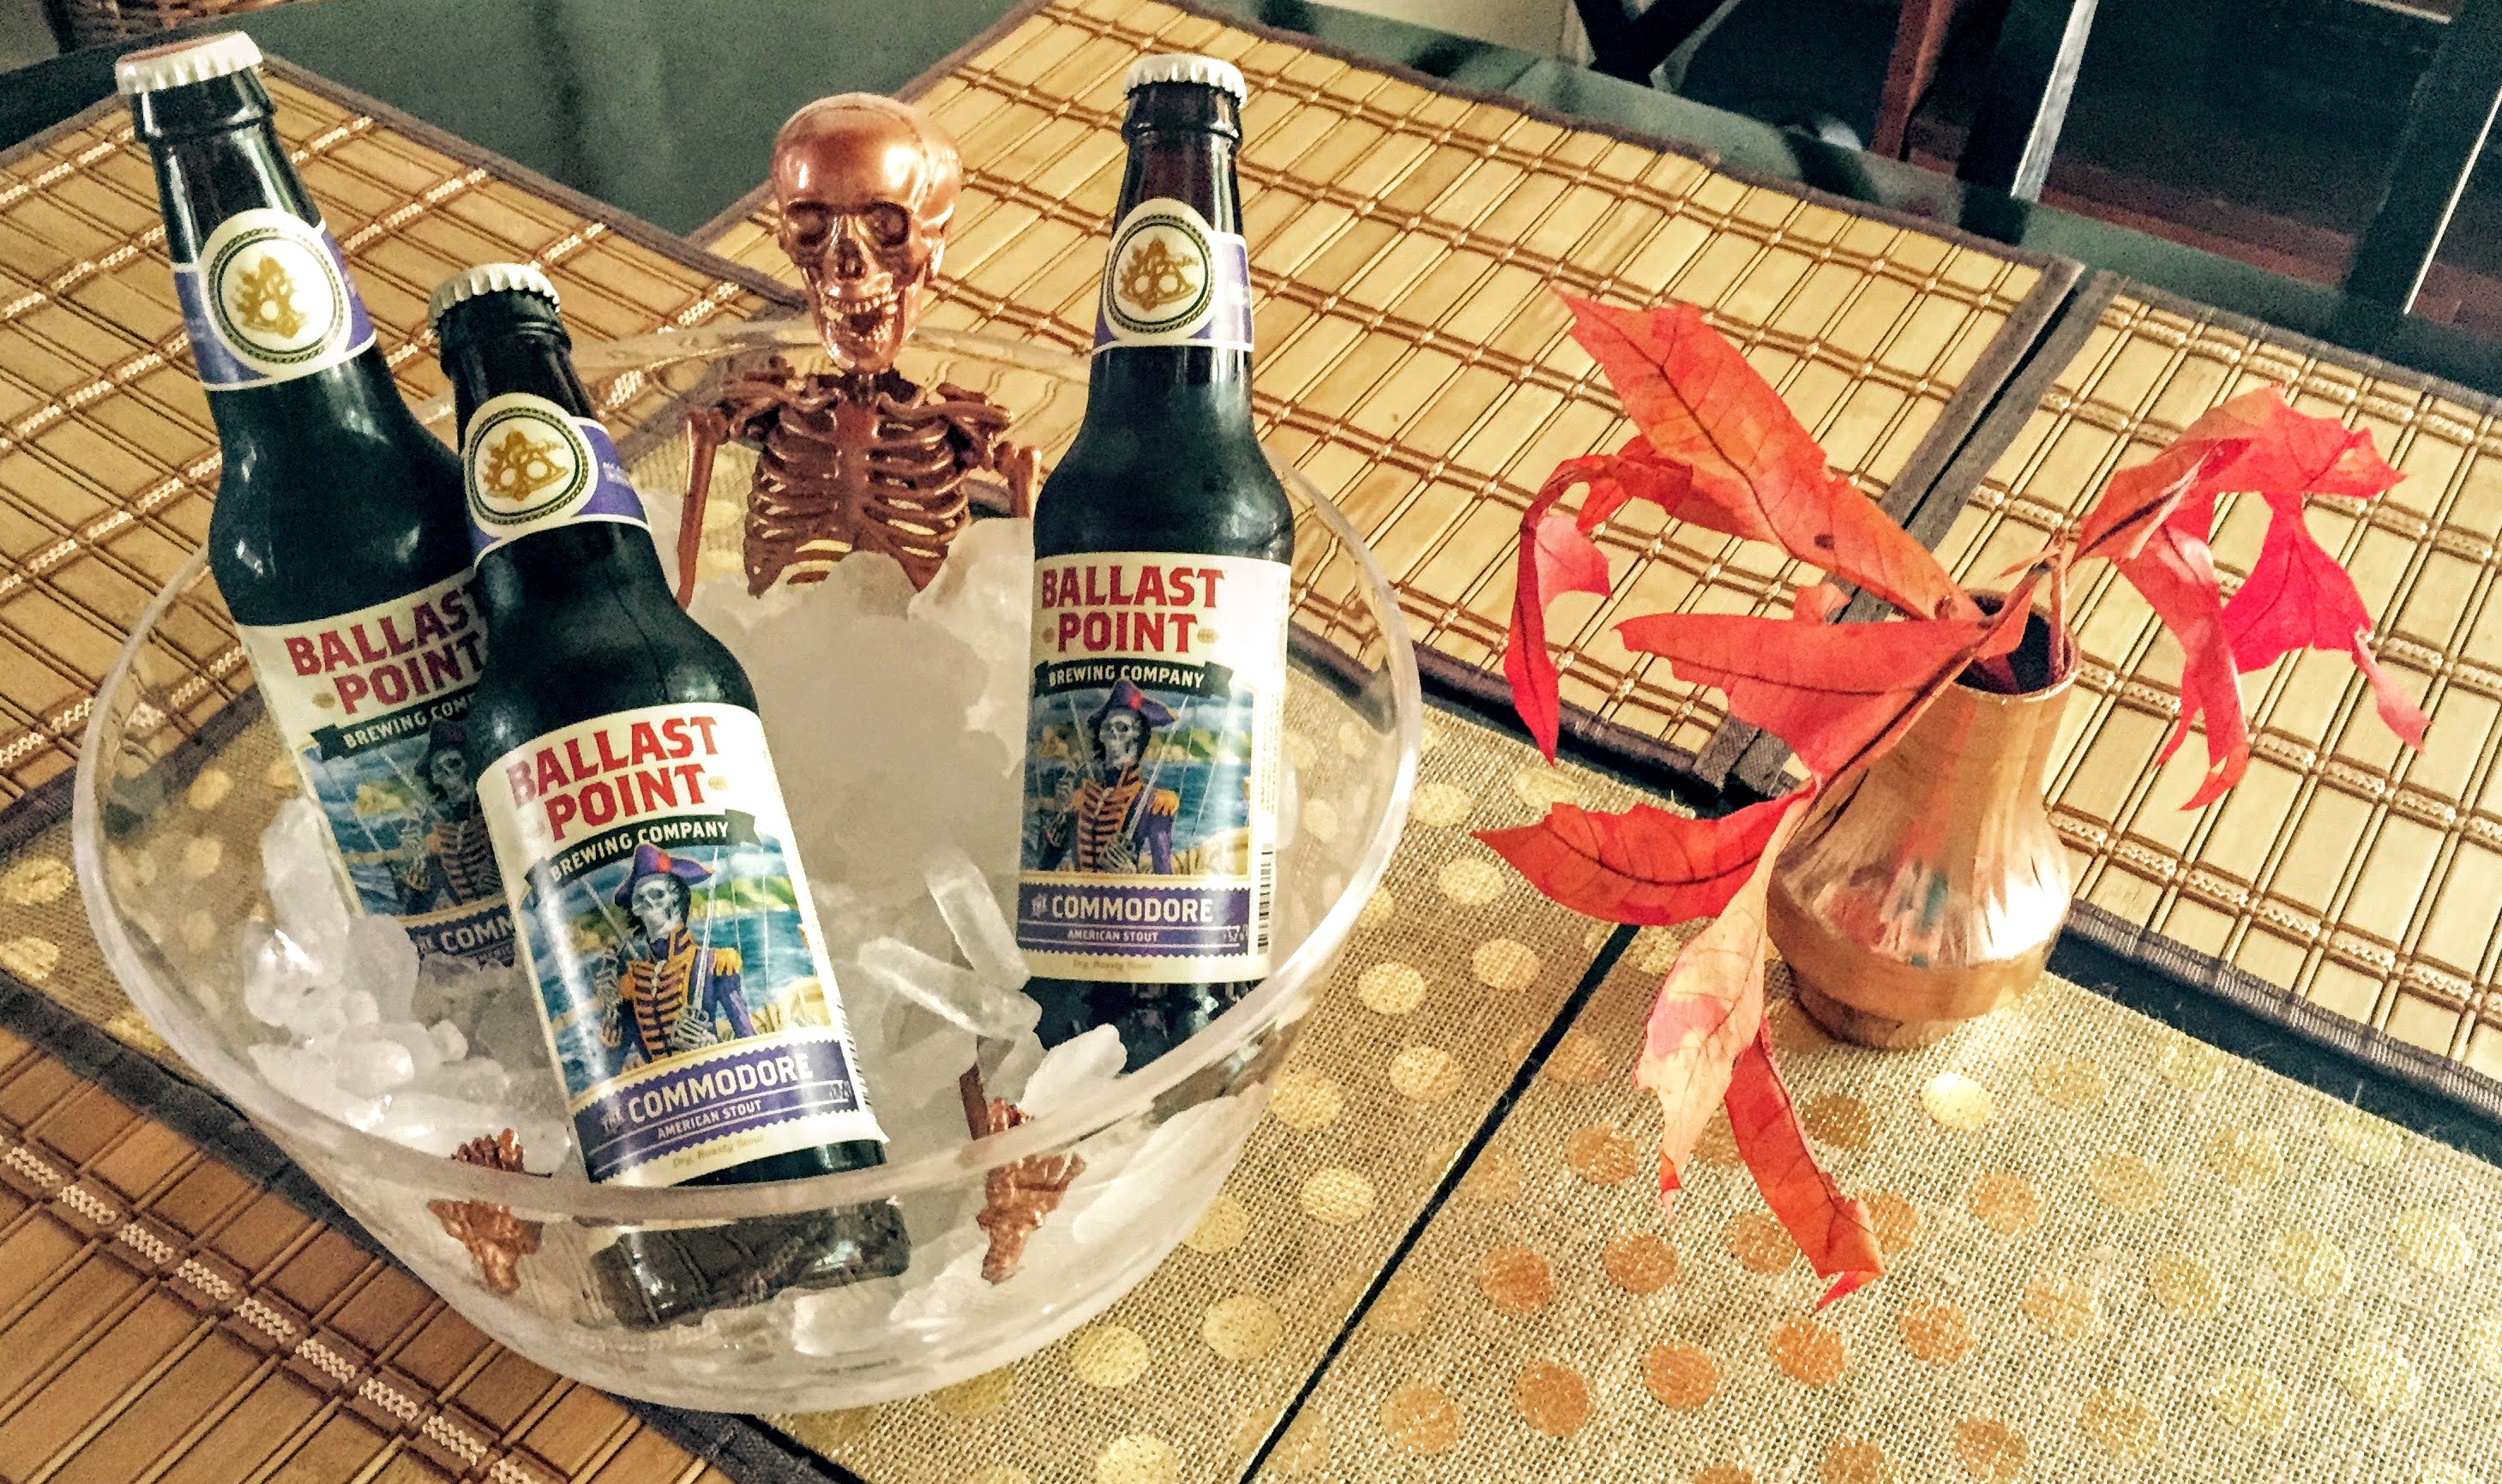
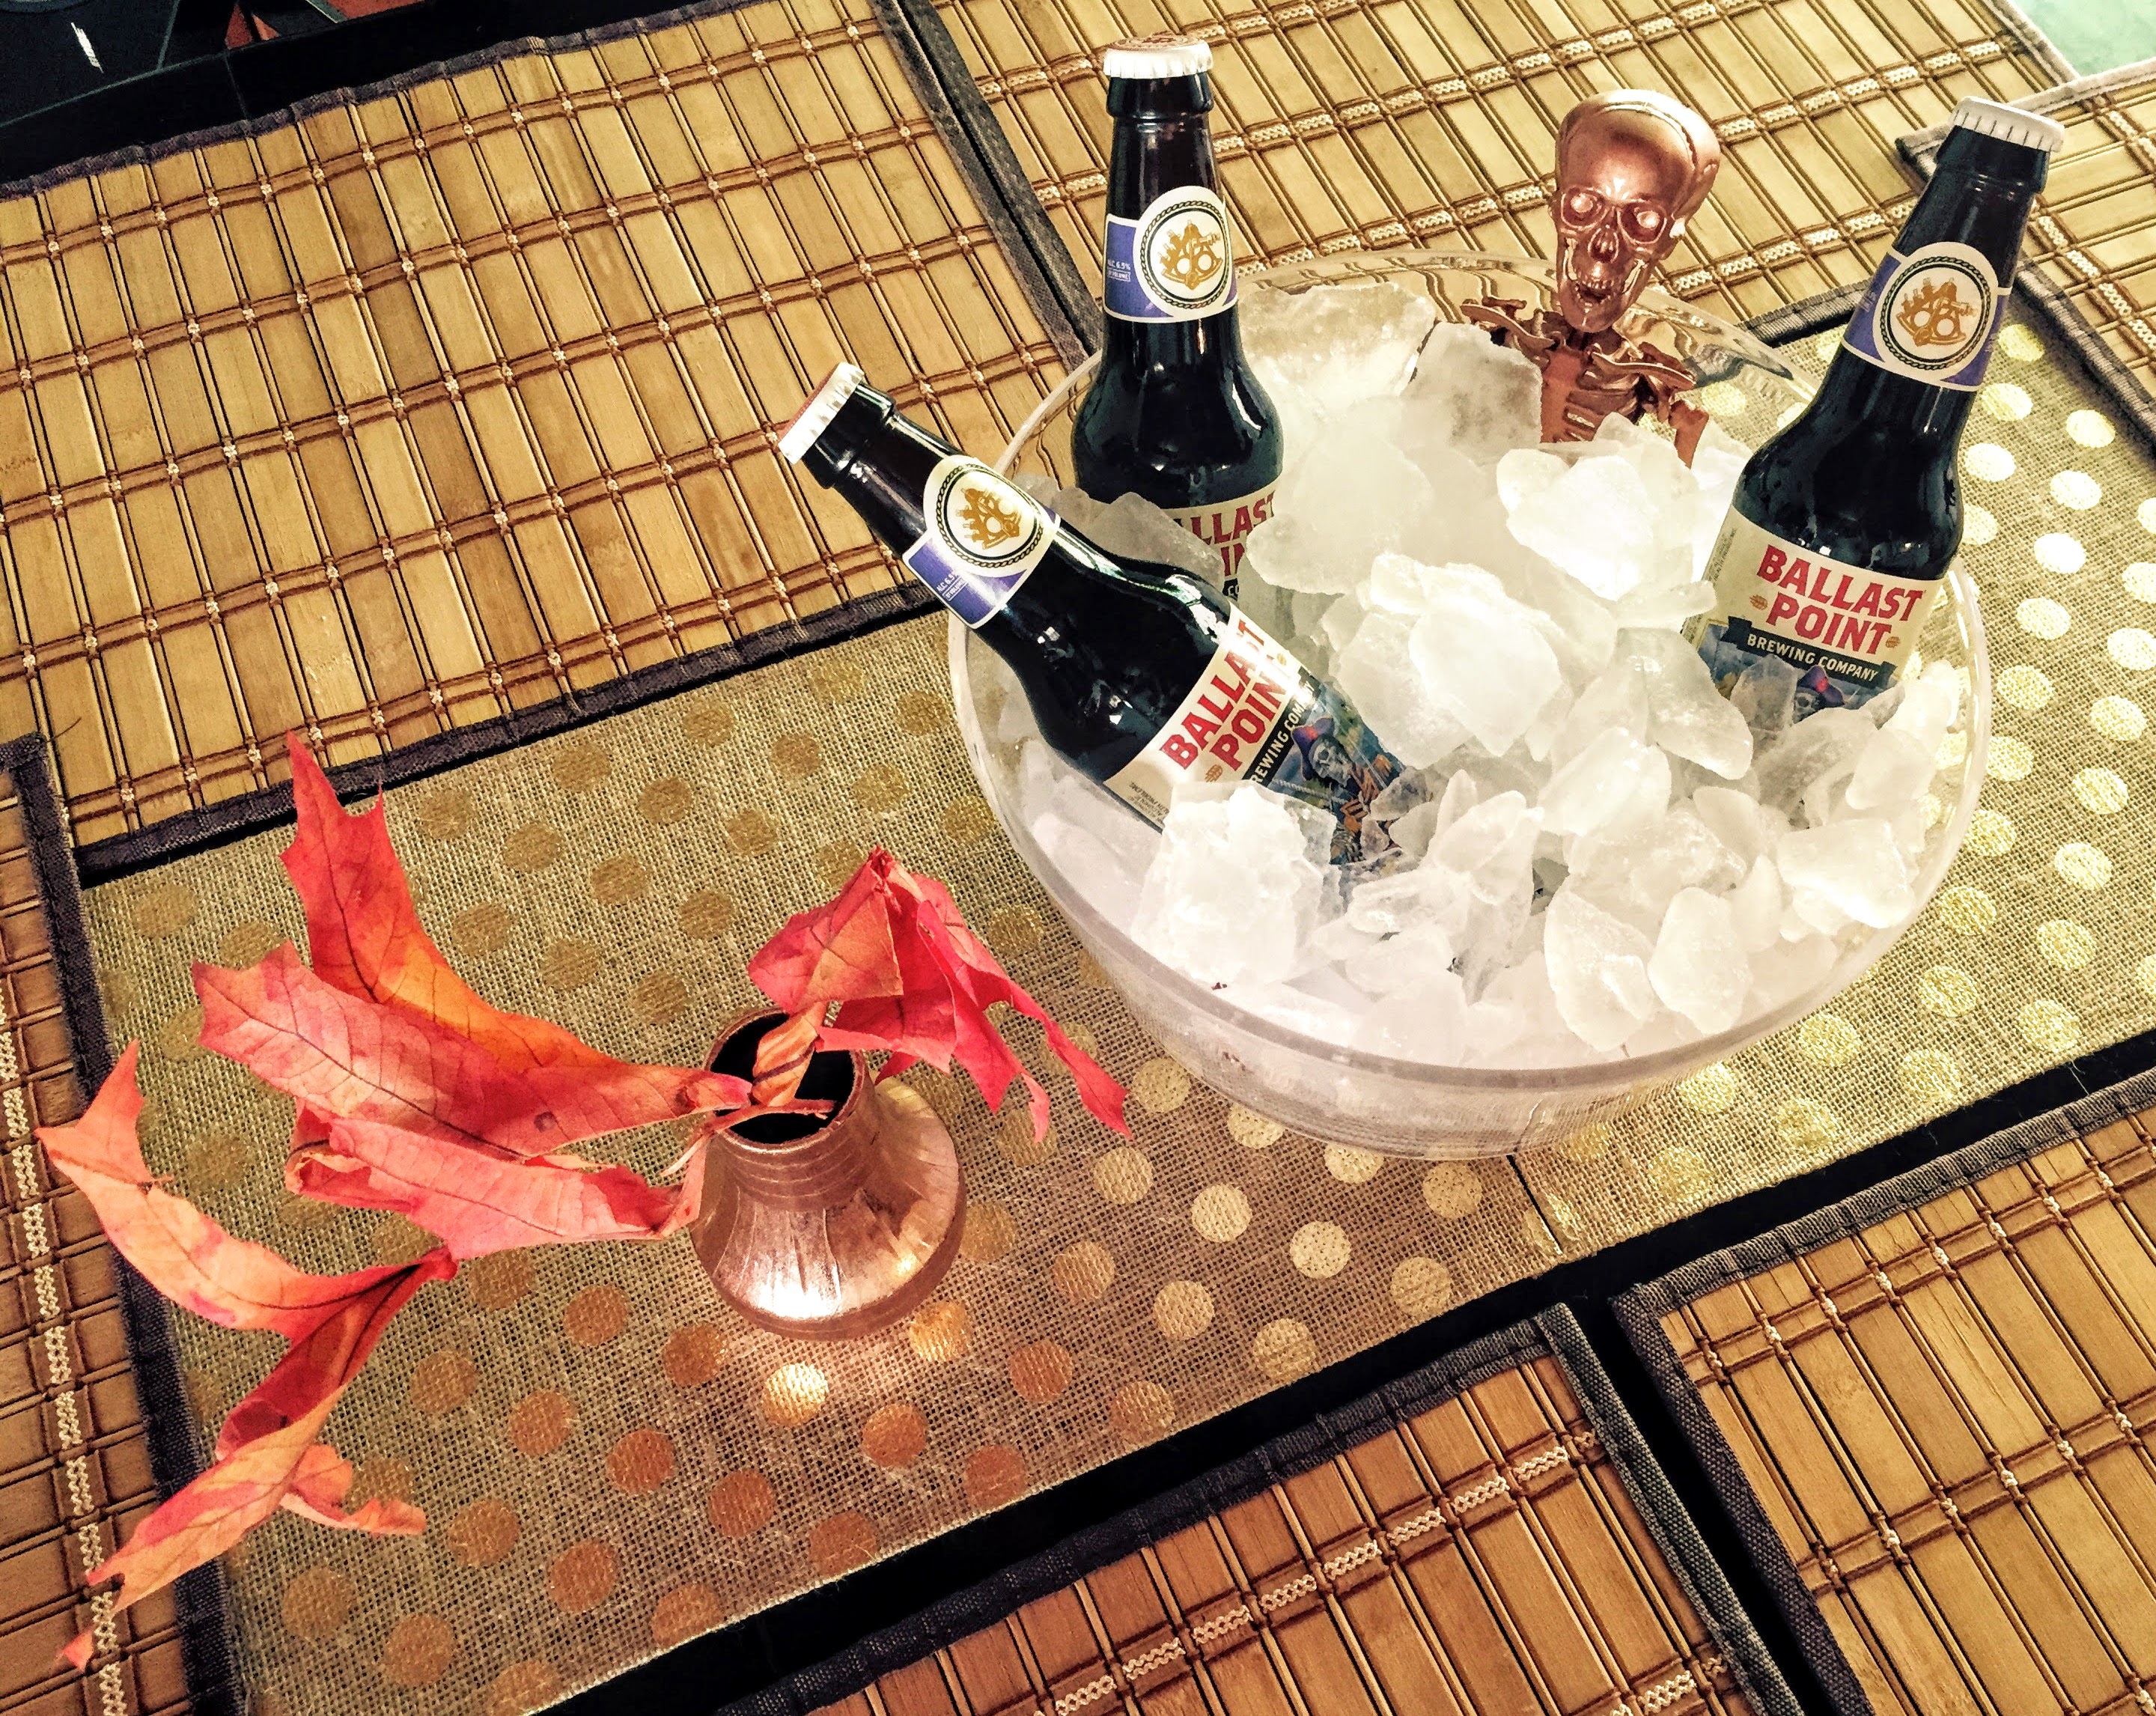
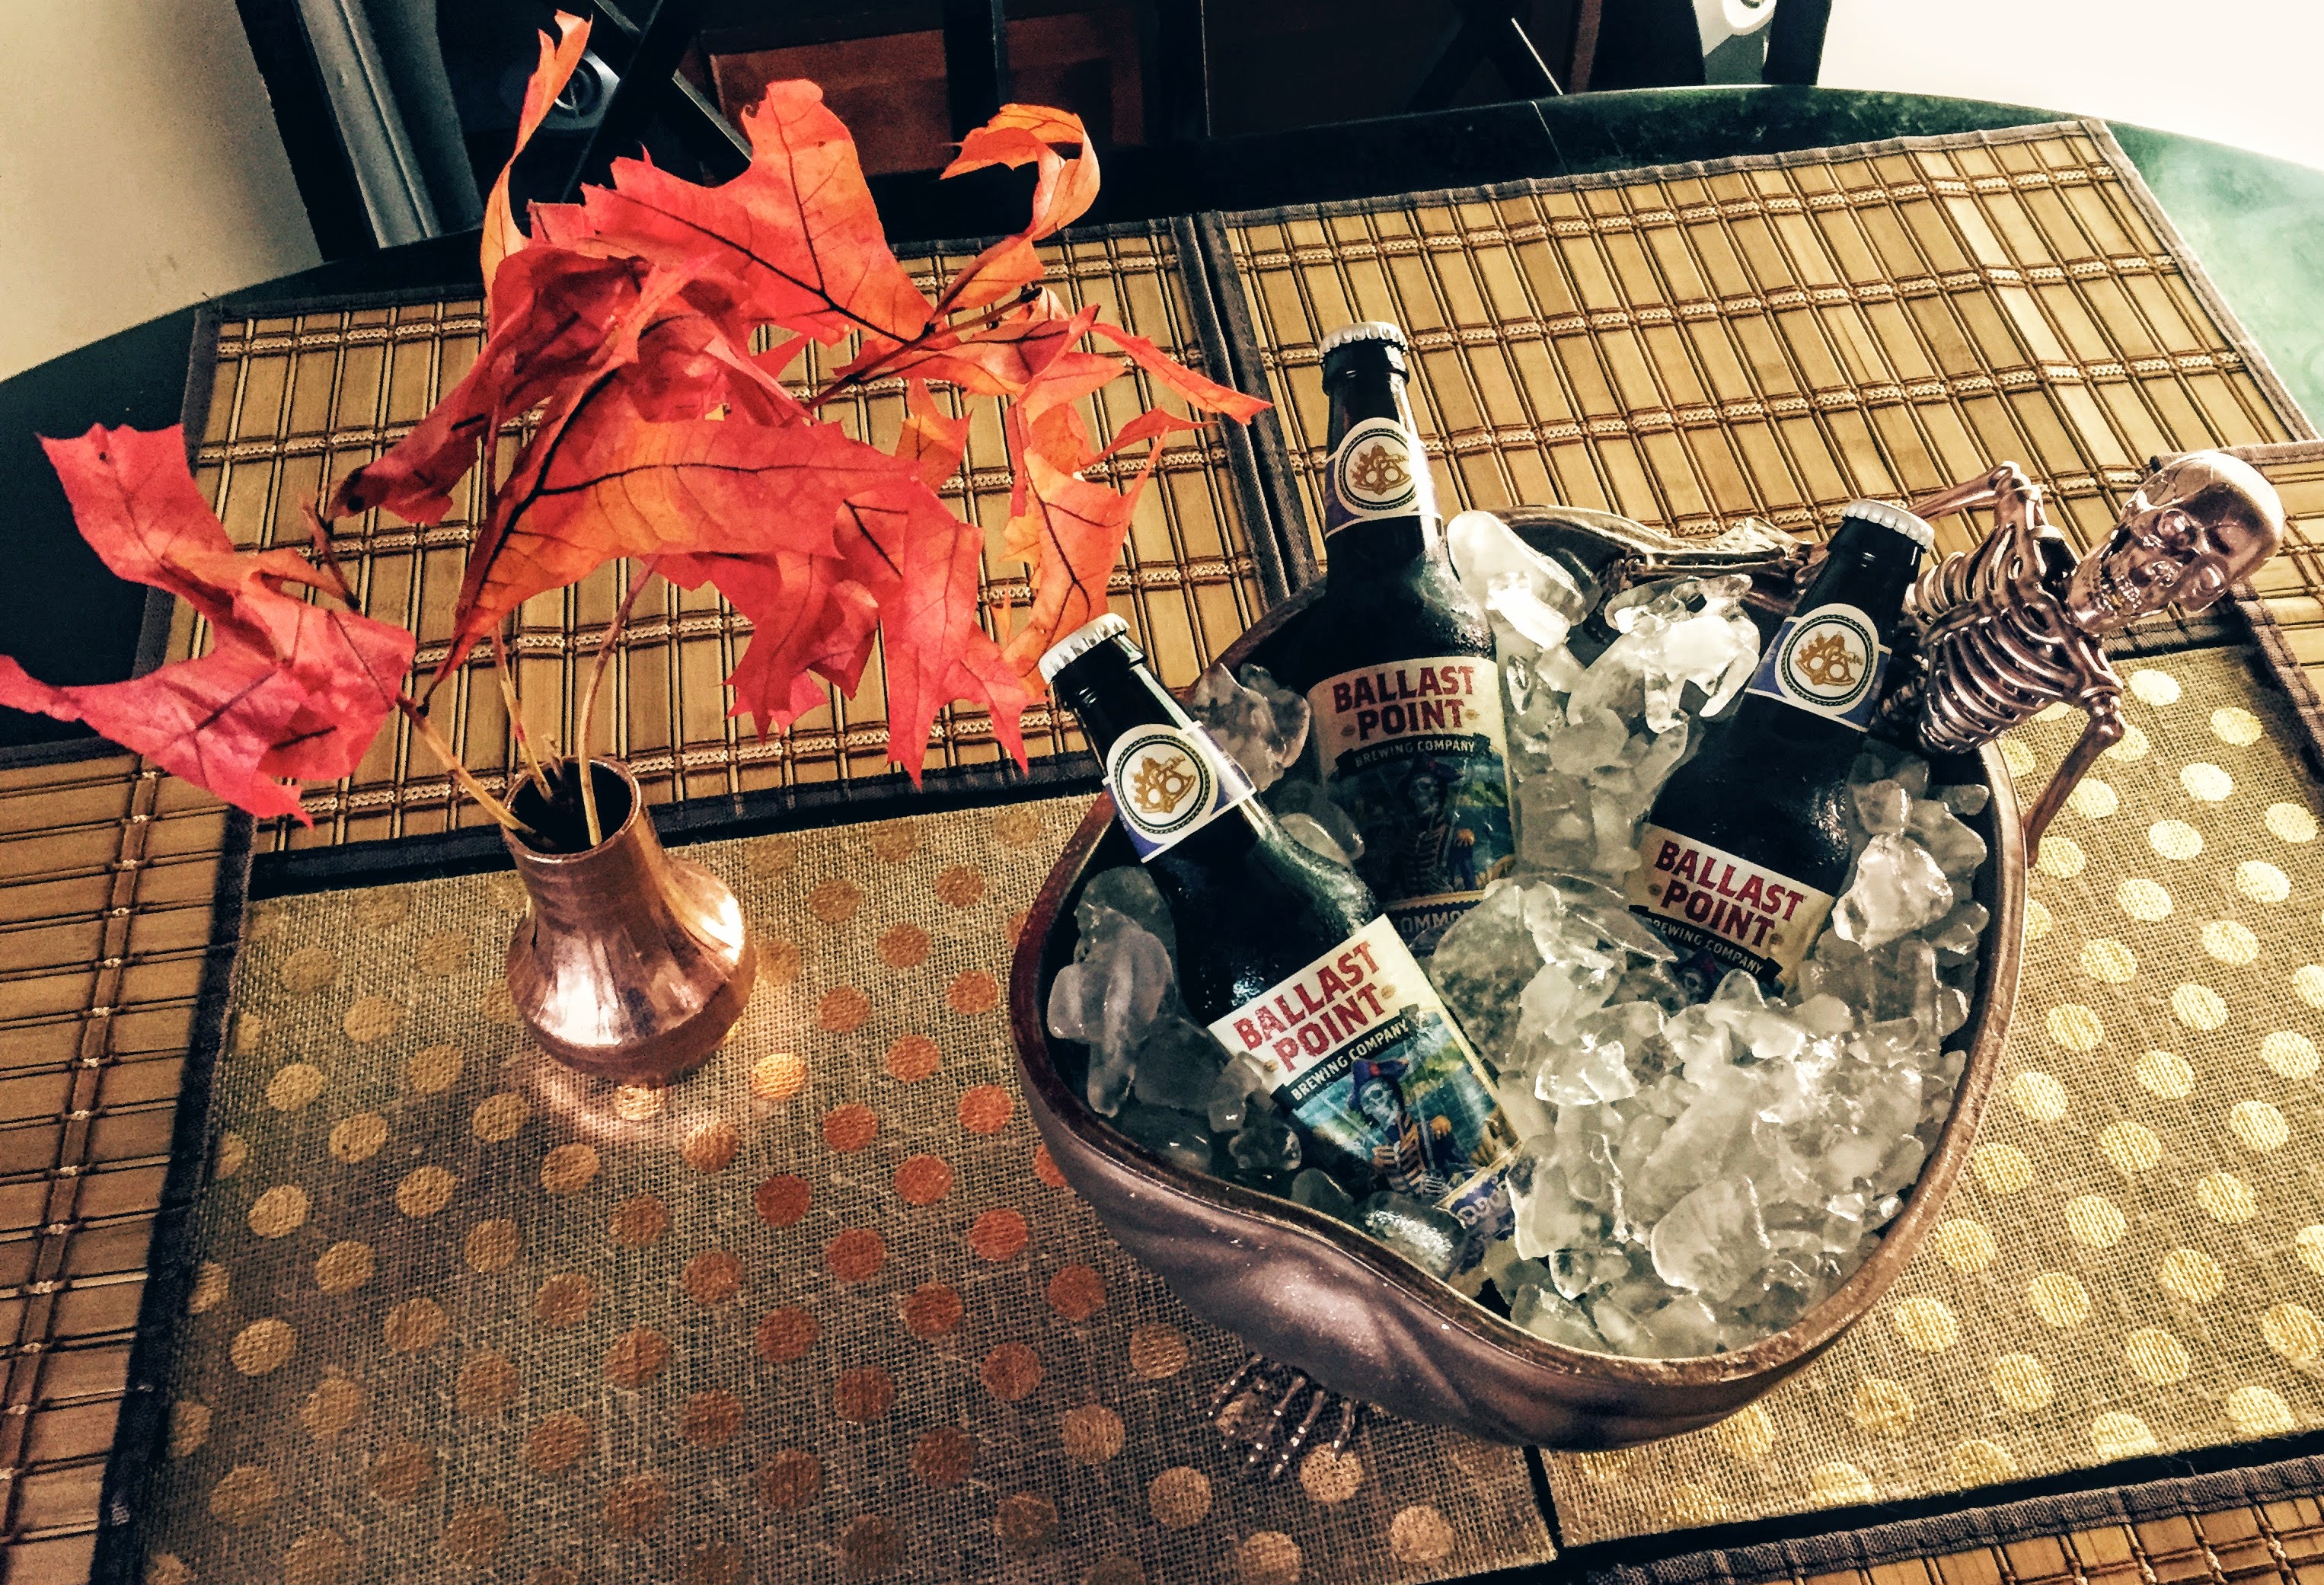
Today, I’ll show you how to make this Ice Bath Skeleton Party Bucket. This is the third in my Halloween DIY Skeleton Series, and the second of my Skeleton Party Buckets. It’s SUPER simple to create, and a great edition to the first Ship of Fools Skeleton Party Bucket. If you’re having a Halloween gathering, these little guys will make your house Party-Ready!
Crystal Clear Spray Acrylic. This is a lacquer that won’t change the color of your spray paint. Available at Michael’s. *Note* Some colors of spray paint are changed more significantly than others, when using lacquer. For example, the Rose Gold Metallic Spray that I used in the First Ship of Fools Party Bucket, changes dramatically with any lacquer. The Metallic Copper I used for this project, did not change at all. This Crystal Clear is definitely the best spray I have found for spraying over spray paint.
Hi there and welcome back for the second creation in my Halloween DIY Skeleton Series! This DIY is fun, simple, and quick, so for those of you who like instant gratification, this is your project!
The Ship of Fools Skeleton Party Bucket can be used for ice and drinks, candy, or treat bags… just a few ideas on the menu! It holds about 3/4 of a bag of ice and 3 or 4 beers (if you really squish ’em in). Of course it can be used for soda, water, or treats!
Hi there and Happy Halloween!!! I can’t believe it’s that time again!
I LOVE Halloween because it’s the gateway to the holidays, and it represents Fall, with all of its beautiful, warm colors and rustic scents. I also love that you can go crazy with spooky decorations… anything goes at Halloween! Some go for the really cutesy decor. Some get really creepy and some are just a happy medium, but I think that anything is allowed. You can go tacky, or elegant, but the goal of this holiday, is to have FUN! I appreciate the houses that go really nuts, because those are the ones that make this holiday what it is- spooky, thrilling entertainment- and sheer joy for my 8 year old son!
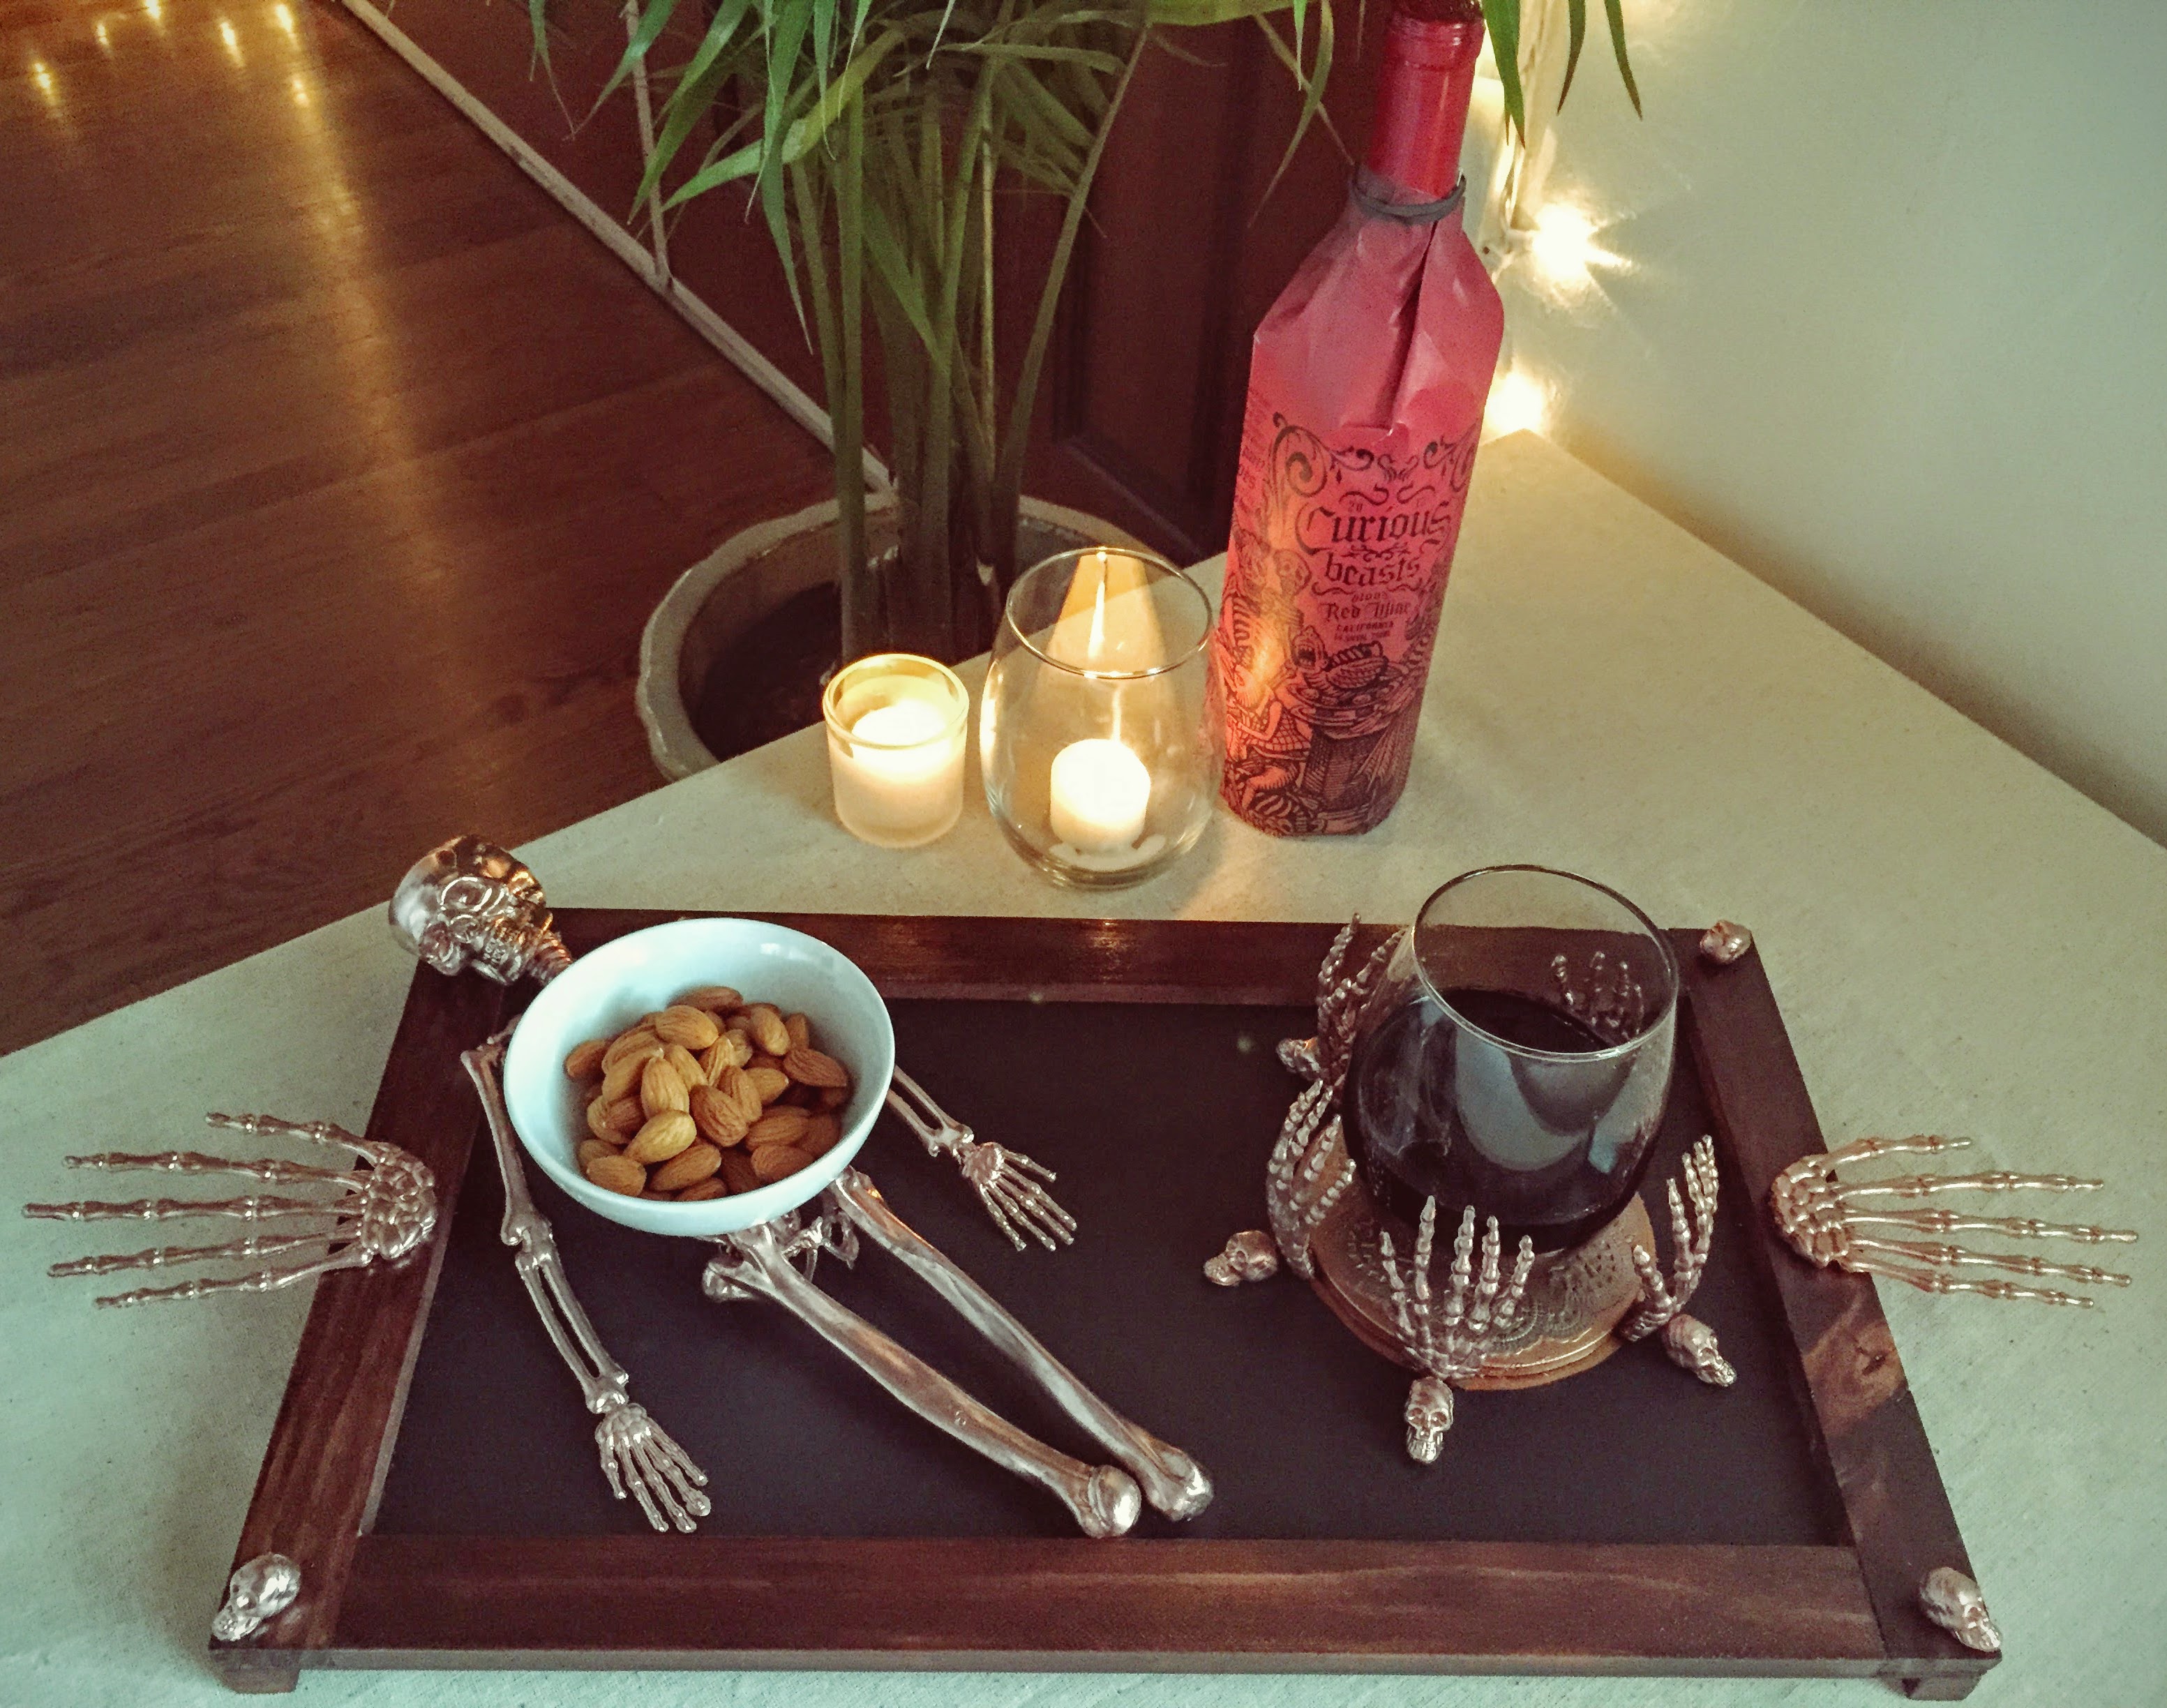
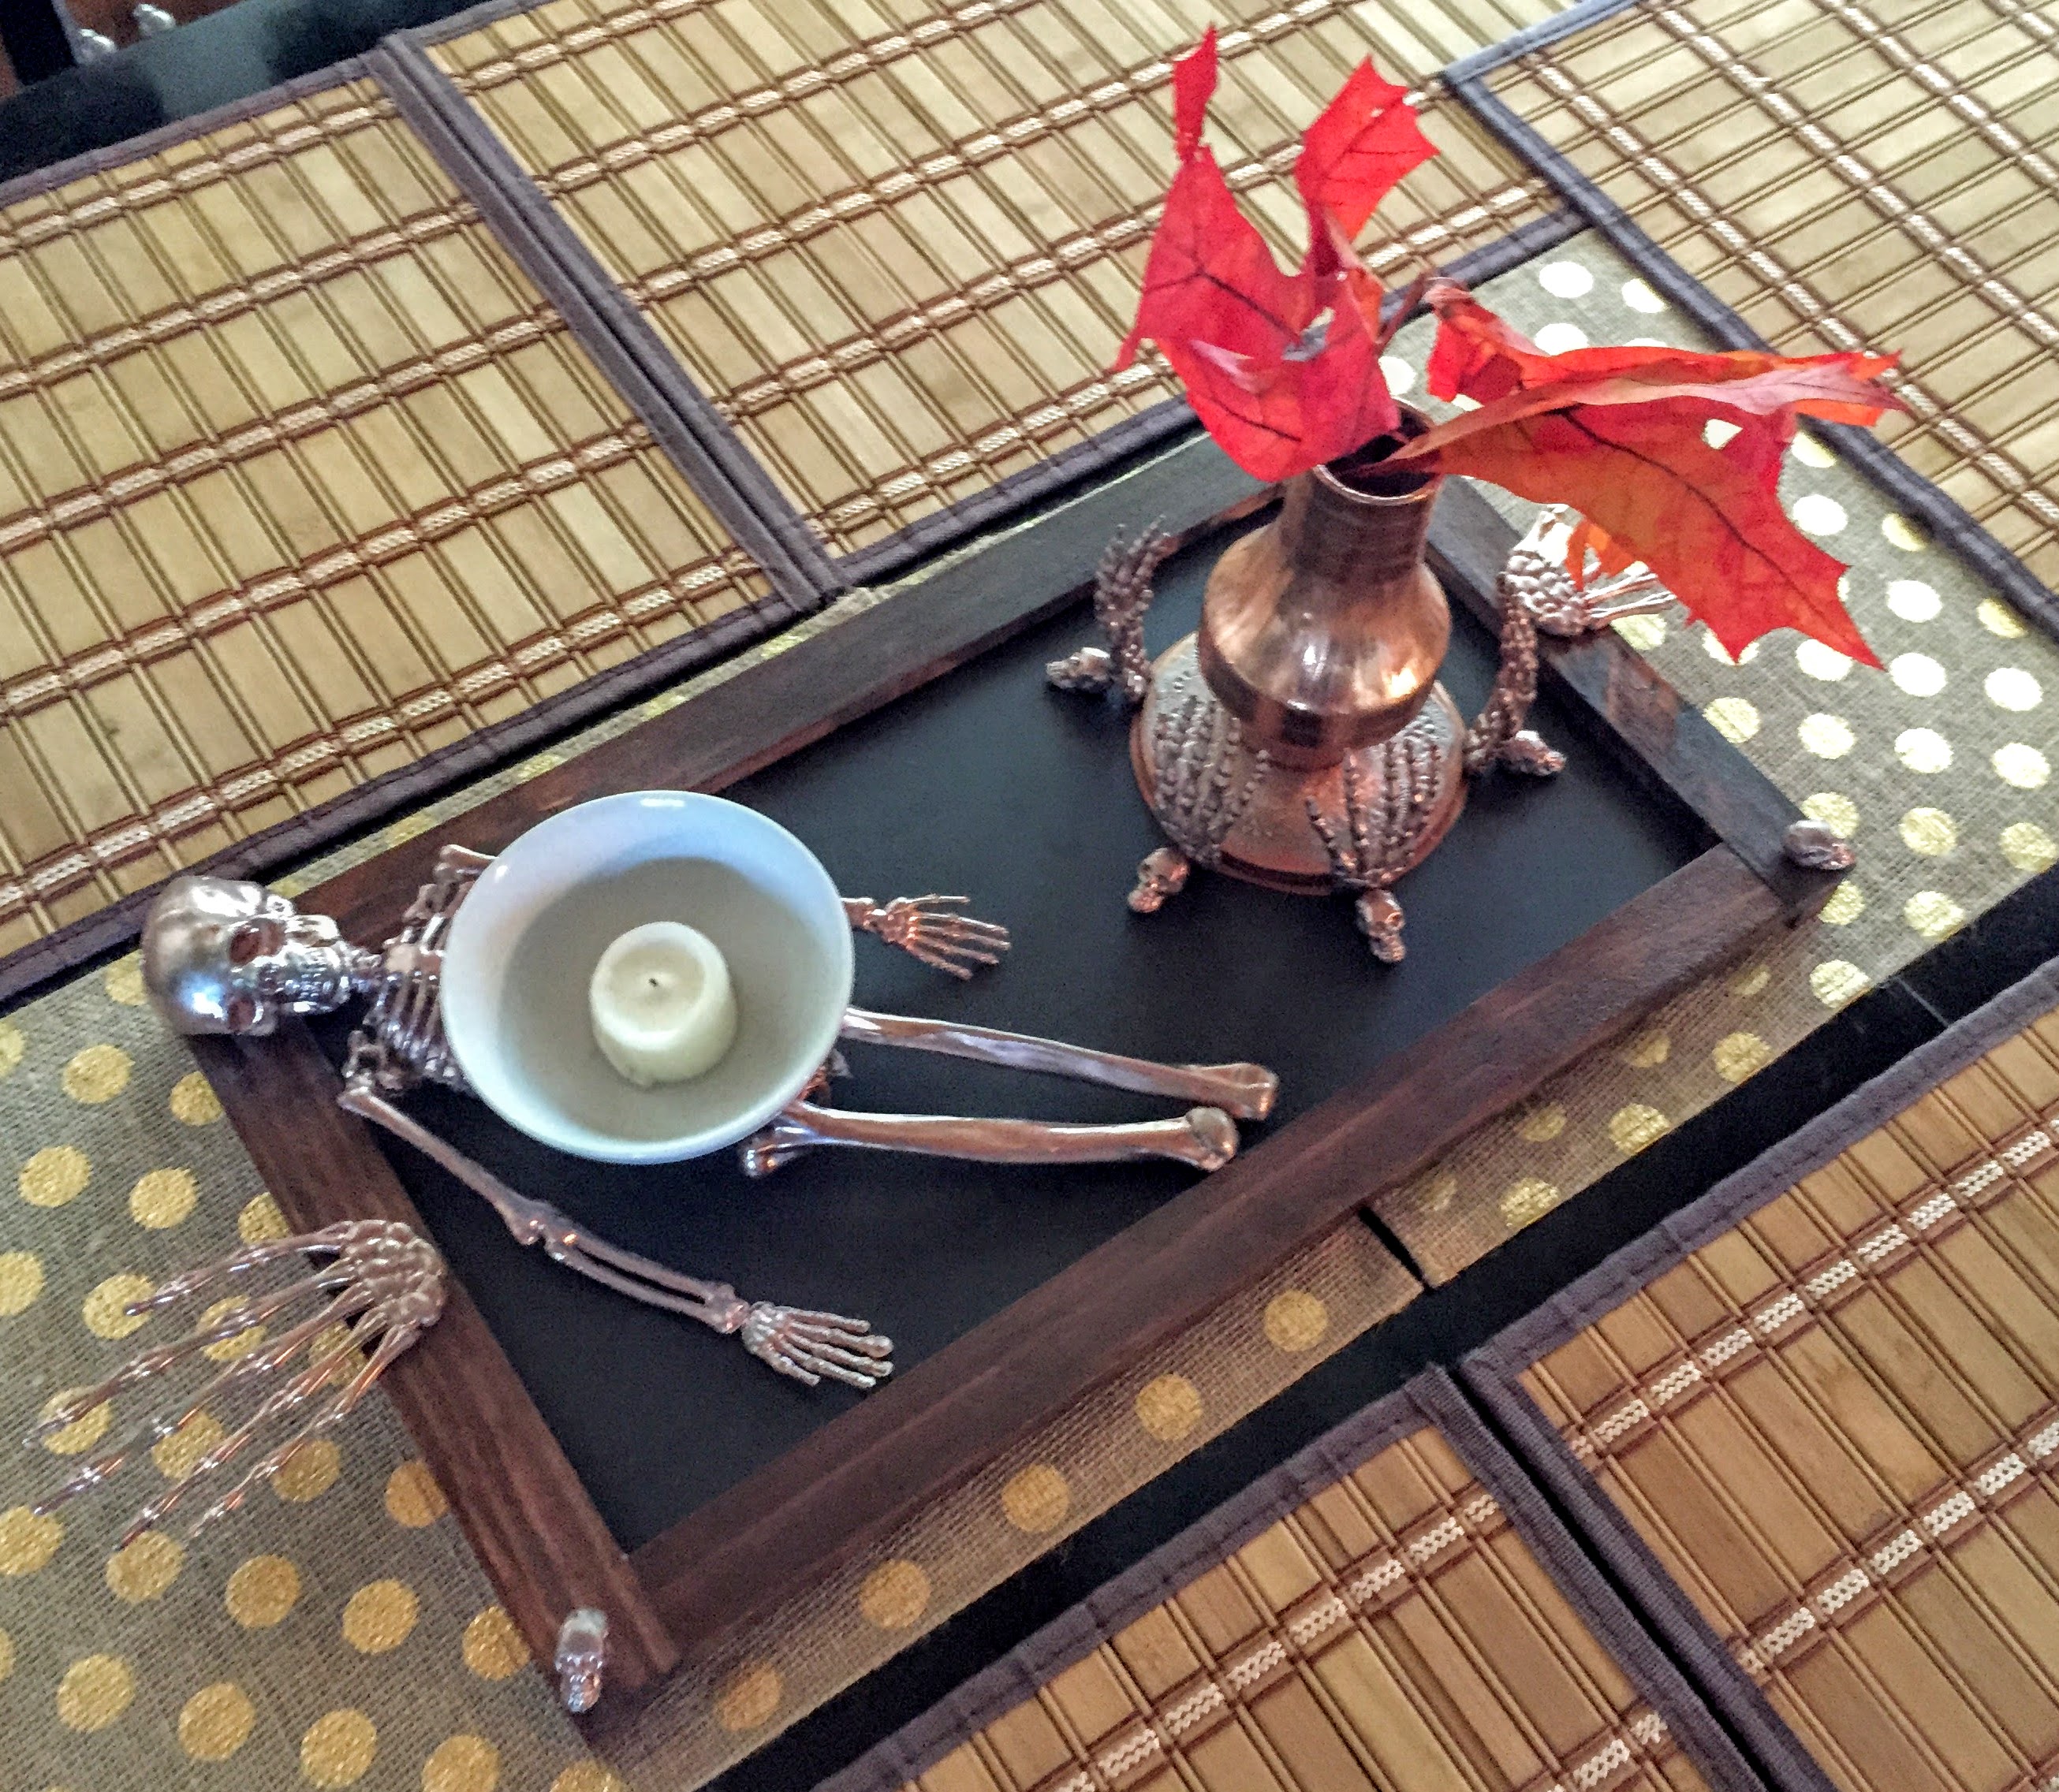
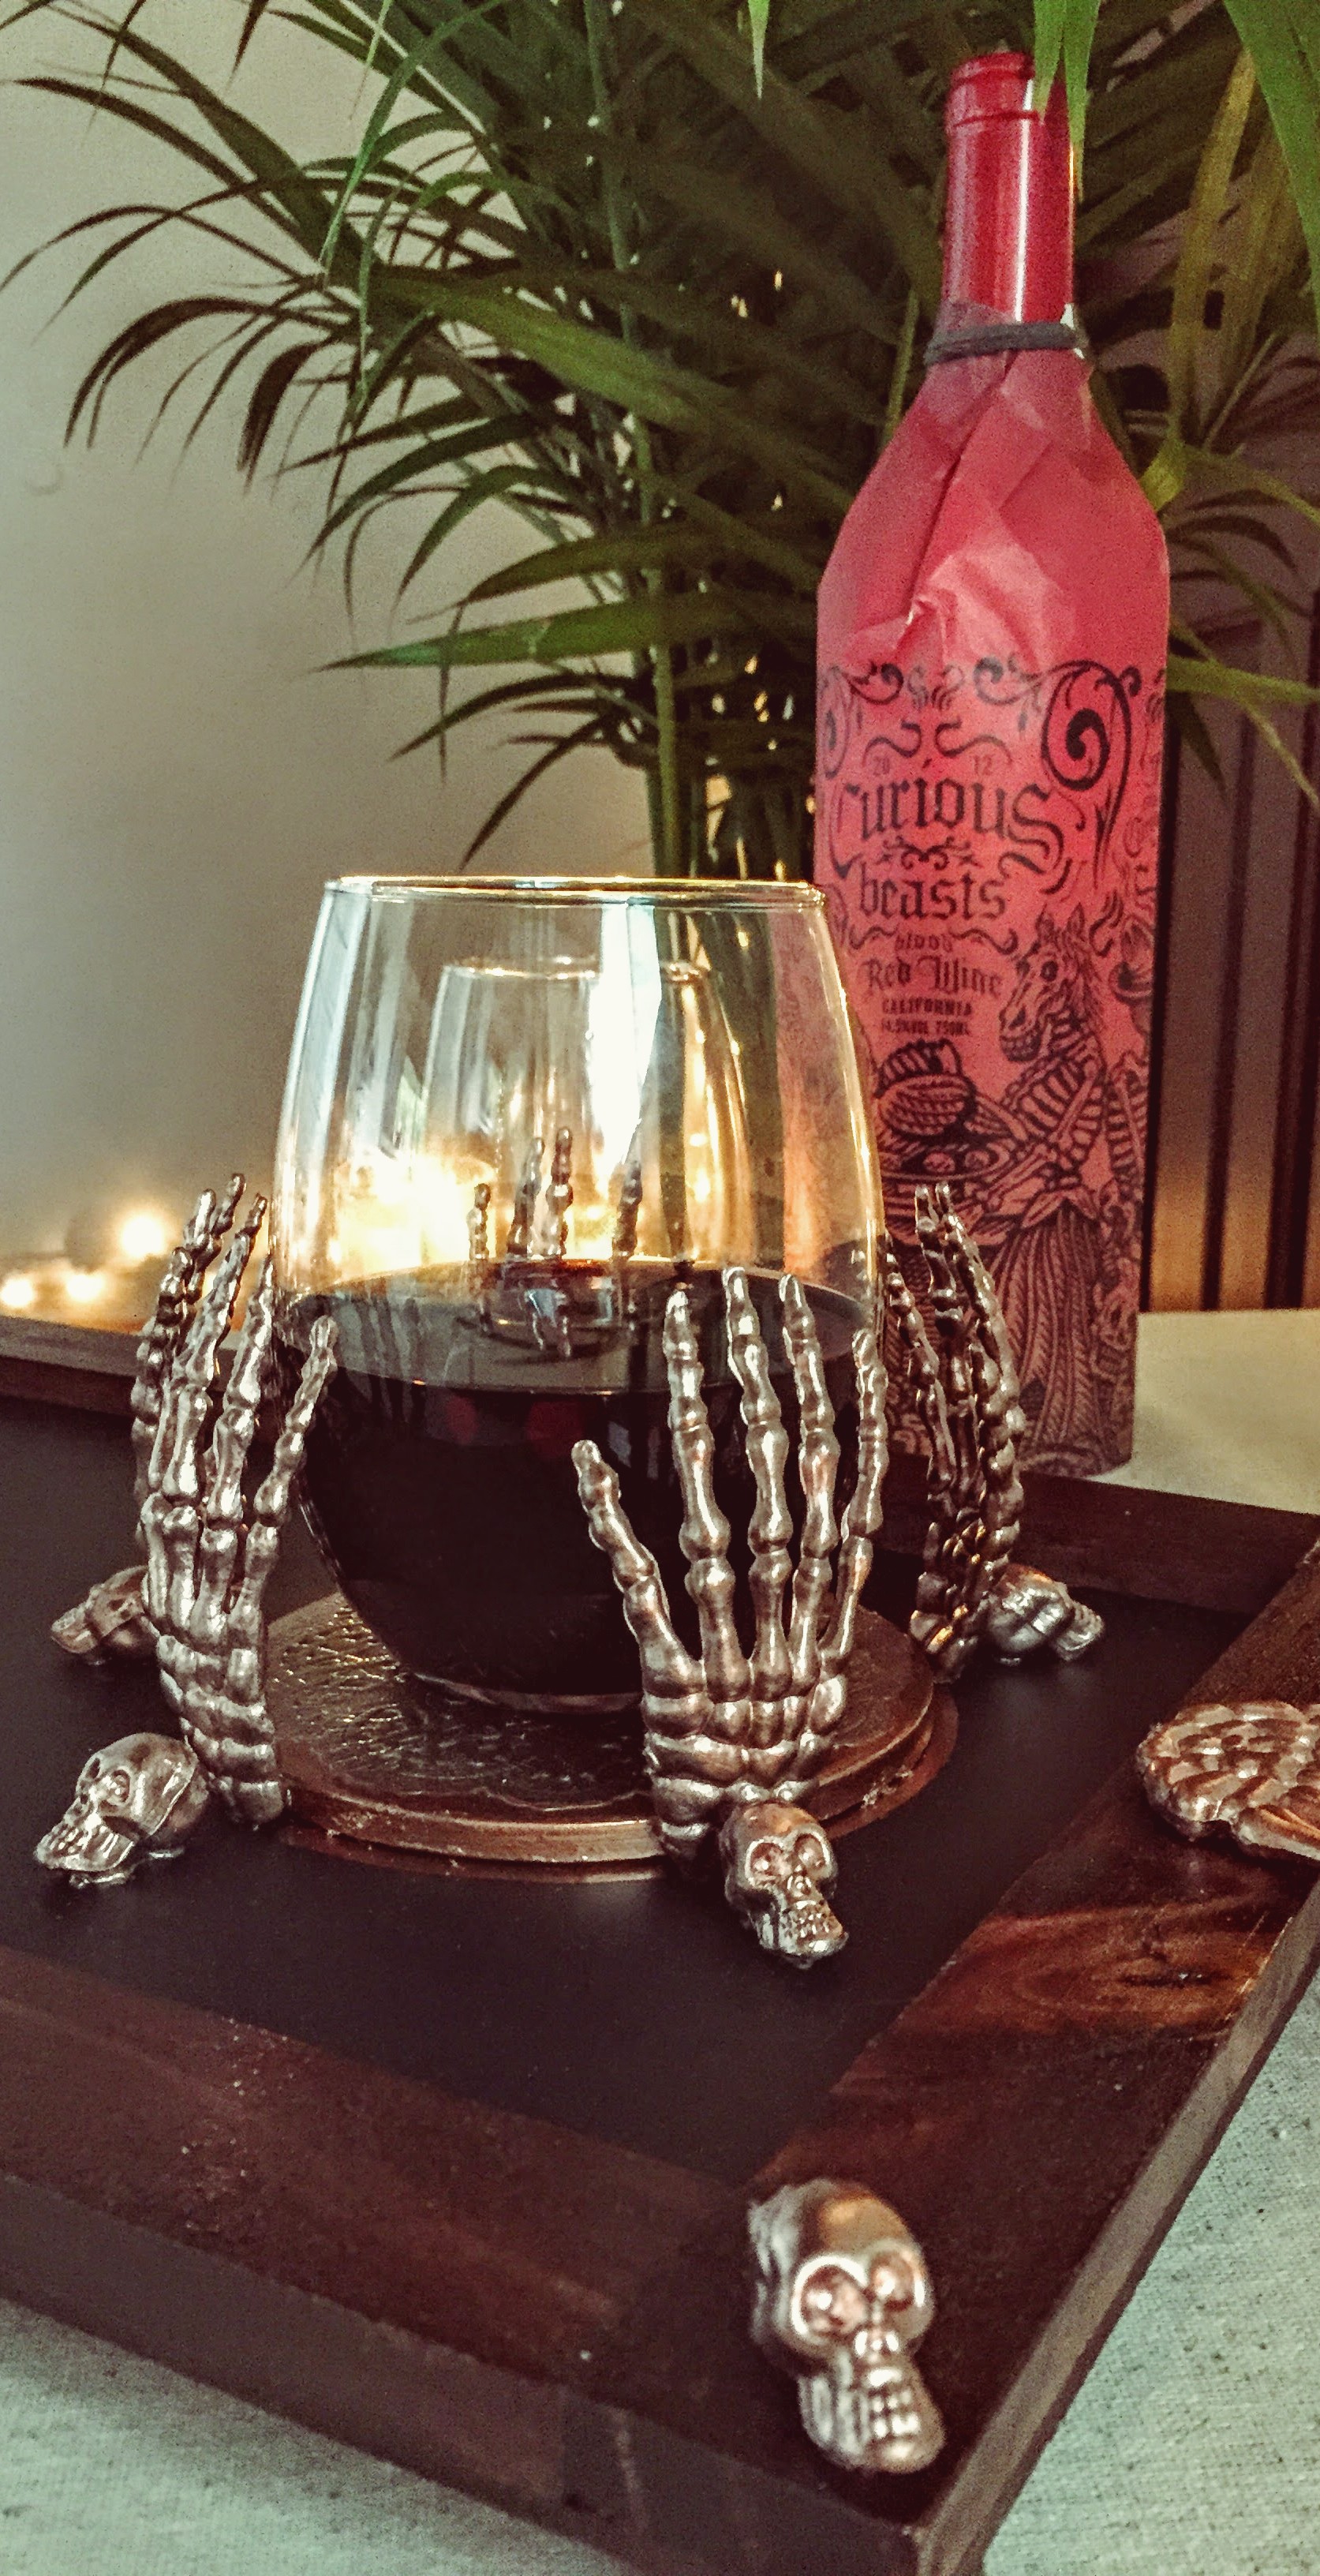
This season, I’ve made a tray that is ghostly, ghastly, and just a little bit elegant, to add to my growing collection of Halloween paraphernalia (to see my album of Halloweens, Past and Present, click here). This will be the first in a series of Spooky Skeleton Halloween Crafts that I’m rolling out. This particular tray, the first in the series, can be used for food and drink, as a candle display, or anything else your heart desires! It’s adorable in a spooky skeleton sort of way. Festive and fun. Very Halloweeny!
Welcome to the Craine’s Nest! Hoping your Summer was full of travel, sandy beach days, and lazy afternoons in the sun (maybe perusing new DIY blogs!). Now that we’re moving towards Fall, I’m getting that nesty-cozy feeling in my soul. I want to make my house pretty and comfy and for me, that means cooking, DIY’s, and flowers!
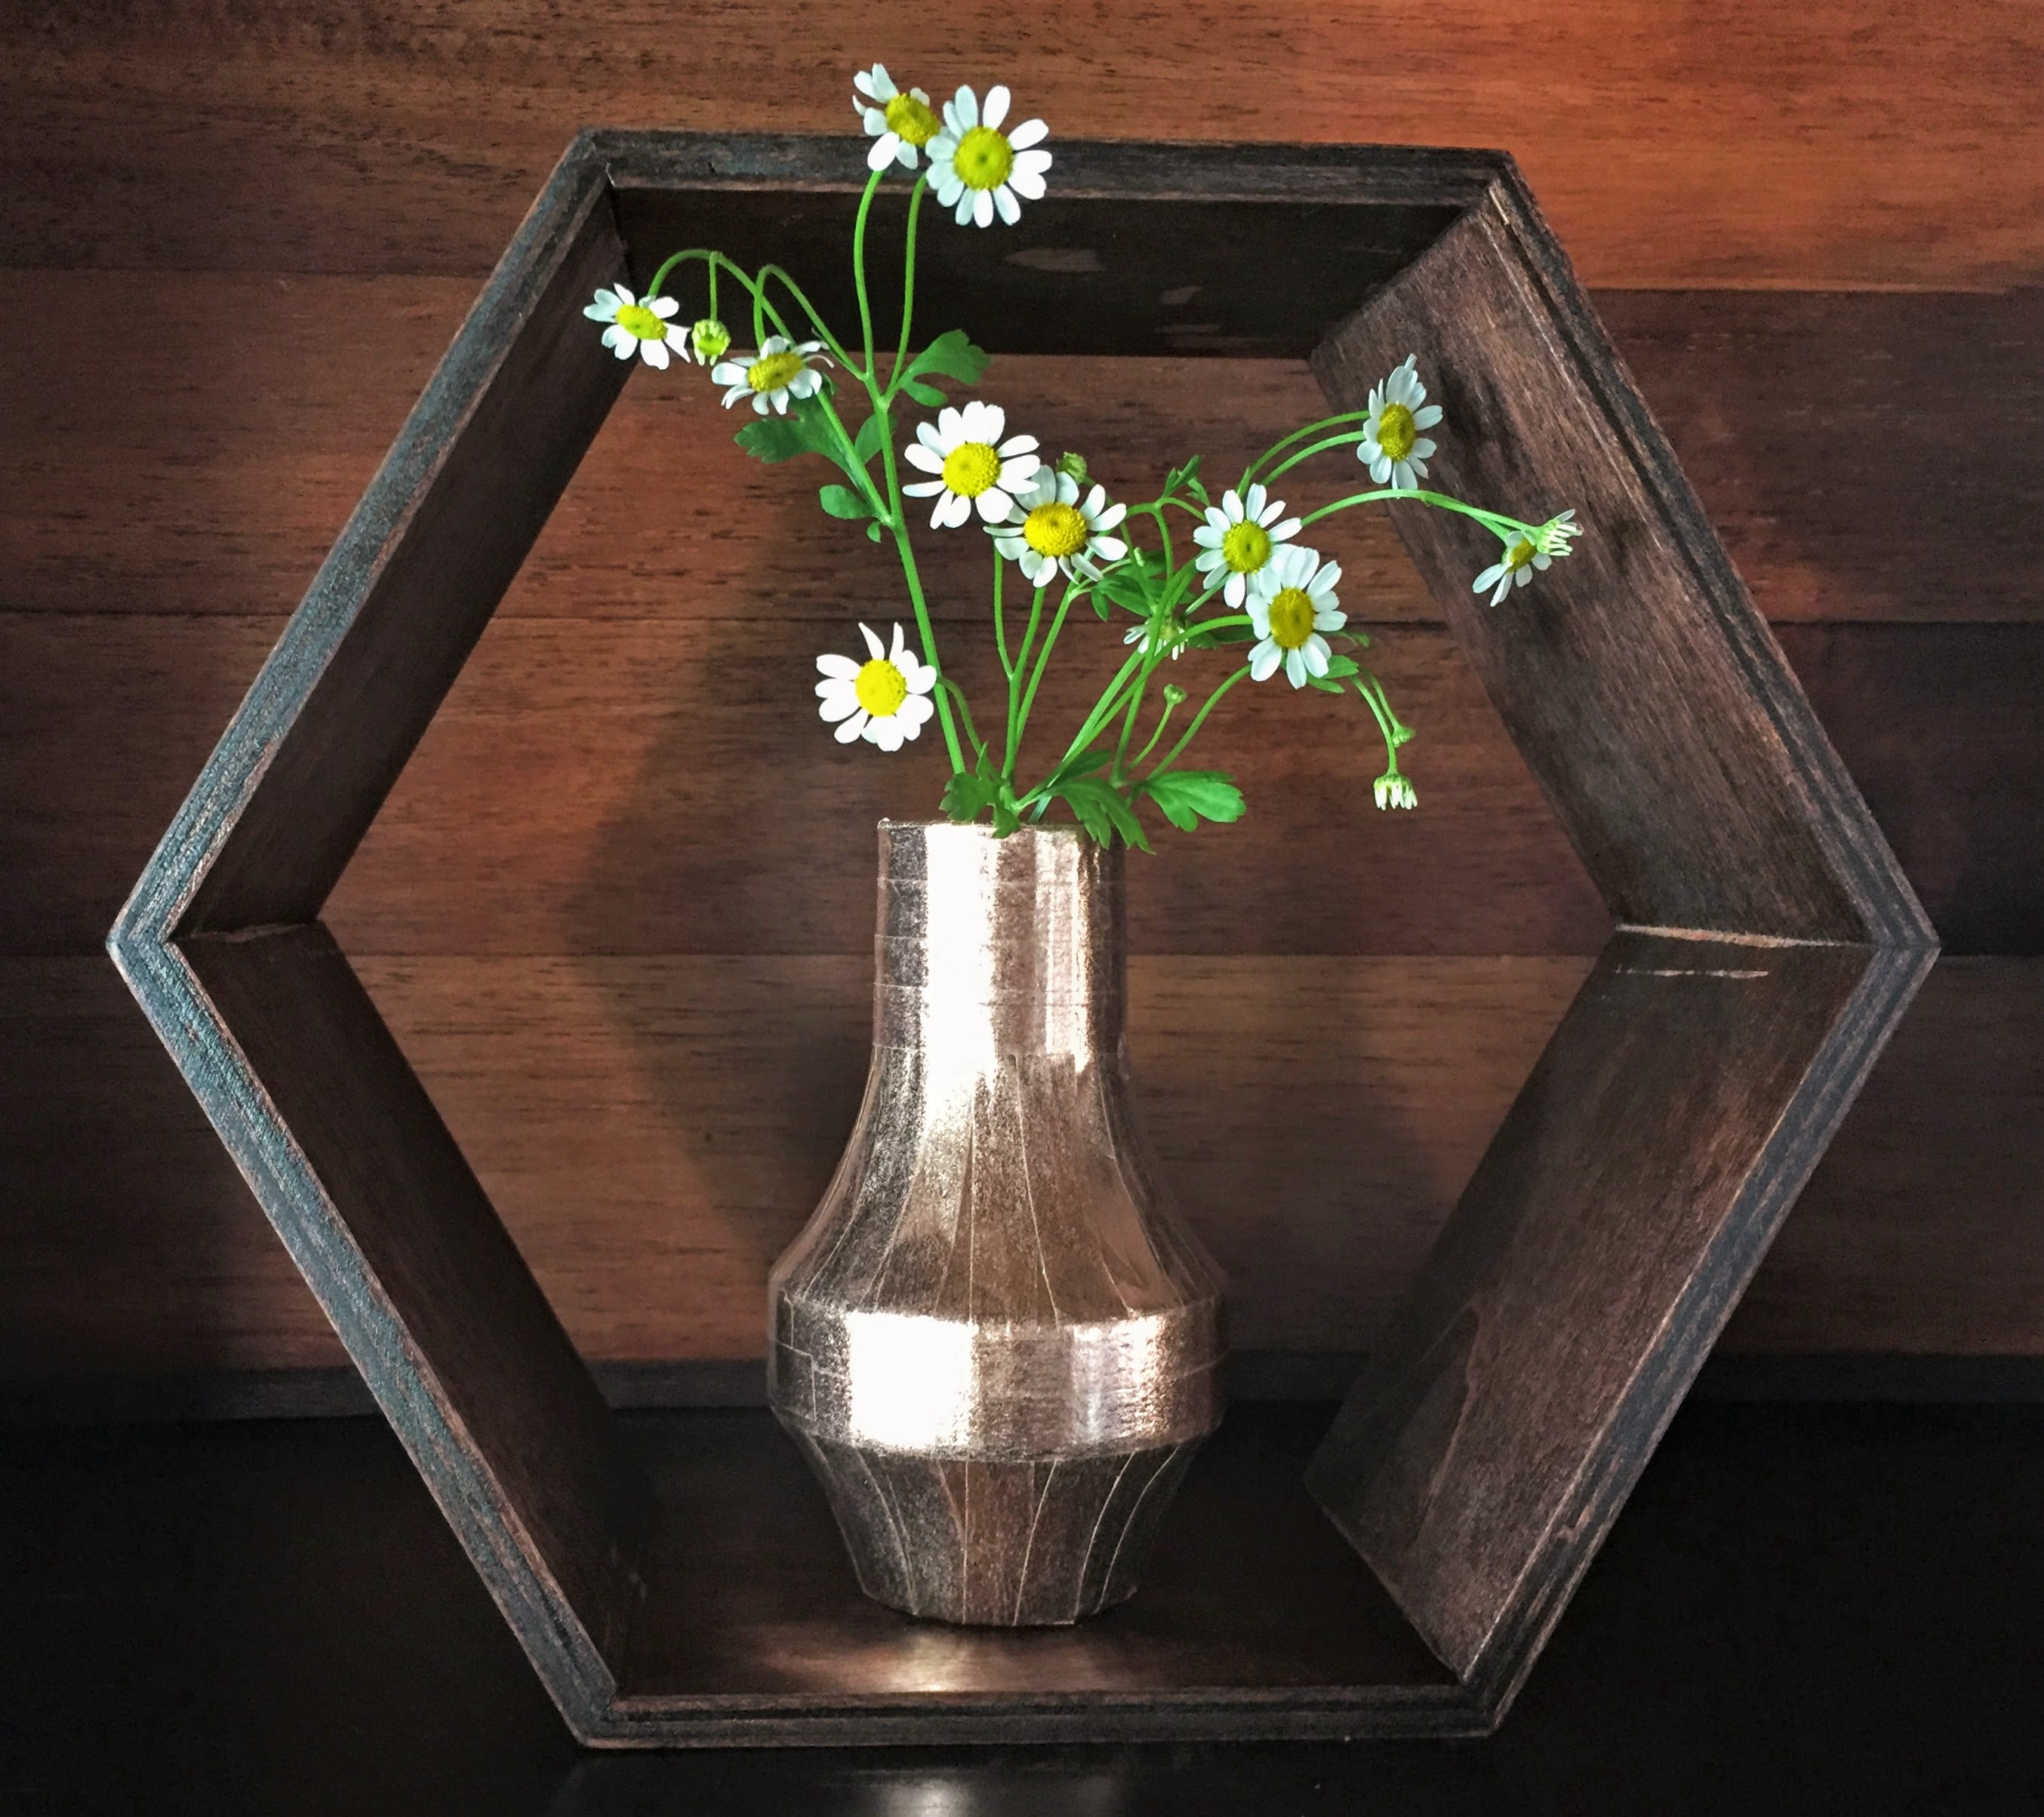
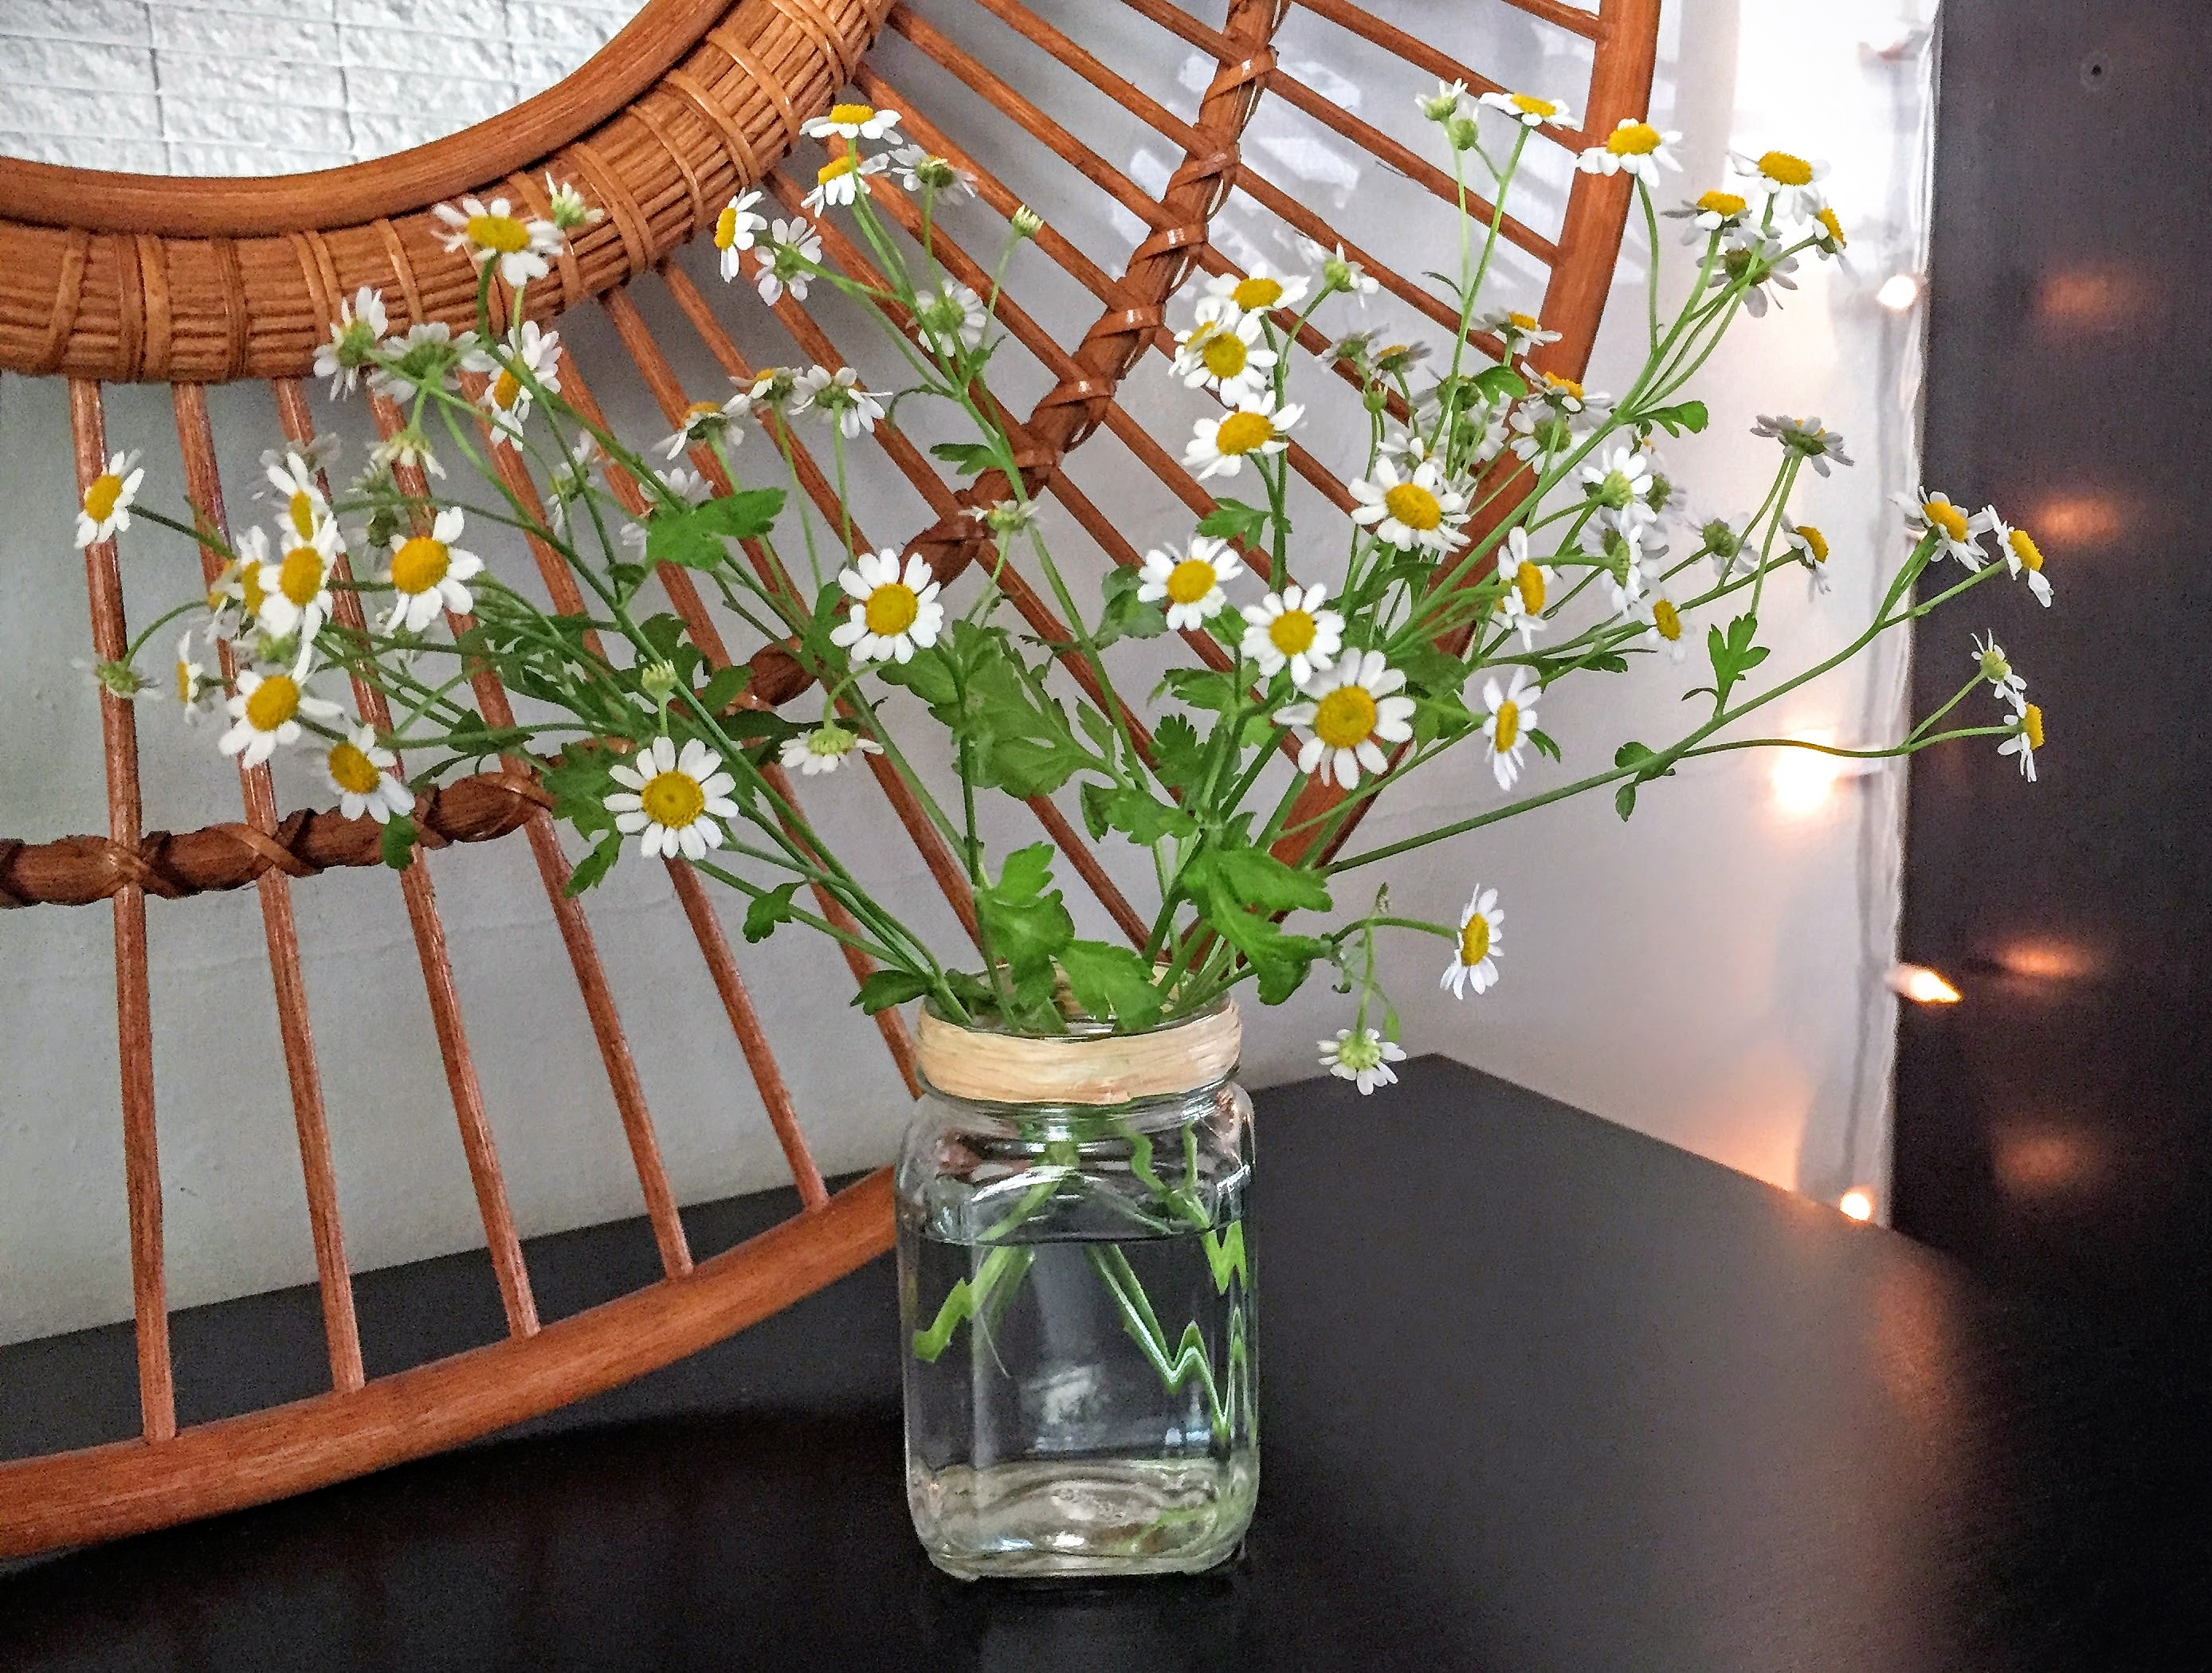
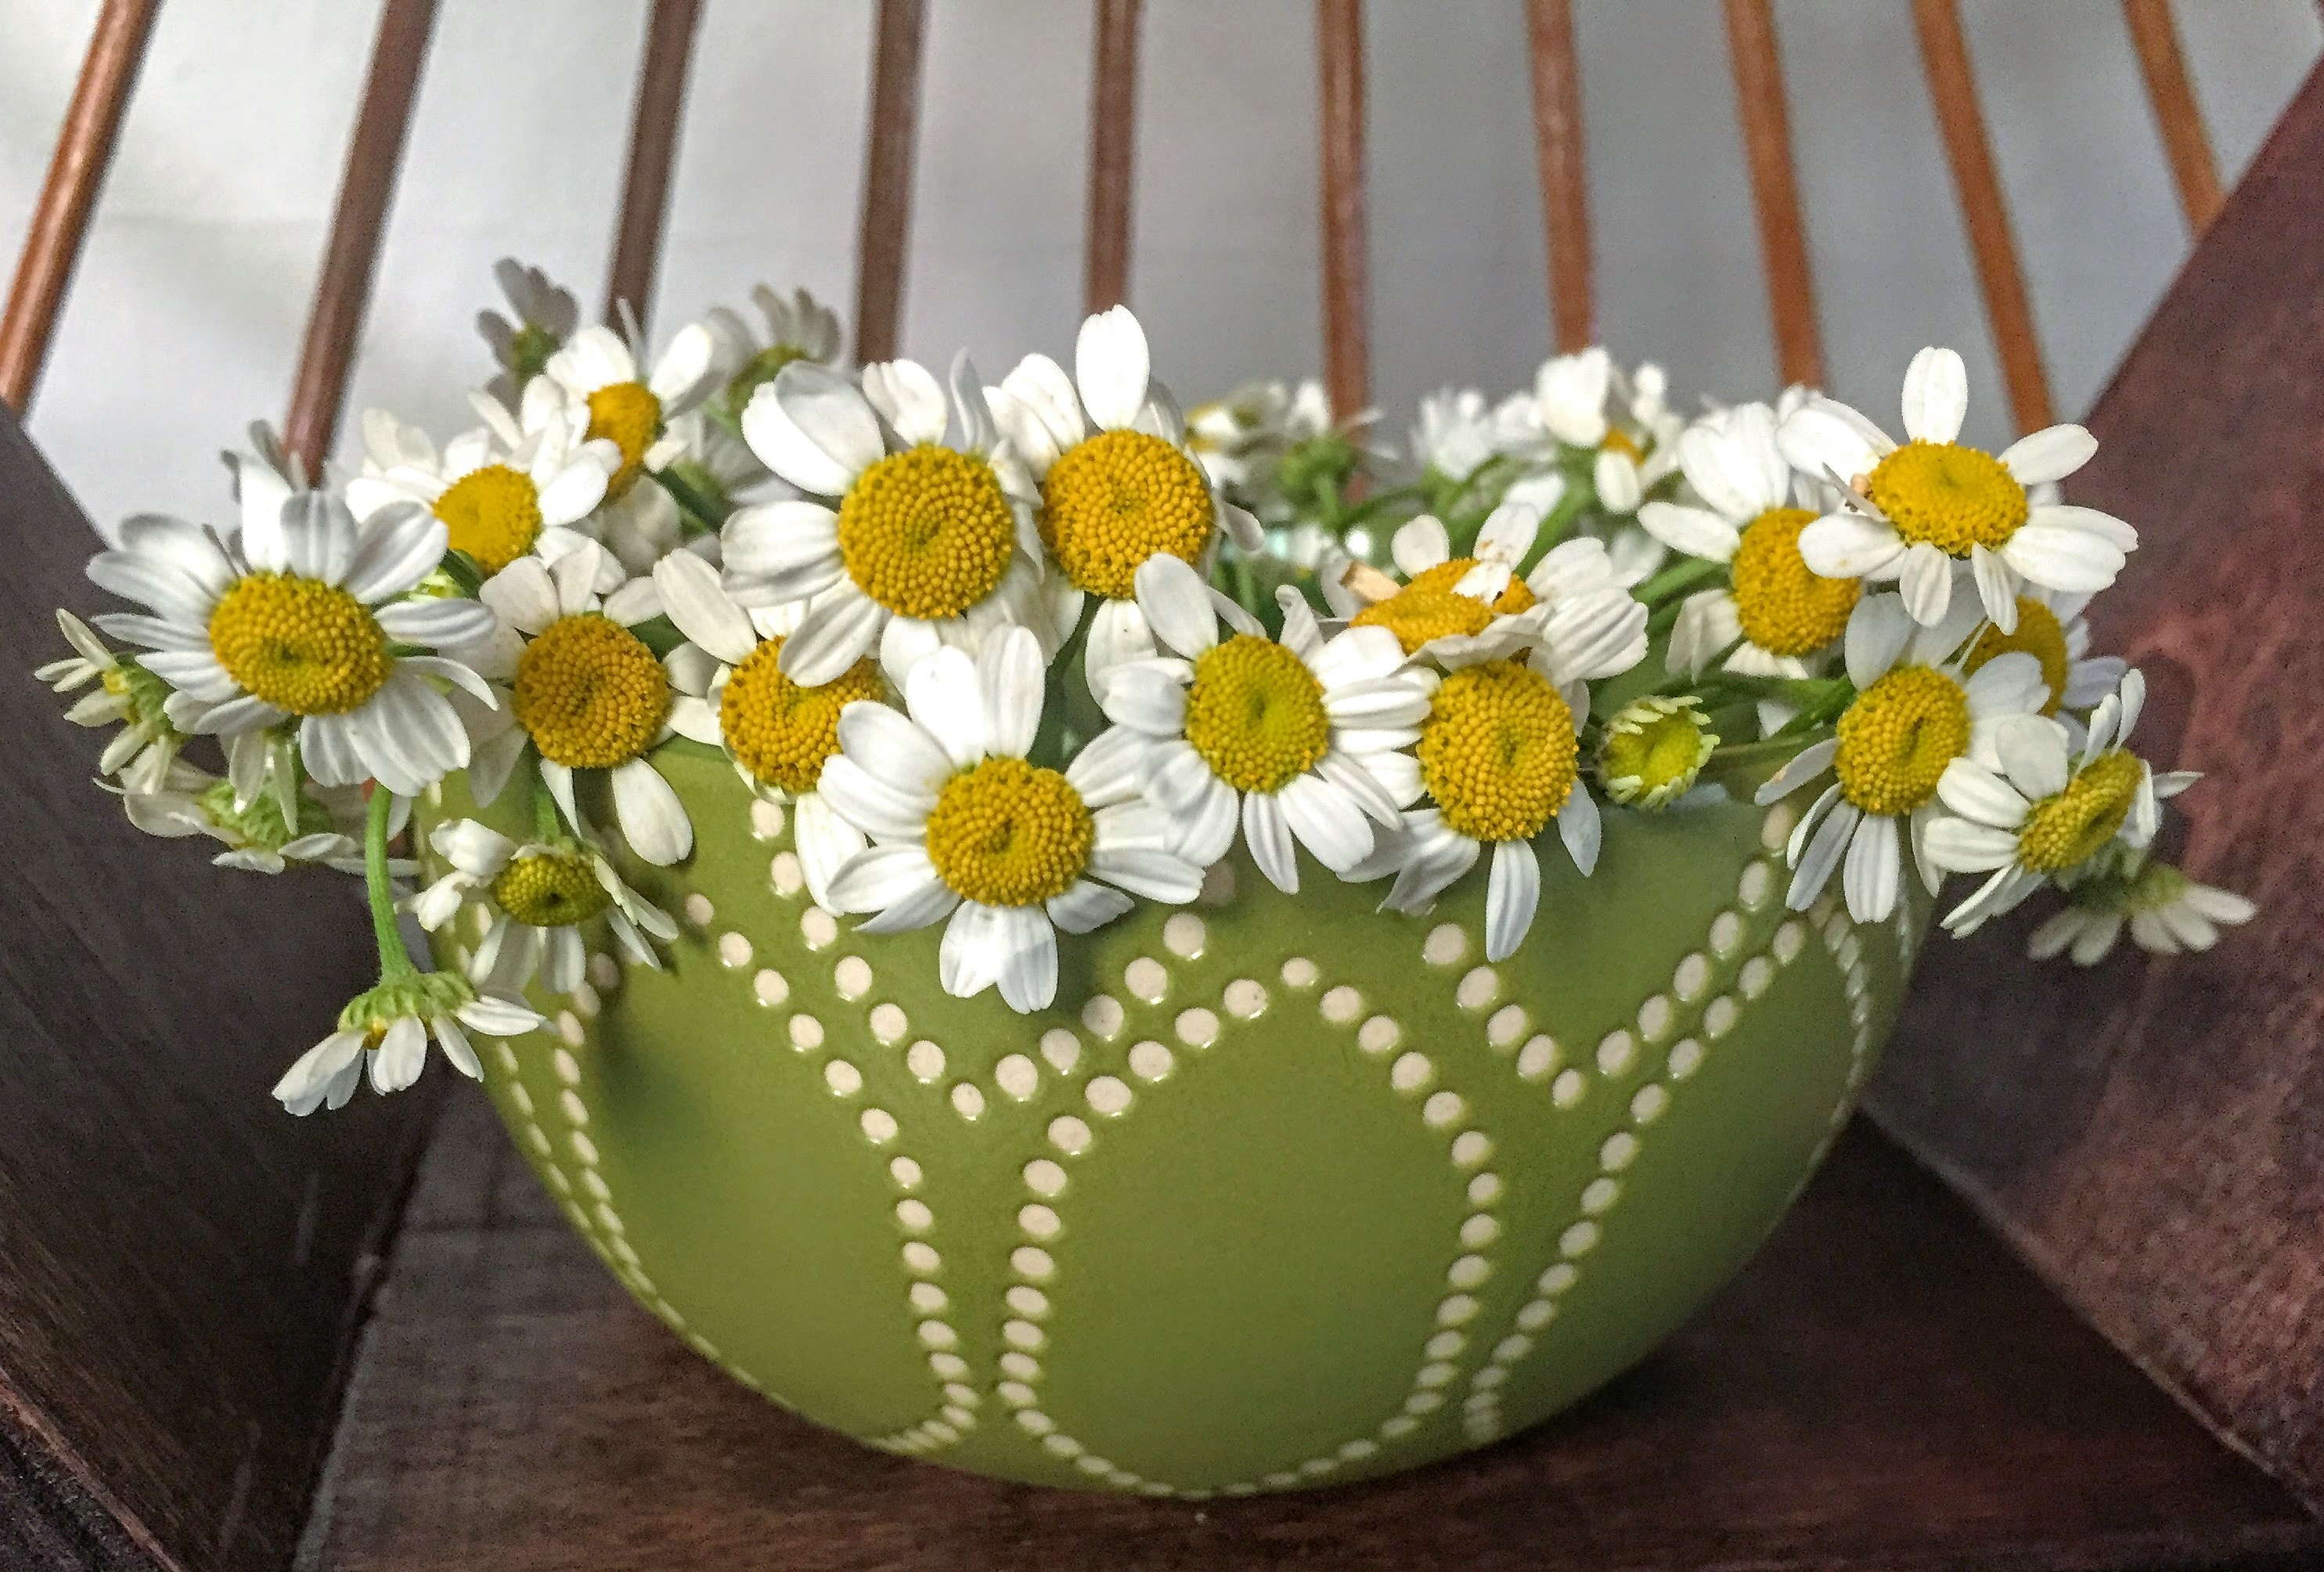
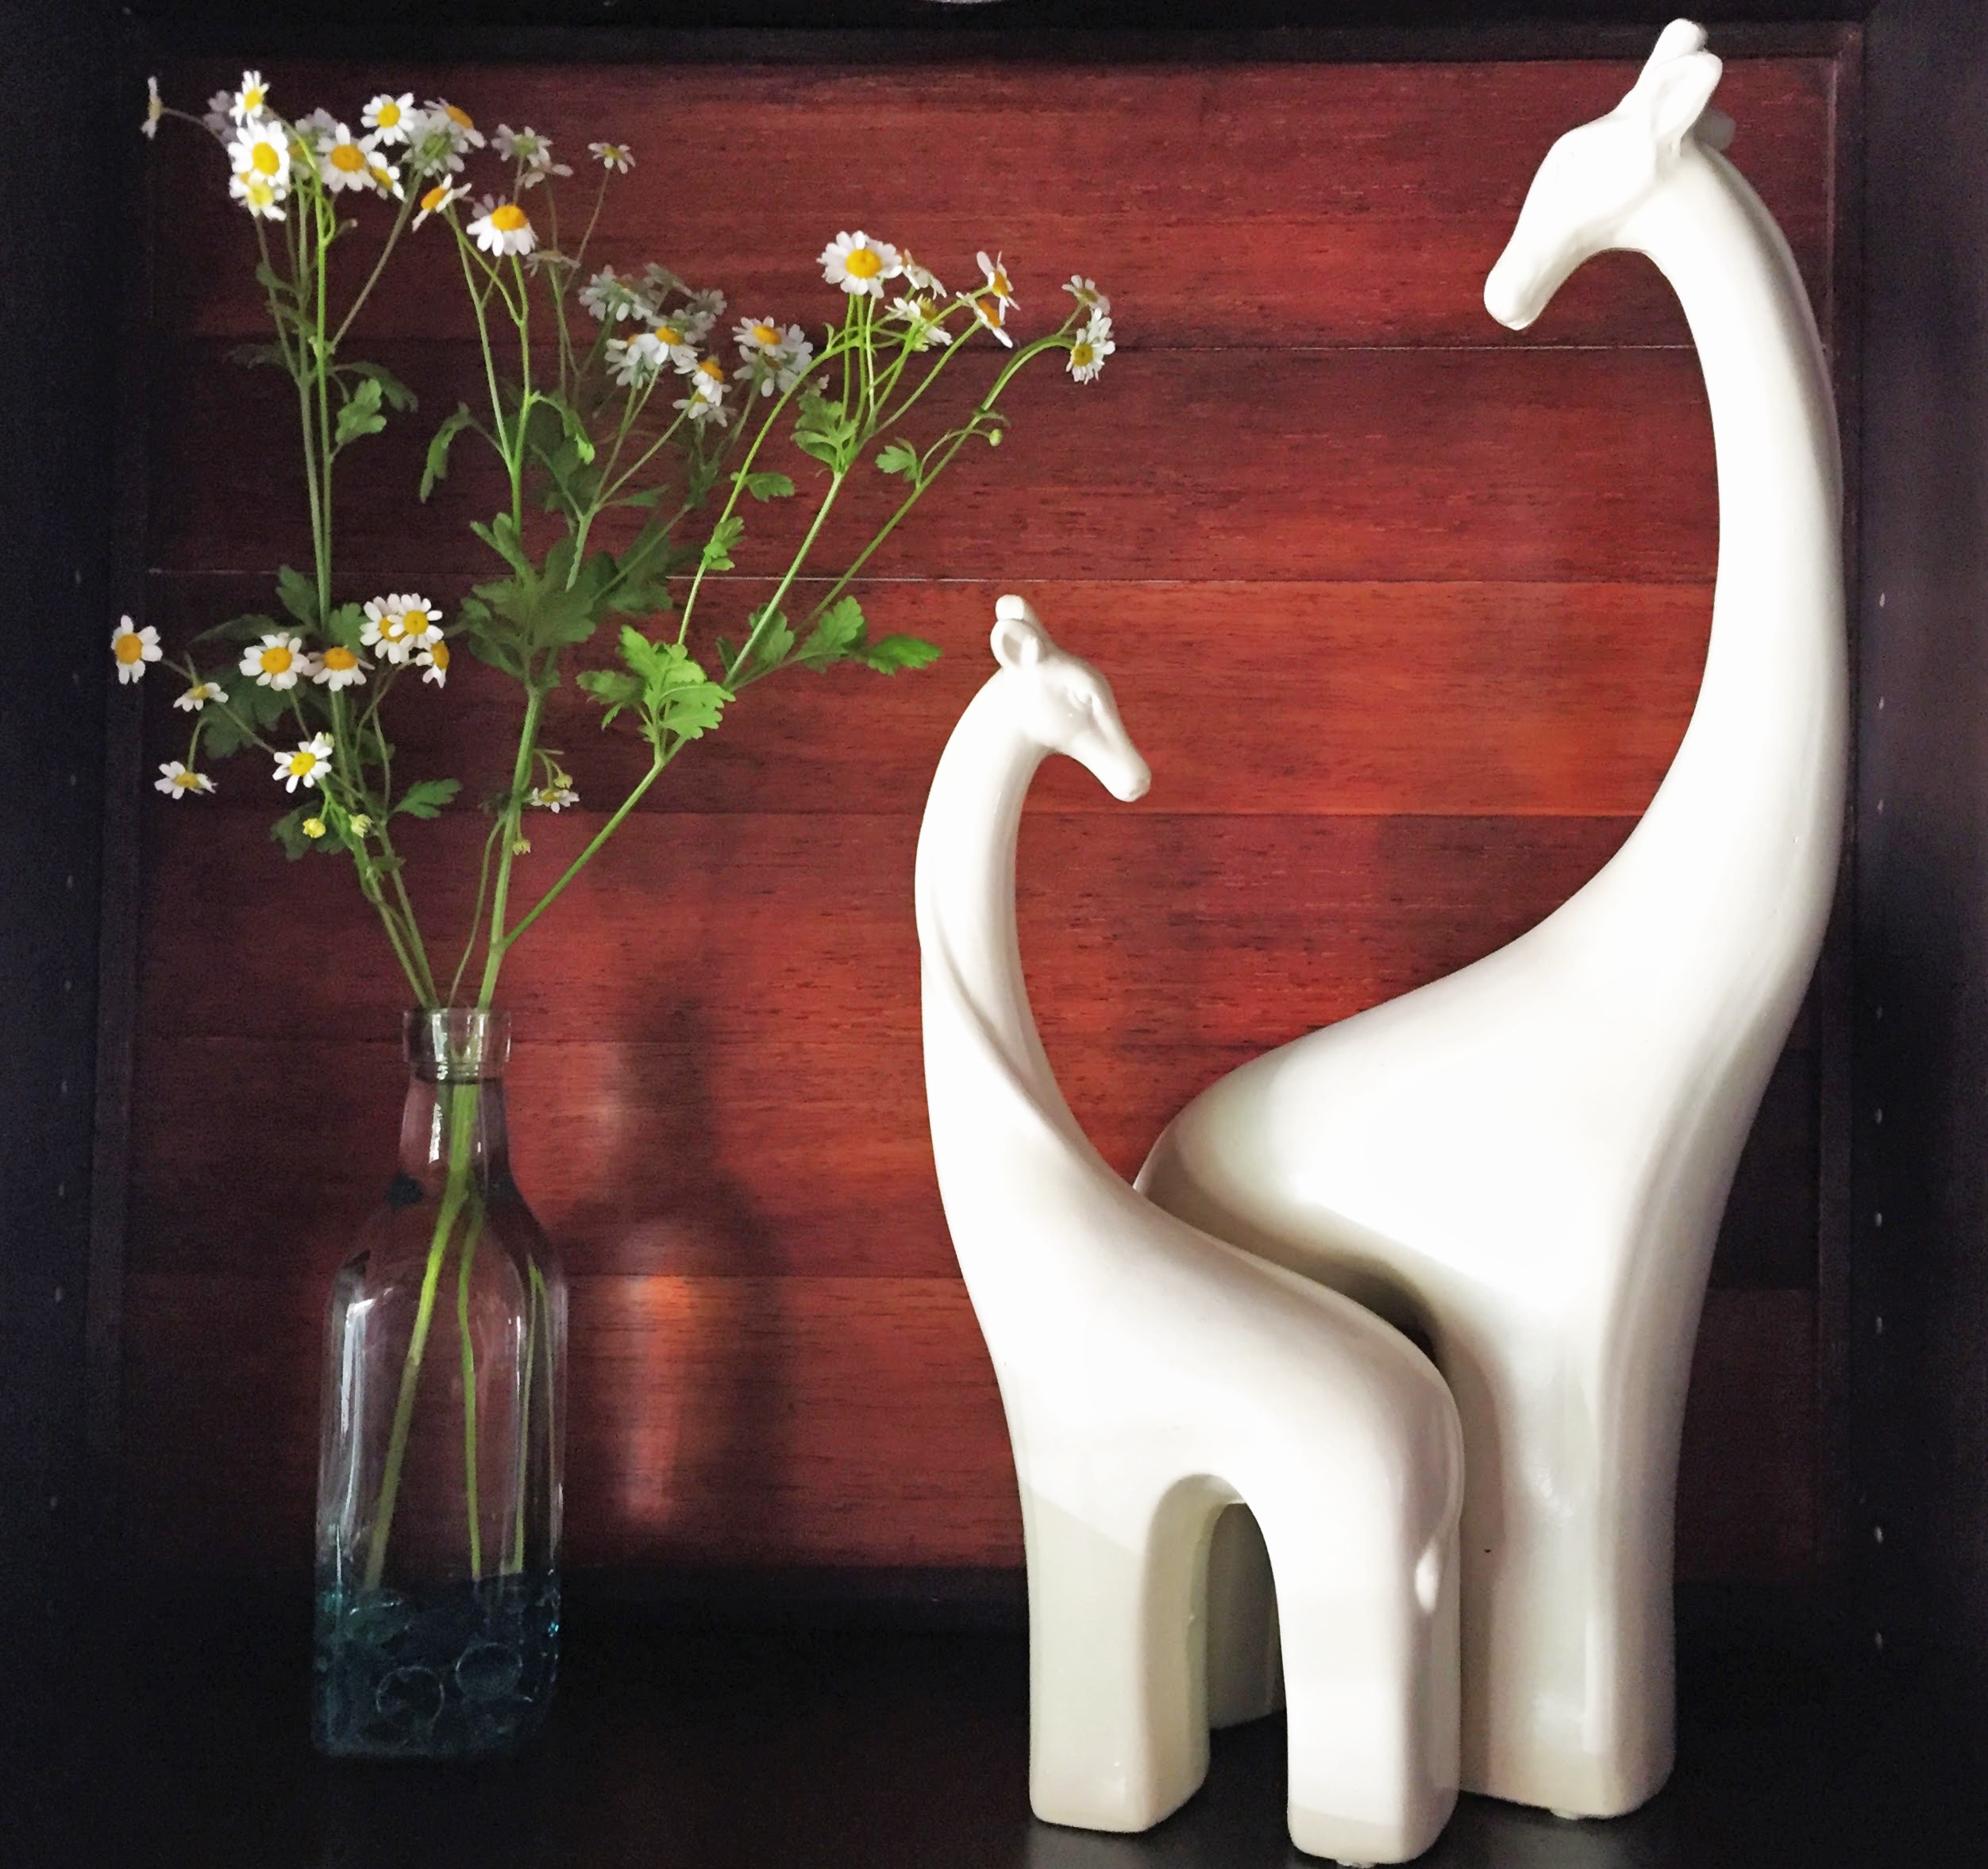
This is the first in a series of posts I’ll be writing about things that I love and adore. These Chamomile Flowers are #1 on my list since I stumbled upon them yesterday, brought them home, and fell in love! I scattered these Late-Summer, daisy-like blooms all over our living room in different containers: a milk bottle, a jam jar, a hanging vase, a copper washi tape vase, and another little bottle. I bought a large bunch at Trader Joe’s for $3.99 that ended up filling all of the above, plus more to spare! They’re pretty and carefree little flowers, but they’re also very delicate, so… when you get ’em home, get them into water, right away. Without it, their tender flowers and leaves begin to wilt VERY quickly. The upside is that once re-hydrated they usually pop right back to life!
Welcome back to the Craine’s Nest! Thanks for being here!
The last days of Summer are upon us here in East San Diego, and that means one thing… SERIOUS HEAT. So, instead of complaining about the sweaty, humid heat (ok, I’ll still complain a little!), I think I’ll sip away the last days that we have left of this very long season. So…
I’ve returned to give you a sweet and simple drink recipe that I concocted this week when temperatures rose into the hundreds! Every year, when August comes to a close, I think, “Thank goodness Summer is OVER- hey, it wasn’t even that bad!?!?!?” But somewhere in the back of my mind lurks a sneaking suspicion that I’ve forgotten something… and that’s when September strikes. 105 degree days and pretty much sheer, sweaty torture when you live in an A-frame with absolutely no insulation and no AC. That’s right. No AC. My husband says it’s making us stronger people but I’m pretty sure it’s just making me mean! It’s hard to be nice when you live in a sweat lodge. It’s also hard to explain this annual amnesia that I experience but I think it’s a denial that allows me to remain in this house year after year, because I’m too lazy to pack it in and move out!
Whatever the case may be, while I was sitting in my AC-free living room the other night, sweating bullets, and trying to finish up my last post, I realized I needed something REALLY cold to drink. I looked around my kitchen and found some mint, lemons, tonic, a little vodka, some sugar and ice, and I got busy mixing!
Hi again and welcome to my second post! I’m so happy you’re back!
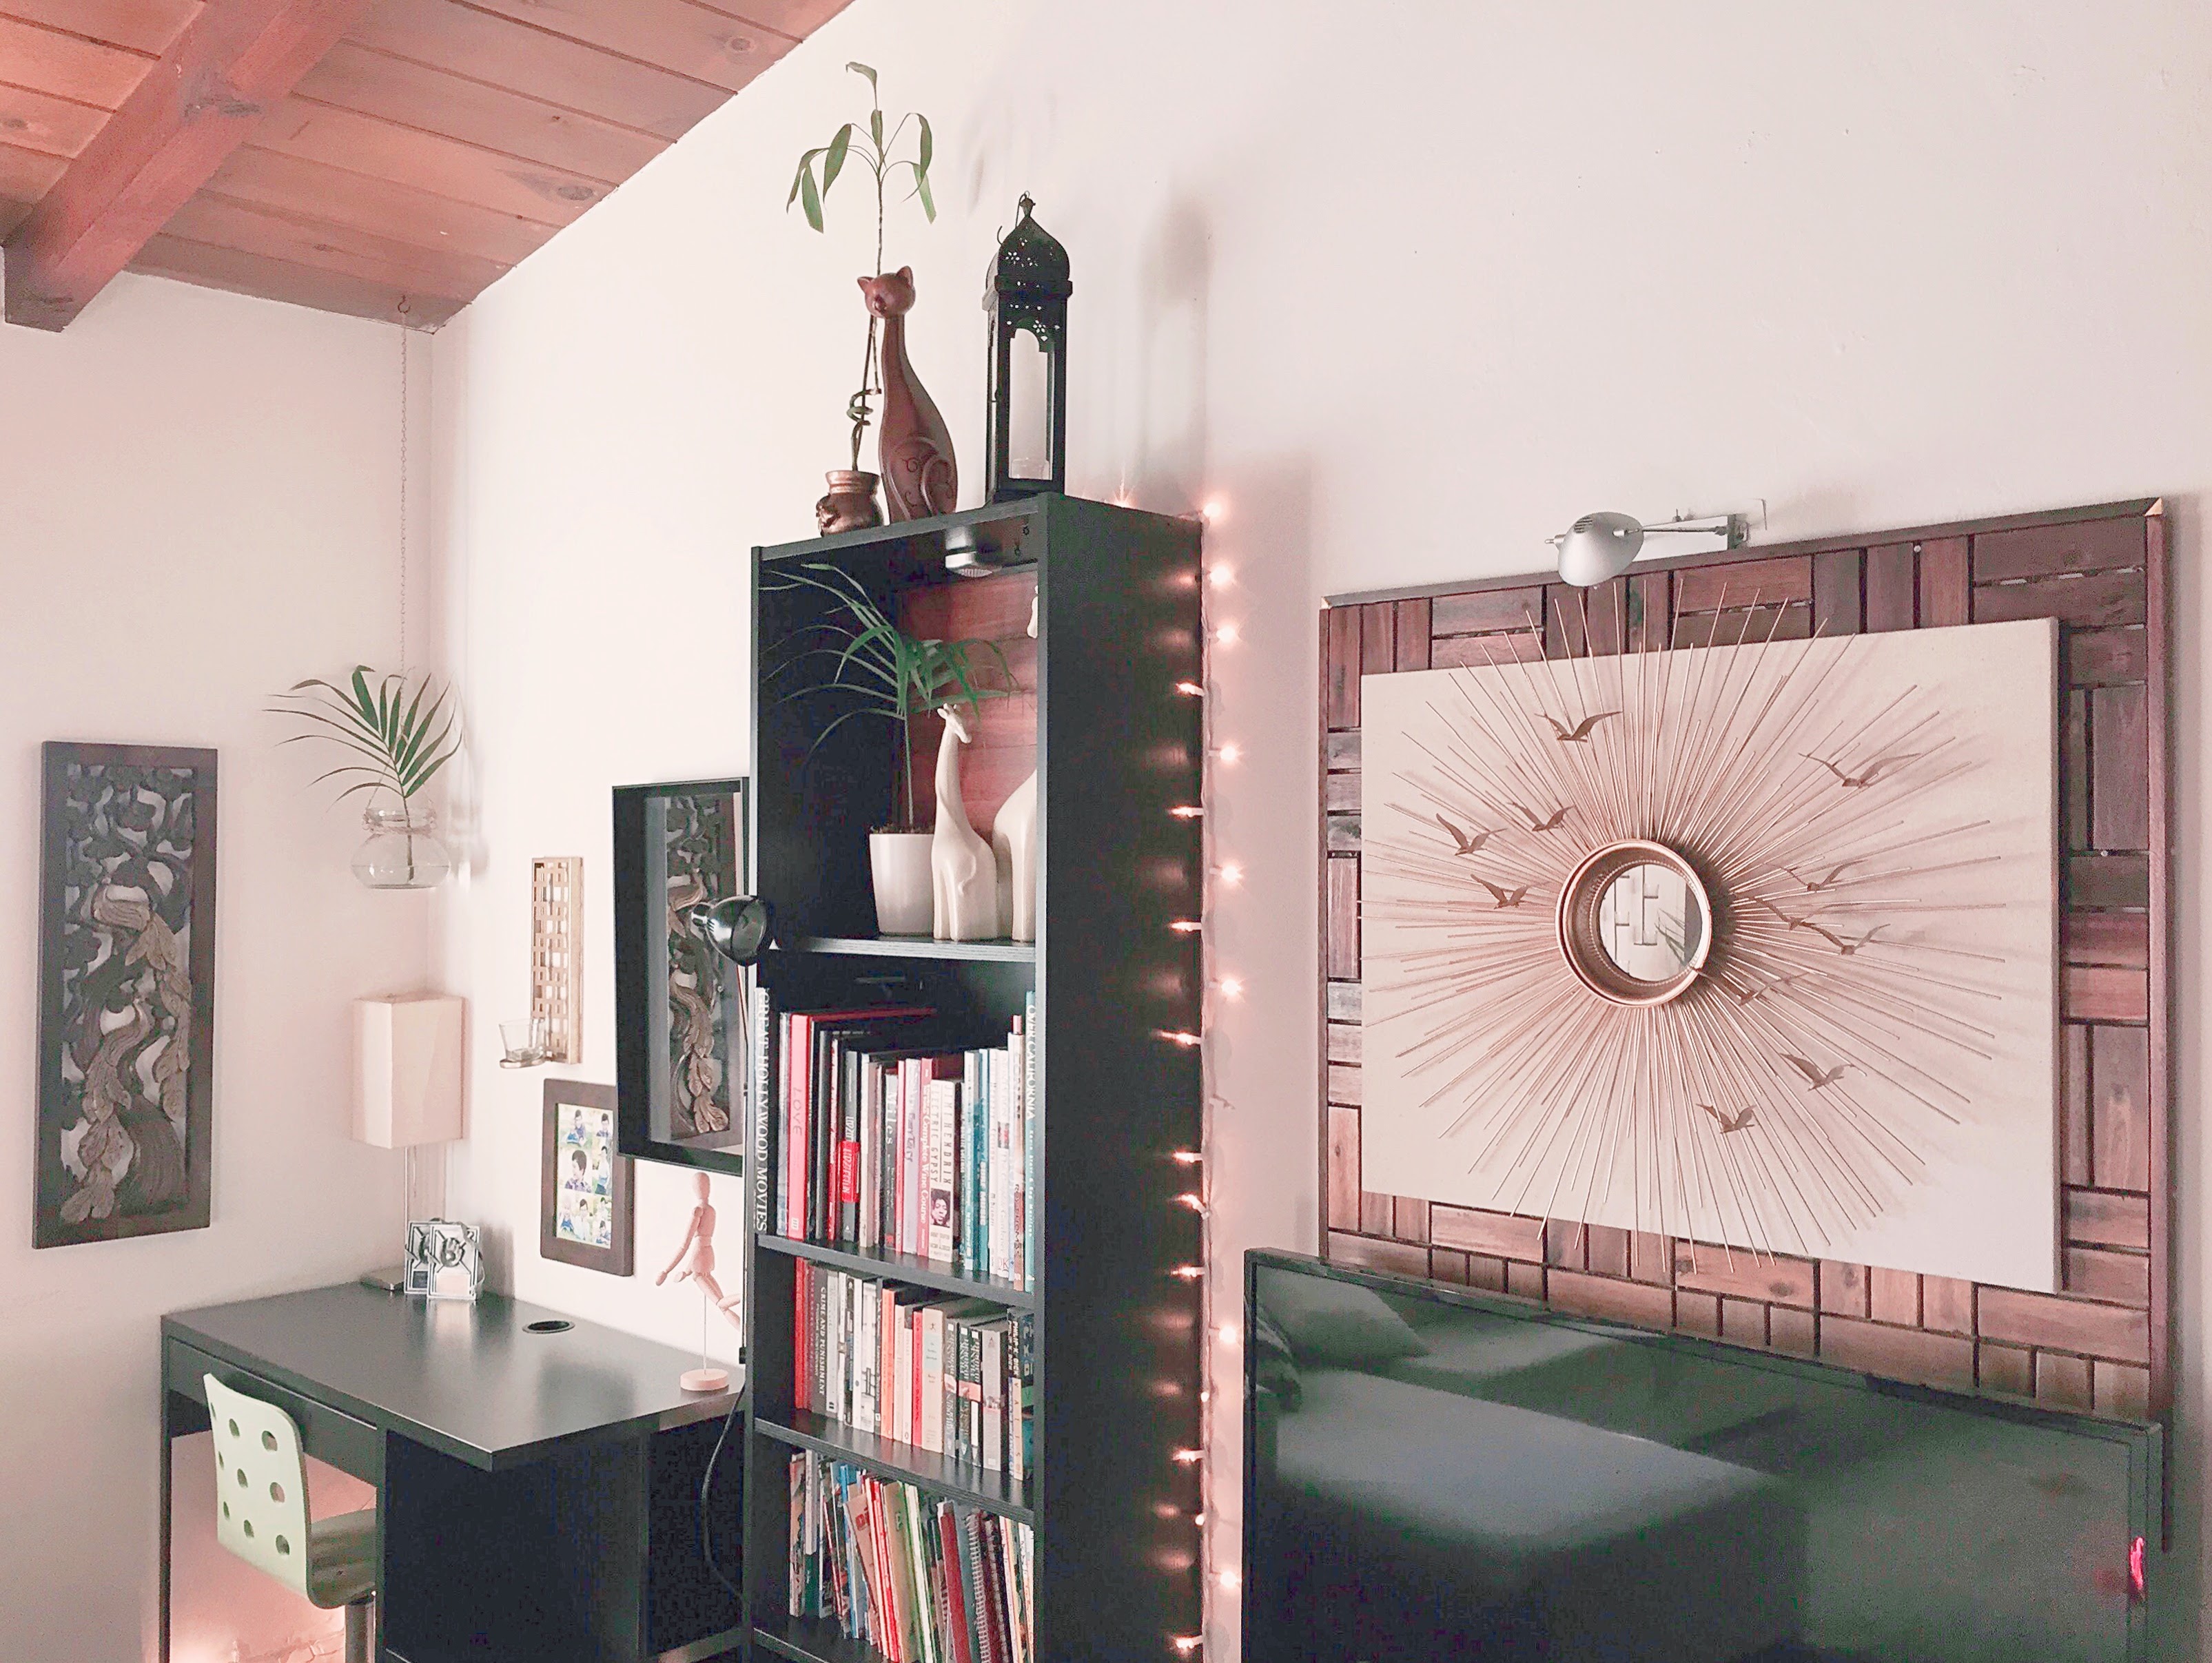
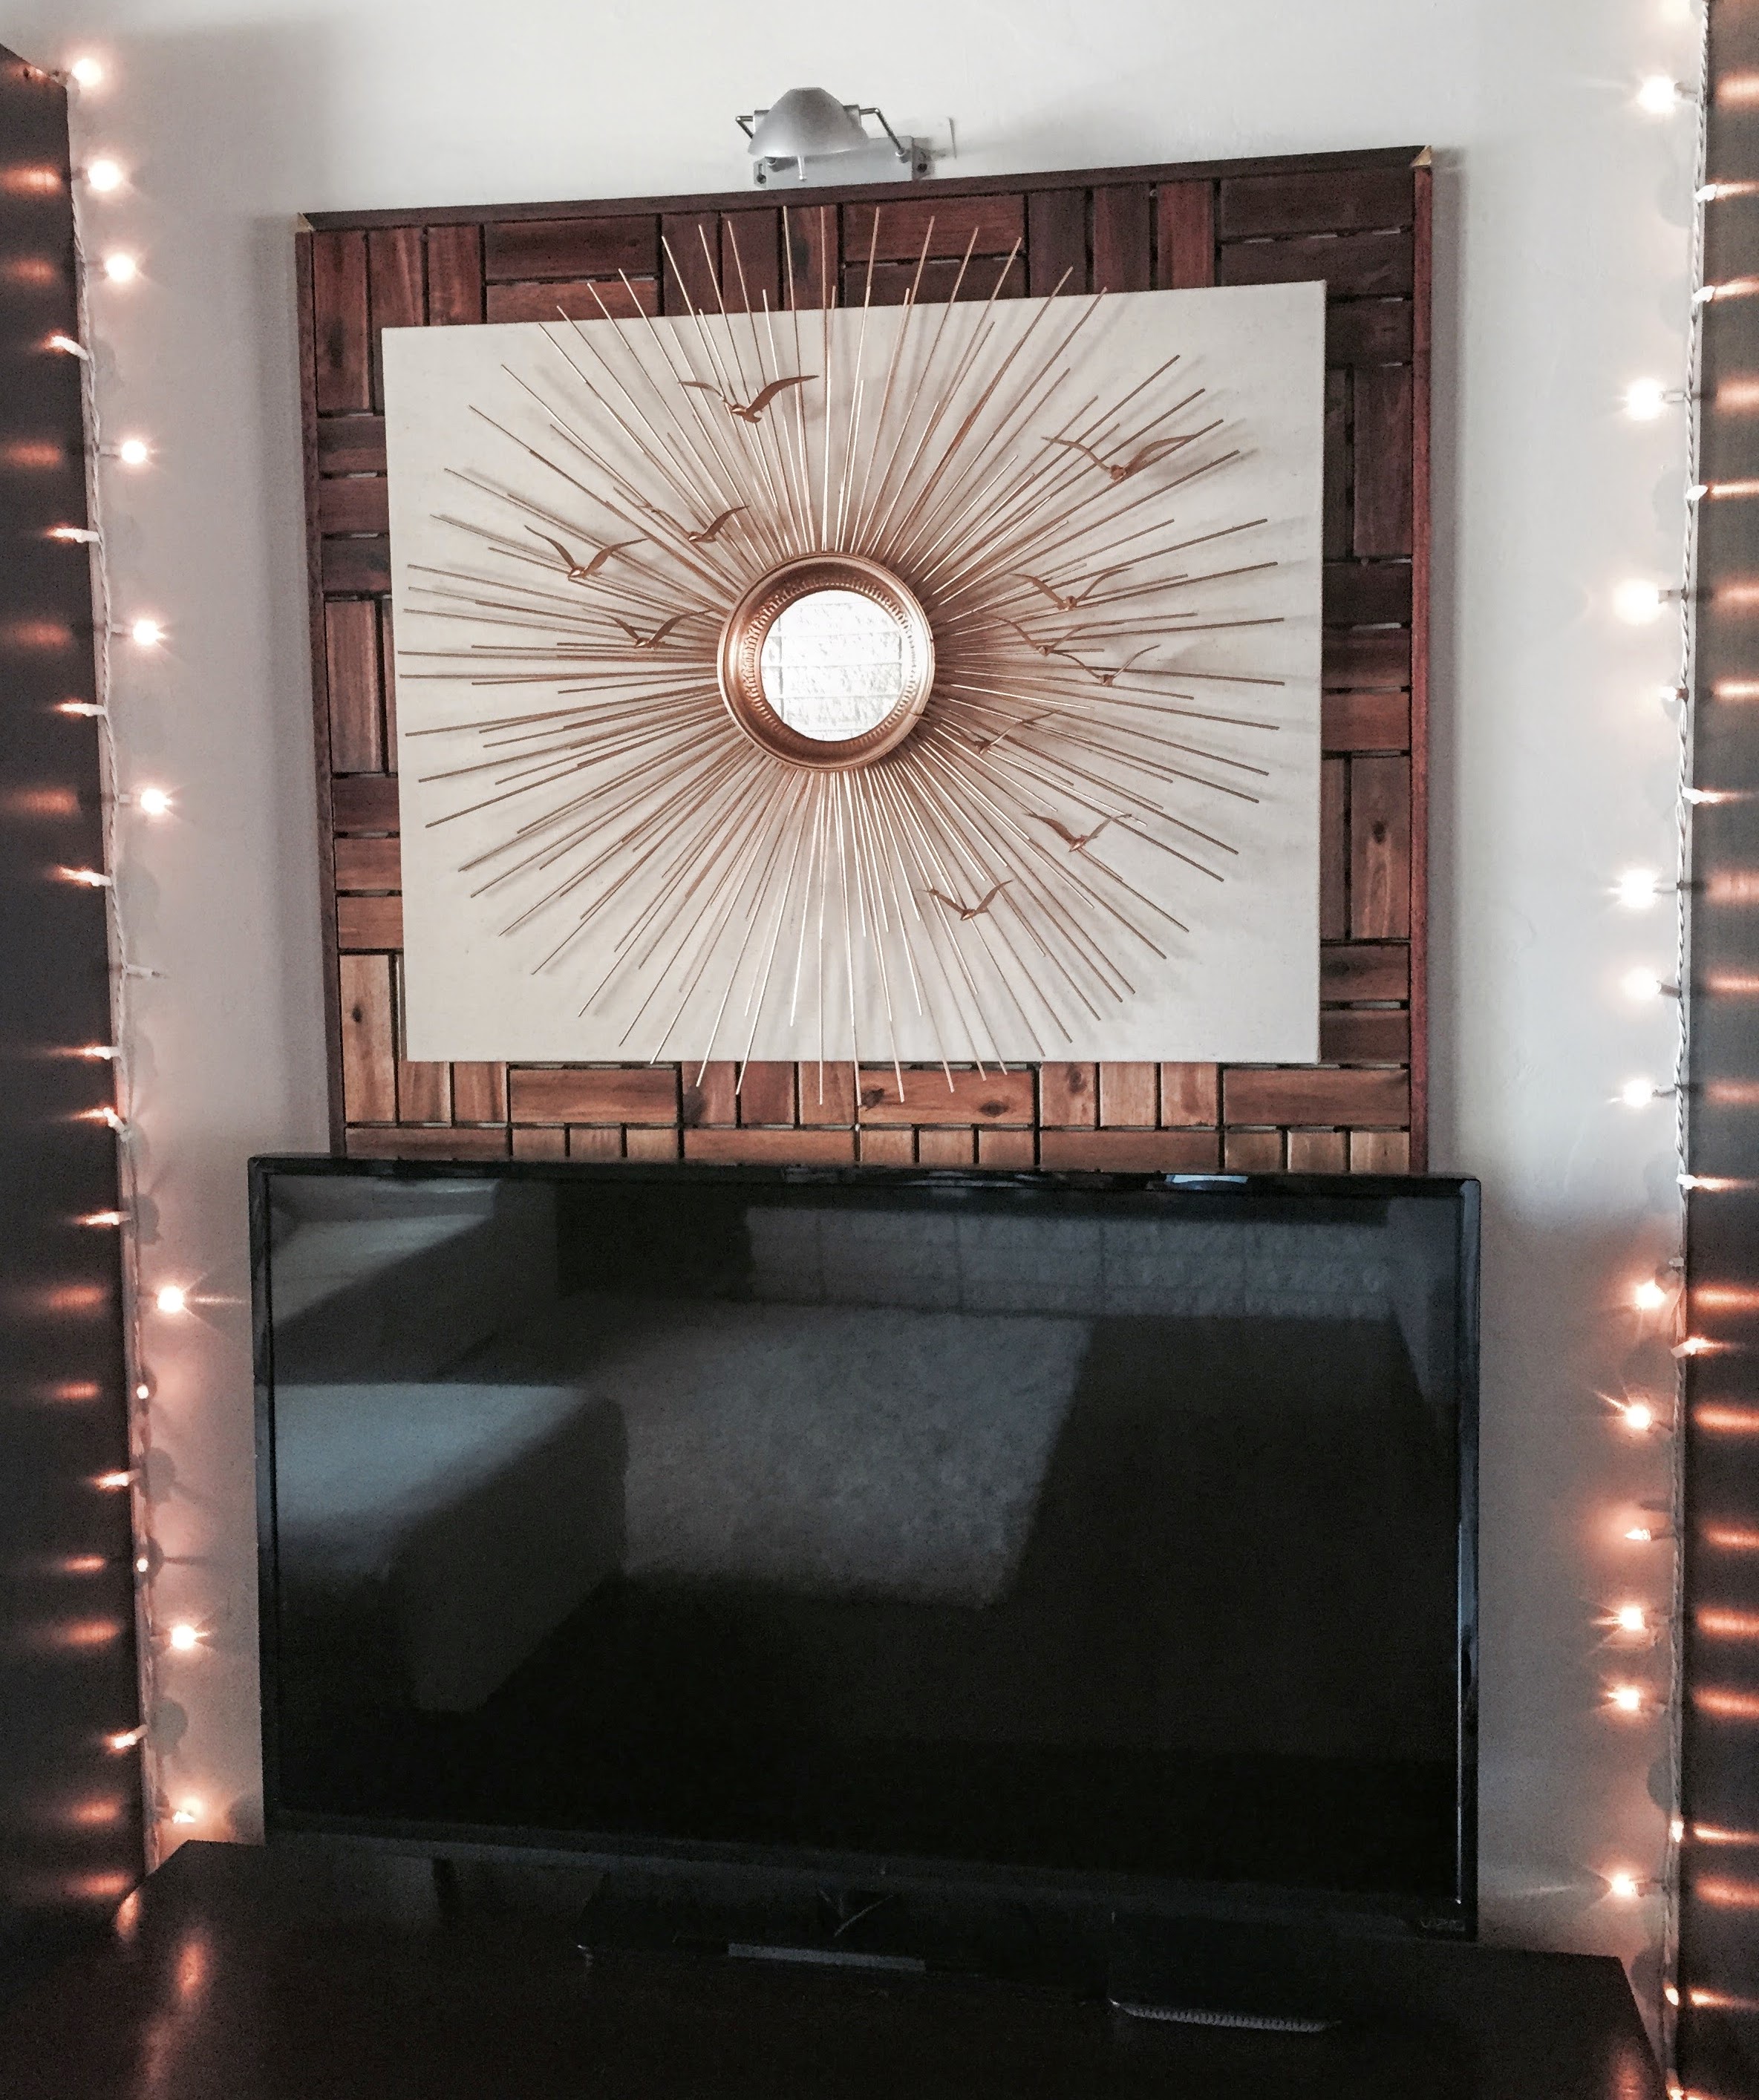
This is a follow up, to walk you through the making of the Ombre Wood Backdrop, for the Mid Century Sunburst. The Sunburst looks beautiful on it’s own, but on our tall, white, rental walls, it just sort of gets lost! As renters, we’re not supposed to paint our walls, so I have to find innovative ways to make our space more exciting. Don’t get me wrong… for all of its flaws and many a year of renters’ grime, it’s a great house. It’s a 1959 A-frame with a wood beamed ceiling, and a giant white brick fireplace in the living room. The kitchen is semi-open to the living room which is AWEsome, because I can cook AND watch my crazy (and adorable) 2 year-old daughter run all over the place! I also have a very energetic and wonderful 9 year-old son, who just started 4th grade.
Our living space is small, but feels much bigger than it actually is. When they built this house in 1959, the idea of the “great room” or the “multipurpose room”, as it was once called, was just catching on. The theme is not fully integrated here, but it’s a well-thought-out, small-version-attempt at the Mid Century idea, made popular by Joseph Eichler in the 50’s and 60’s.
The main wall in our living room, rises up to meet the A-frame, which is where your eye goes, right when you enter the house. I needed a fairly large piece of art to go between my bookshelves and above the TV. It’s basically the media center of the room, so my goal was to take the focus off of the television and electronics. We live in about 1300 sq ft of space, in total, which includes 3 tiny bedrooms and 2 bathrooms. Our living room houses all that we do. We don’t have any extra playrooms or media rooms. I try to fit everything in, while still keeping the look uncluttered and pretty. My goal was to place the spotlight on one beautiful piece, that would pull your attention away from the chaos, while still providing a useful station.
Hi there! This is my first post ever at The Craine’s Nest and I’m so happy that you’re here. Welcome and thank you for stopping by. I’m excited to finally be starting my blog! I’ve been wanting to do this for years, but I kept putting it off. Yeah… I’m a perfectionist. Starting and finishing things is challenging for me. I always think they aren’t quite right or not exactly “perfect” enough. There are LOADS of problems that arise from this way of thinking, the most important being that you never accomplish anything! It’s all rooted in fear obviously, and I won’t go down that rabbit hole with you today, but suffice it to say, I’ve decided to get over it and get a move on with this thing. I have a lot to learn, but I also have have a lot to share. In fact, I have more projects, creations, and supplies than I know what to do with! I could start my own little retail and supplies shop. Yes. Being a perfectionist has slowed me down, but I’m here to get things going. There is NO time like the present, especially when mid-life is creeping up behind you real quick. So… I’m here now and I’m really excited to share all that I’ve loved and learned along the way! Let’s go!!!!
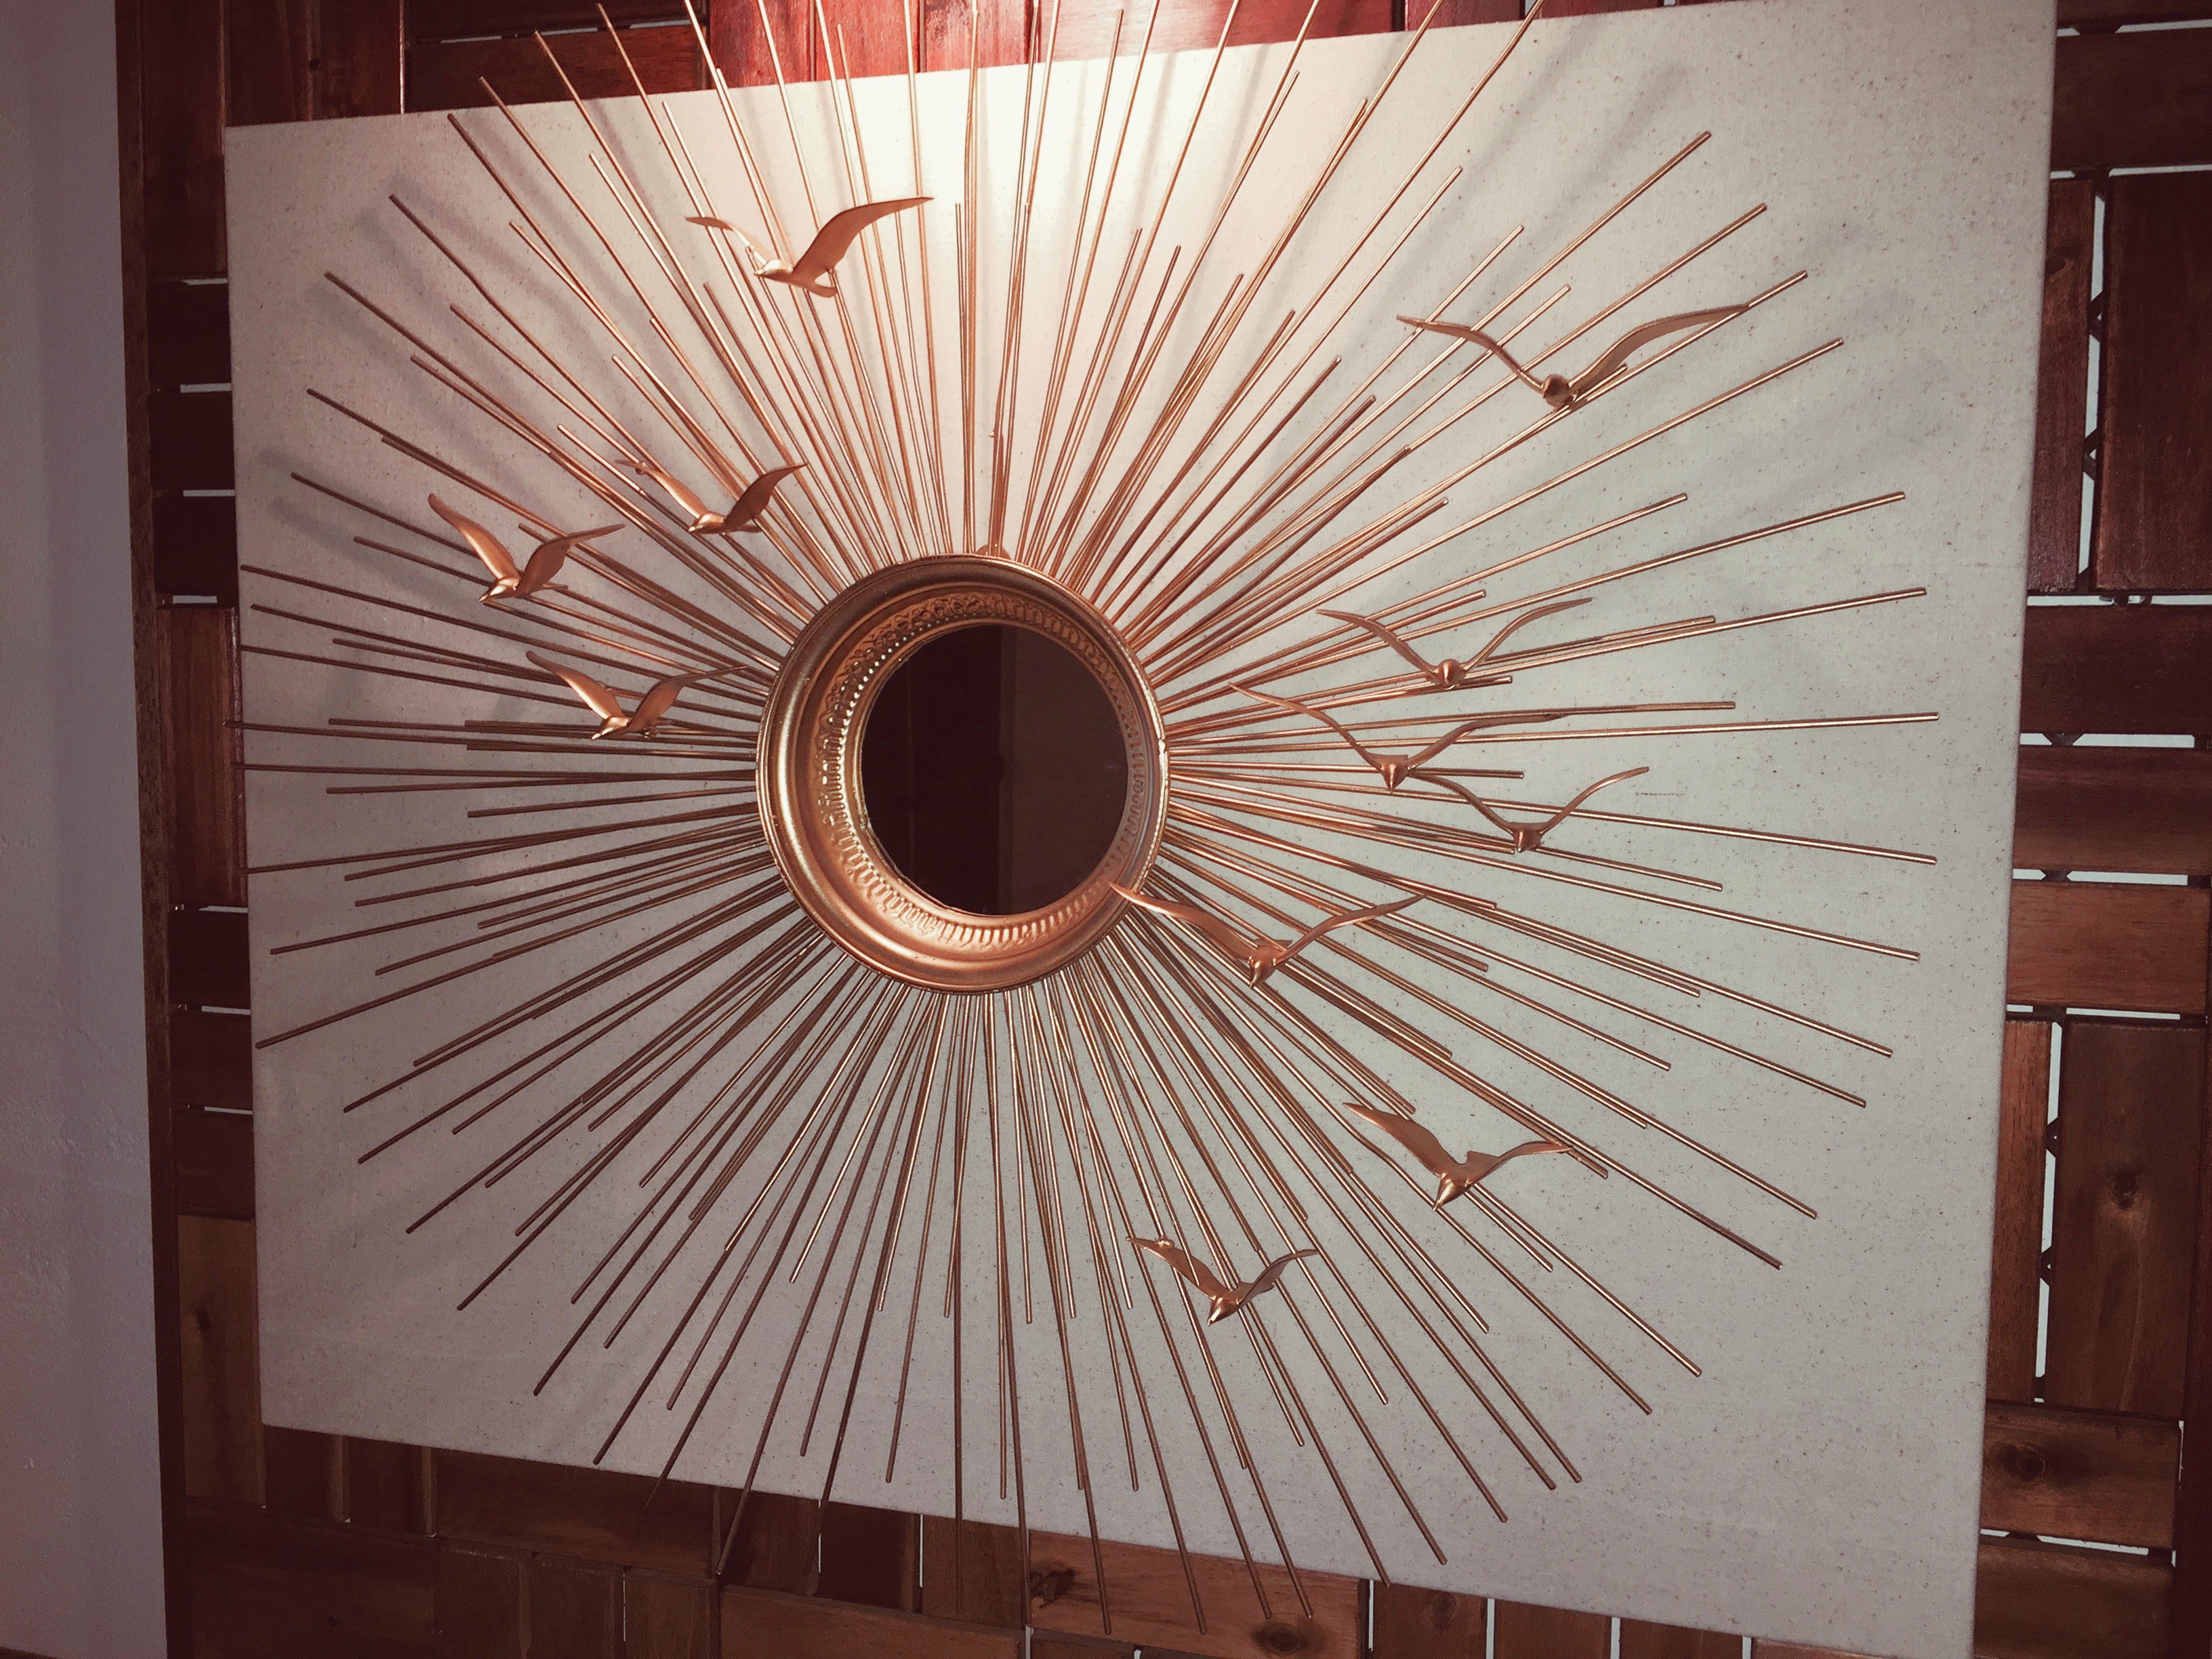
This is a Mid-Century inspired DIY/Reno that I made with a Target bought sunburst mirror. The artist/art house that inspired this piece, is called Curtis Jere. If you are a Mid Century buff, you may know this label. A couple of brothers-in-law started this company and made many a sunburst, seagull, and geometric sculpture in the 60’s and 70’s. I happened upon one of their gorgeous seagull sunburst mirrors while watching stumbling upon The Real Housewives of New York City. I, of course, don’t watch that nonsense, but I was nursing my baby, channel surfing, and there it was. Ok. Sometimes when I want to feel like a super awesome, down-to-earth person I tune in. Ok, alright… I do watch it. But only very sporadically and really only for Carole Radziwill, who was married to a Kennedy, and really and truly has a beautiful and awesome sense of style!
She renovated her apartment and hung a giant seagull sunburst mirror on the wall under her staircase. I fell in love with it and started researching what it was, who created it, where I might find it, etc. After a long and exhaustive search, I came to the conclusion that it was probably a Curtis Jere Sunburst sculpture.
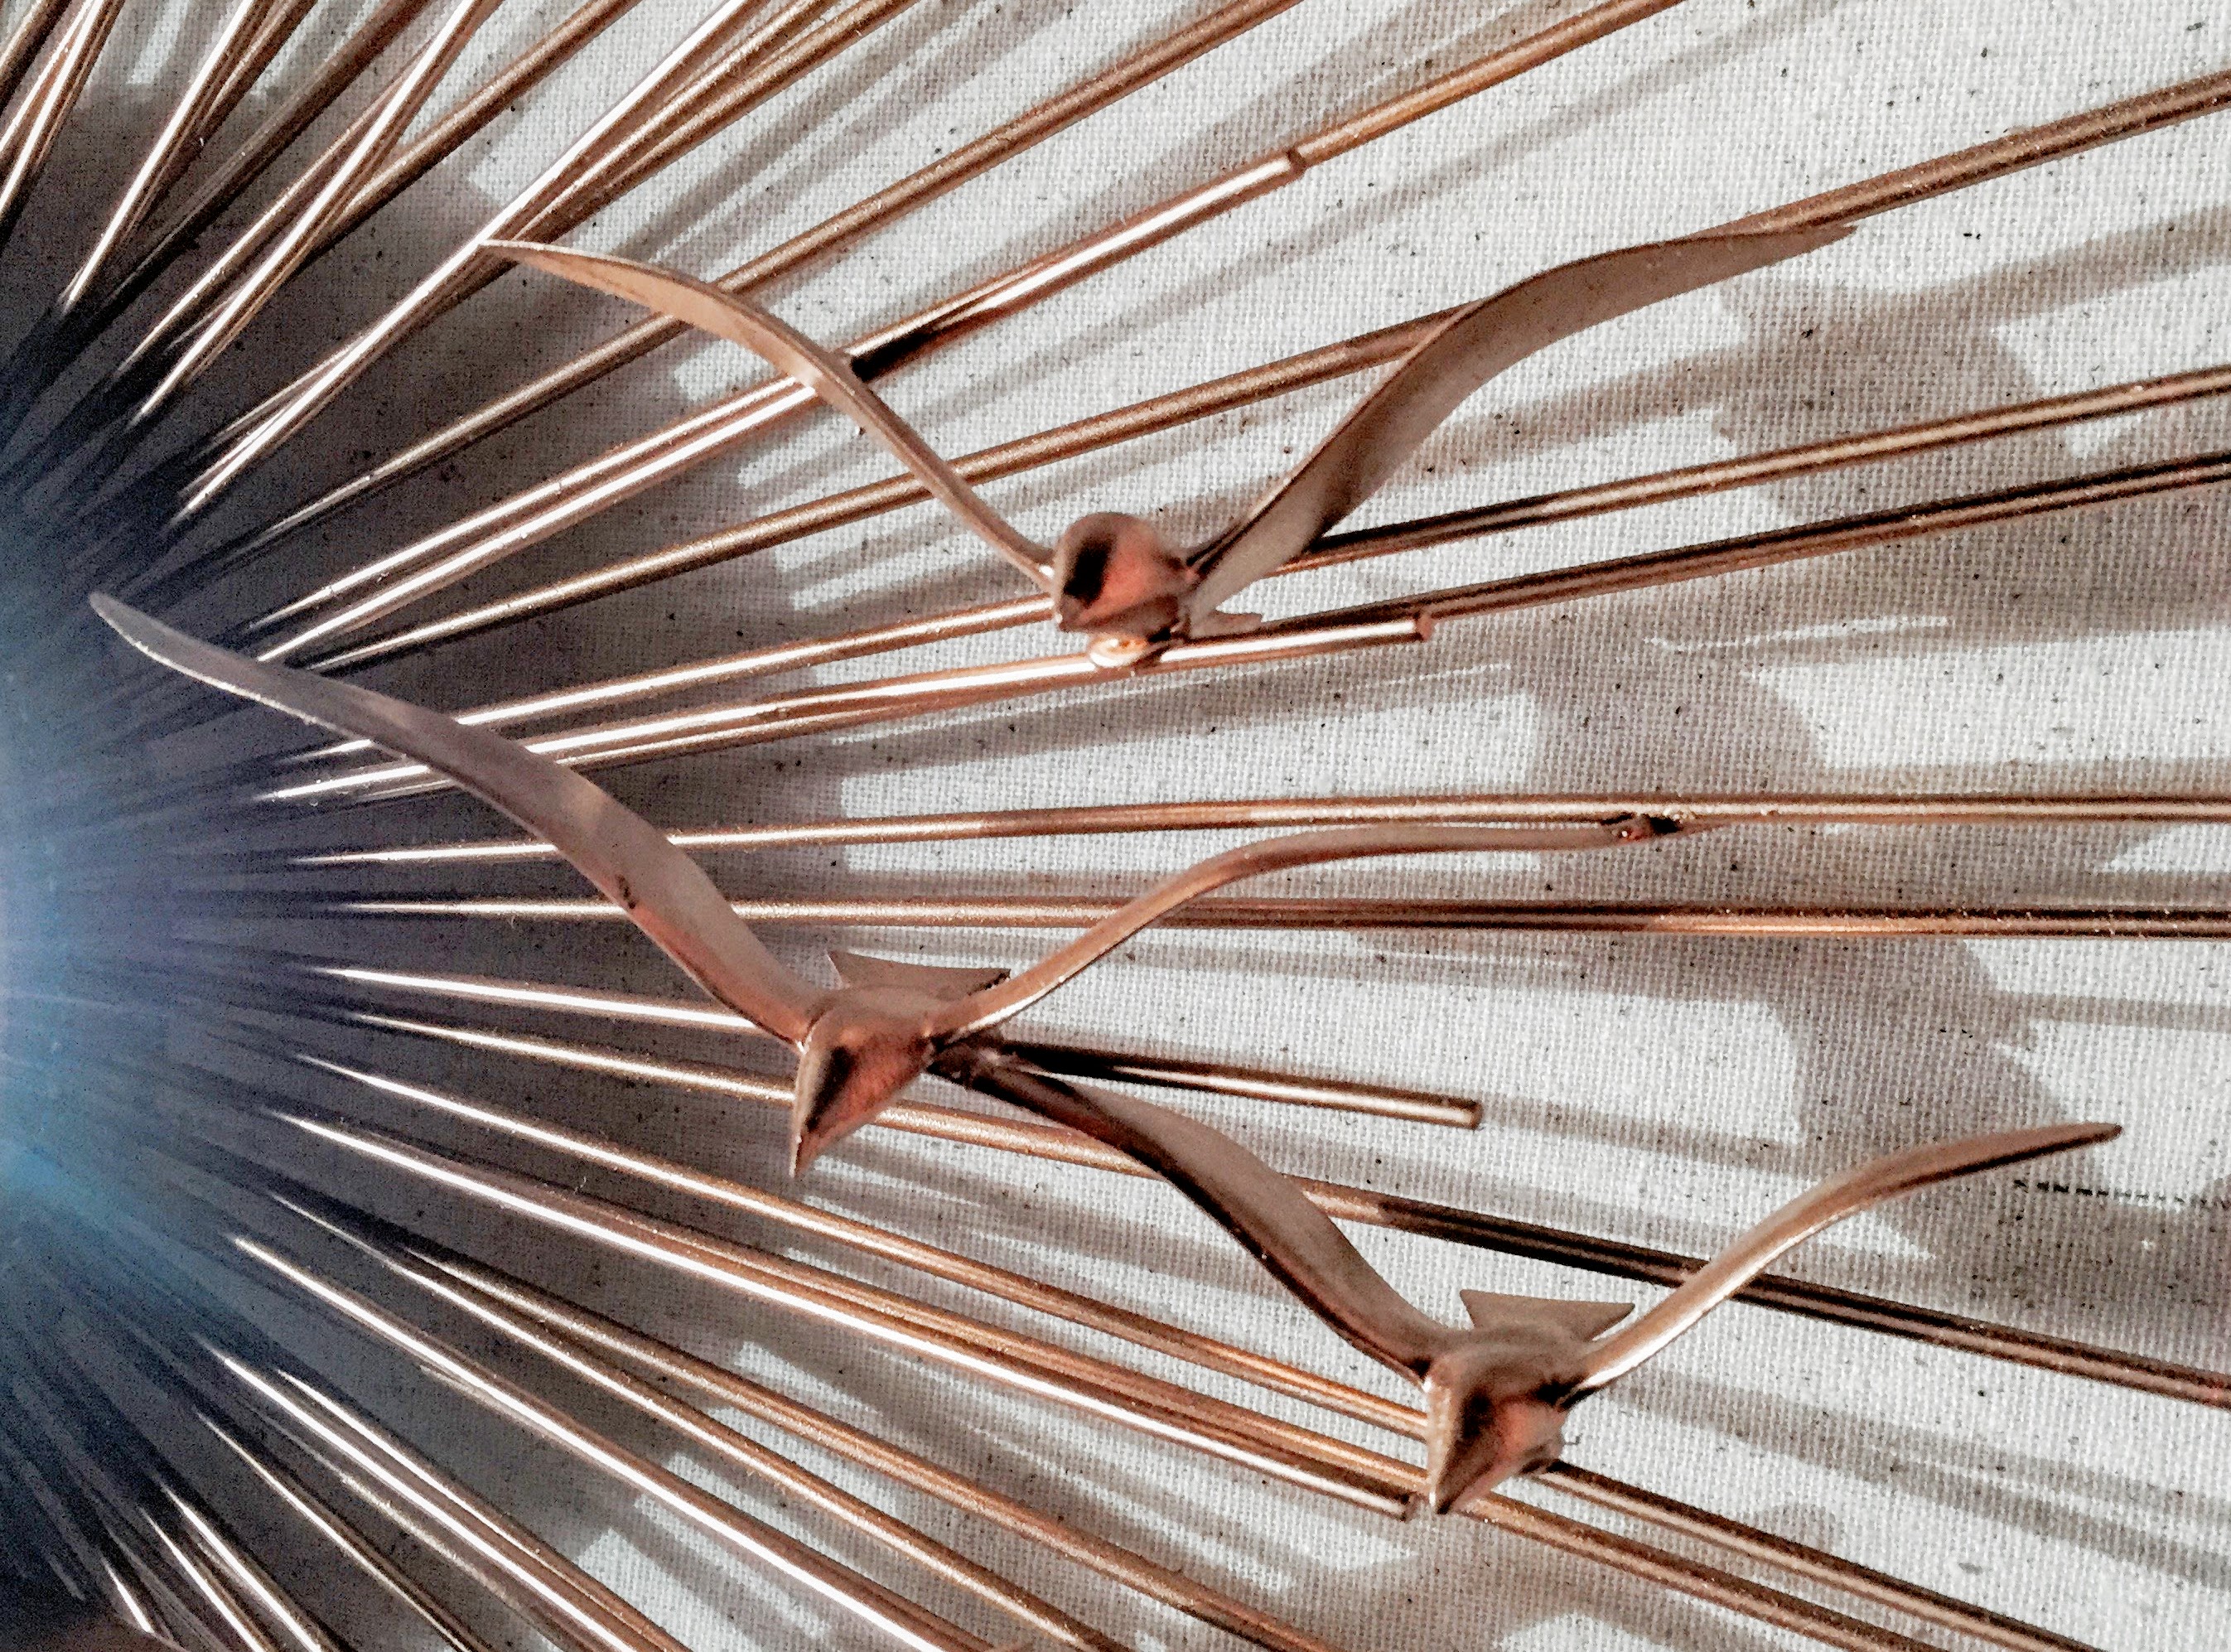
The sculpture I found online that looks most like the one I saw on the show, goes for about $2,500. Curtis Jere made many variations on this sunburst, ranging in price from about $200 to $2,500 (and up, I’m sure… those are just the ones I found). The one that I happen to love and adore is $2,500. Of course. So… since paying that price for a piece of art was not in our budget, I started scouting around for mirrors and seagulls. I found this mirror at Target for 50 bucks and found the Seagulls on Etsy, You get 4 dozen for about 25 dollars, right here. Finding the seagulls was a challenge- I bought many a seagull and even tried to make my own out of clay, but nothing really worked until I found these little guys. I used a 24K Metallic Gold paint that I found at Michael’s, cut some of the seagulls down to give variation in size and shape, and sanded the bejeezus out of them… and voila! I love the result!