

Hello and Happy Autumn!
Here are some sweet little planter boxes that I found in the Dollar Bin at Target, for $3.00 each. I don’t think it’s actually called the “Dollar Bin” anymore, since some of the items are $1, some are $3 and some are 5… but who’s complaining when they offer such awesome trinkets, at these prices!
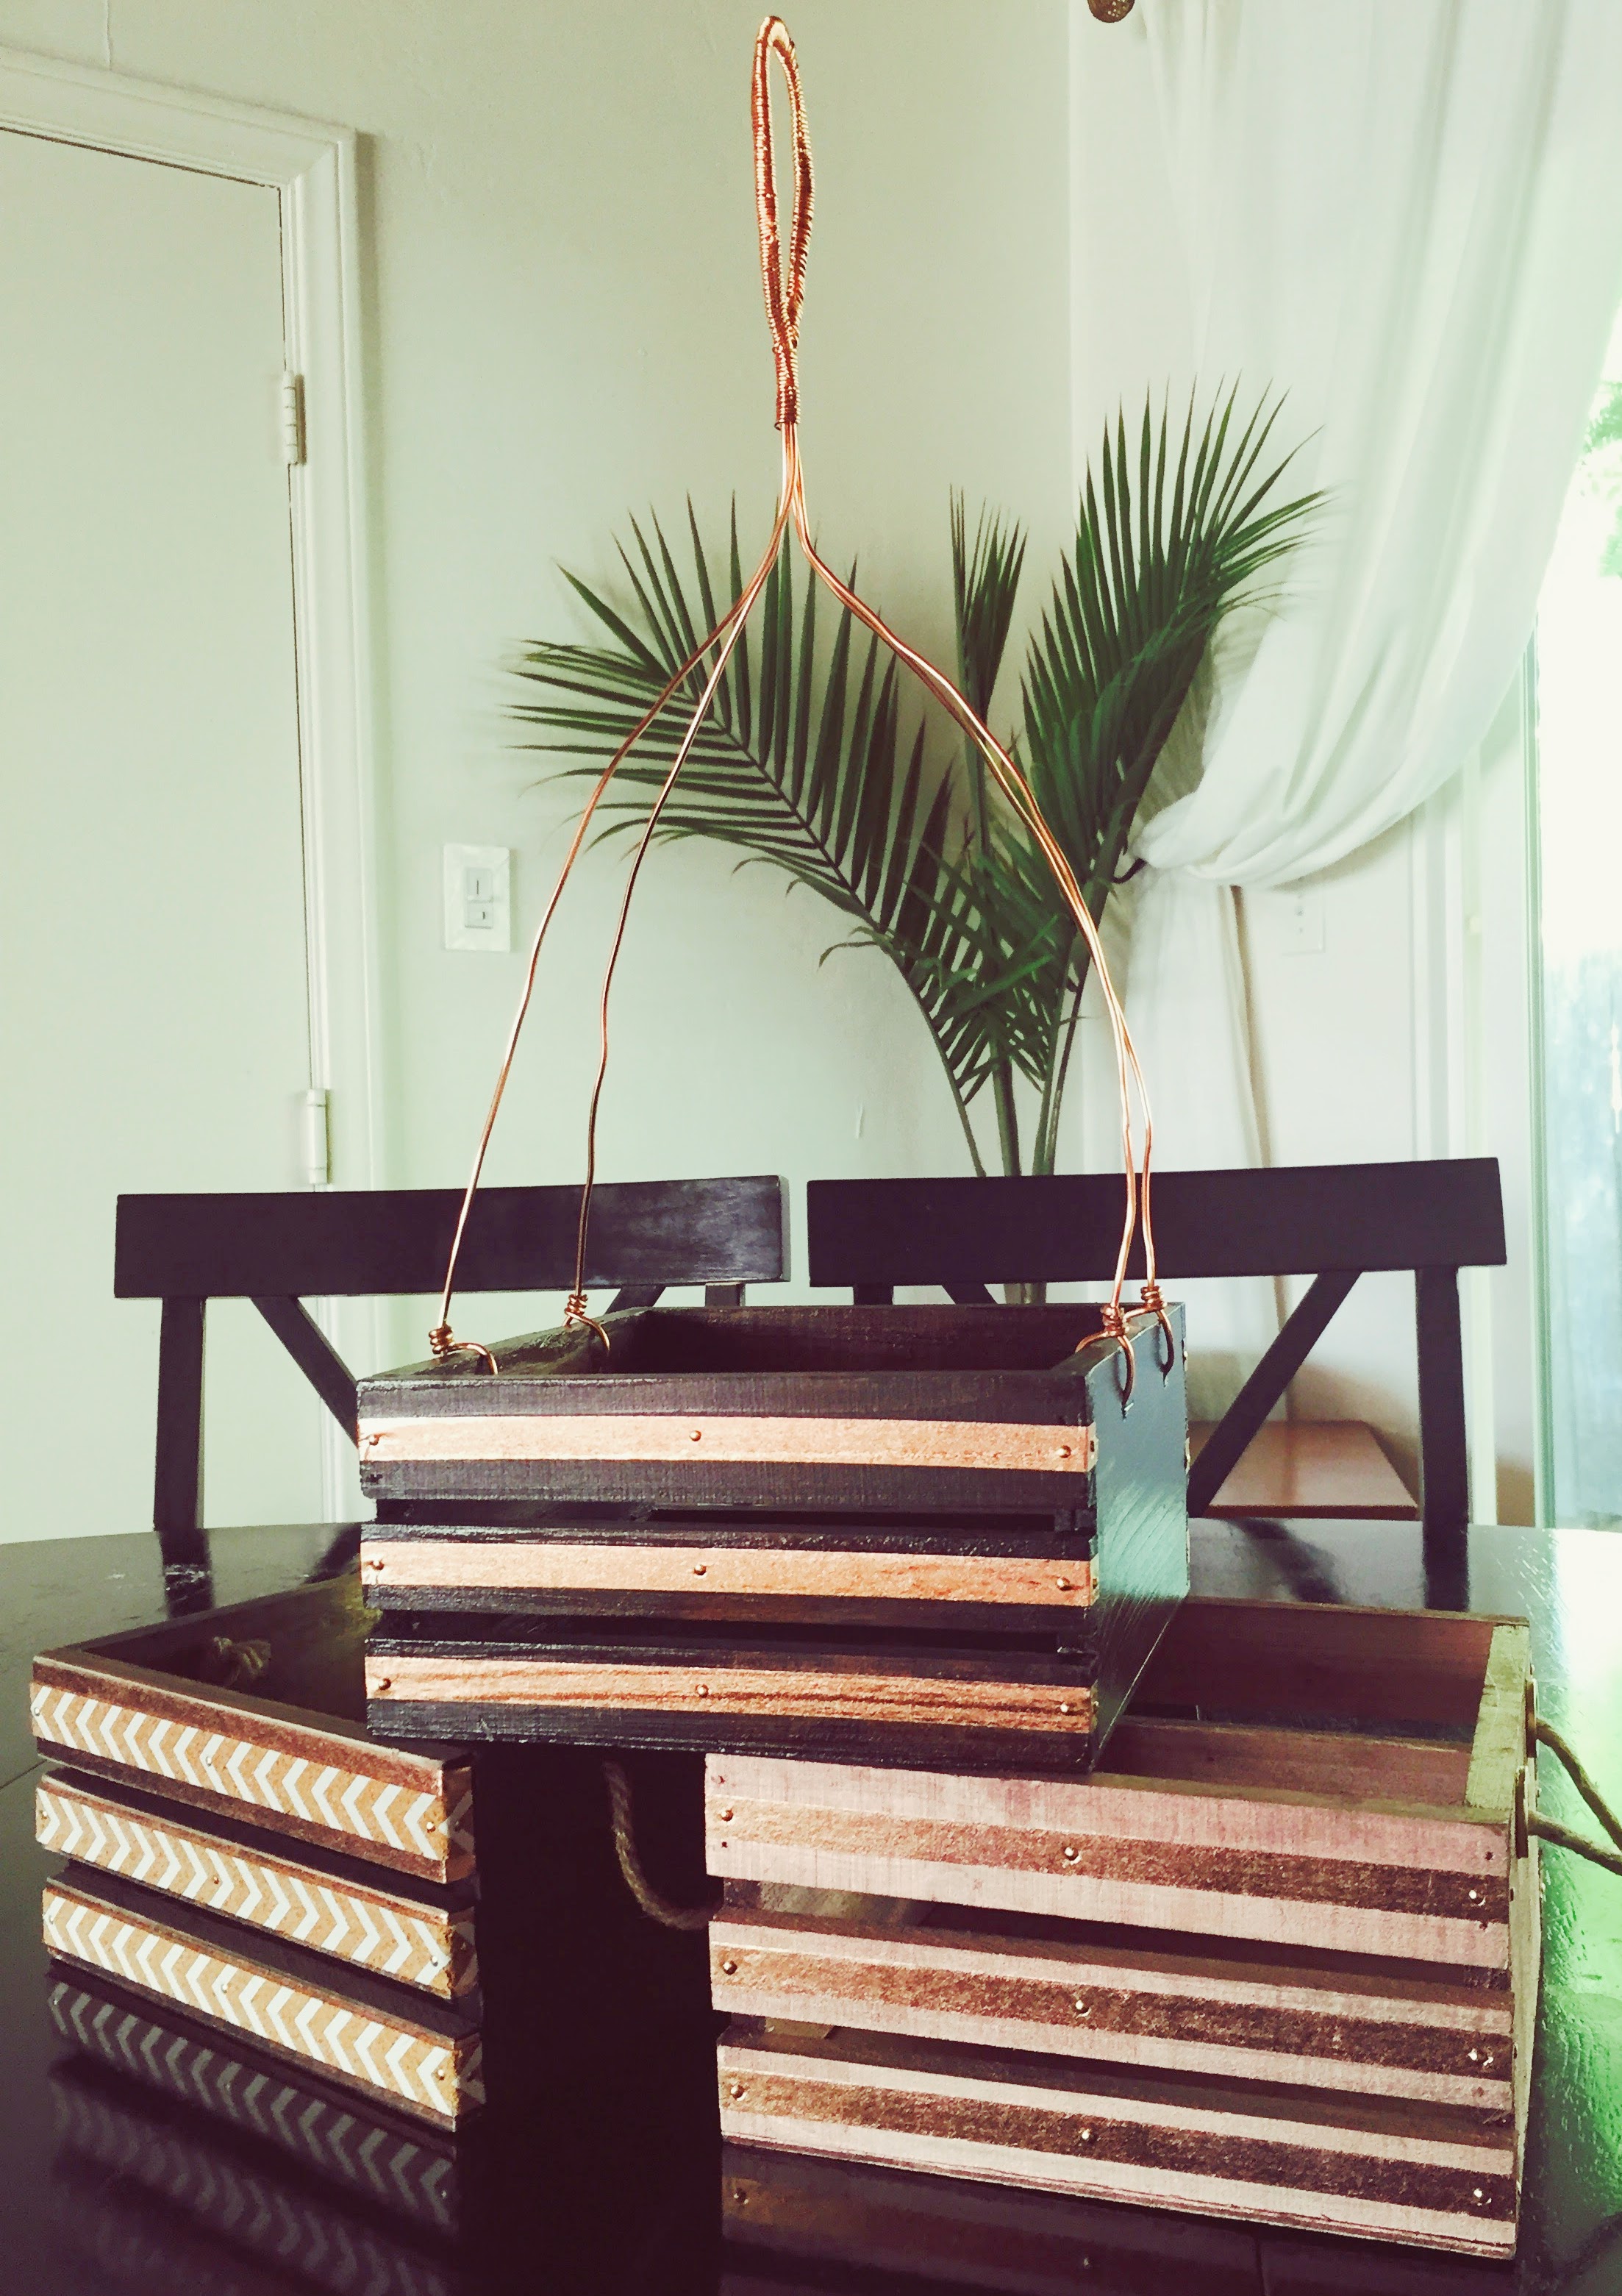
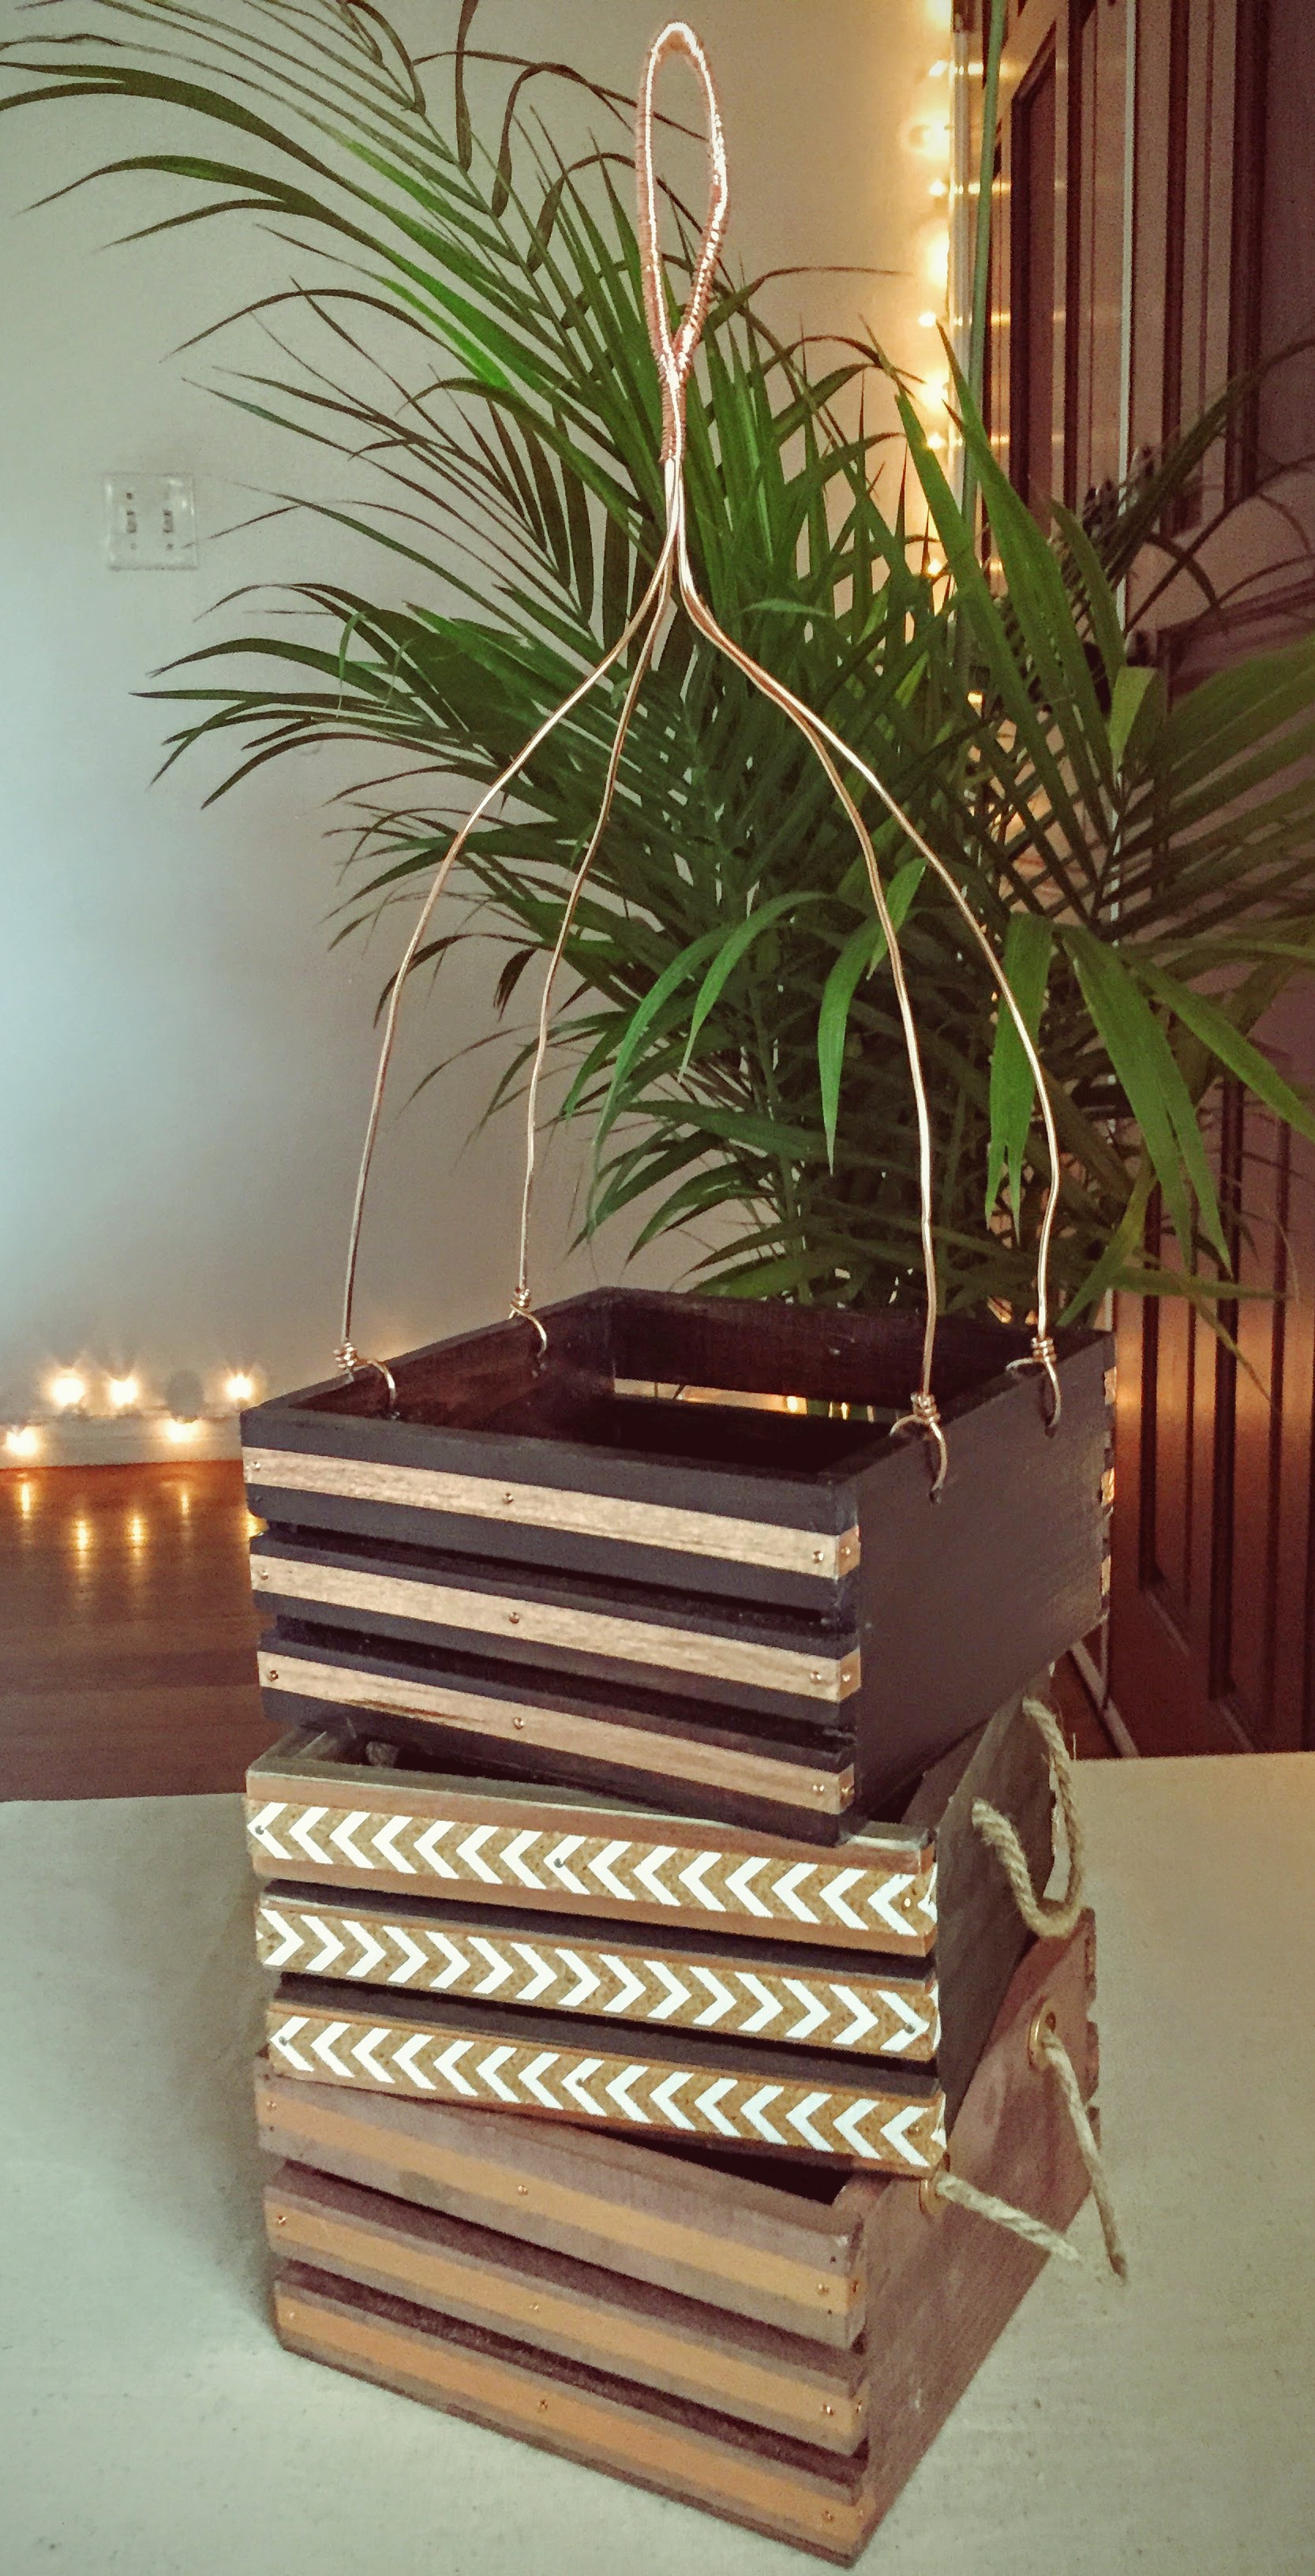
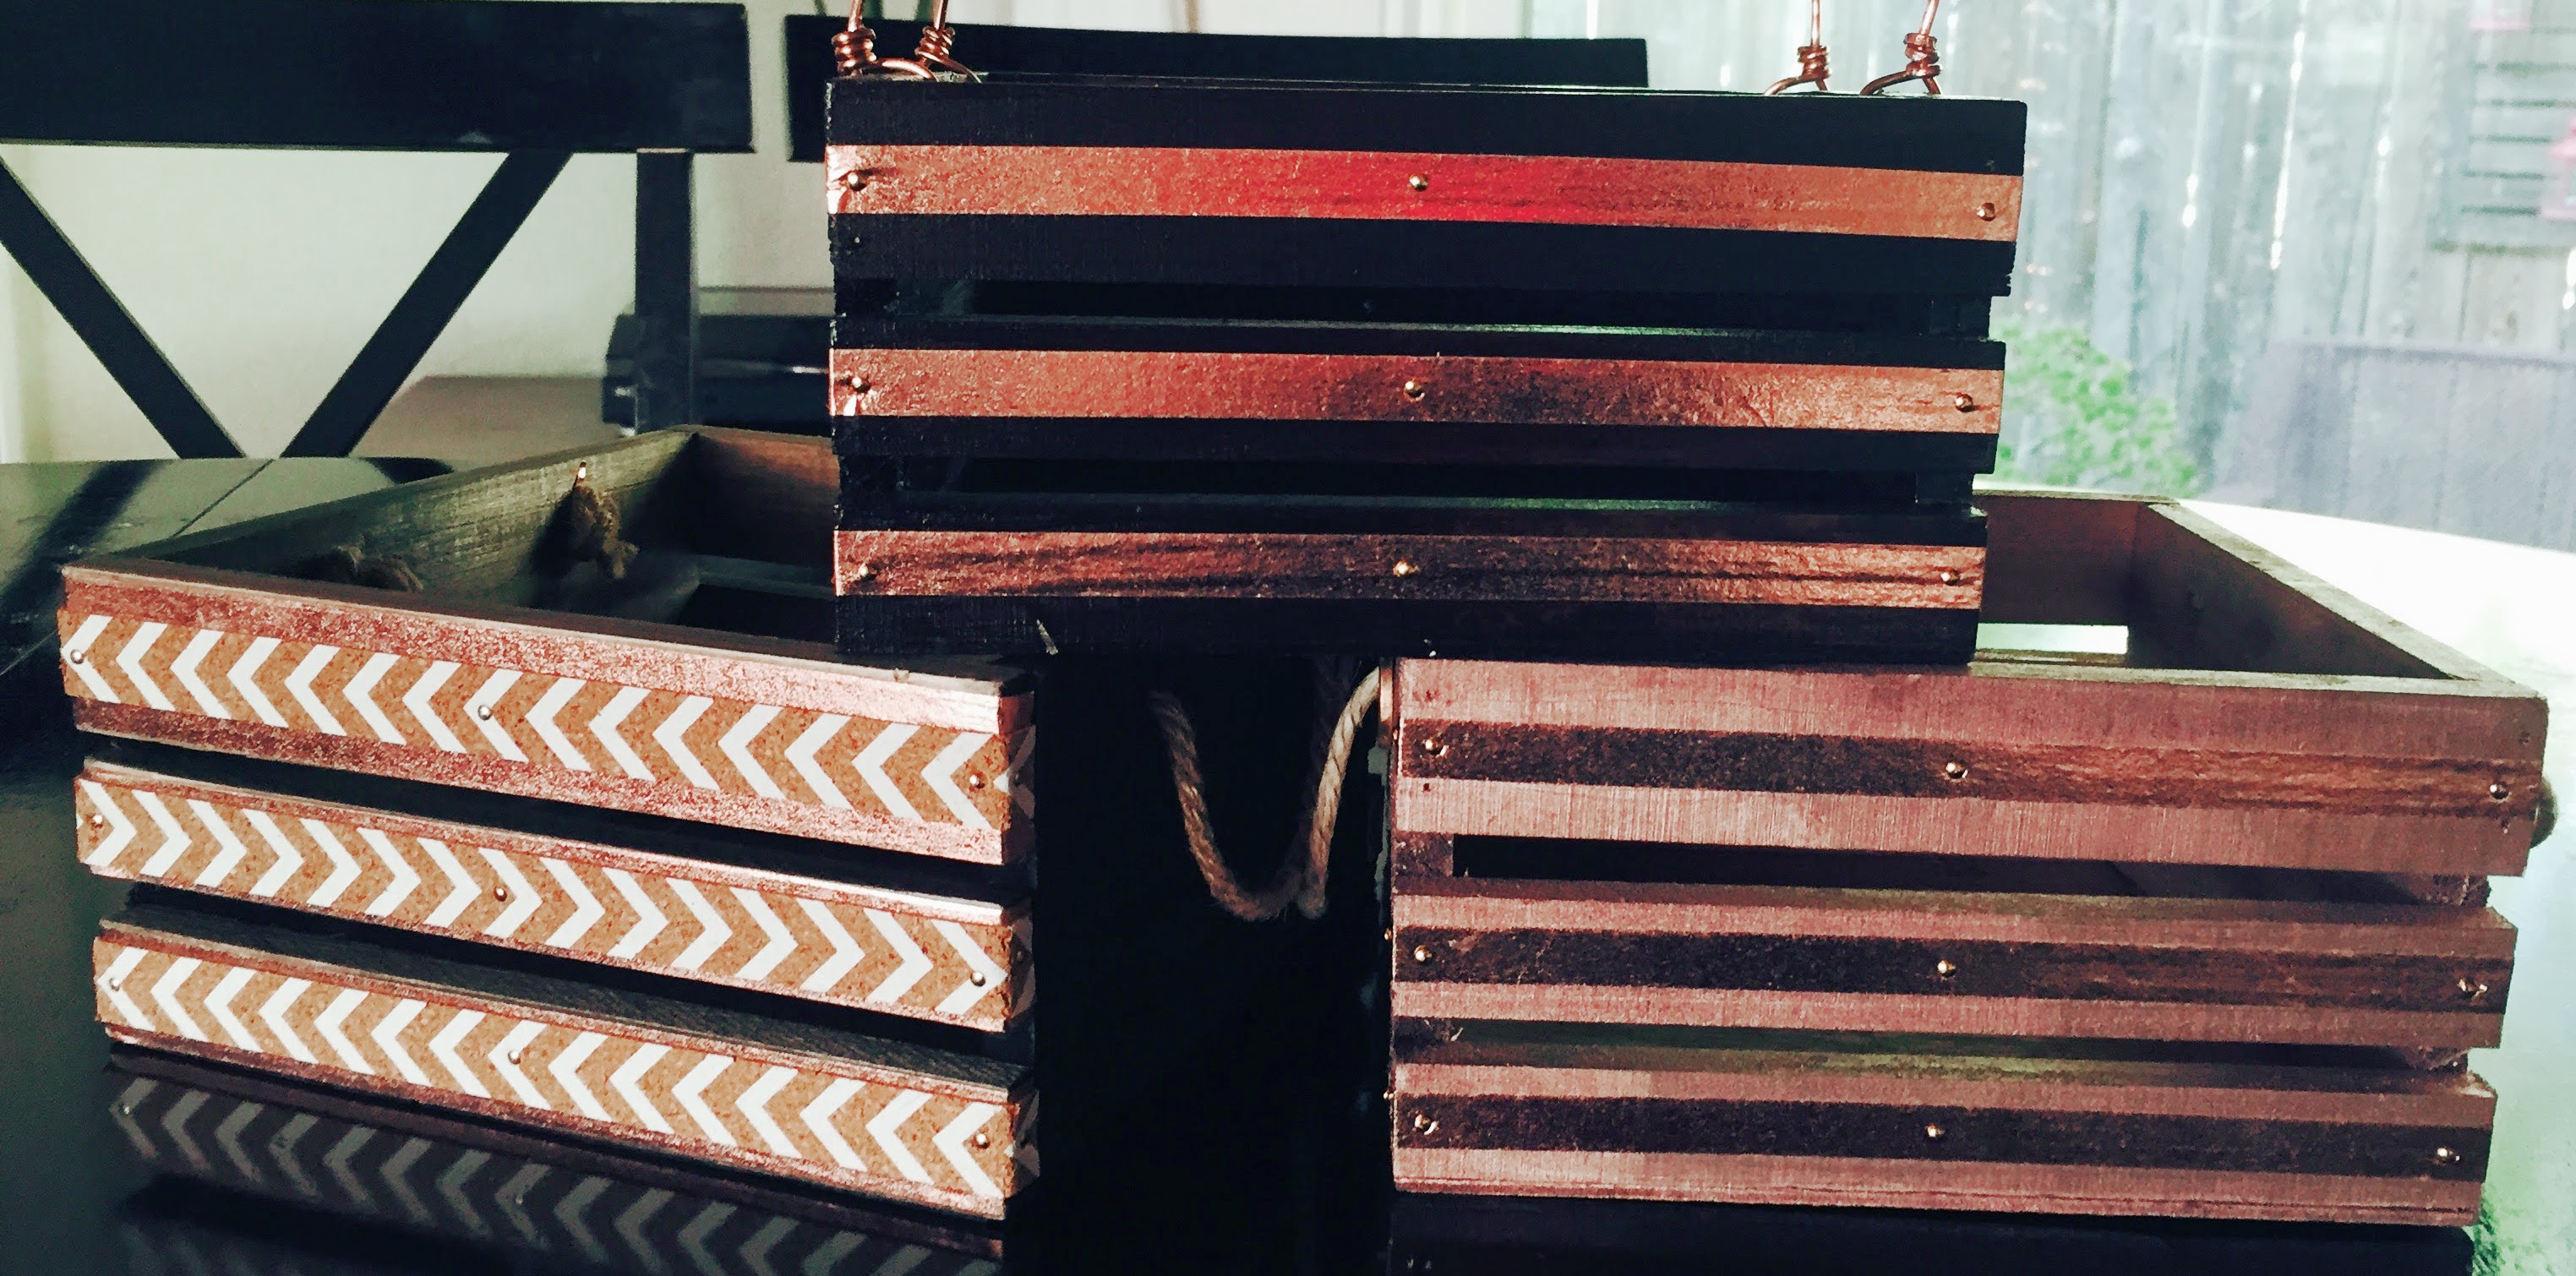
3 boxes. 3 levels of DIY. 3 adorable creations!
These boxes can be used for anything from plants and flowers to office supplies to gift baskets. Fill them with Autumn gifts if you’re going to someone’s house for Thanksgiving dinner or plant them with mini Amaryllis for a Pre- Christmas offering. Stuff them full of beautiful baubles for Christmas or give them as a New Year’s present filled with candles and mini bottles of wine or champagne!
The options are limitless!
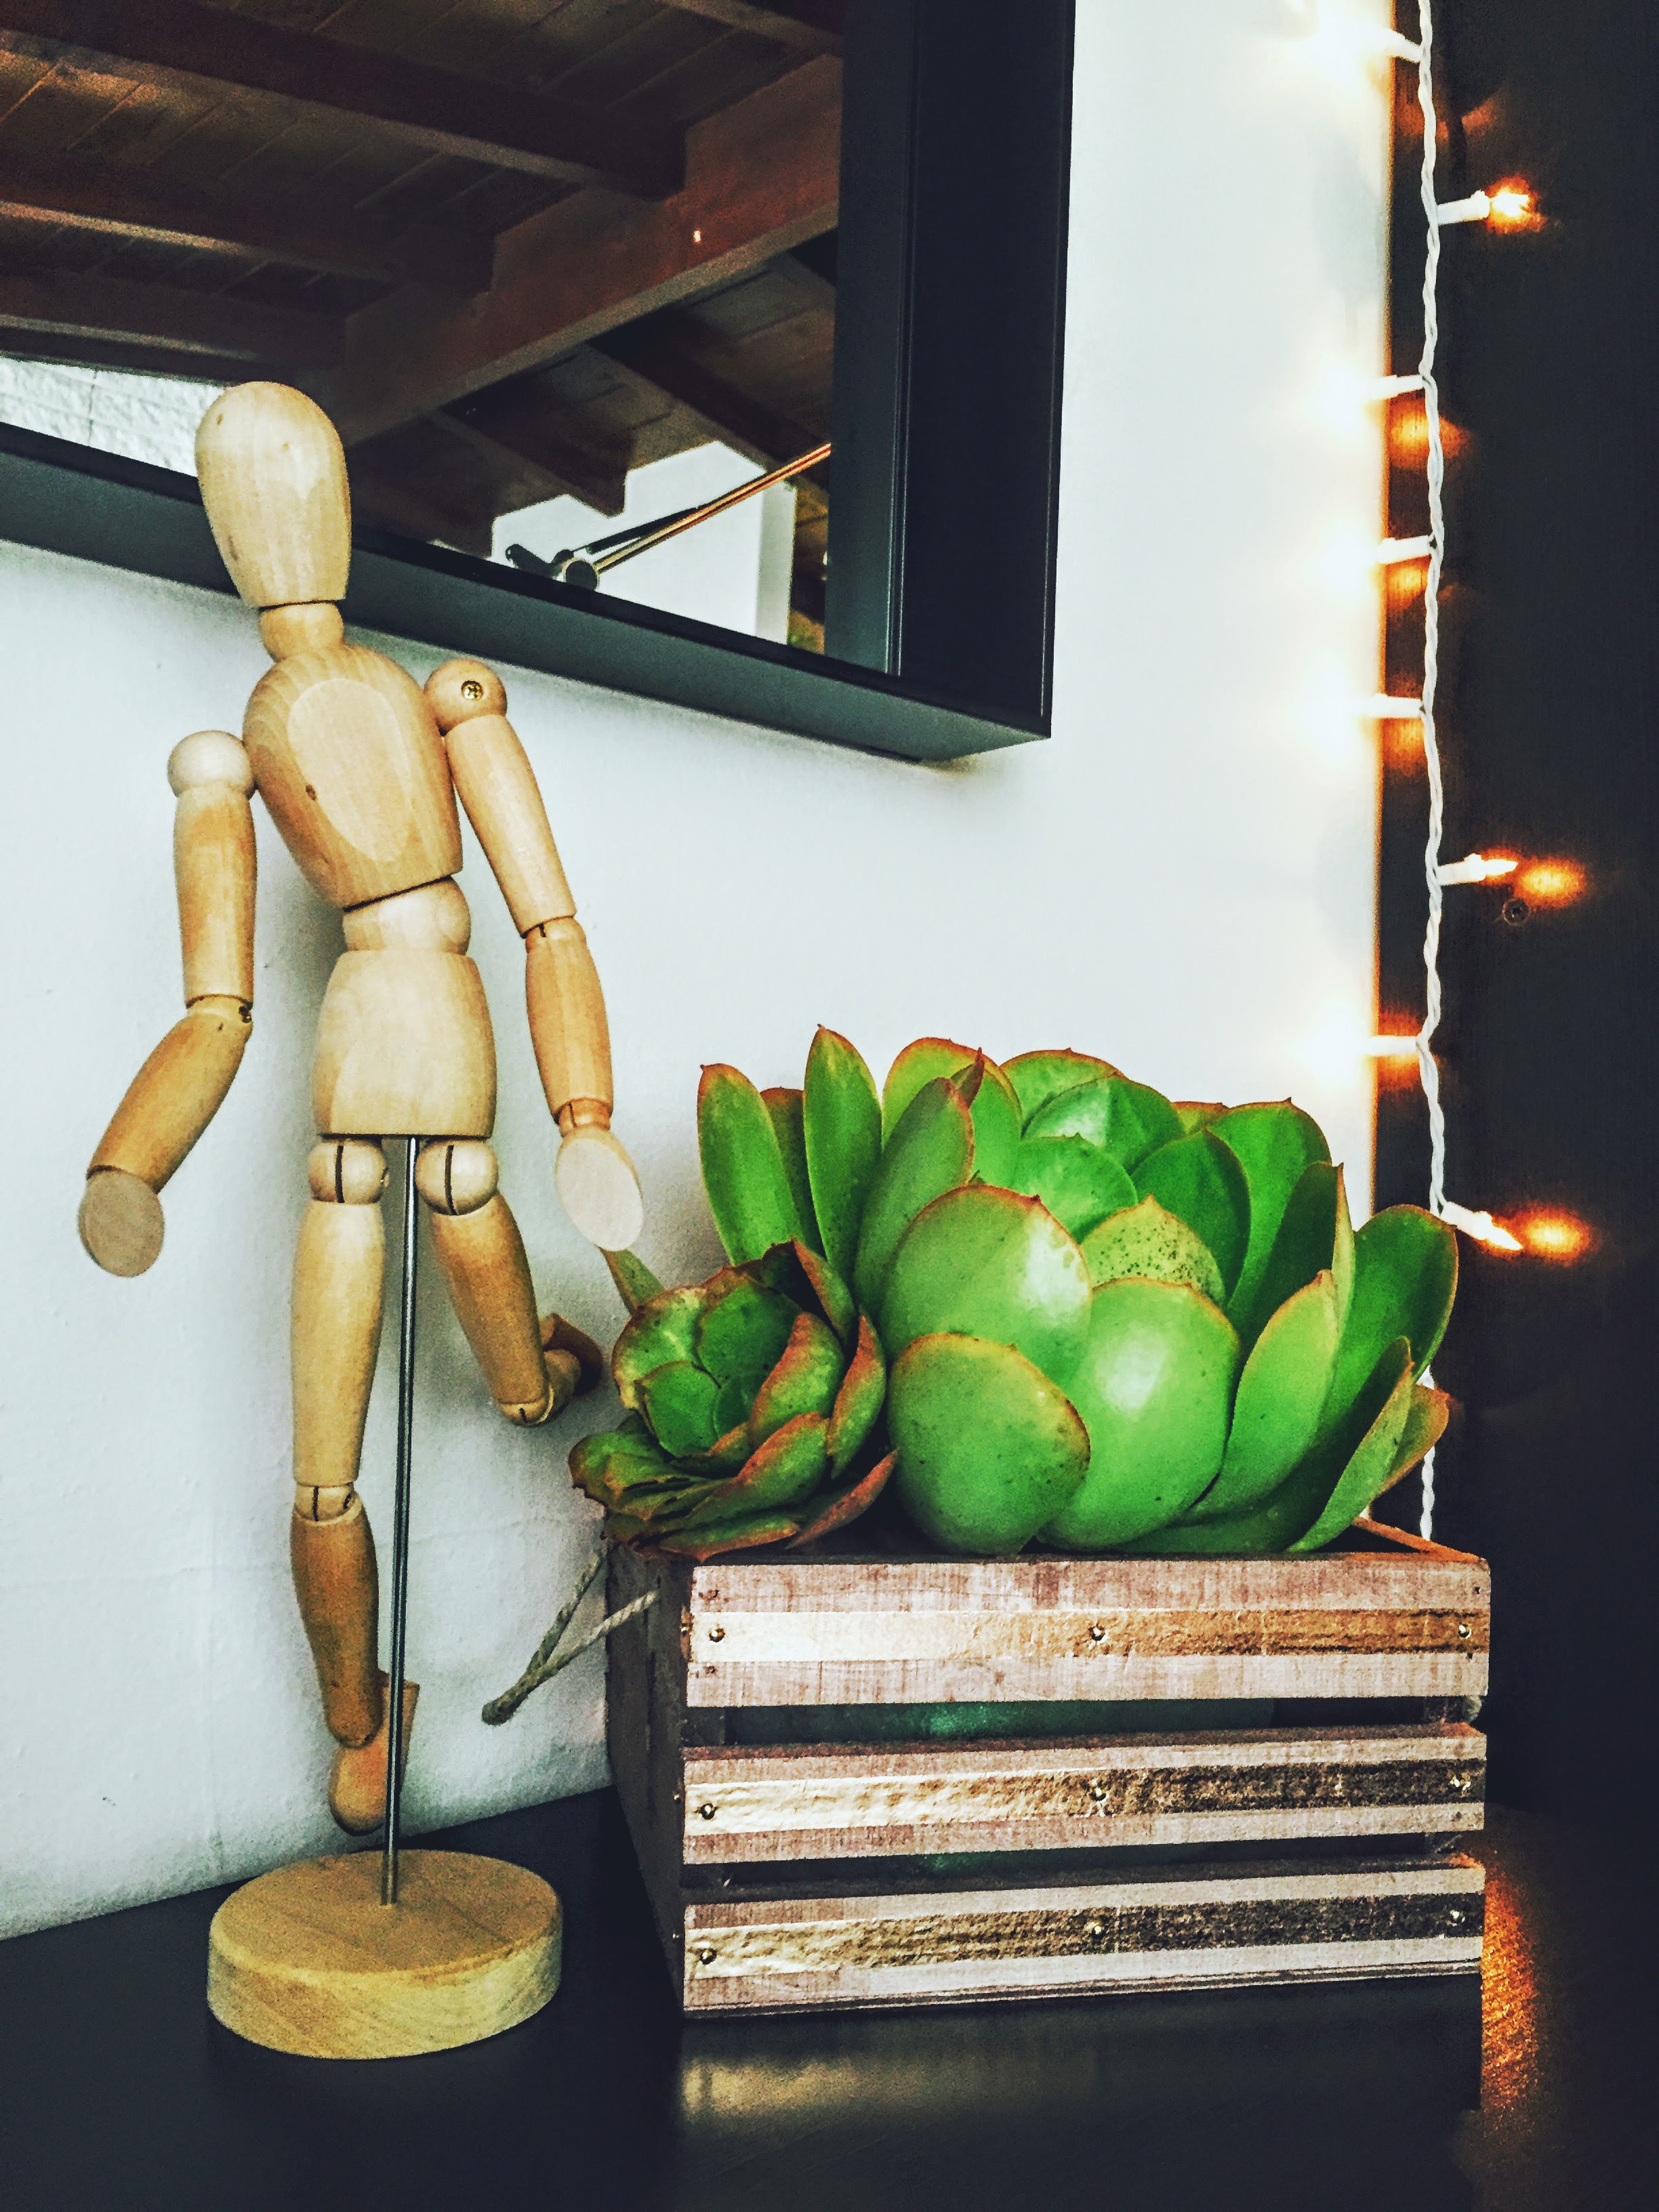
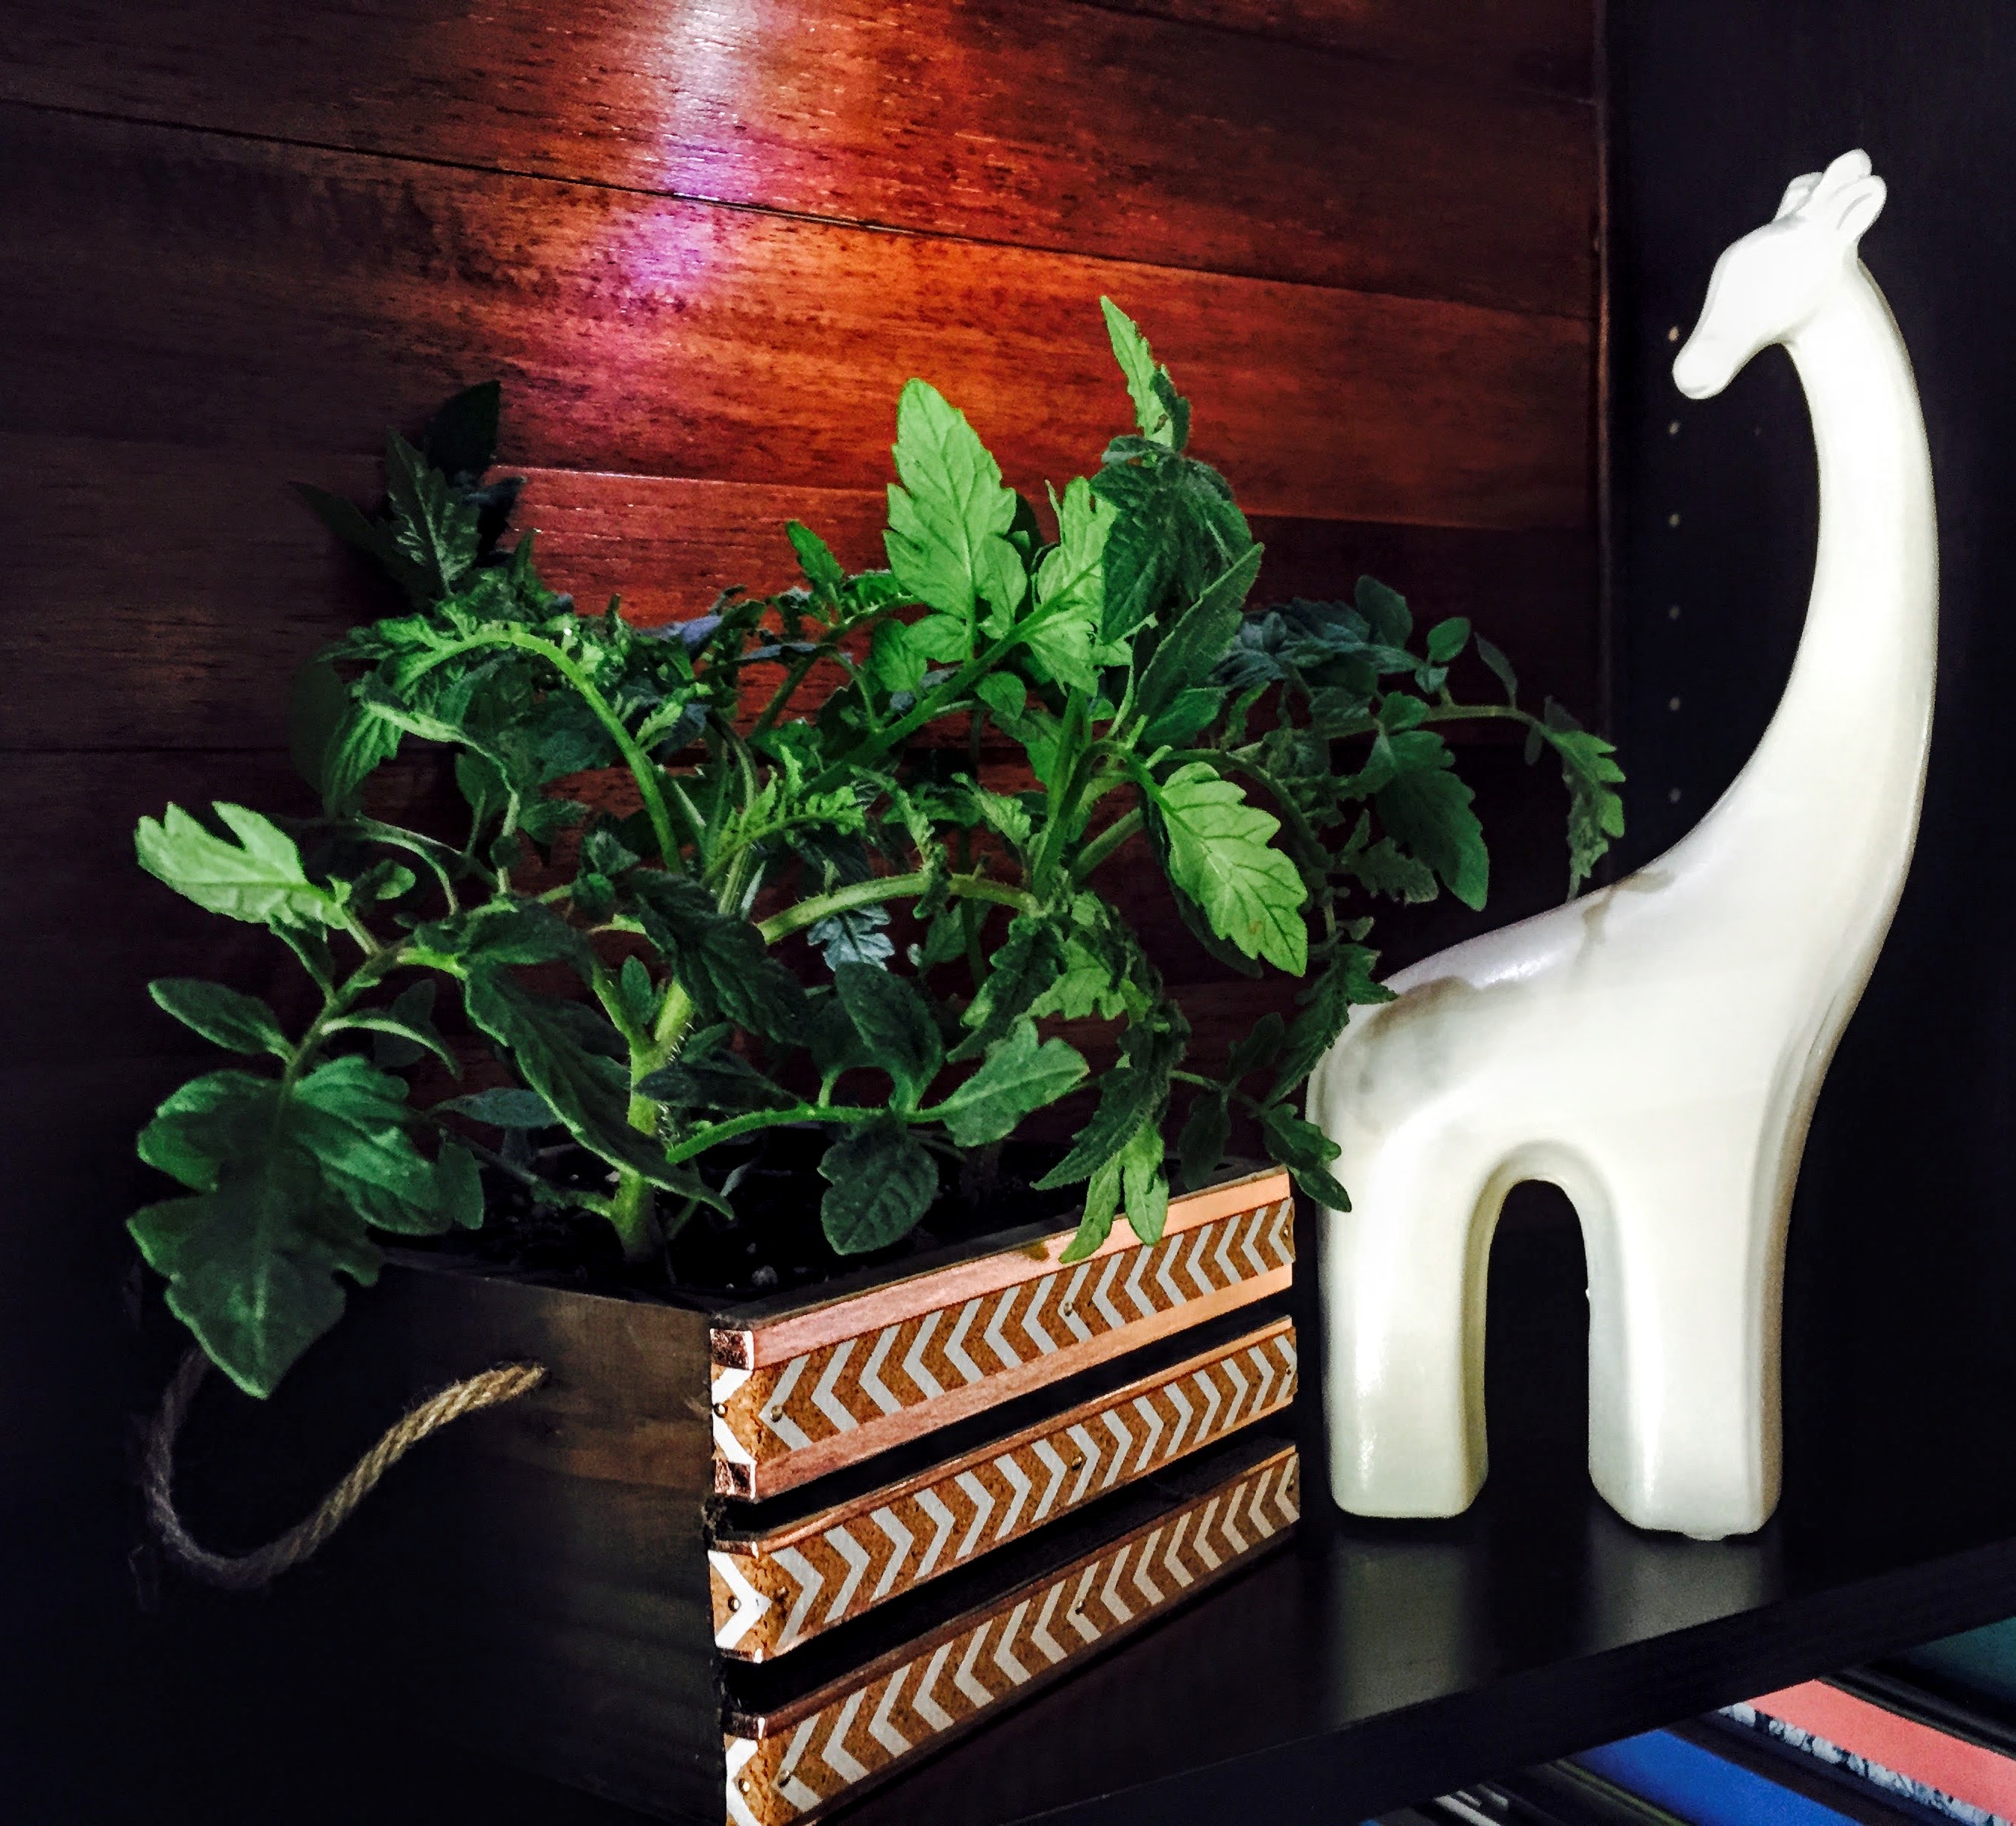
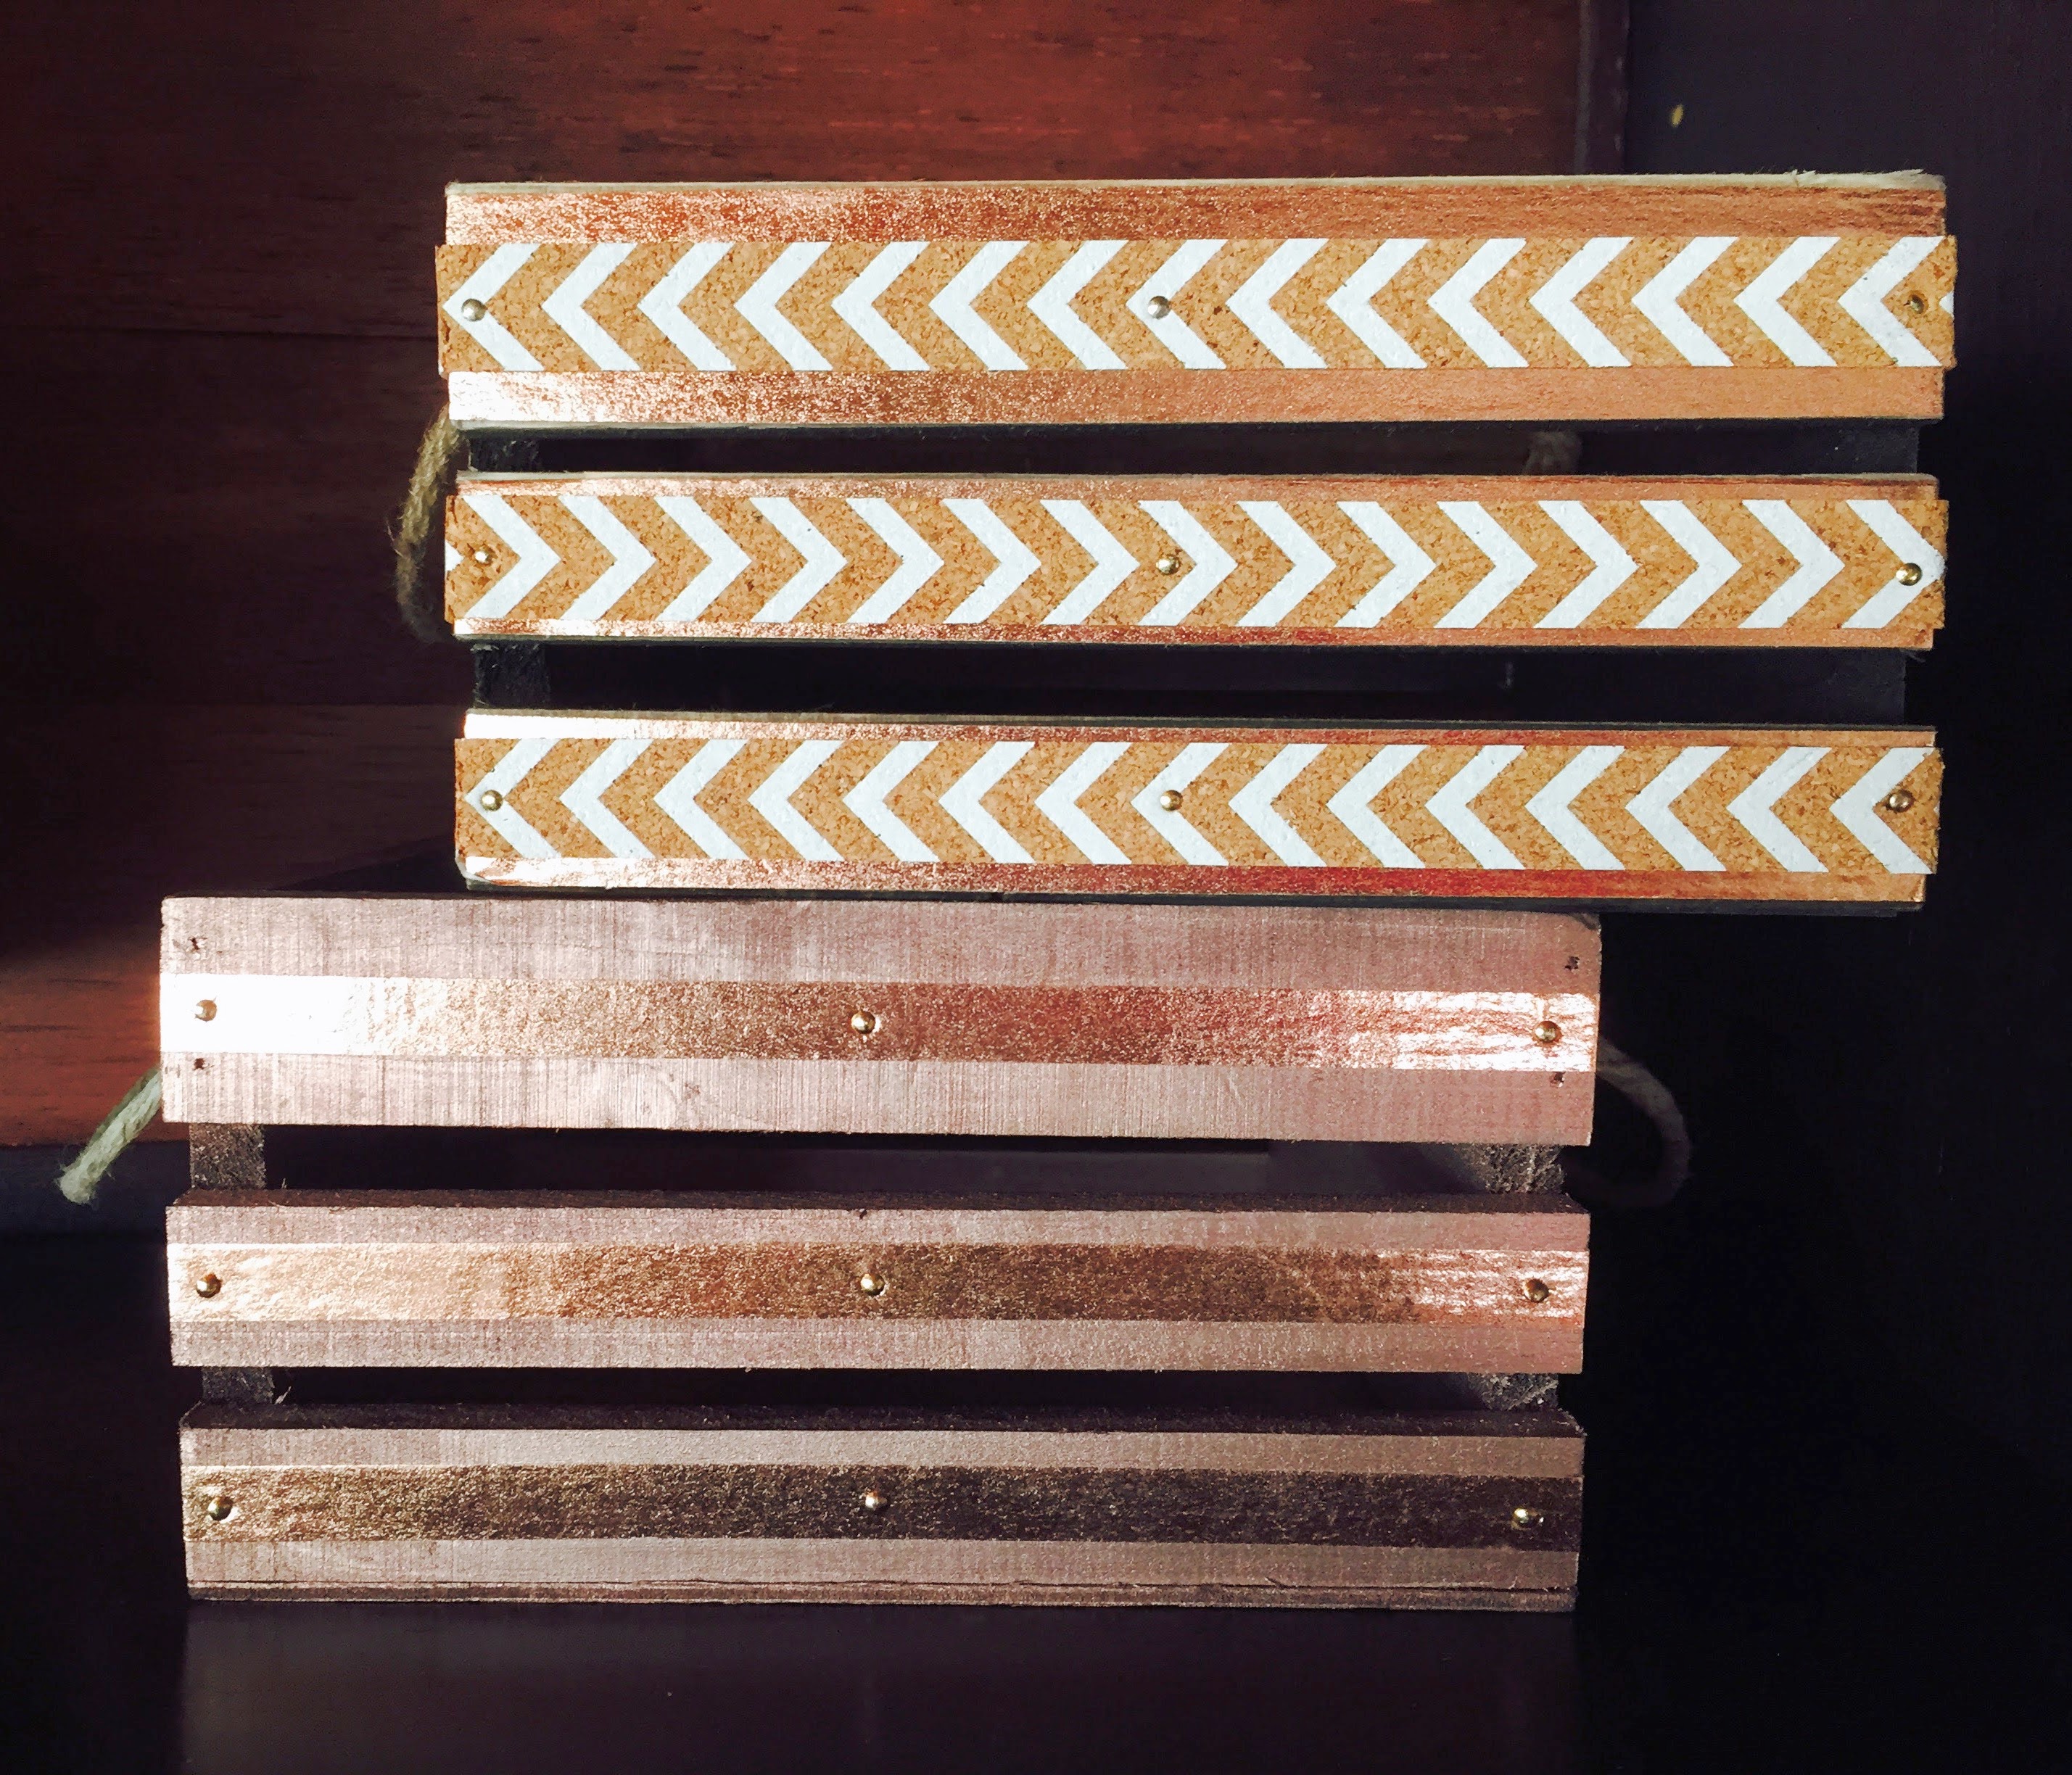
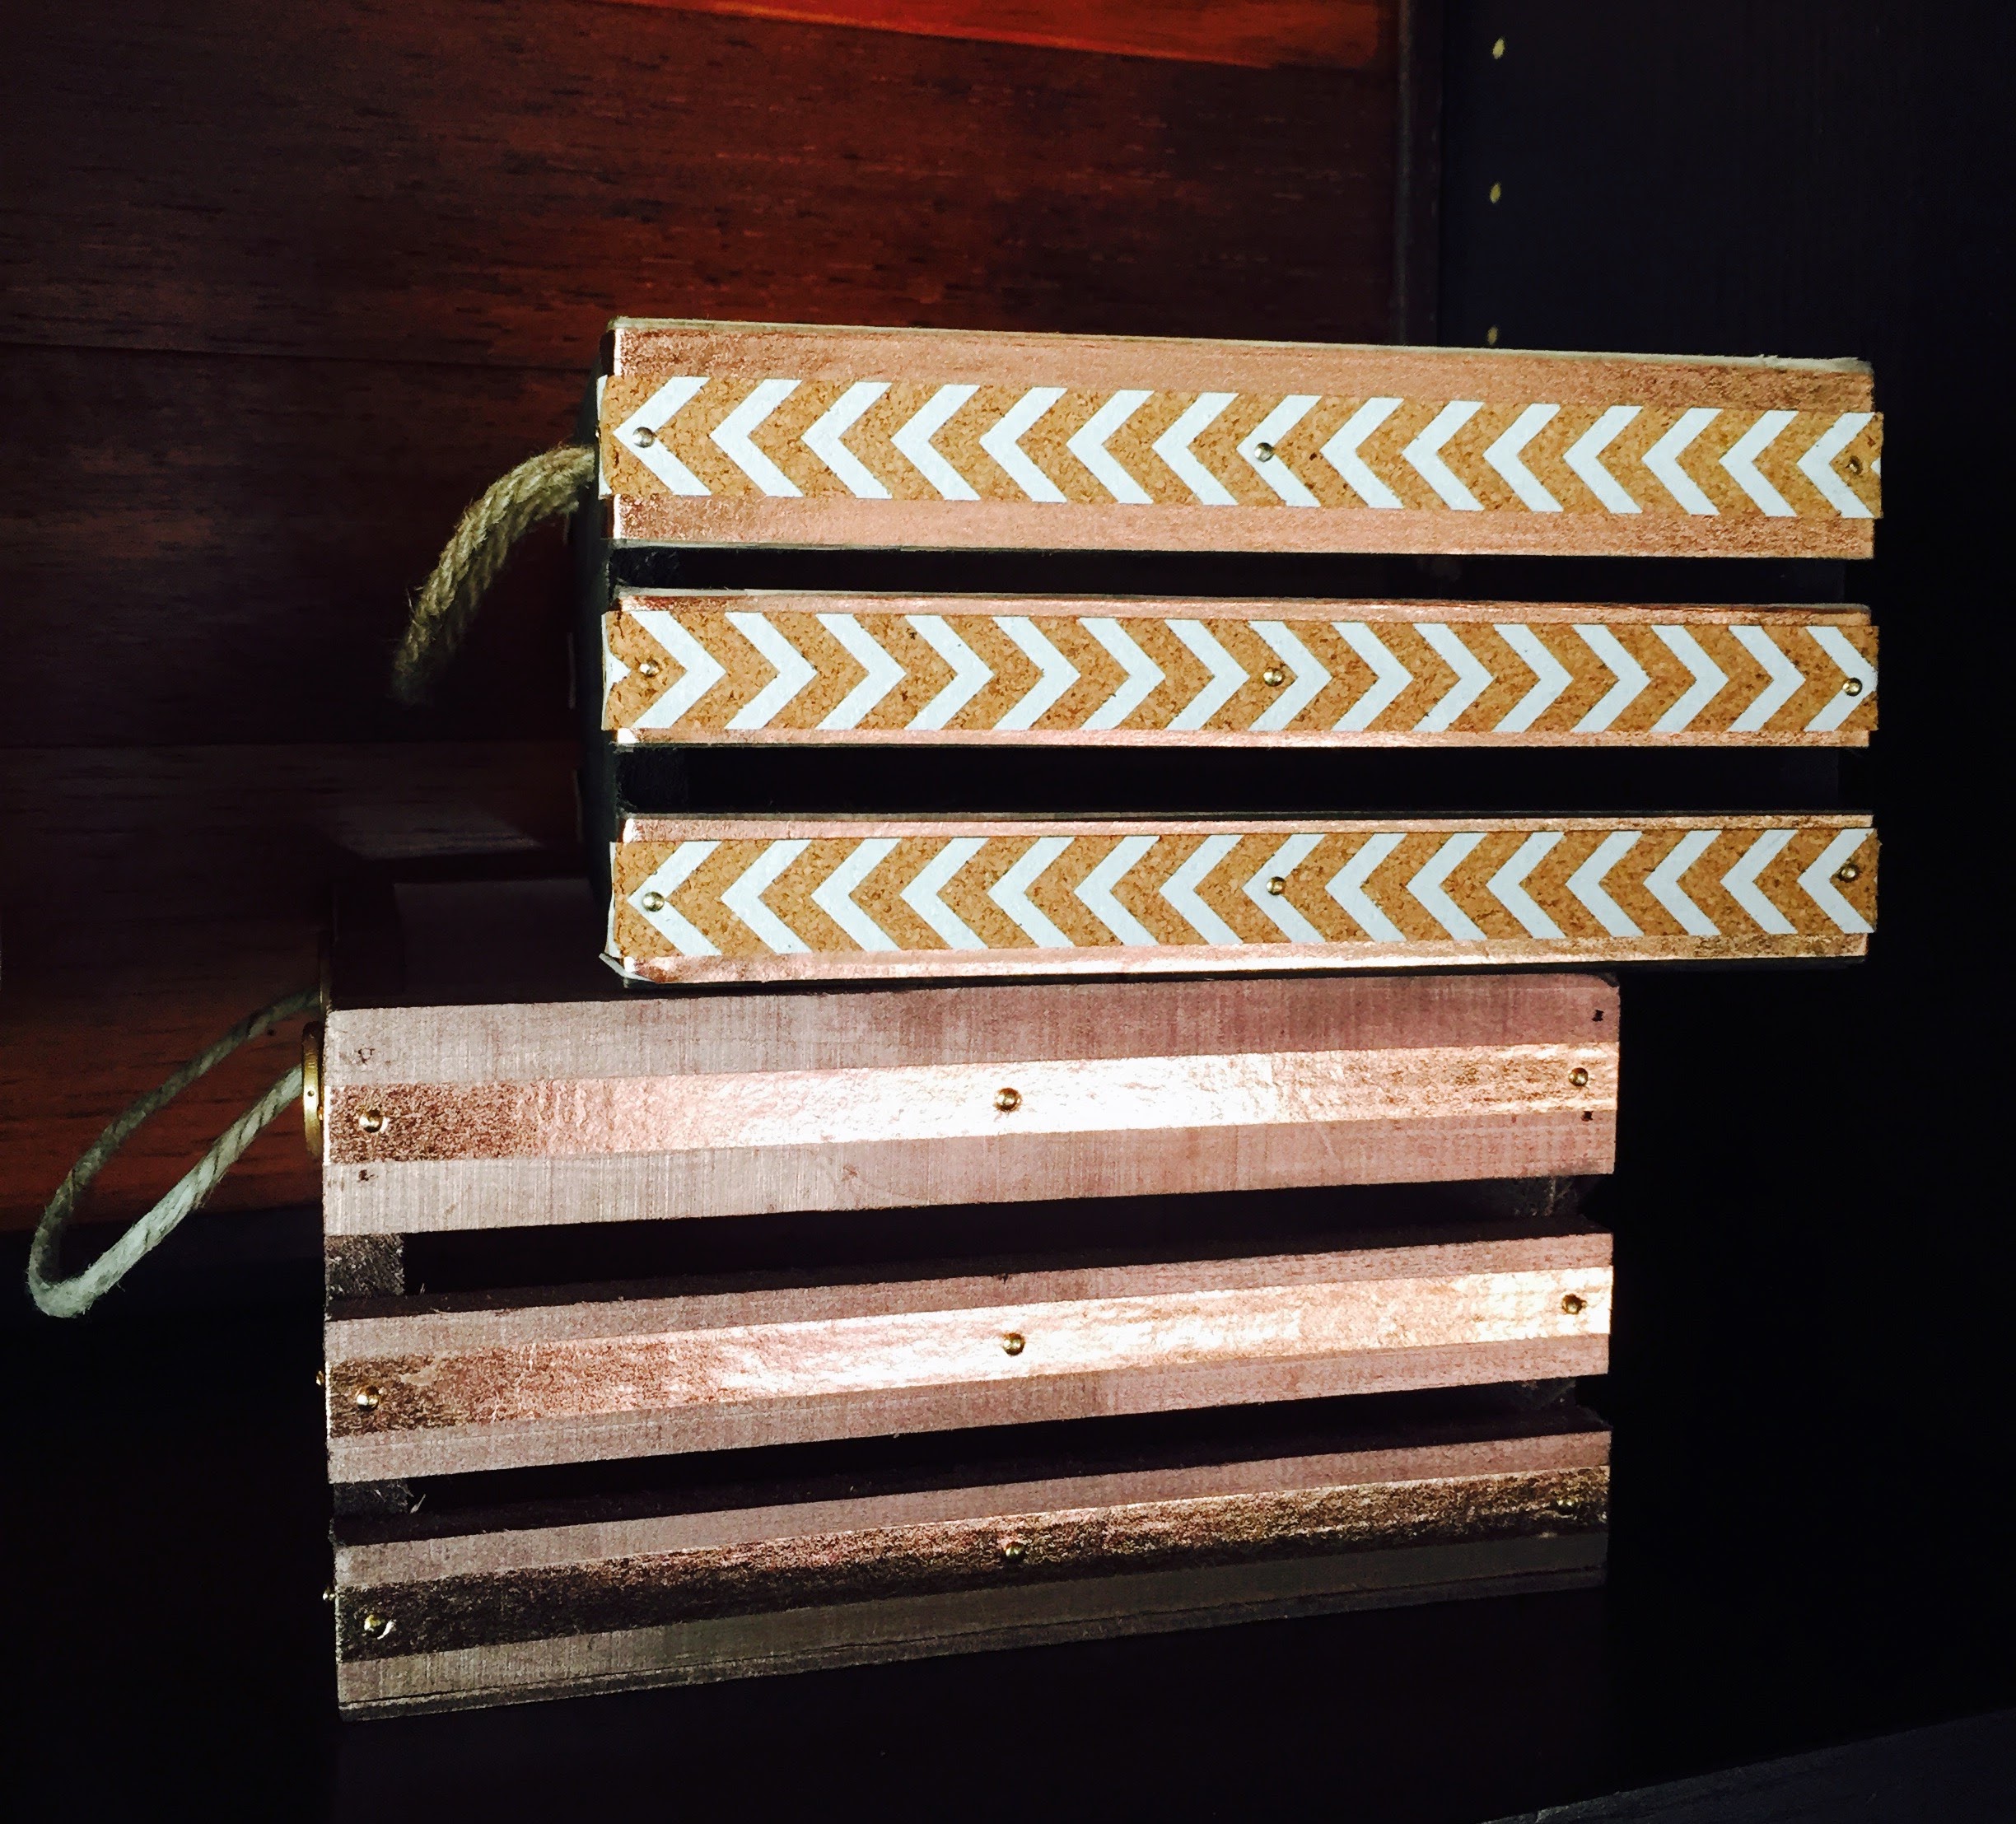
Planter #1: In the first and most simple version, you will leave the original rope on the sides and simply add washi tape and mini nails:
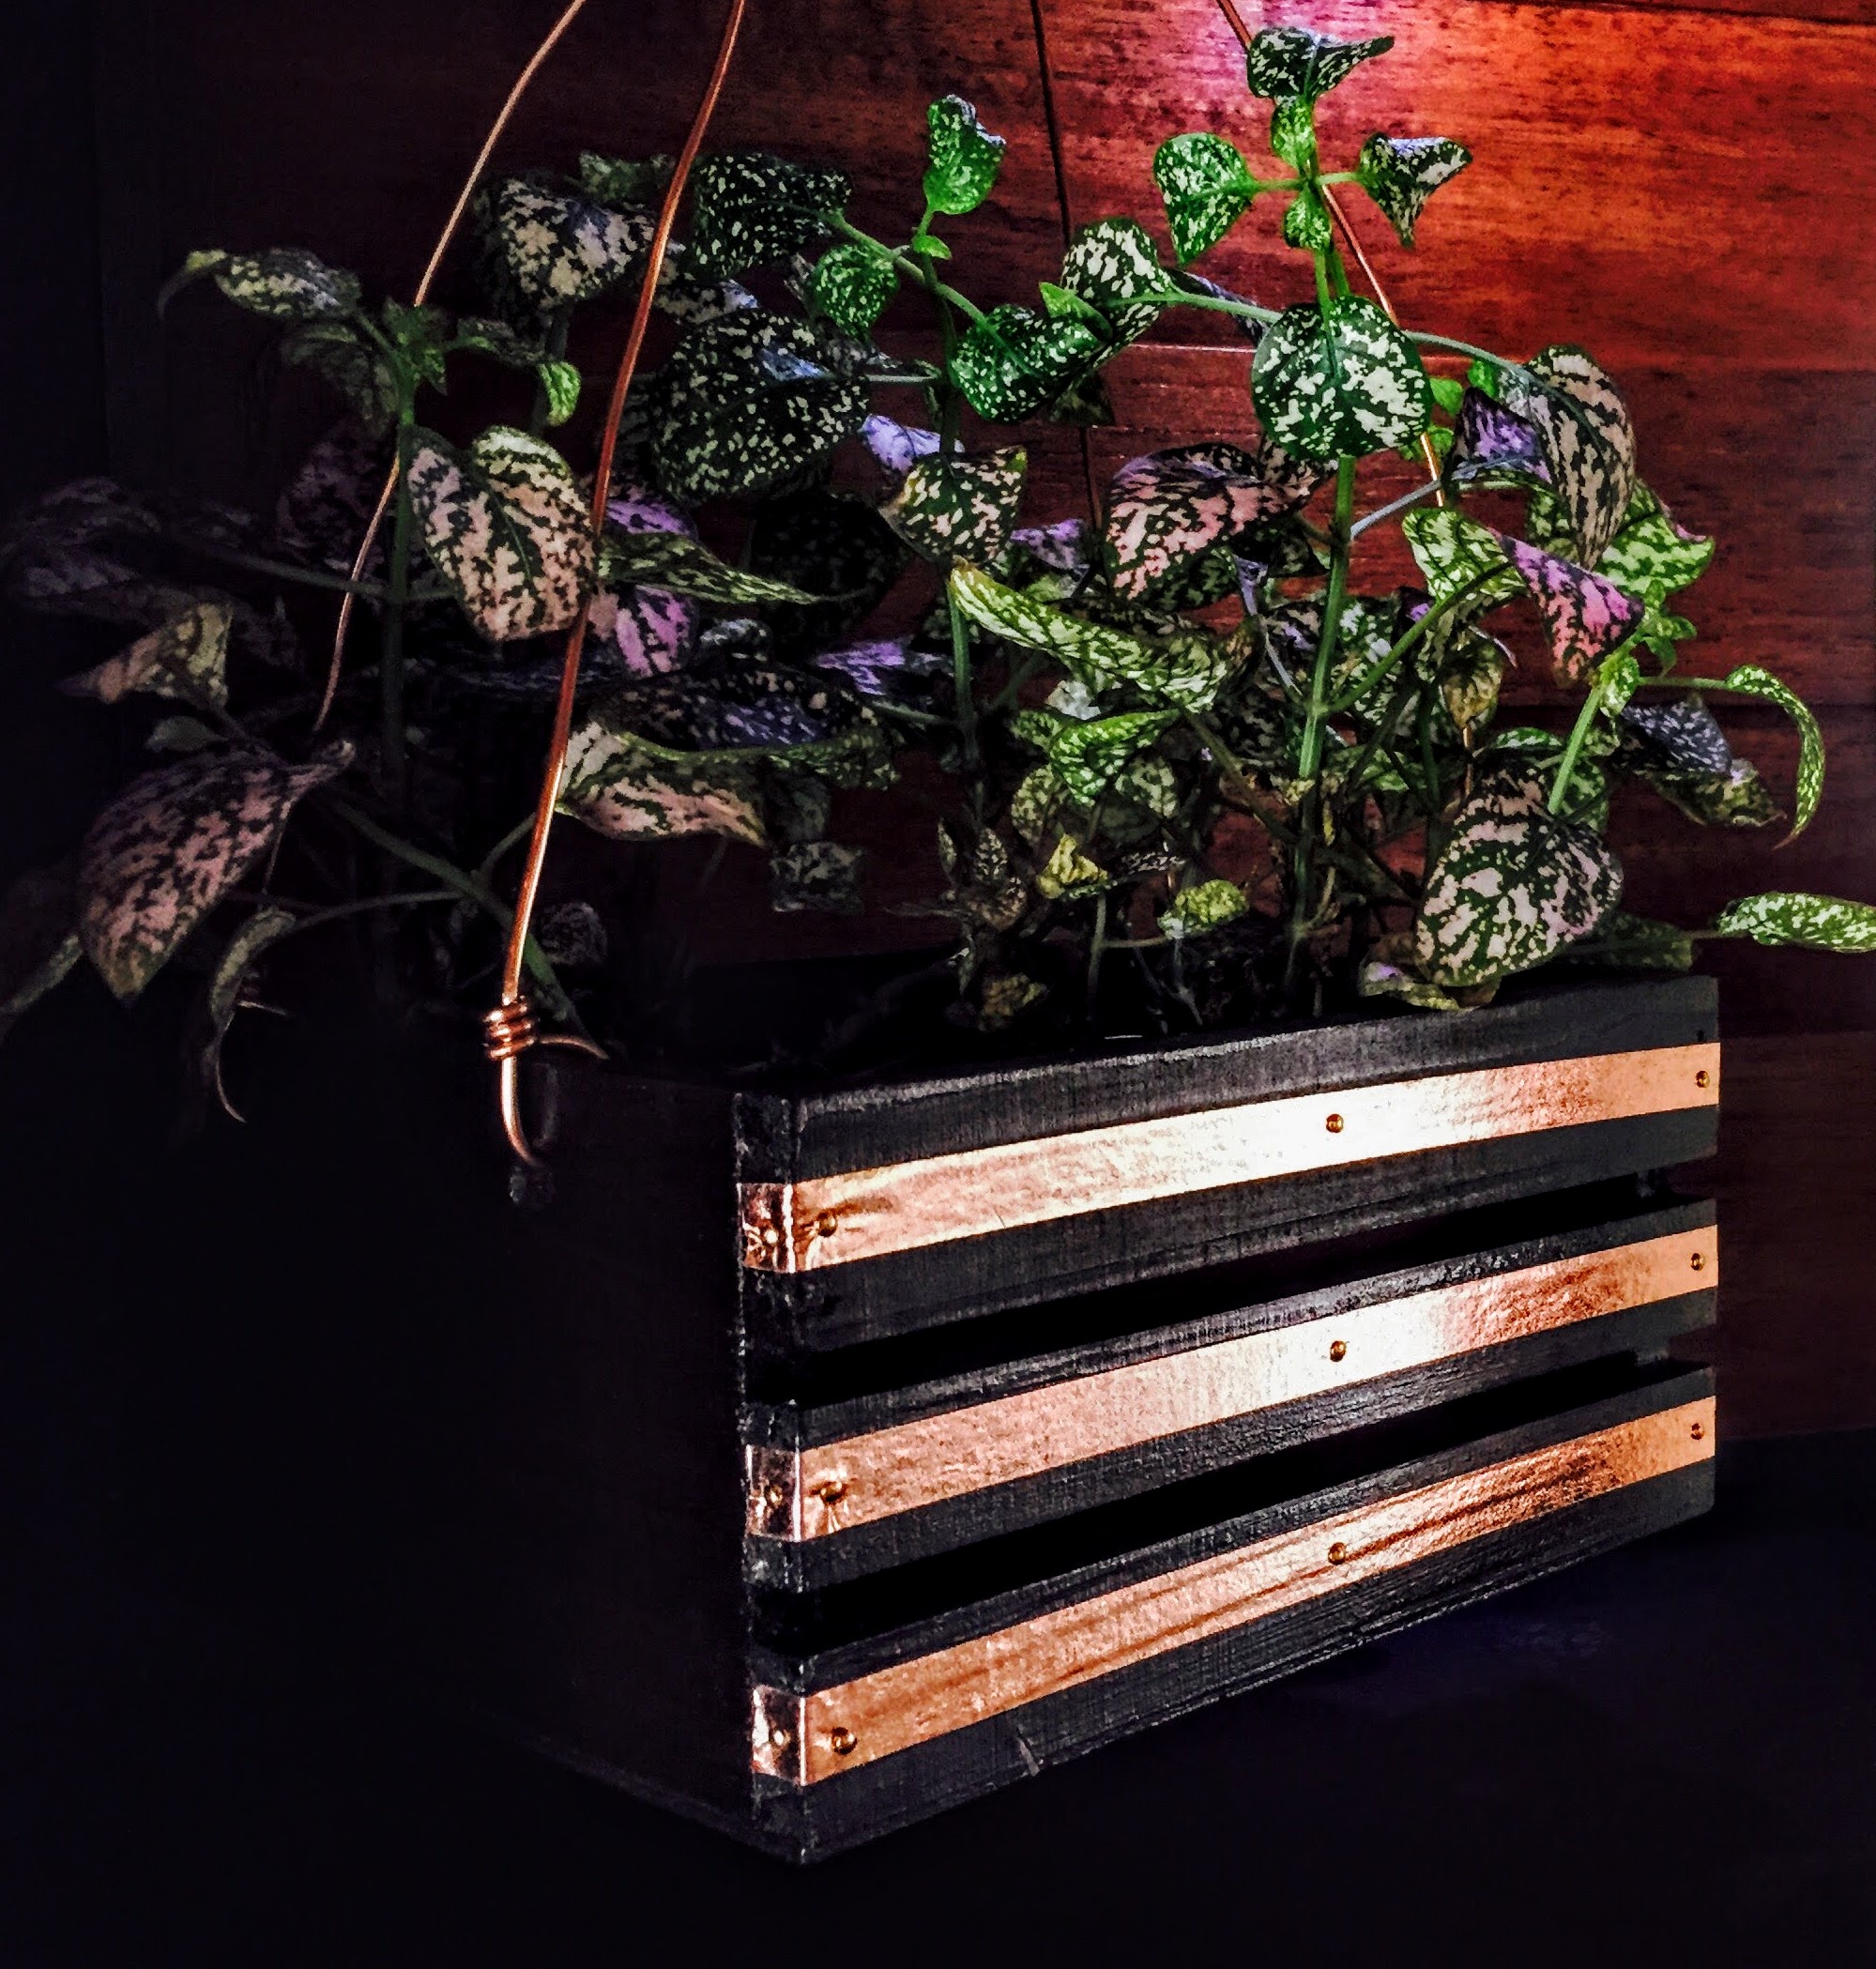
Planter #2: In the second variation, you will remove the original rope from the sides, spray paint, add washi tape and mini nails, and then, add new rope and rings to the sides:
Planter #3: The third, you will stain, lacquer, washi tape and nail, and then, after removing the original rope from the sides, you will create a copper wire hanger:
The first one takes minutes, the second a couple of hours, and the third has to be done in stages.
Here is a list of what you will need, broken down by planters:
PLANTER #1:
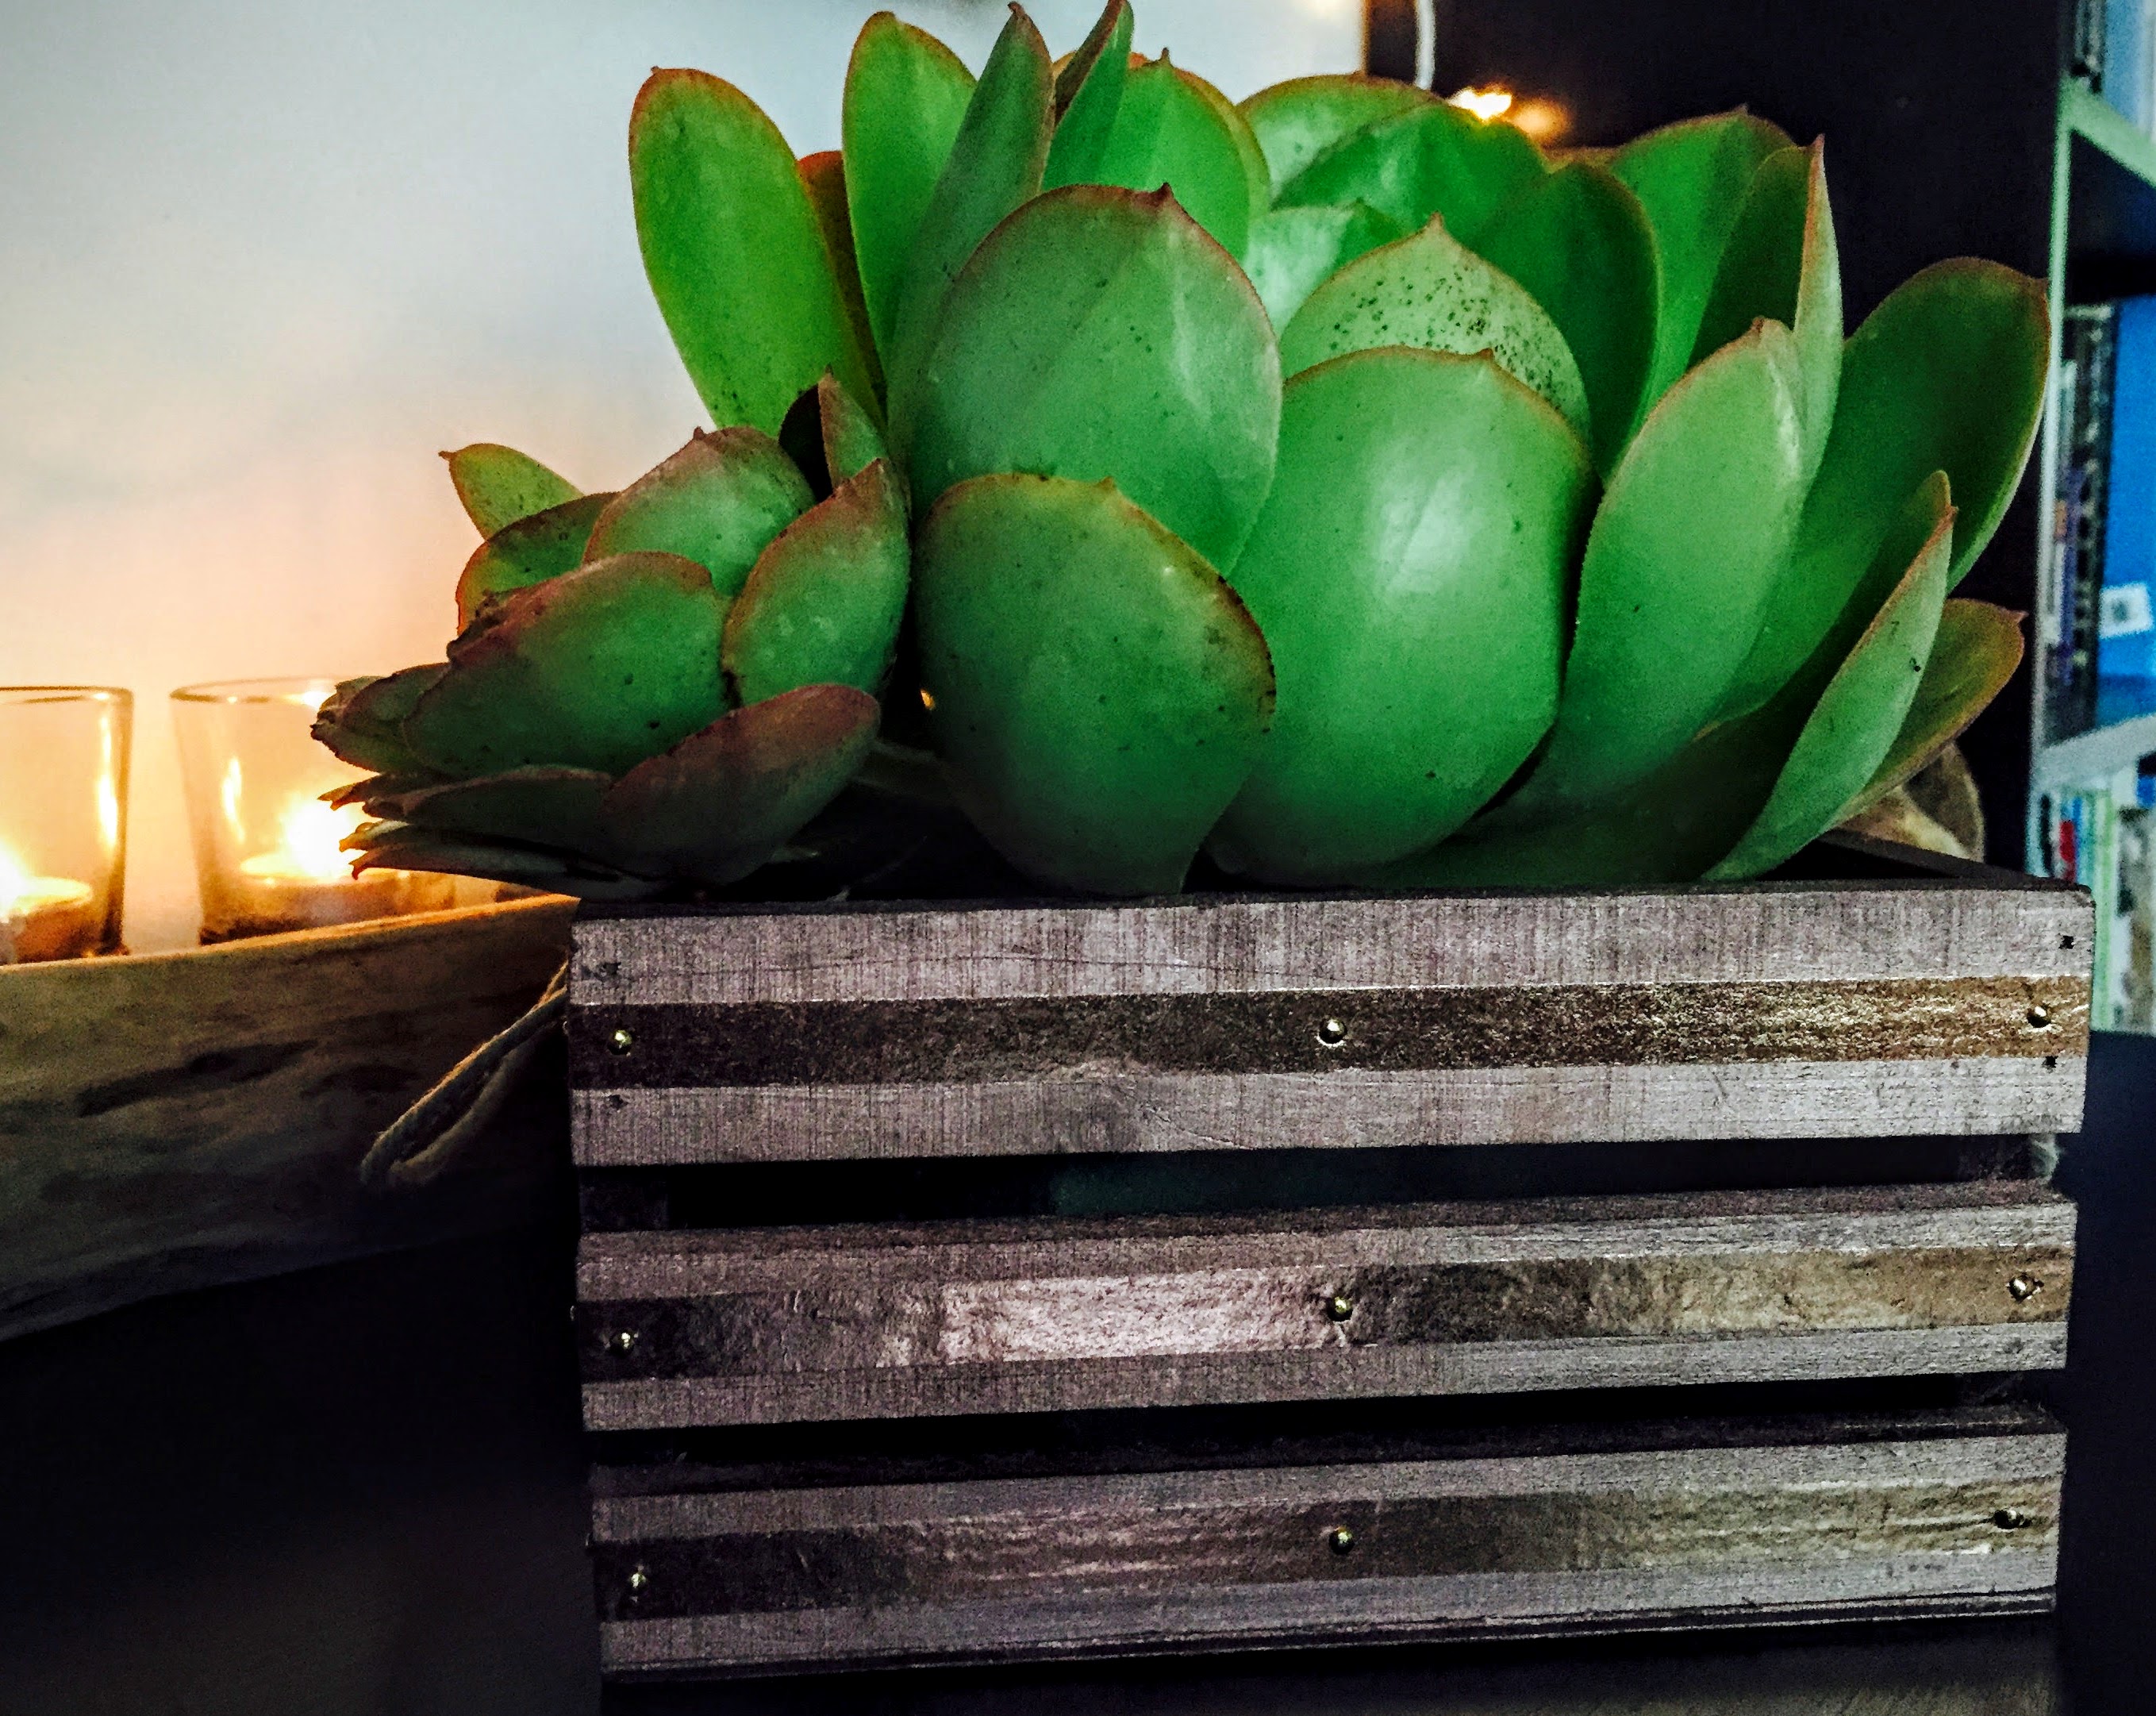
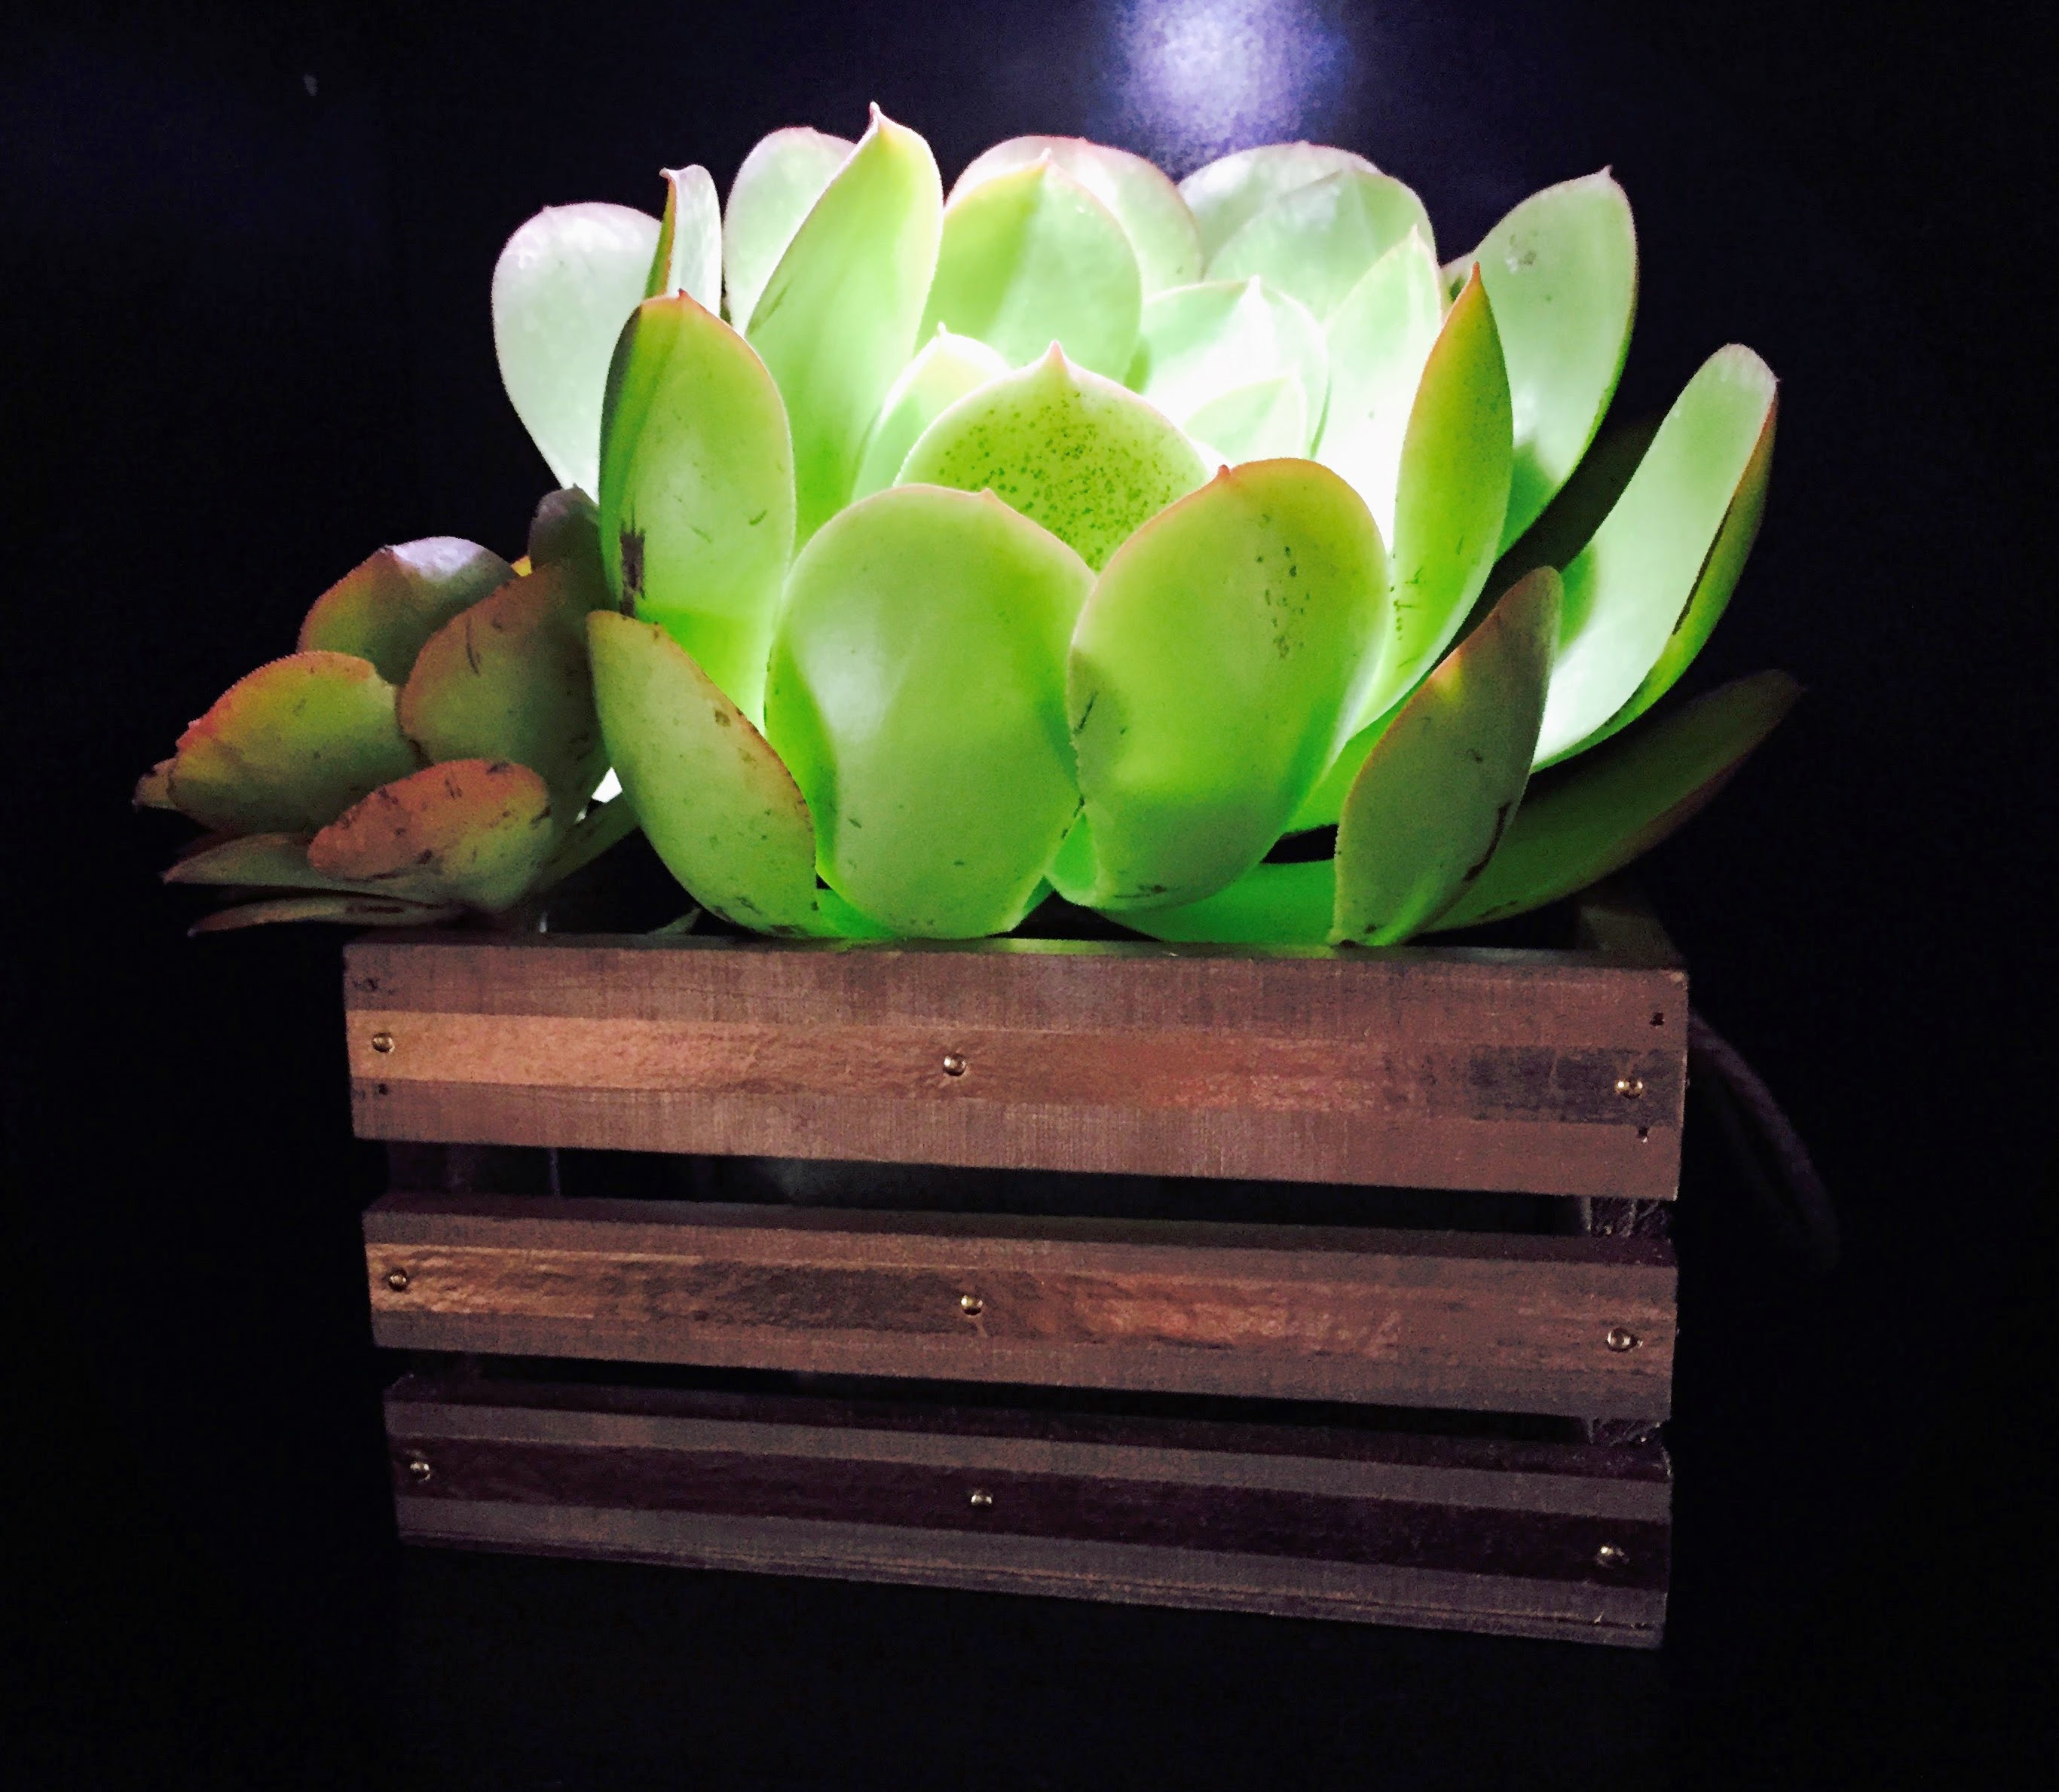
- 1 Mini Wood Crate Planter. The one I used is 7″x7″x3 1/2″H. You can obviously use any size you like. I found these ones, with rope handles, in the Dollar Bin at Target for $3. Dollar Bin goodies go fast, so, no telling if it will still be available when you read this. There are, however, many similar wood boxes at Michael’s, Hobby Lobby, Home Depot, Amazon, etc. I found this one at Michael’s for $9.99. It was a simple wood box when I bought it and I embellished it with washi tape and a succulent. These mini wood crates are popular right now, so if you look around, you will probably easily find something similar.
- Copper Washi Tape. Michael’s. Comes 3 rolls to a pack, with 1 gold, 1 silver, and 1 copper.
- Cork Chevron Washi Tape. Michael’s. This also comes 3 rolls to a pack, with 1 Cork Chevron, 1 Cork Polka Dot, and 1 other non-cork roll.
- 1/4″ nails. I used gold and they look great with the copper. They are just teeny tiny nails with a tiny shiny nailhead. I bought gold and nickel 1/2″ nails at Dixieline, but they are slightly too long, so you will want to find 1/4″ nails. You can probably find them at Home Depot, Lowe’s, or Amazon.
- Hammer.
- Tiny little fine tip orange Fiskar scissors. Joanne’s.
PLANTER #2:
- 1 Mini Wood Crate Planter. The one I used is 7″x7″x3 1/2″H. You can obviously use any size you like. I found these ones, with rope handles, in the Dollar Bin at Target for $3. Dollar Bin goodies go fast, so, no telling if it will still be available when you read this. There are, however, many similar wood boxes at Michael’s, Hobby Lobby, Home Depot, Amazon, etc. I found this one at Michael’s for $9.99. It was a simple wood box when I bought it and I embellished it with washi tape and a succulent. These mini wood crates are popular right now, so if you look around, you will probably easily find something similar.
- This Rose Gold Spray Paint.
- This 24K Gold Spray Paint.
- Copper Washi Tape. Michael’s. Comes 3 rolls to a pack, with 1 gold, 1 silver, and 1 copper.
- 1/4″ nails. I used gold and they look great with the copper. They are just teeny tiny nails with a tiny shiny nailhead. I bought gold and nickel 1/2″ nails at Dixieline, but they are slightly too long, so you will want to find 1/4″ nails. You can probably find them at Home Depot, Lowe’s, or Amazon.
- Hammer.
- This Rope. Michael’s.
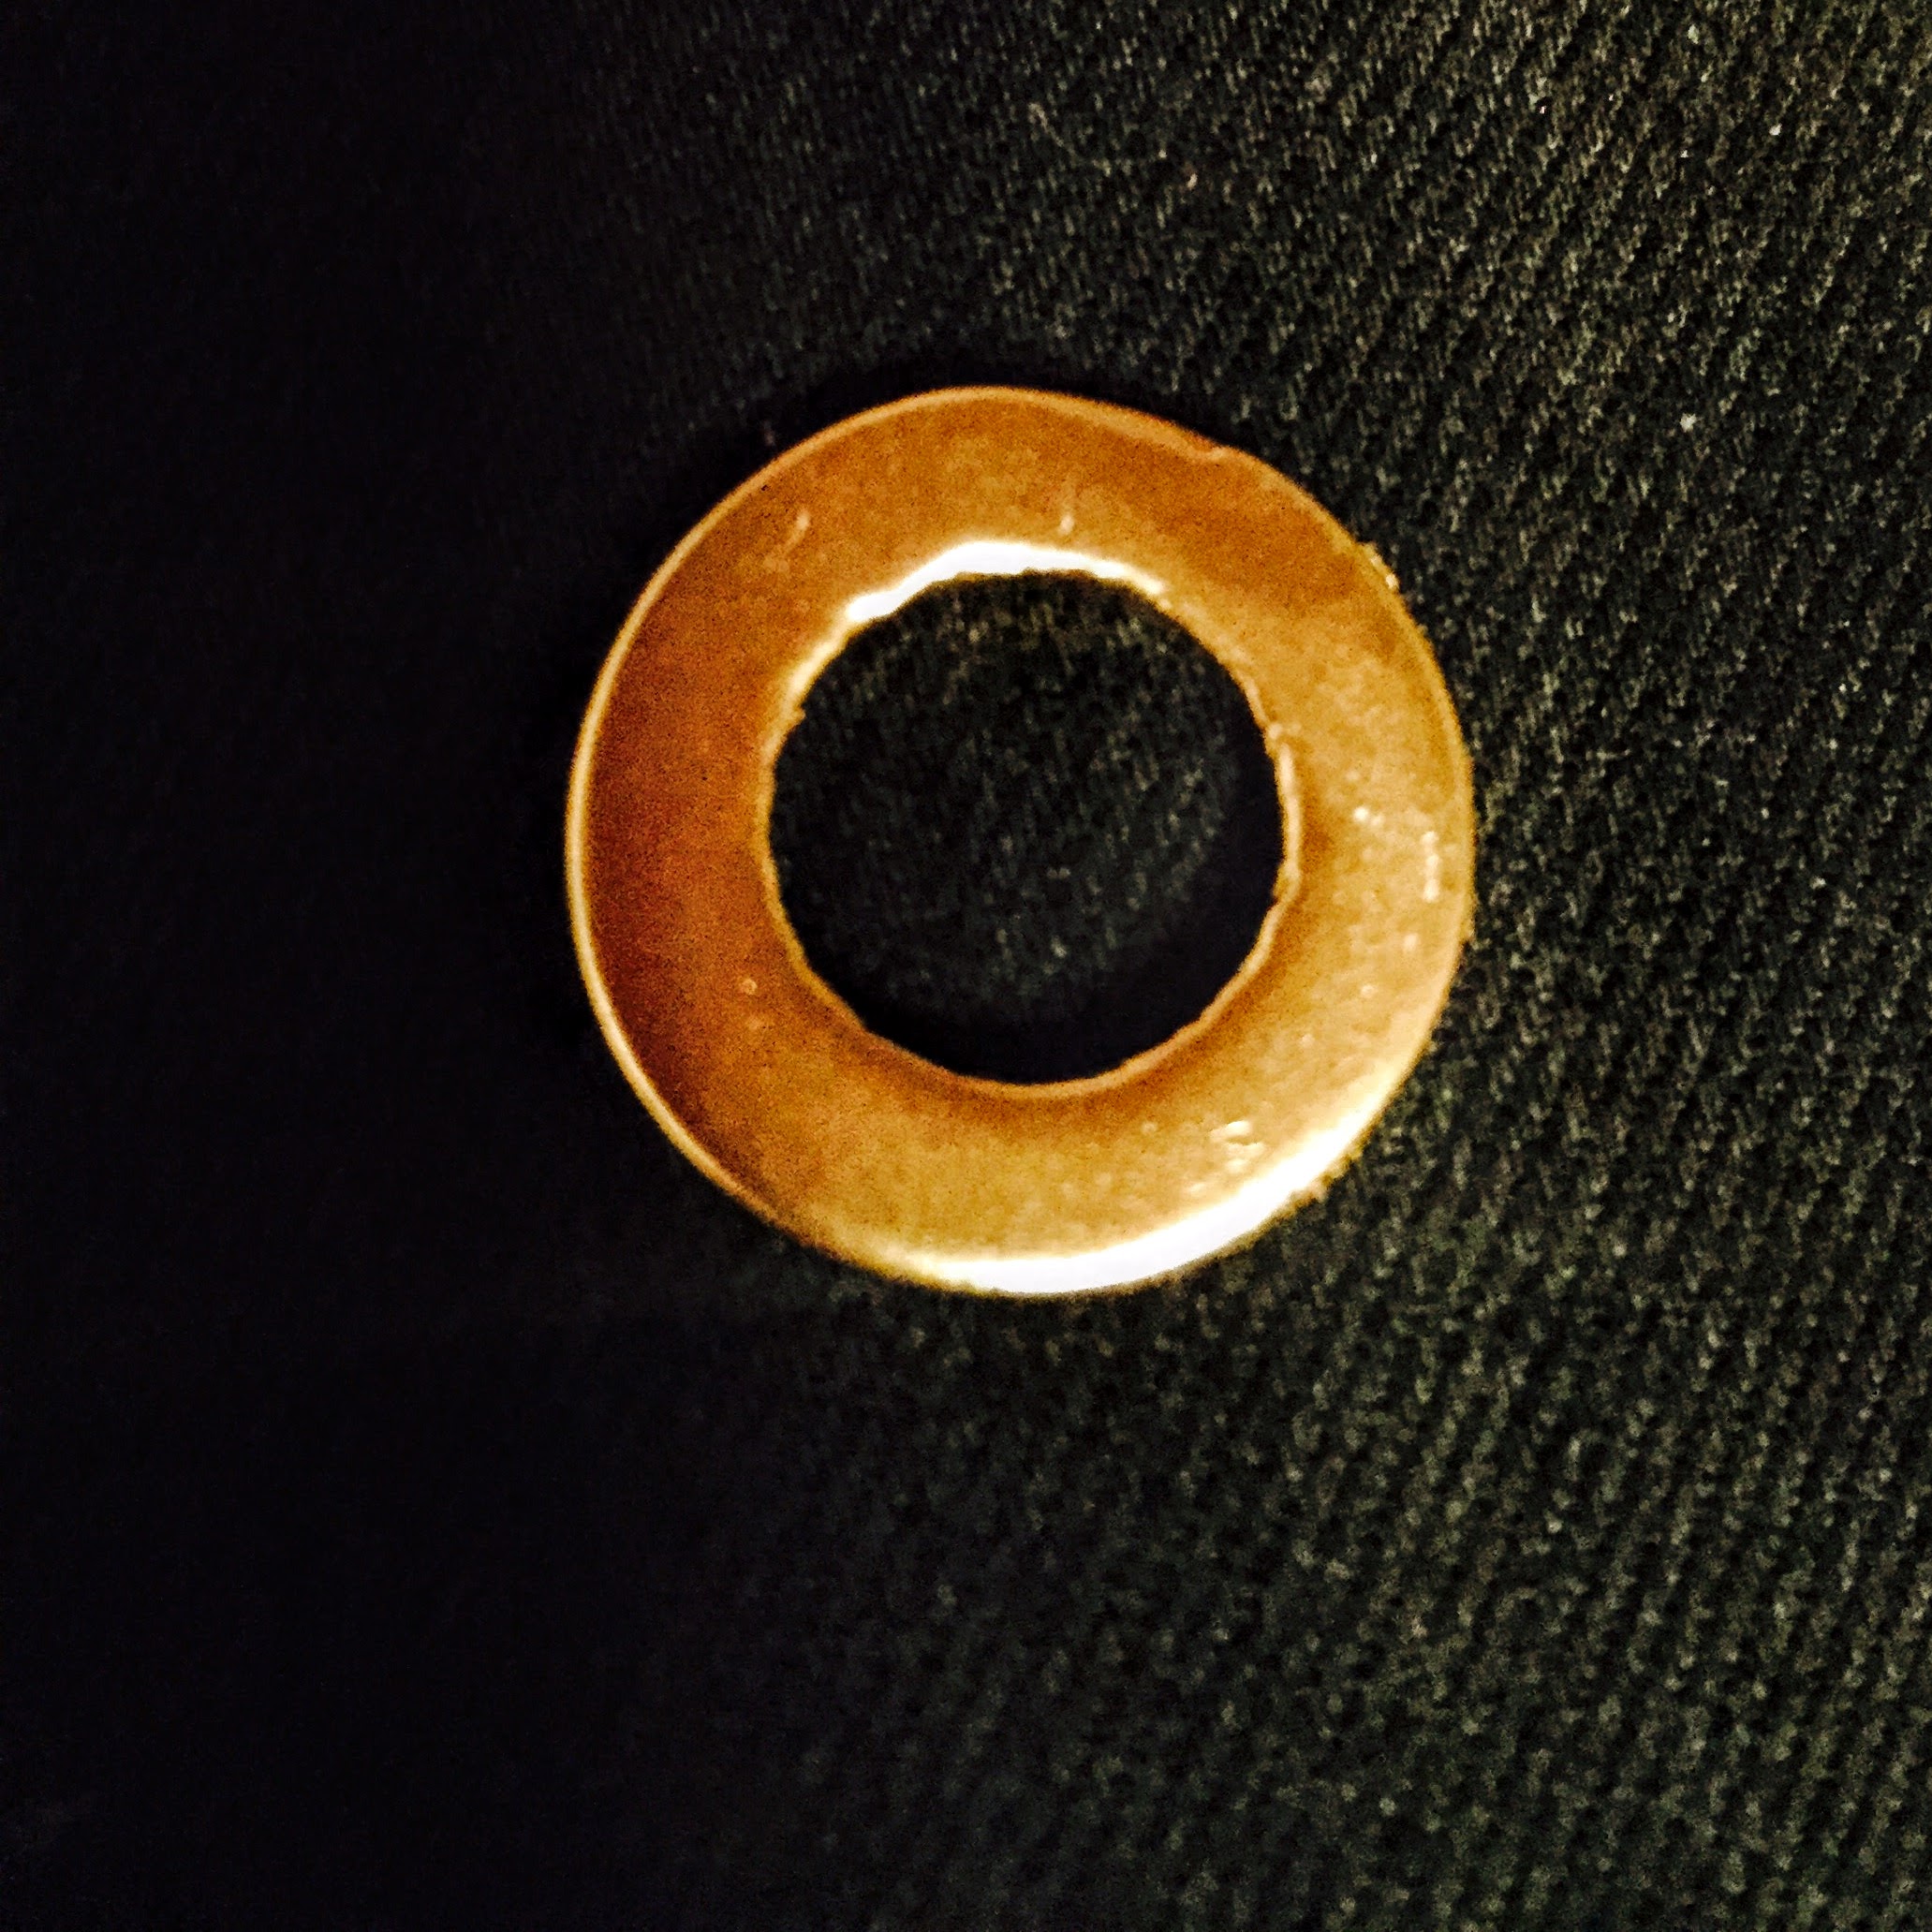
- These Rings for the side of box. Michael’s. When I bought these little rings at Michael’s, they were a faux mother of pearl and I painted them with this 24K paint for this box. I don’t have any pictures of how they looked before, but any ring would do. Just go look around at Michael’s or Joanne’s or in your own garage- washers would probably work perfectly!
- Tiny little fine tip orange Fiskar scissors. Joanne’s.
PLANTER #3
- 1 Mini Wood Crate Planter. The one I used is 7″x7″x3 1/2″H. You can obviously use any size you like. I found these ones, with rope handles, in the Dollar Bin at Target for $3. Dollar Bin goodies go fast, so, no telling if it will still be available when you read this. There are, however, many similar wood boxes at Michael’s, Hobby Lobby, Home Depot, Amazon, etc. I found this one at Michael’s for $9.99. It was a simple wood box when I bought it and I embellished it with washi tape and a succulent. These mini wood crates are popular right now, so if you look around, you will probably easily find something similar.
- Rustoleum stain and this foam brush. Michael’s.
- Soft cloth. Home.
- I didn’t use it for this particular project, but I would suggest Crystal Clear Spray Lacquer. I think it would be much easier than brushing it on as I did, and this spray goes on evenly, clearly, and beautifully, with no brush marks. However, any brush on lacquer or polyurethane, will do.
- Copper Washi Tape. Michael’s. Comes 3 rolls to a pack, with 1 gold, 1 silver, and 1 copper.
- 1/4″ nails. I used gold and they look great with the copper. They are just teeny tiny nails with a tiny shiny nailhead. I bought gold and nickel 1/2″ nails at Dixieline, but they are slightly too long, so you will want to find 1/4″ nails. You can probably find them at Home Depot, Lowe’s, or Amazon.
- Hammer.
- Copper Wire. Michael’s.
- These tools for making the wire hanger.
- Tiny little fine tip orange Fiskar scissors. Joanne’s.
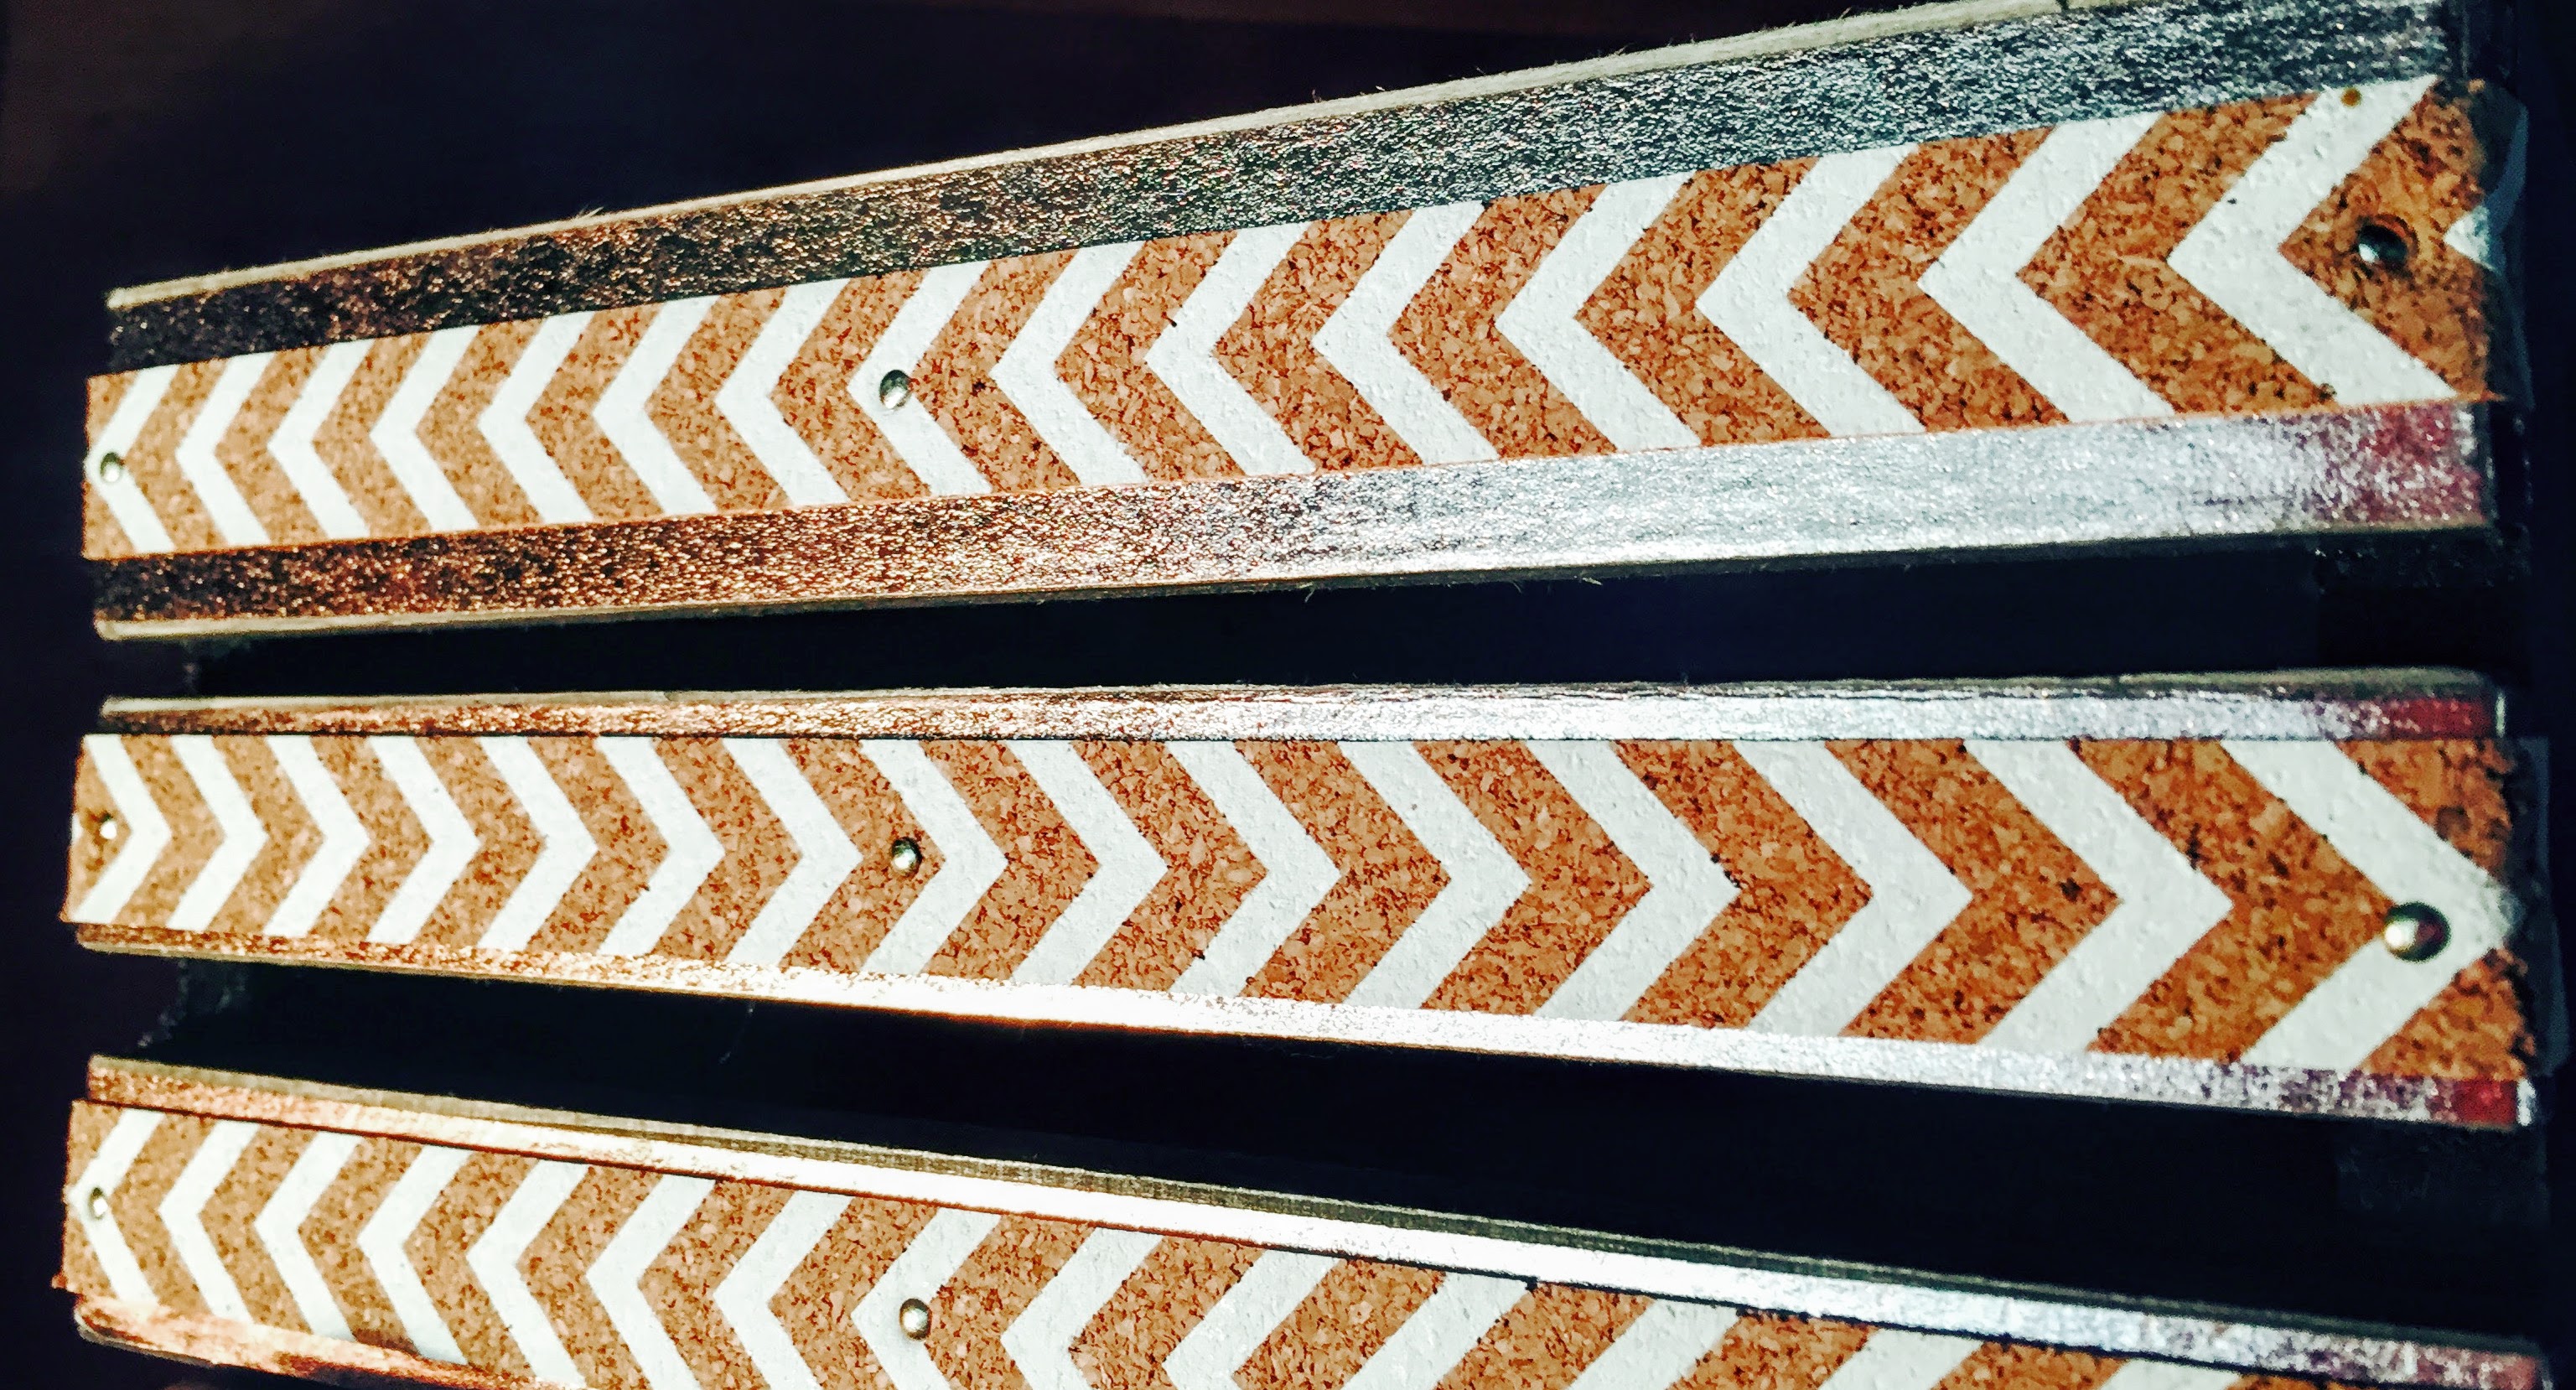
Ok! Let’s get started on Planter #1! You will use this Copper Washi Tape and the Cork Chevron Washi Tape shown in the image below, from Michael’s. Michael’s has an entire section dedicated to Washi Tape. The copper washi tape you see in the link above, comes in a 3-pack with gold and silver tape. It’s by Recollections at Michael’s. I believe the Cork Chevron Tape is also by Recollections, and it comes 2 to a pack, along side a Polka Dot Cork version.
The first thing you will do, is to take your Copper Washi Tape, and stick it length-wise across each of the 3 wood slats. You will be putting 2 layers of it, horizontally, one right next to the other. When you are done, it should cover almost the whole slat. You will also want to bring both layers of the Copper Washi tape around the right and the left edges of each of the slats:
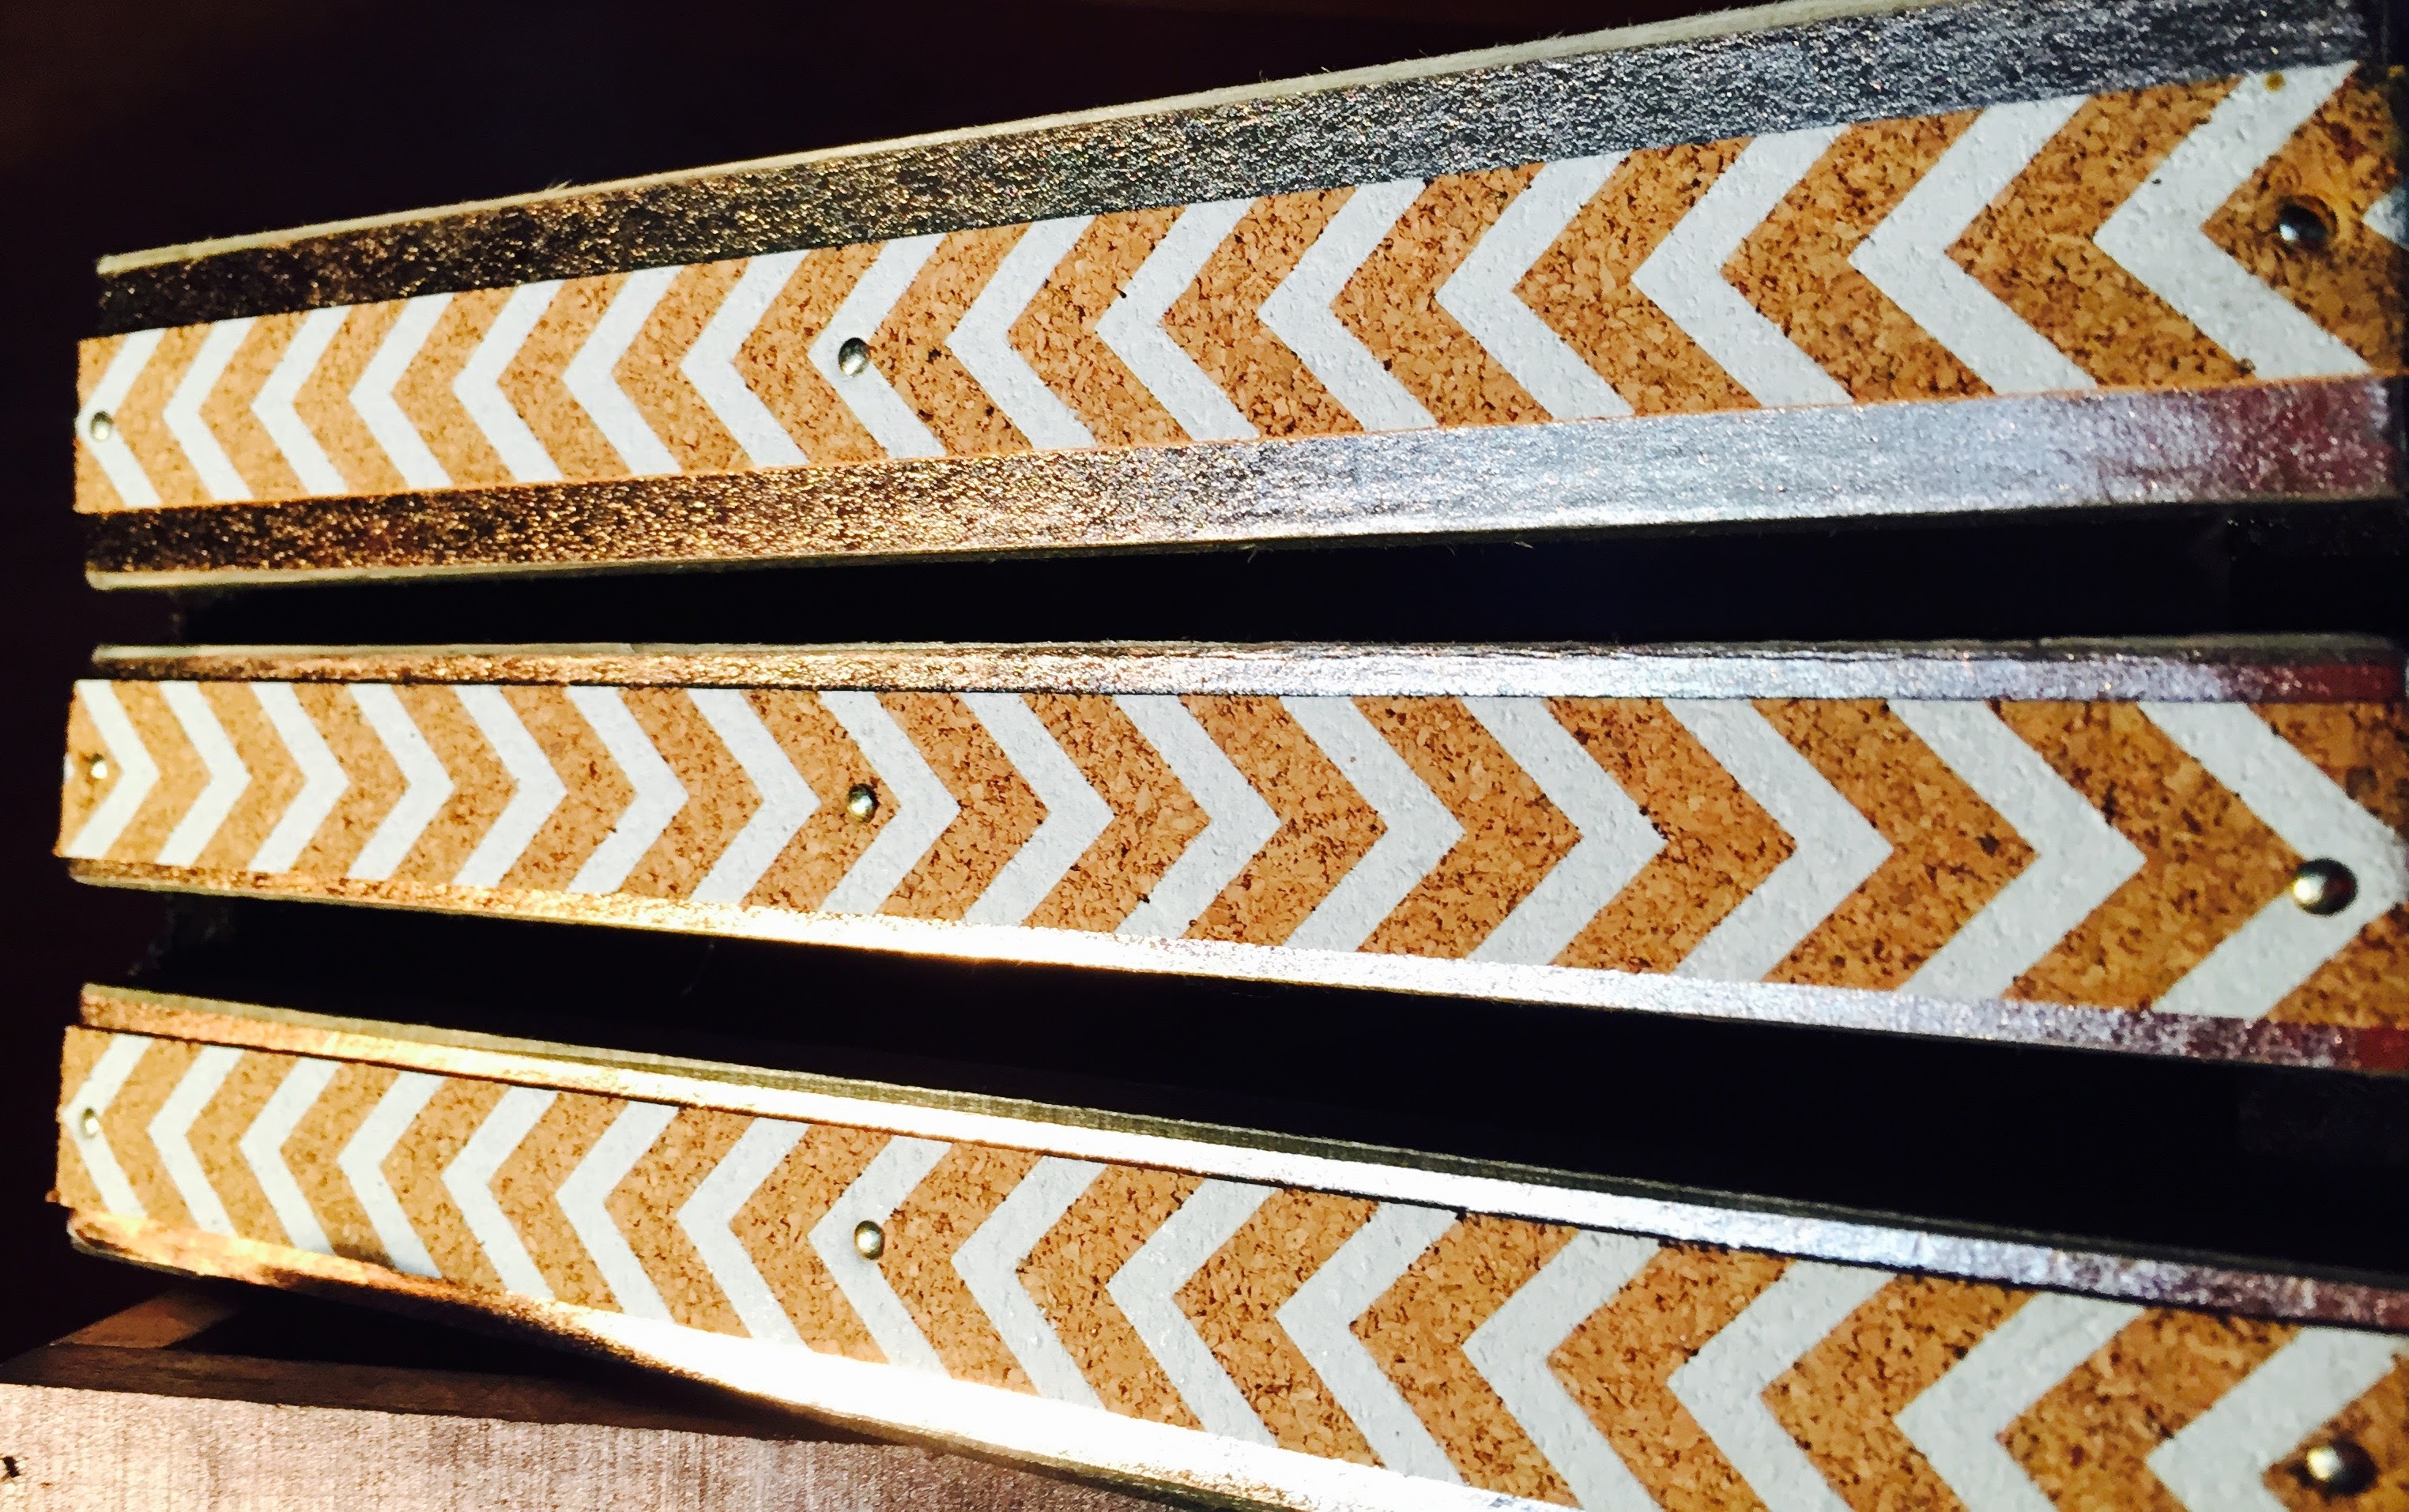
In the image above, you can see how to bring the tape over each edge, but there is only one layer of washi tape down the middle of the slat. Unfortunately, I didn’t get a shot of the double layer of copper tape, before I covered it with the chevron. You will want to stick 2 layers, right next to one another, horizontally across each slat, so that the entire slat is covered with copper tape. You should have these little orange scissors ready, so that you can make clean cuts at the edges of the copper tape (and the chevron tape, when you get there). Once you have done that, the cork chevron tape will be placed over the copper washi tape (so that it covers the middle seam where the 2 horizontal layers of copper tape come together) and right down the middle of the slat, like so:
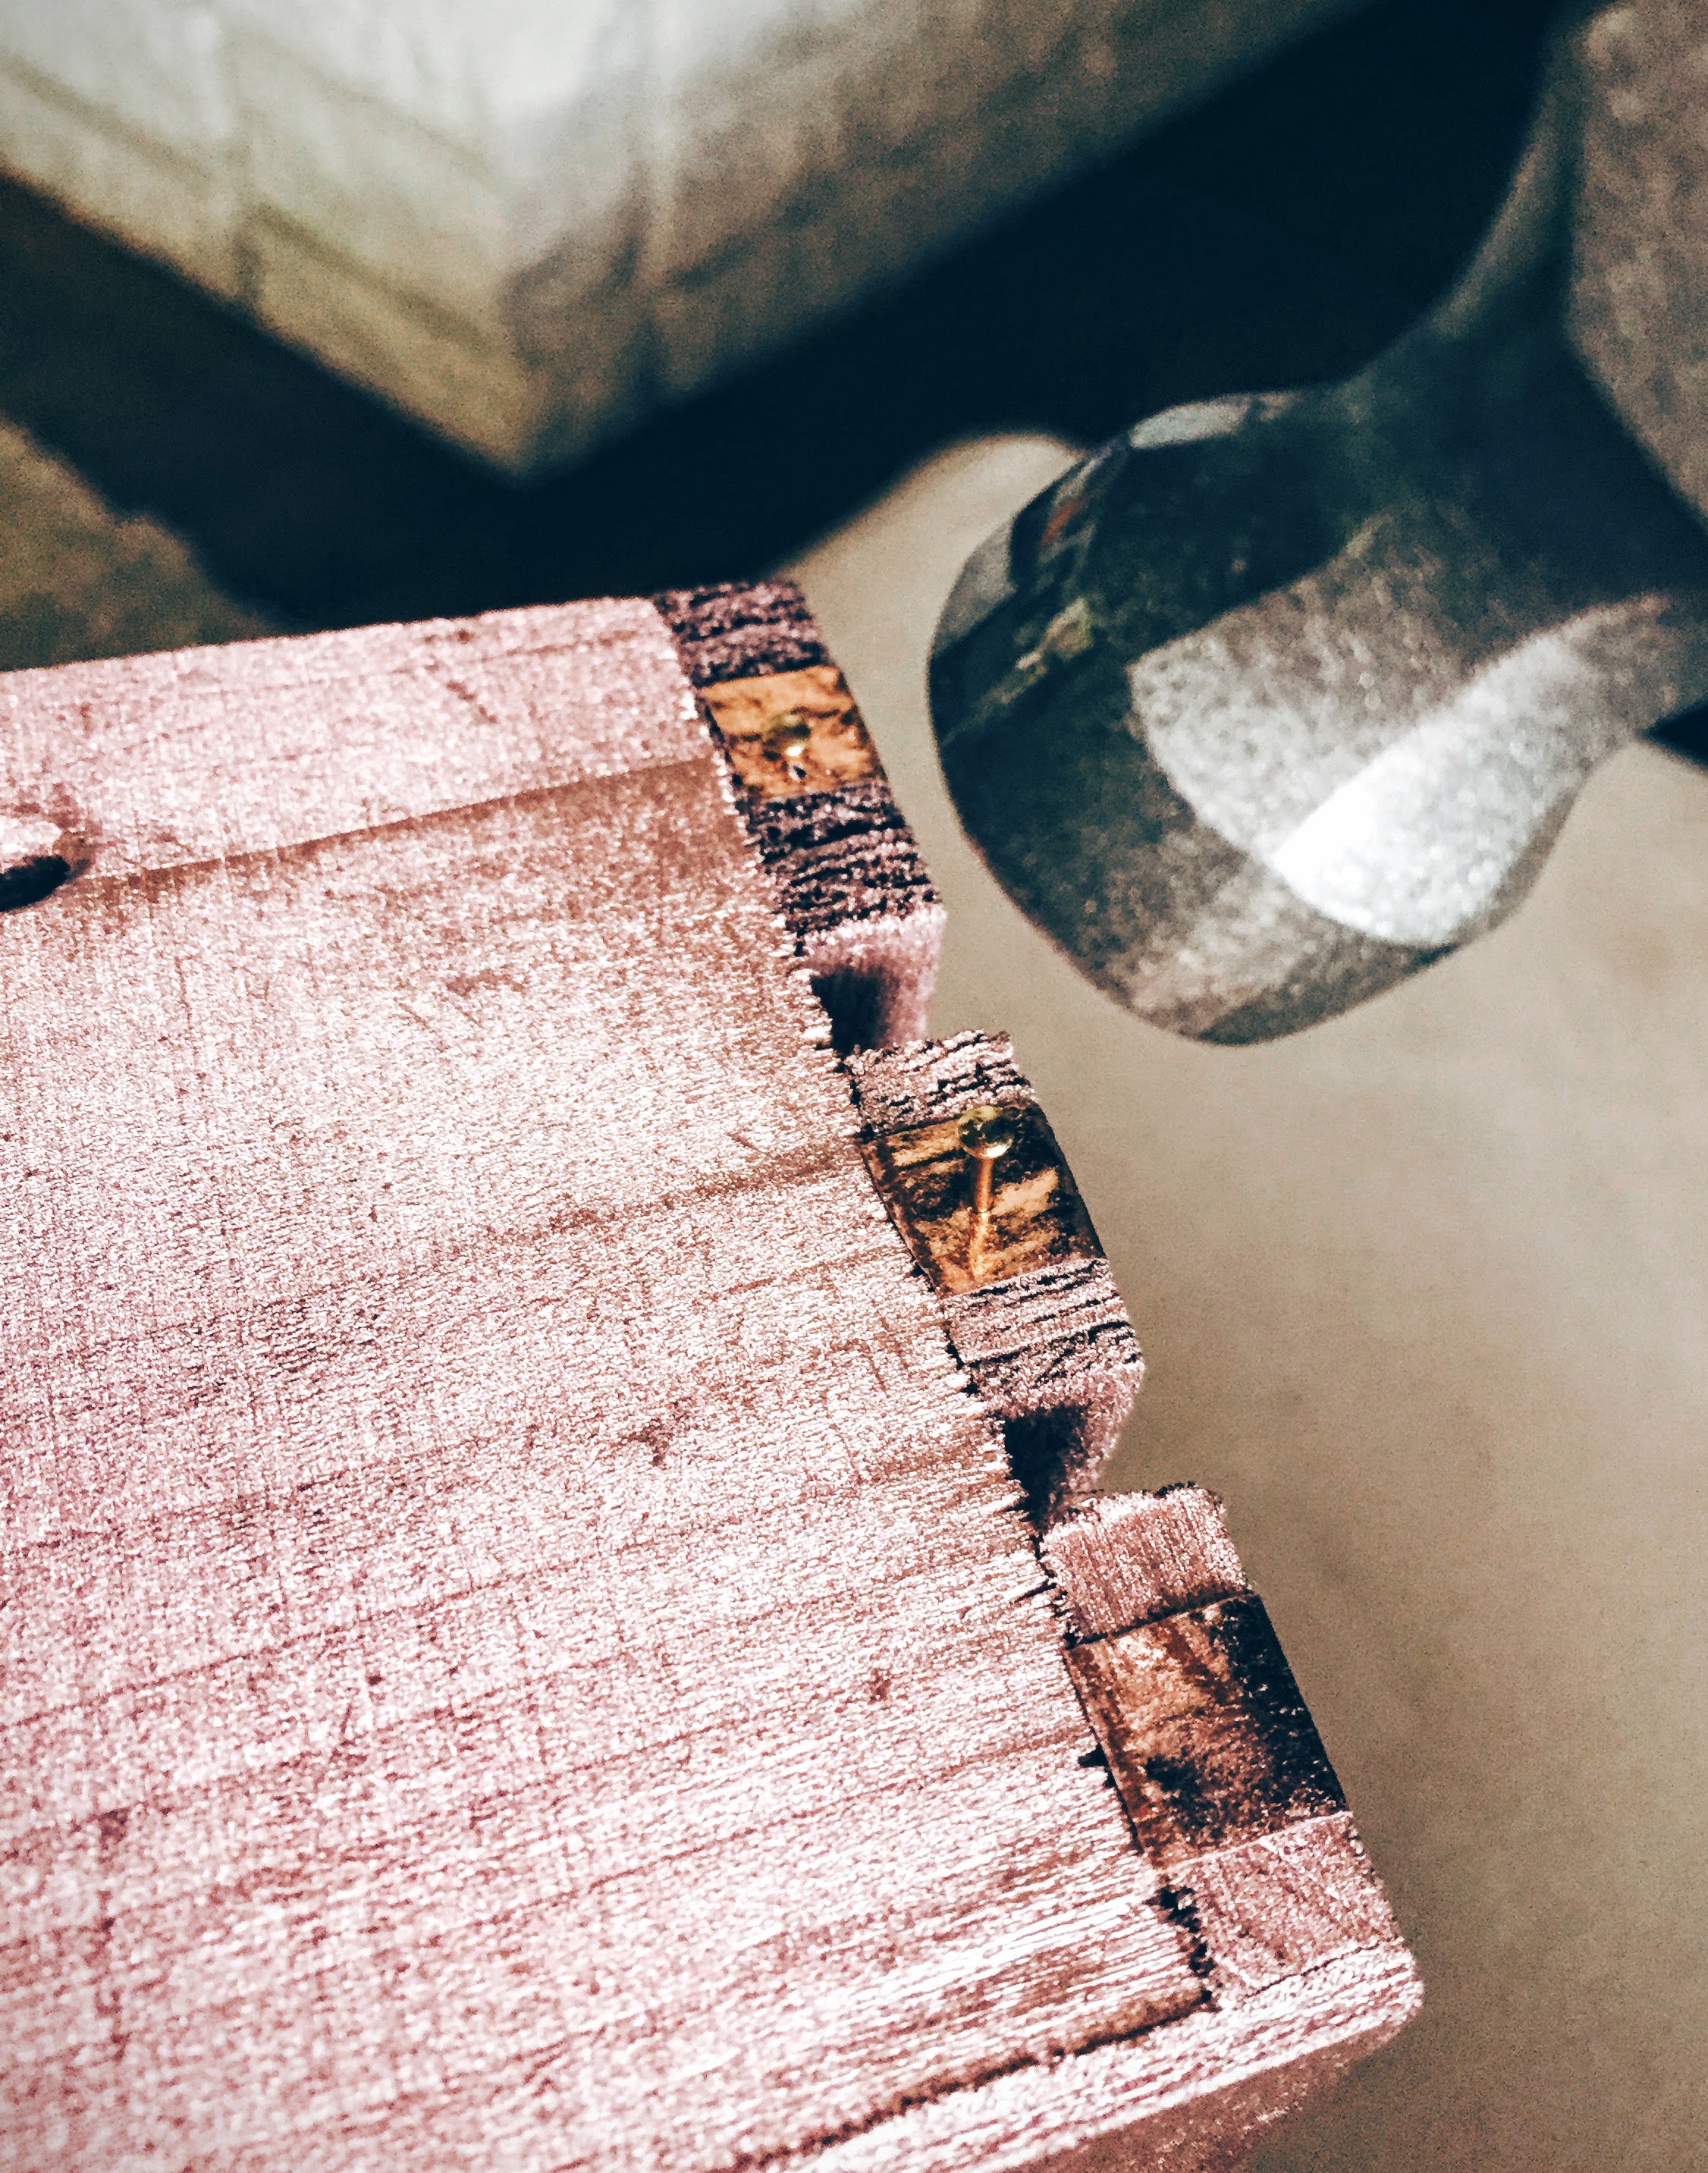
Don’t forget to wrap the chevron tape over each edge just like you did with the copper tape. Once all the tape has been applied (the copper and the chevron), you will want to take your 1/4″ mini gold nails, and begin to carefully place, and then, hammer them in (I only have photos from Planter #2 below, for demonstration purposes- sorry!):
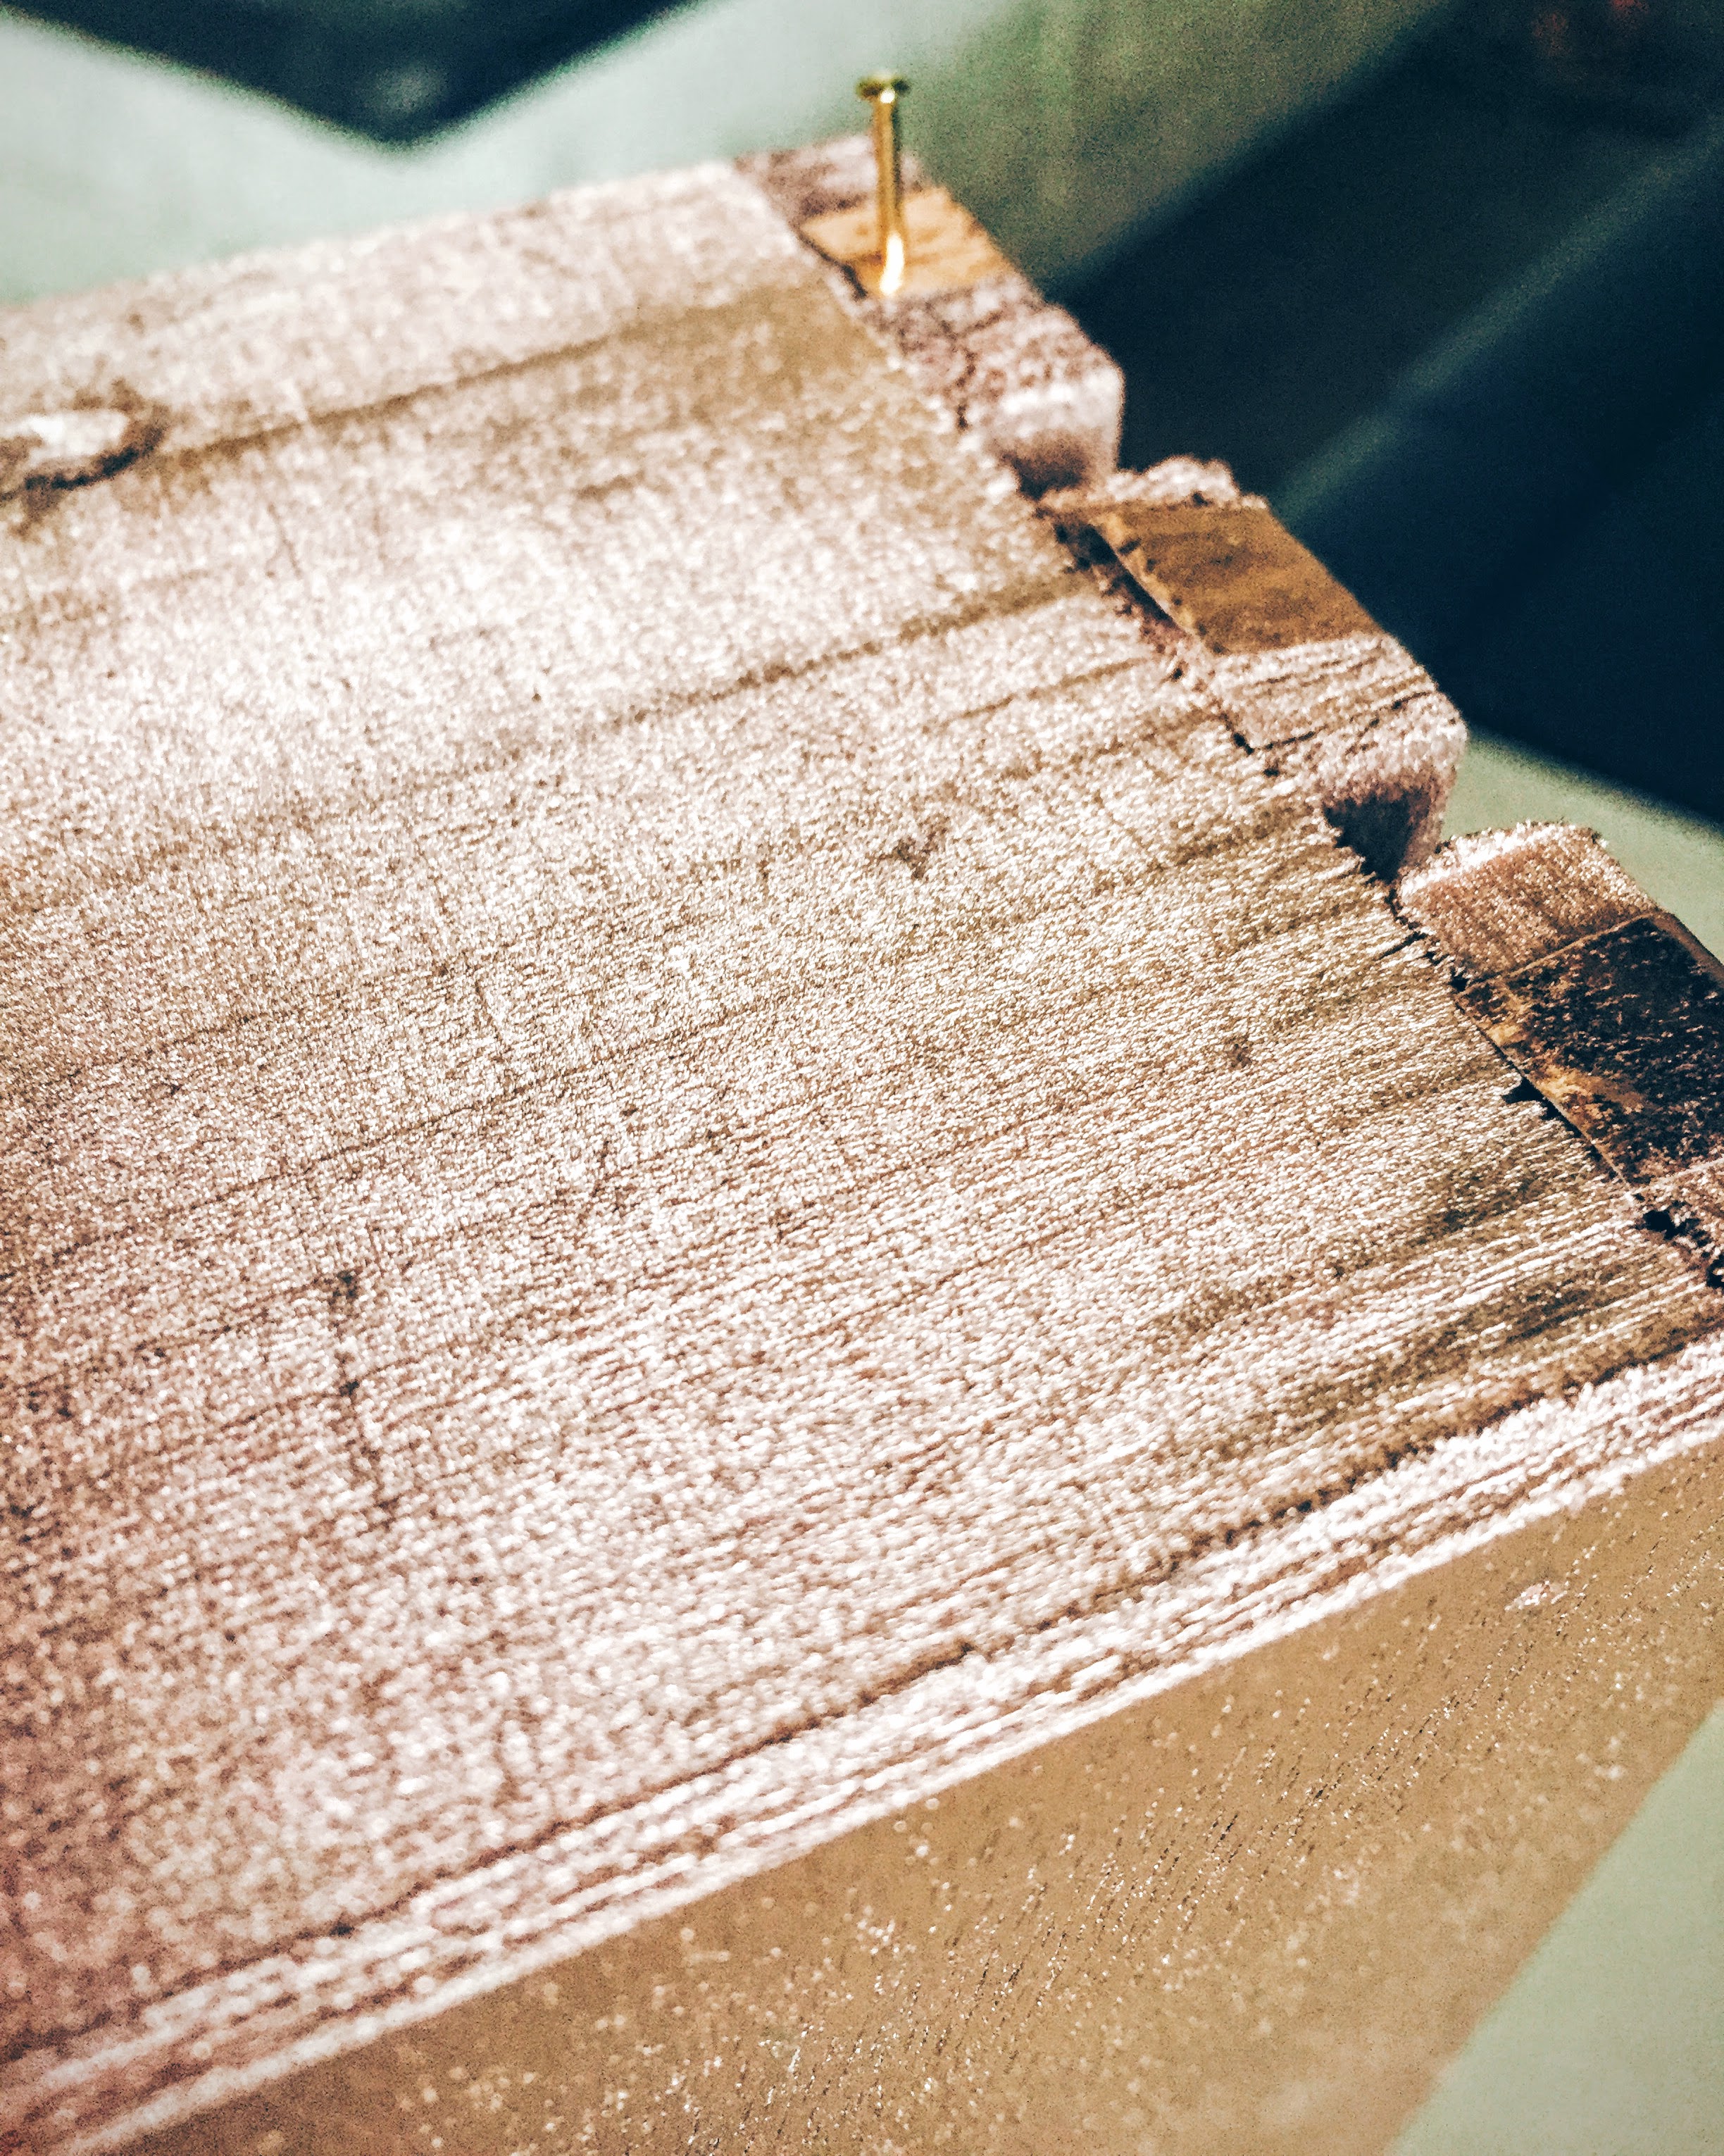
Start over the edge of either the right or left hand side, making sure your washi tape is stuck down smoothly and straight, and hammer in your first nail:
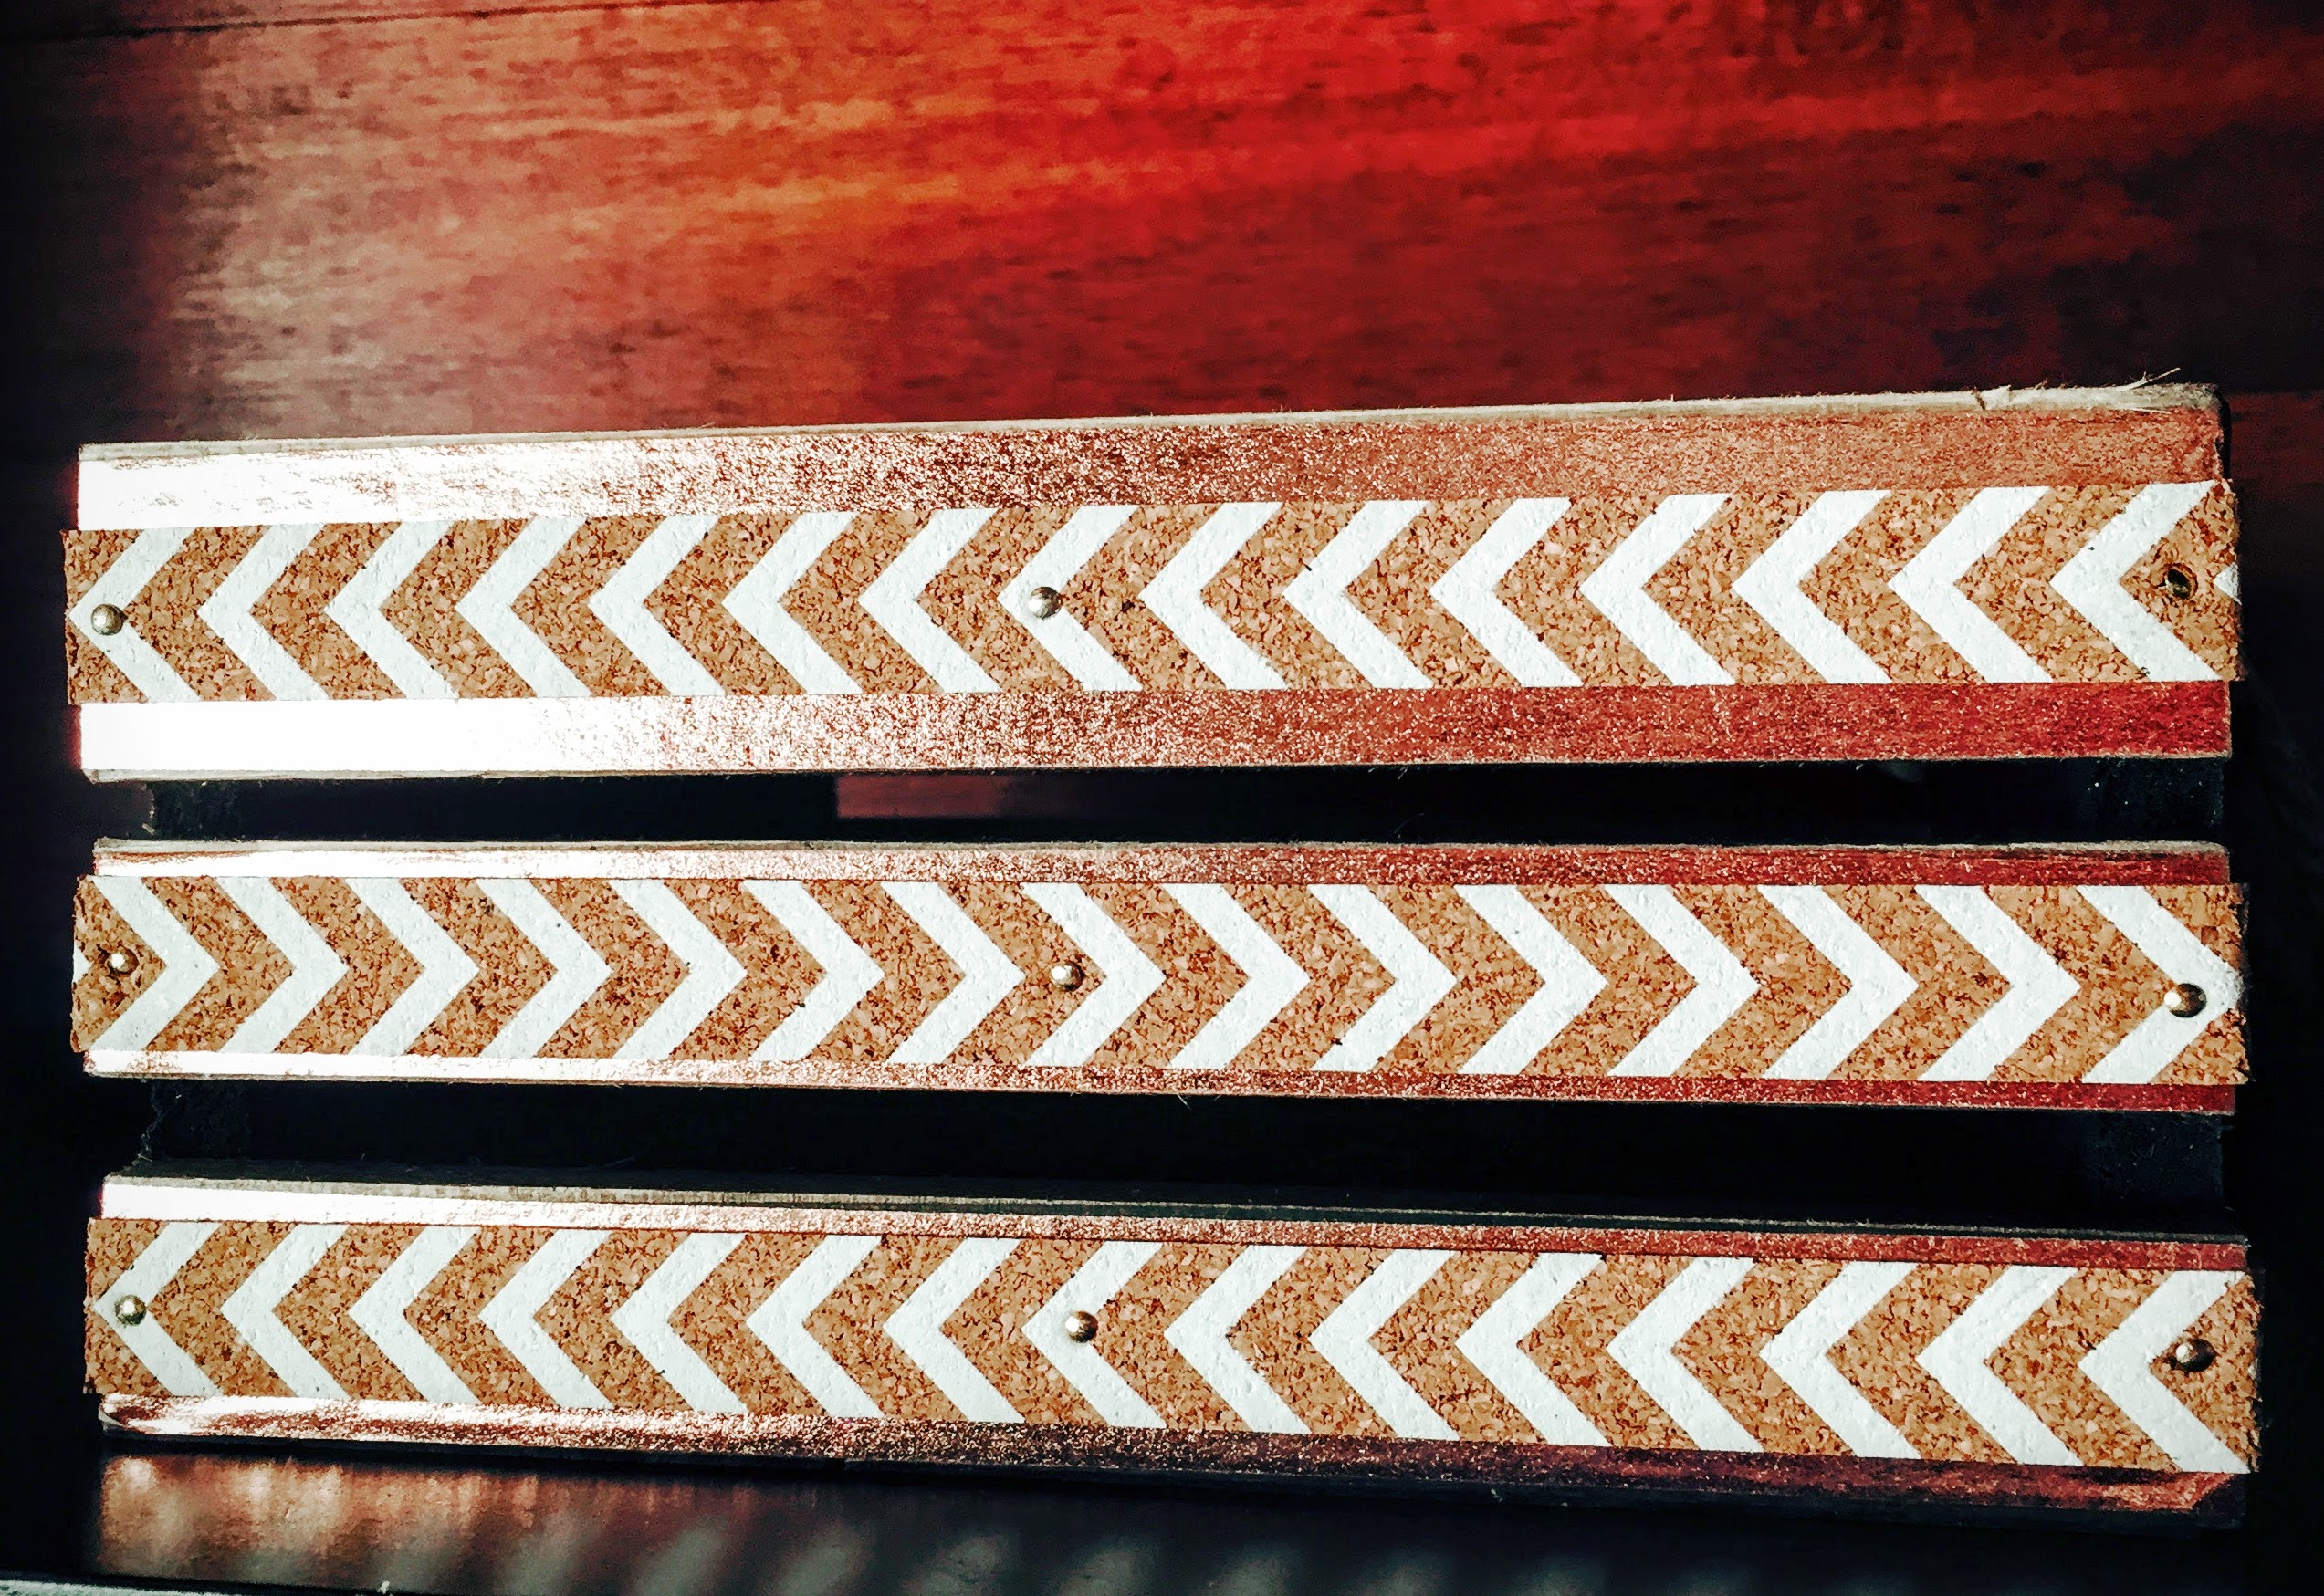
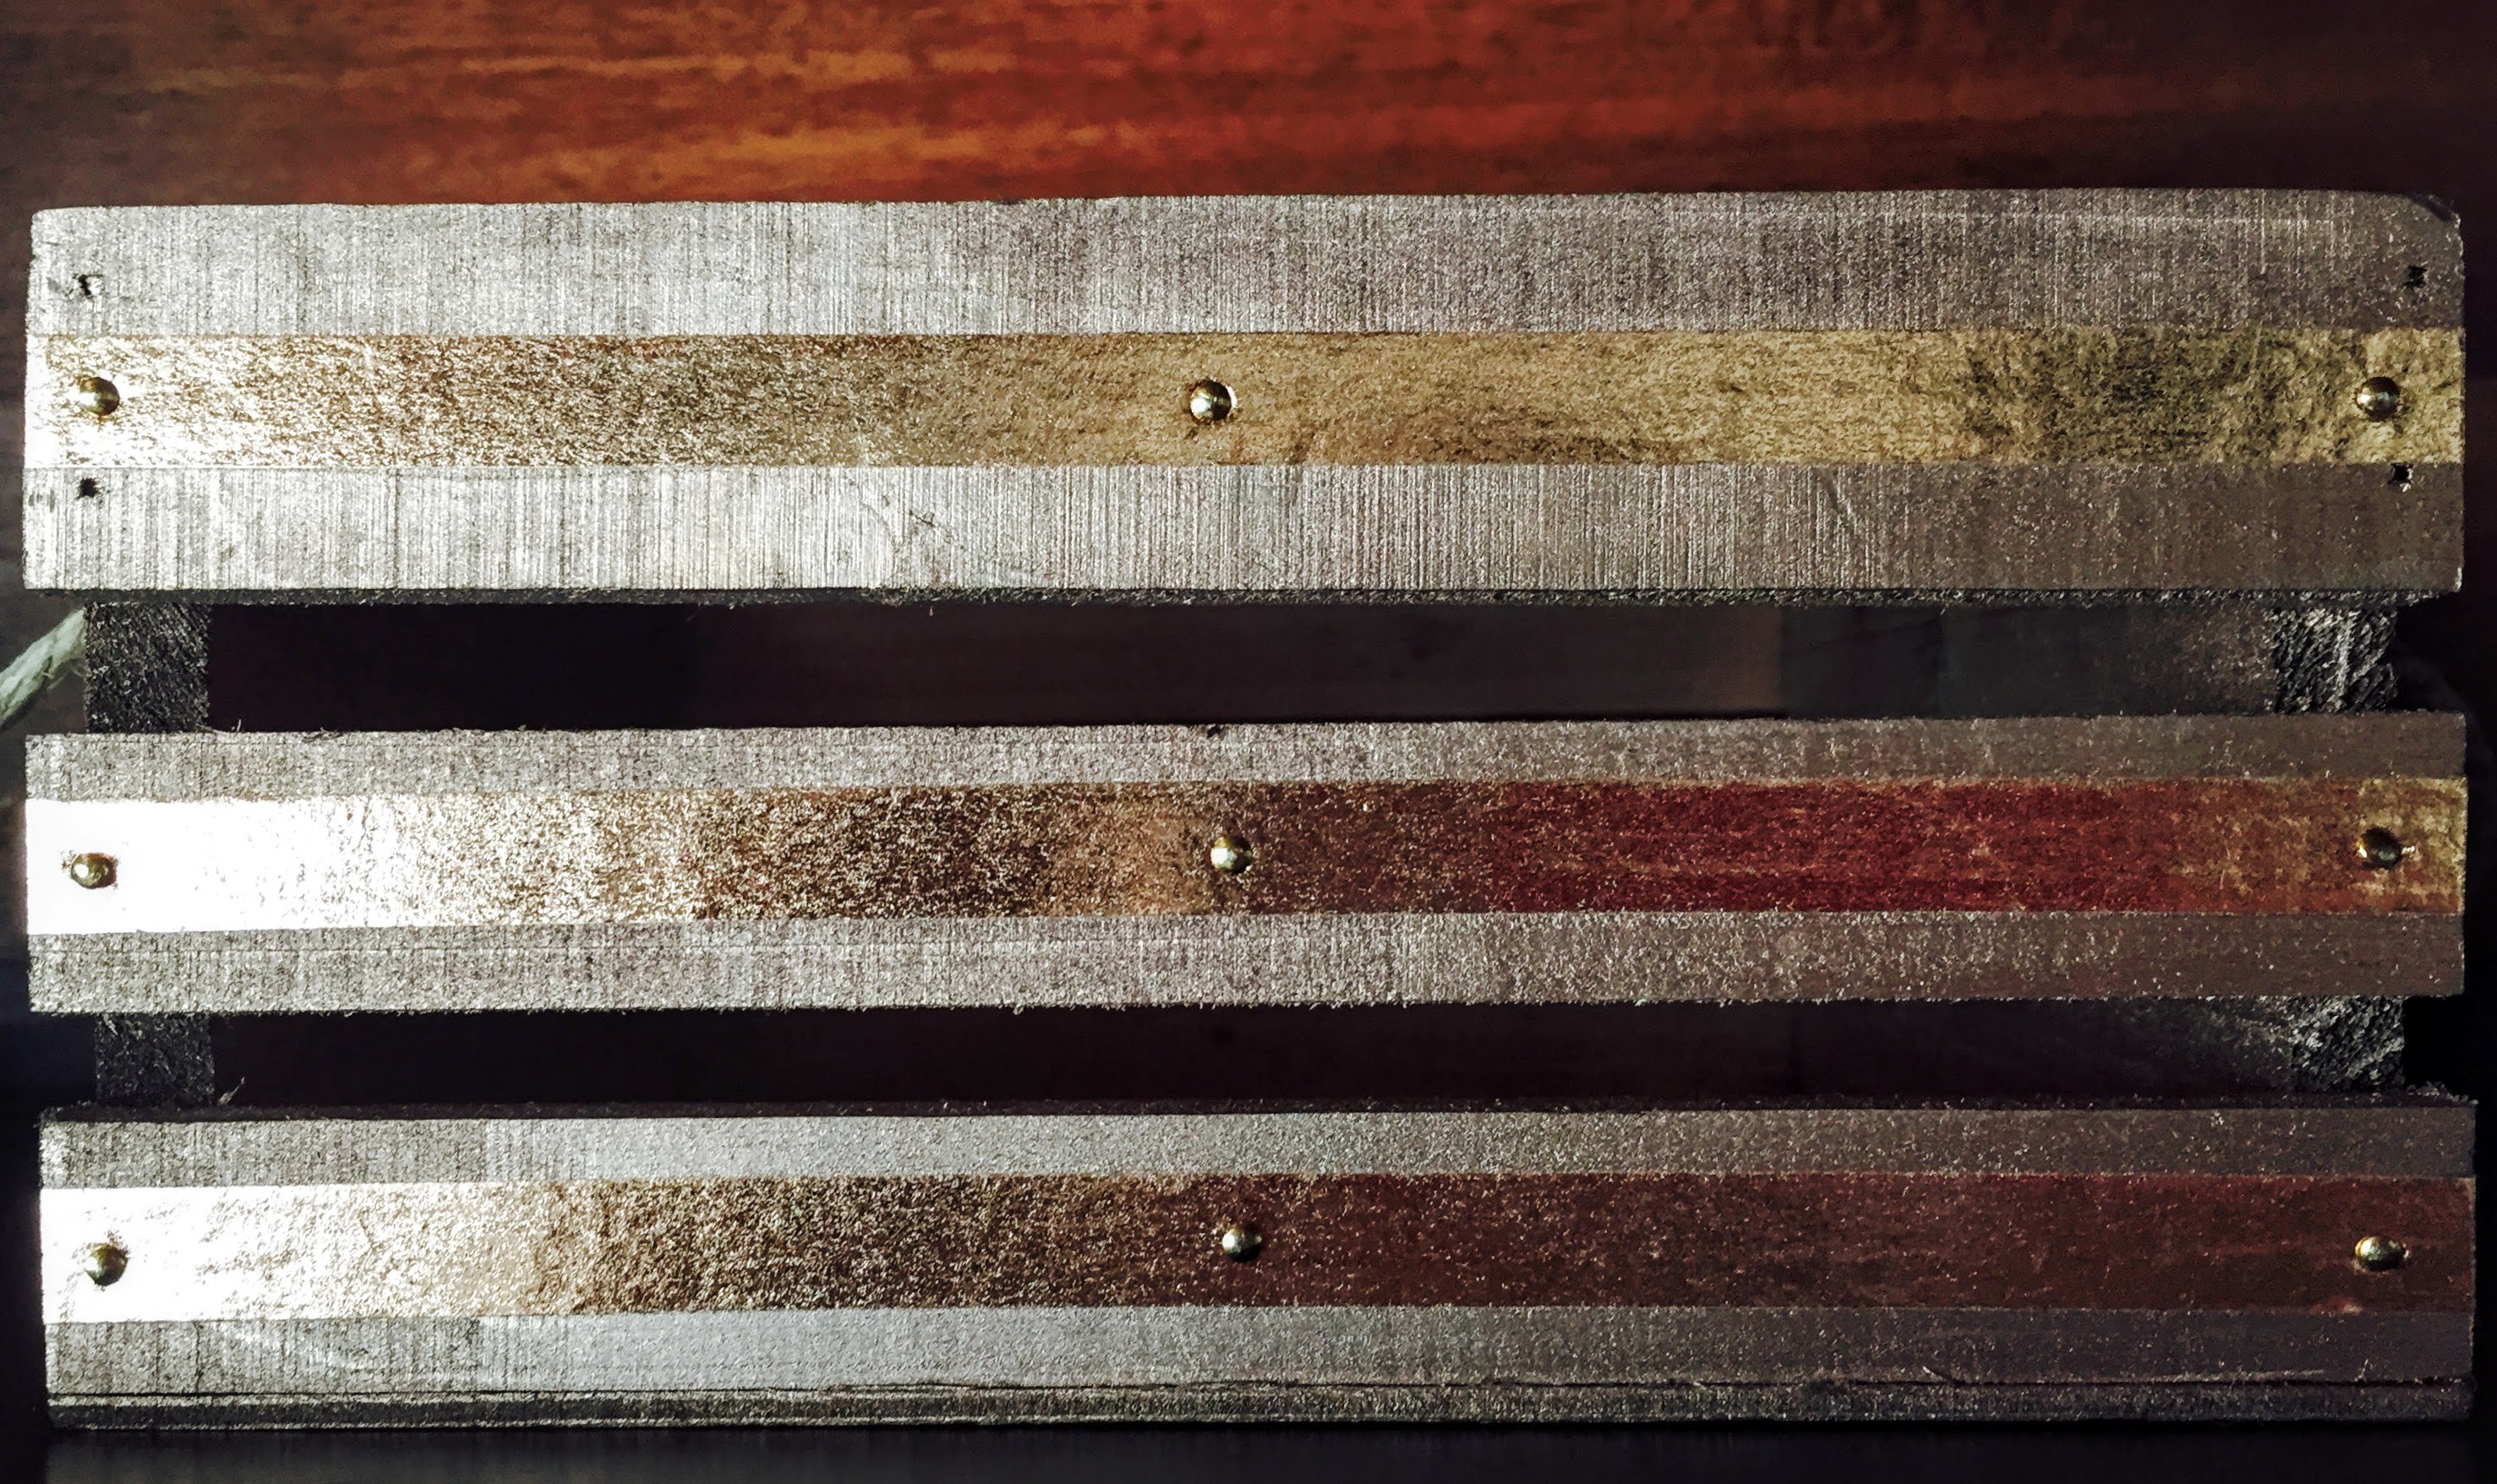
Take note while you hammer, that you do not hammer the nails in too hard or too tight, because then, your washi tape may pucker as seen on the middle slat, below:
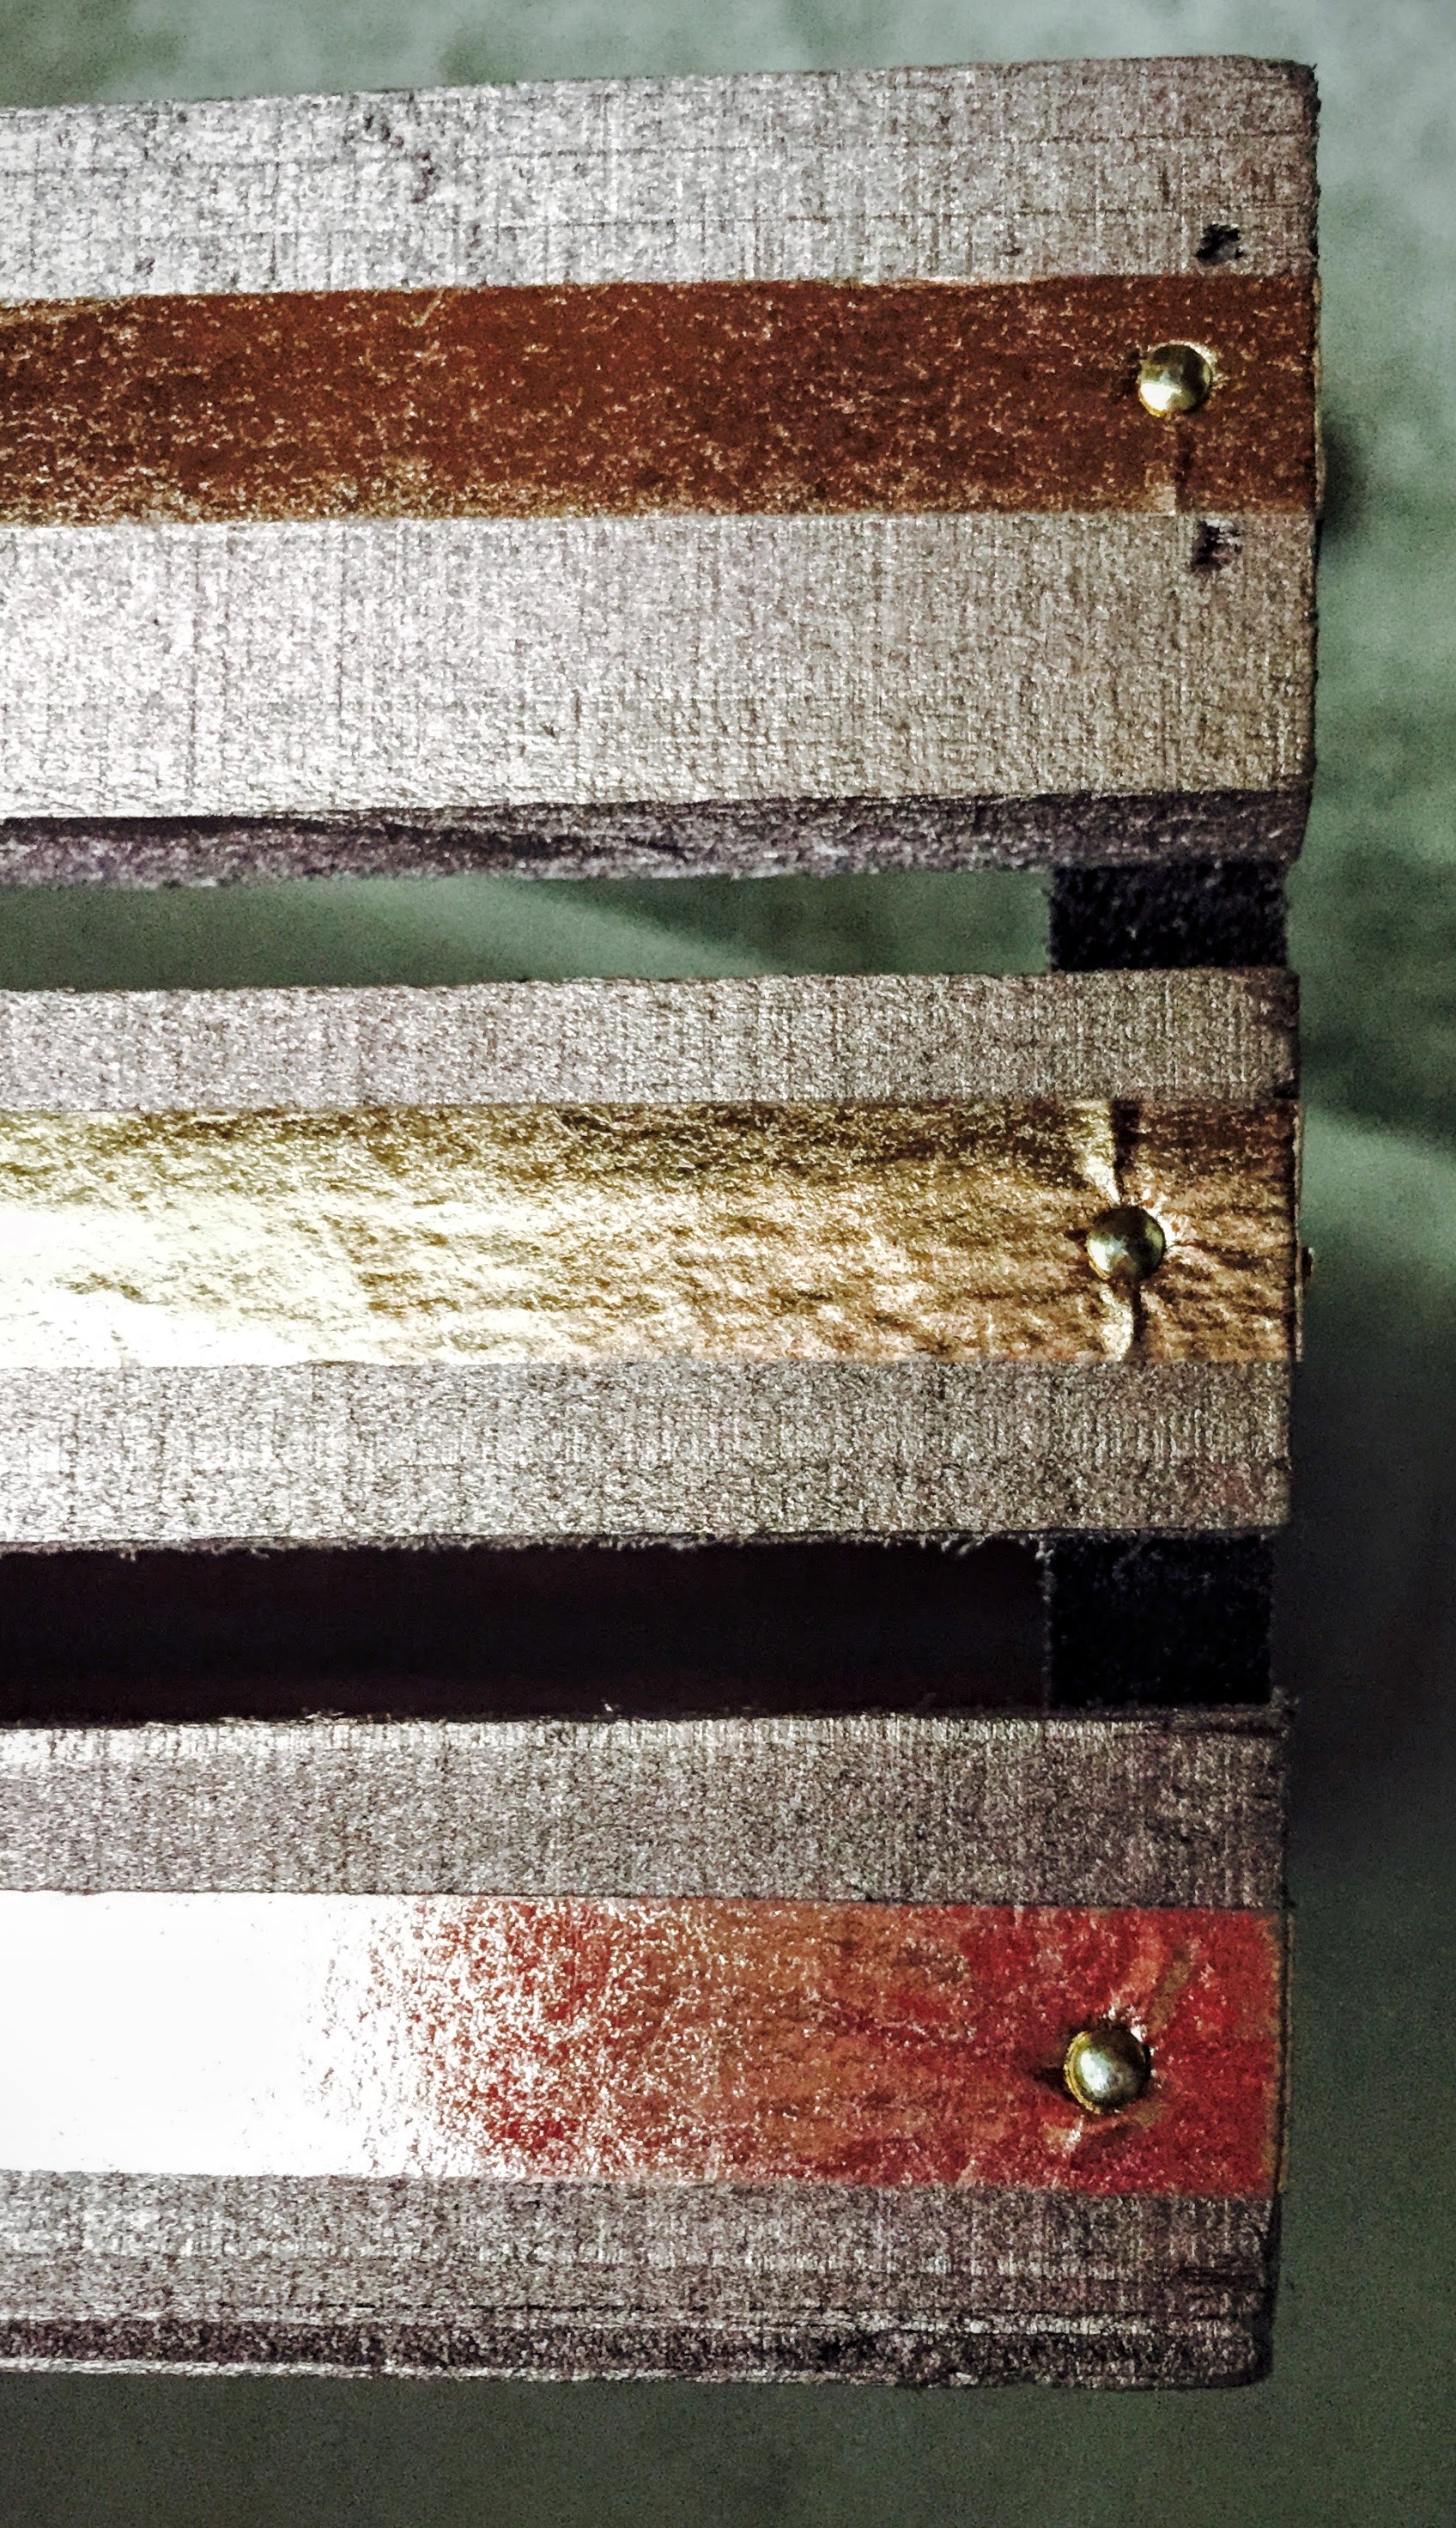
It will be more evident when you are working with just one layer of washi tape. When using the cork chevron, it’s easier to avoid this, but it can still happen if you hammer too hard.
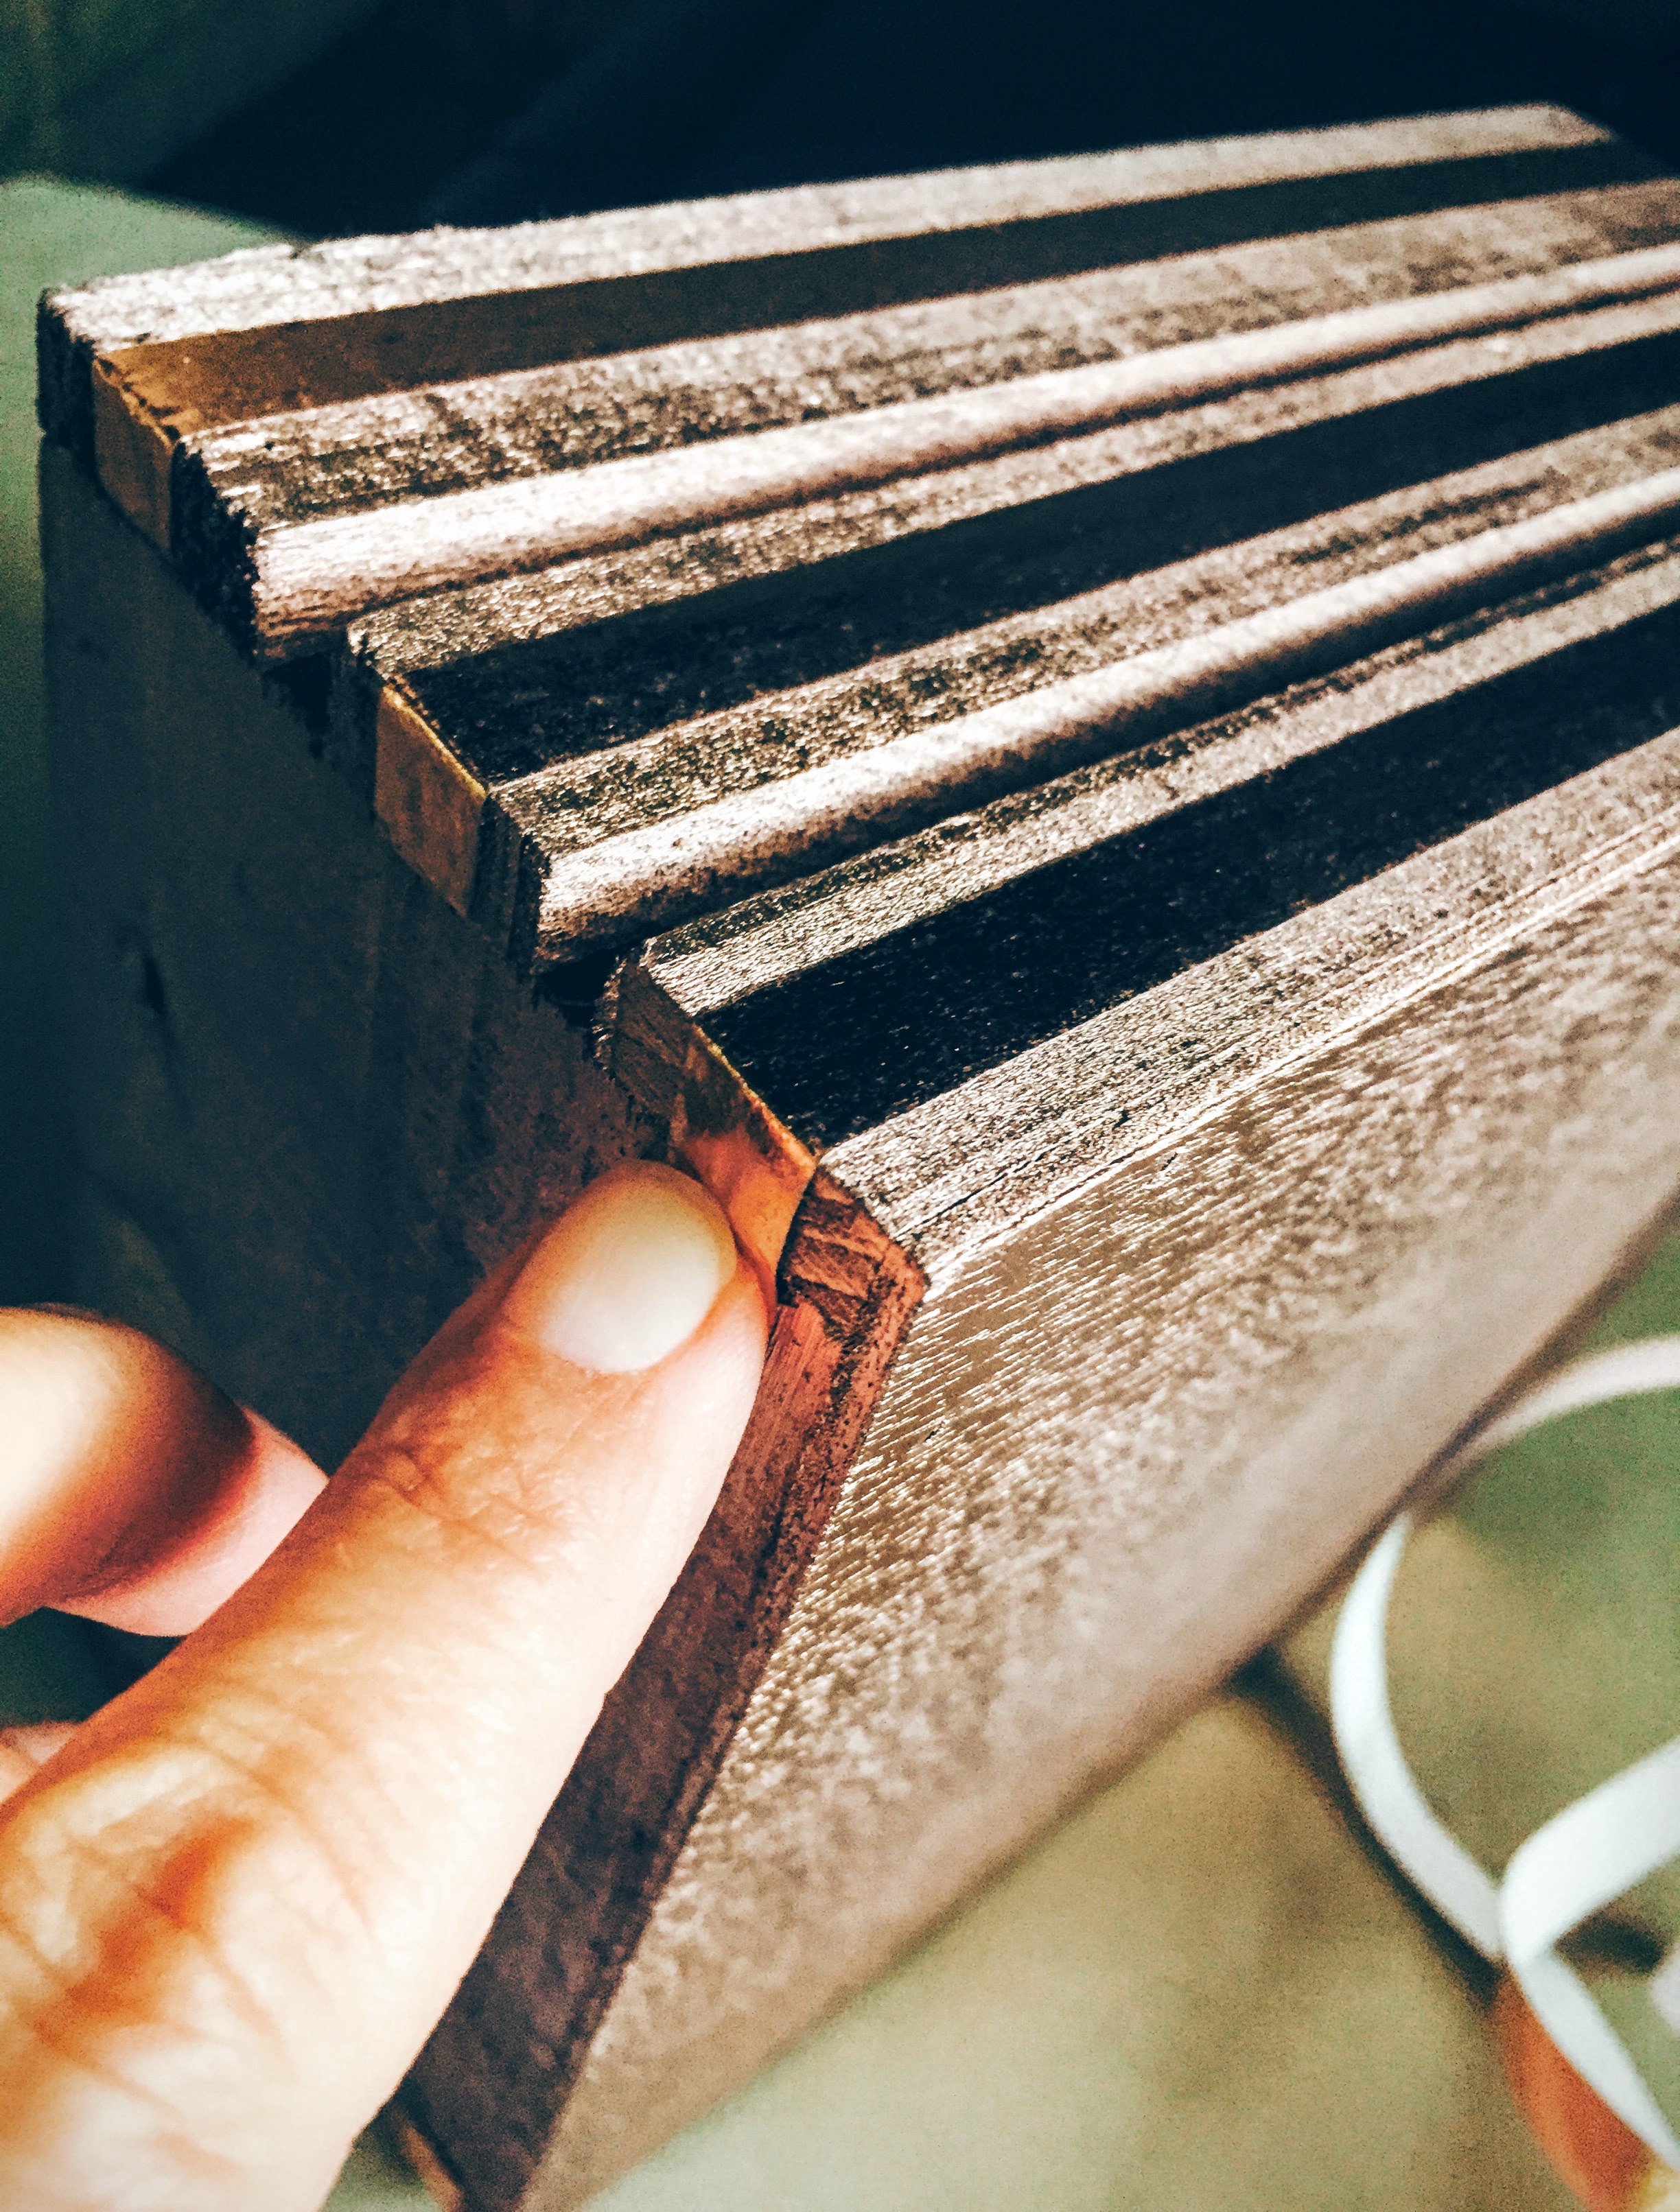
Continue on with the nails, 3 across the front of each slat, placed at equal intervals, and then one more over the opposite edge to finish it out. While you’re placing your nails, you’ll want to make sure your washi tape is as smooth and as tight as it can be, so take your finger and smooth it out before placing your next nail:
Repeat the same rigmarole on the other side of your planter, and you are done with your first masterpiece!
Now, let’s get started on Planter #2!
The first thing you will want to do, is to take your scissors and remove the rope on the sides of the box. Then take the box outside, and spray it with this Rose Gold Spray Paint. First, I placed the box upside down and sprayed the bottom. I allowed it to dry, and then flipped it over and sprayed the top and inside of the box. Make sure you spray well between the slats. Also, the raw wood of the box soaks up the spray paint, so it will need a few coats. Light, even coats, allowing for dry time in between. You can use any color you choose, but this Rose Gold Spray goes beautifully with the copper washi tape. This Metallic Copper Spray Paint may also be a pretty option, but potentially too rusty for the copper washi tape. Just some ideas!

Once your paint has thoroughly dried, you can add your copper washi tape. Just one piece right down the middle of each slat (same way as described in the directions for Planter #1). Then add your 1/4″ gold nails. 3 along the front of each slat at equal intervals, and one on each side (over each edge), to hold the tape tight (refer to directions for Planter #1 if there is any confusion). Lather, rinse, repeat on the other side.
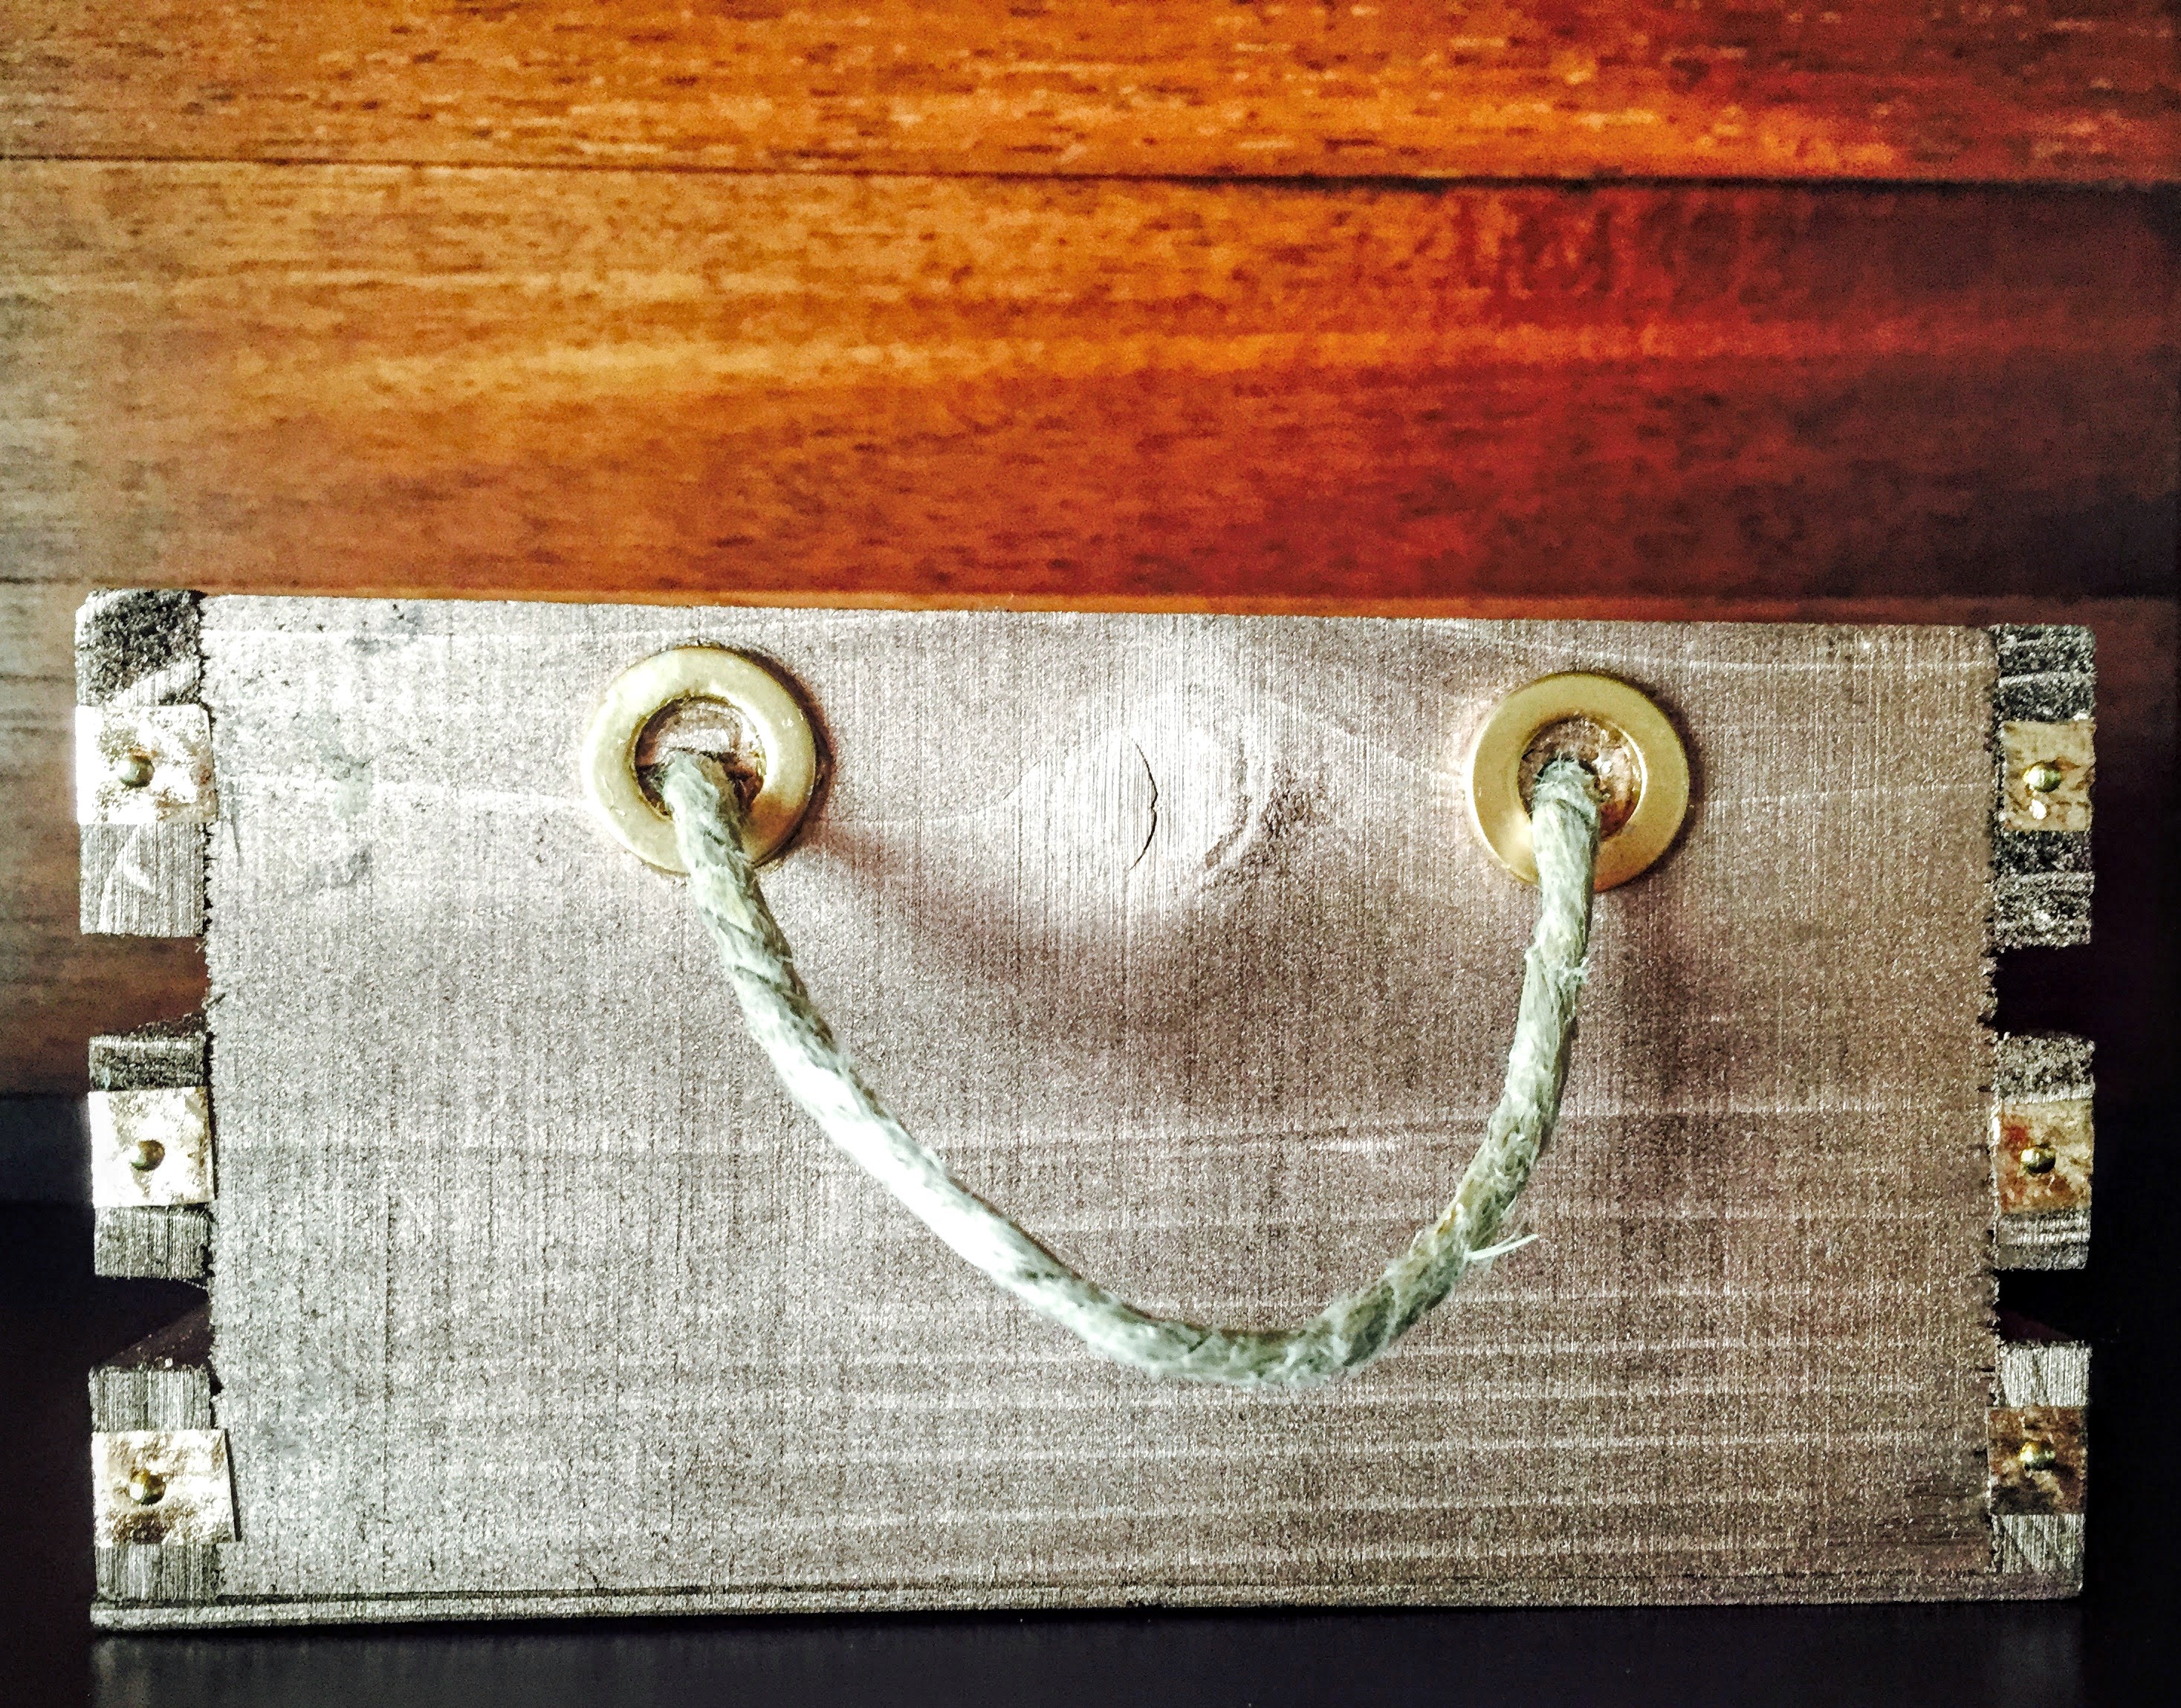
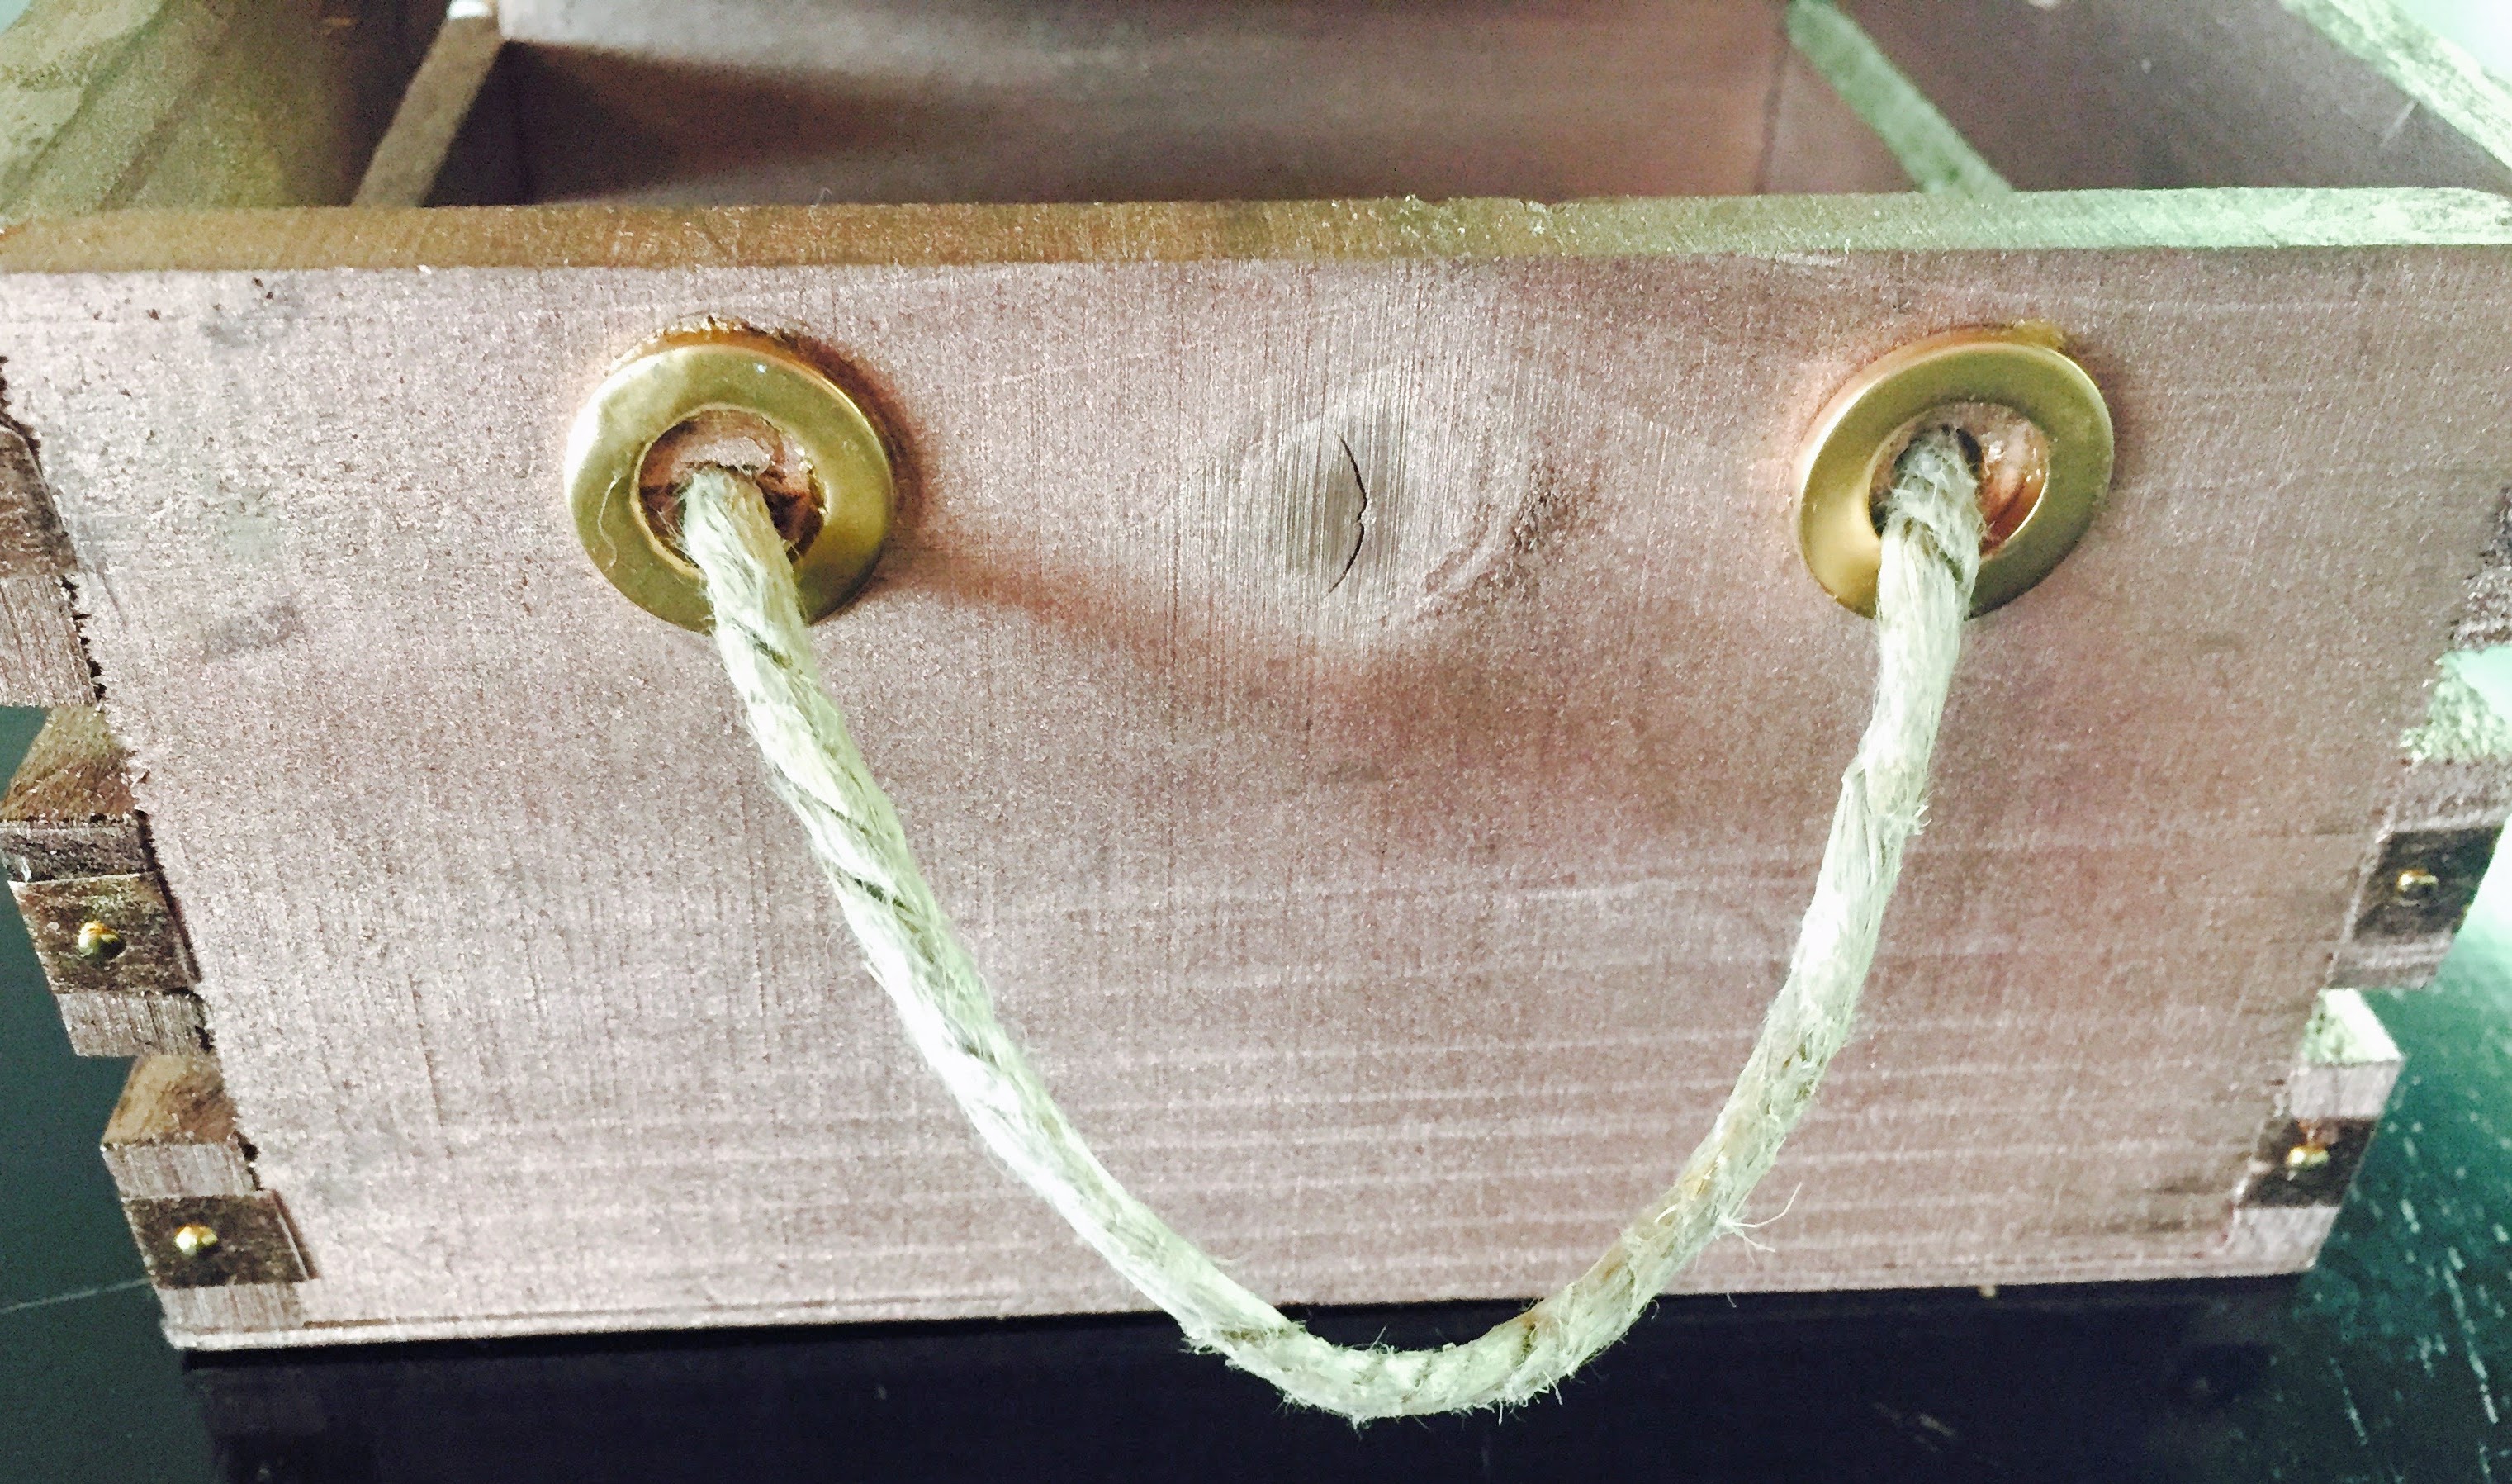
Now, you will want to take these Pearly White Rings, that I got in the jewelry section at Michael’s, and spray paint them. Keep in mind here, that you could use ANY type of ring that you think will work. Even washers would work here, if you have the correct size. Once it’s painted, almost any ring would look great! I sprayed my rings with this 24K Gold Spray Paint that I found at Michael’s.
Once your rings are dry, you will want to glue the rings on to the box. They will frame the hole that the original rope went through. Lay the box on its side, and place your rings. Next, take your E6000 and glue them on. Allow glue to set and then flip the box over, laying it on something soft so you don’t damage your painted rings, and glue on the other 2.
Now, take this rope from Michael’s and some hot glue or E6000… maybe both?! Decide how long your rope will be on the side. The rope I used, would not go through the holes. If you really want it to go through, so you can knot it on the other side, you could probably use an awl or something sharp and get it to work. I just put hot glue on the end of the rope and stuck it into the hole. It ended up working just fine. The rope is really just a decorative feature anyway. Now that E6000 is my BFF, I might try some of that with the hot glue. E6000 hardens over time, so it would probably be a more secure option. And here is your result:
I like the 24K Gold for the rings against the Rose Gold on the planter, because it makes the rings stand out a bit and it also ties in the gold nails I used.
There you have it! Planter #2. Simple and beautiful!
Now you’re done with your first 2 planters!
Moving on to Planter #3…
with the Copper Wire Hanger!
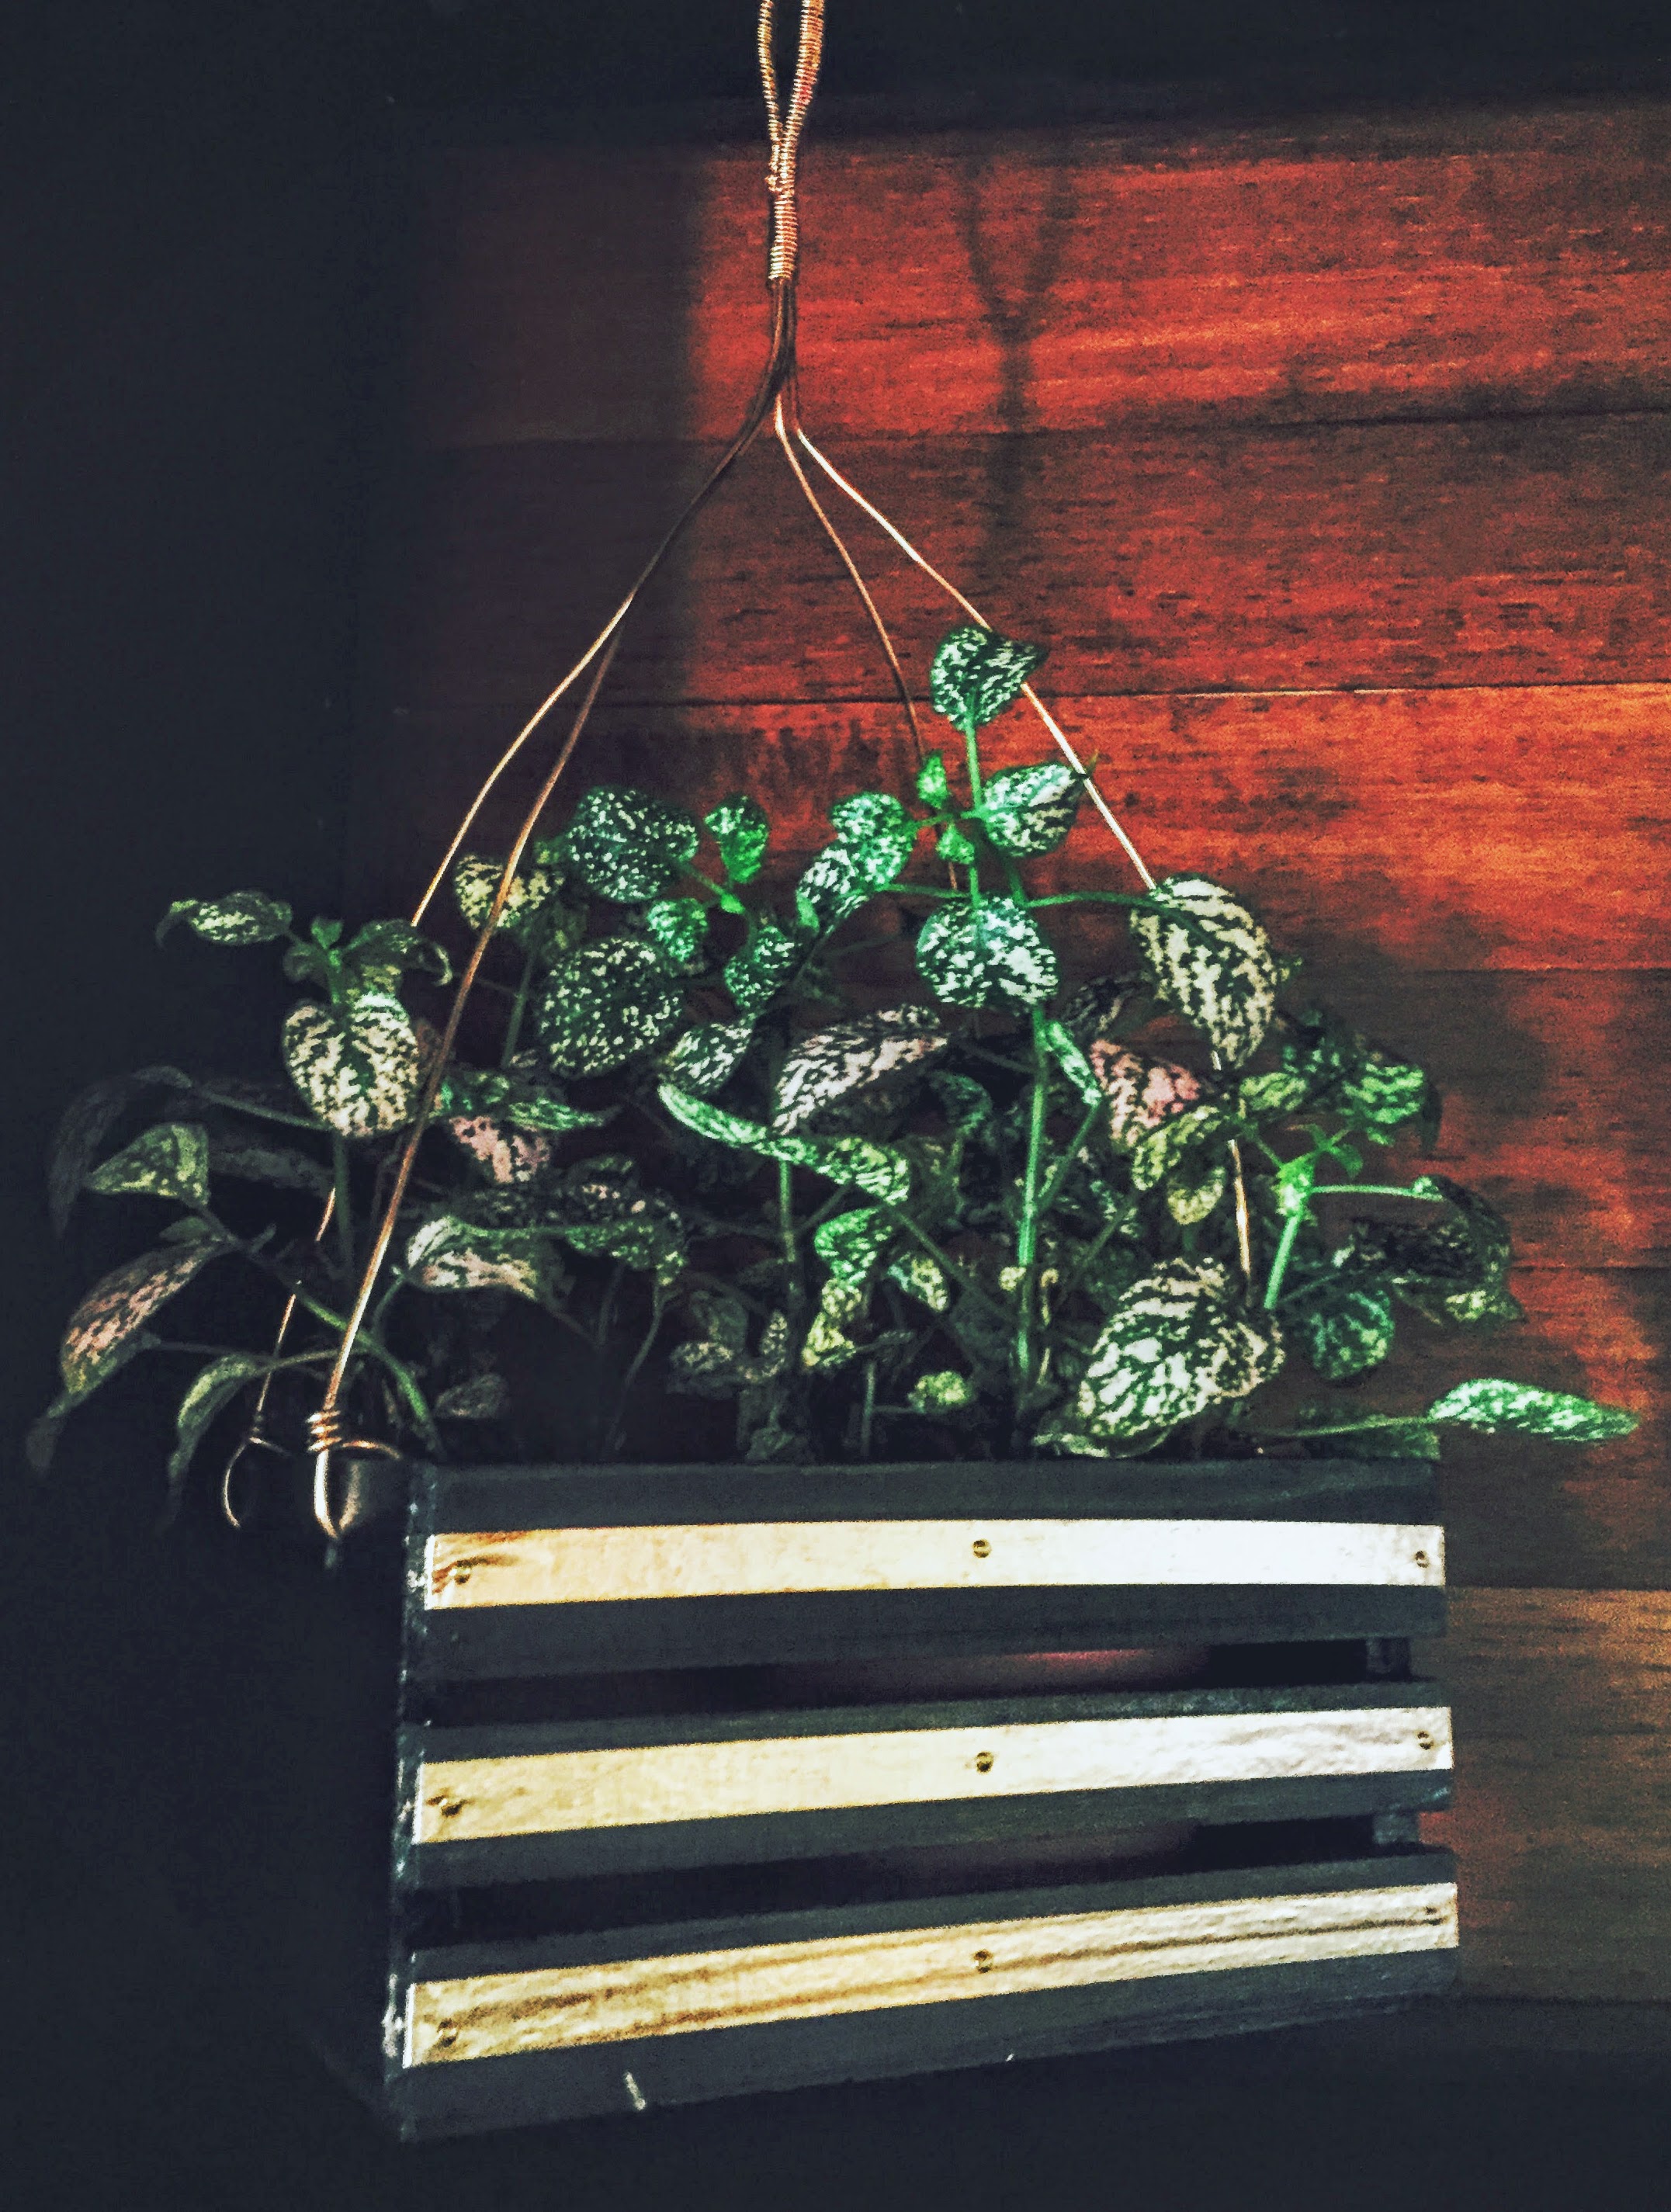
Obviously, you could mix and match the ideas… you could put the Copper Wire Hanger on the Rose Gold Box (Planter #2), or you could stain and lacquer, as seen in this example, and simply add new rope and rings to the side. It just depends how much work you want to do and which box you like. The Copper Wire Hanger turned out nicely, though, if you have the time and the tools!