
Hello! Welcome to The Craine’s Nest!
I’m finally getting back in the saddle and feeling more myself, after our big move to Temecula. We’ve been here about 6 months now, settled in a bit, made a few friends, and I’ve regained some of my energy, happy to say!
What I’ve learned: it’s hard moving with a 2 1/2 year old! Hopefully, we’ll stay put for a little while… at least long enough to figure out if Temecula is the place for us.
The people in our family who have decided that Temecula is their beloved home and THE best place they’ve ever lived, are Gabe and Zoe. They love it here. In fact, Zoe asks me regularly, if we “can please stay in ‘Mecula forever?”! Gabe’s made lots of friends and has freedom here that he didn’t have in San Diego (our La mesa neighborhood was a little iffey). His friends come over a lot, so I thought it was time to get his room together and make it something he could be proud of. We worked hard and Gabe loves it.
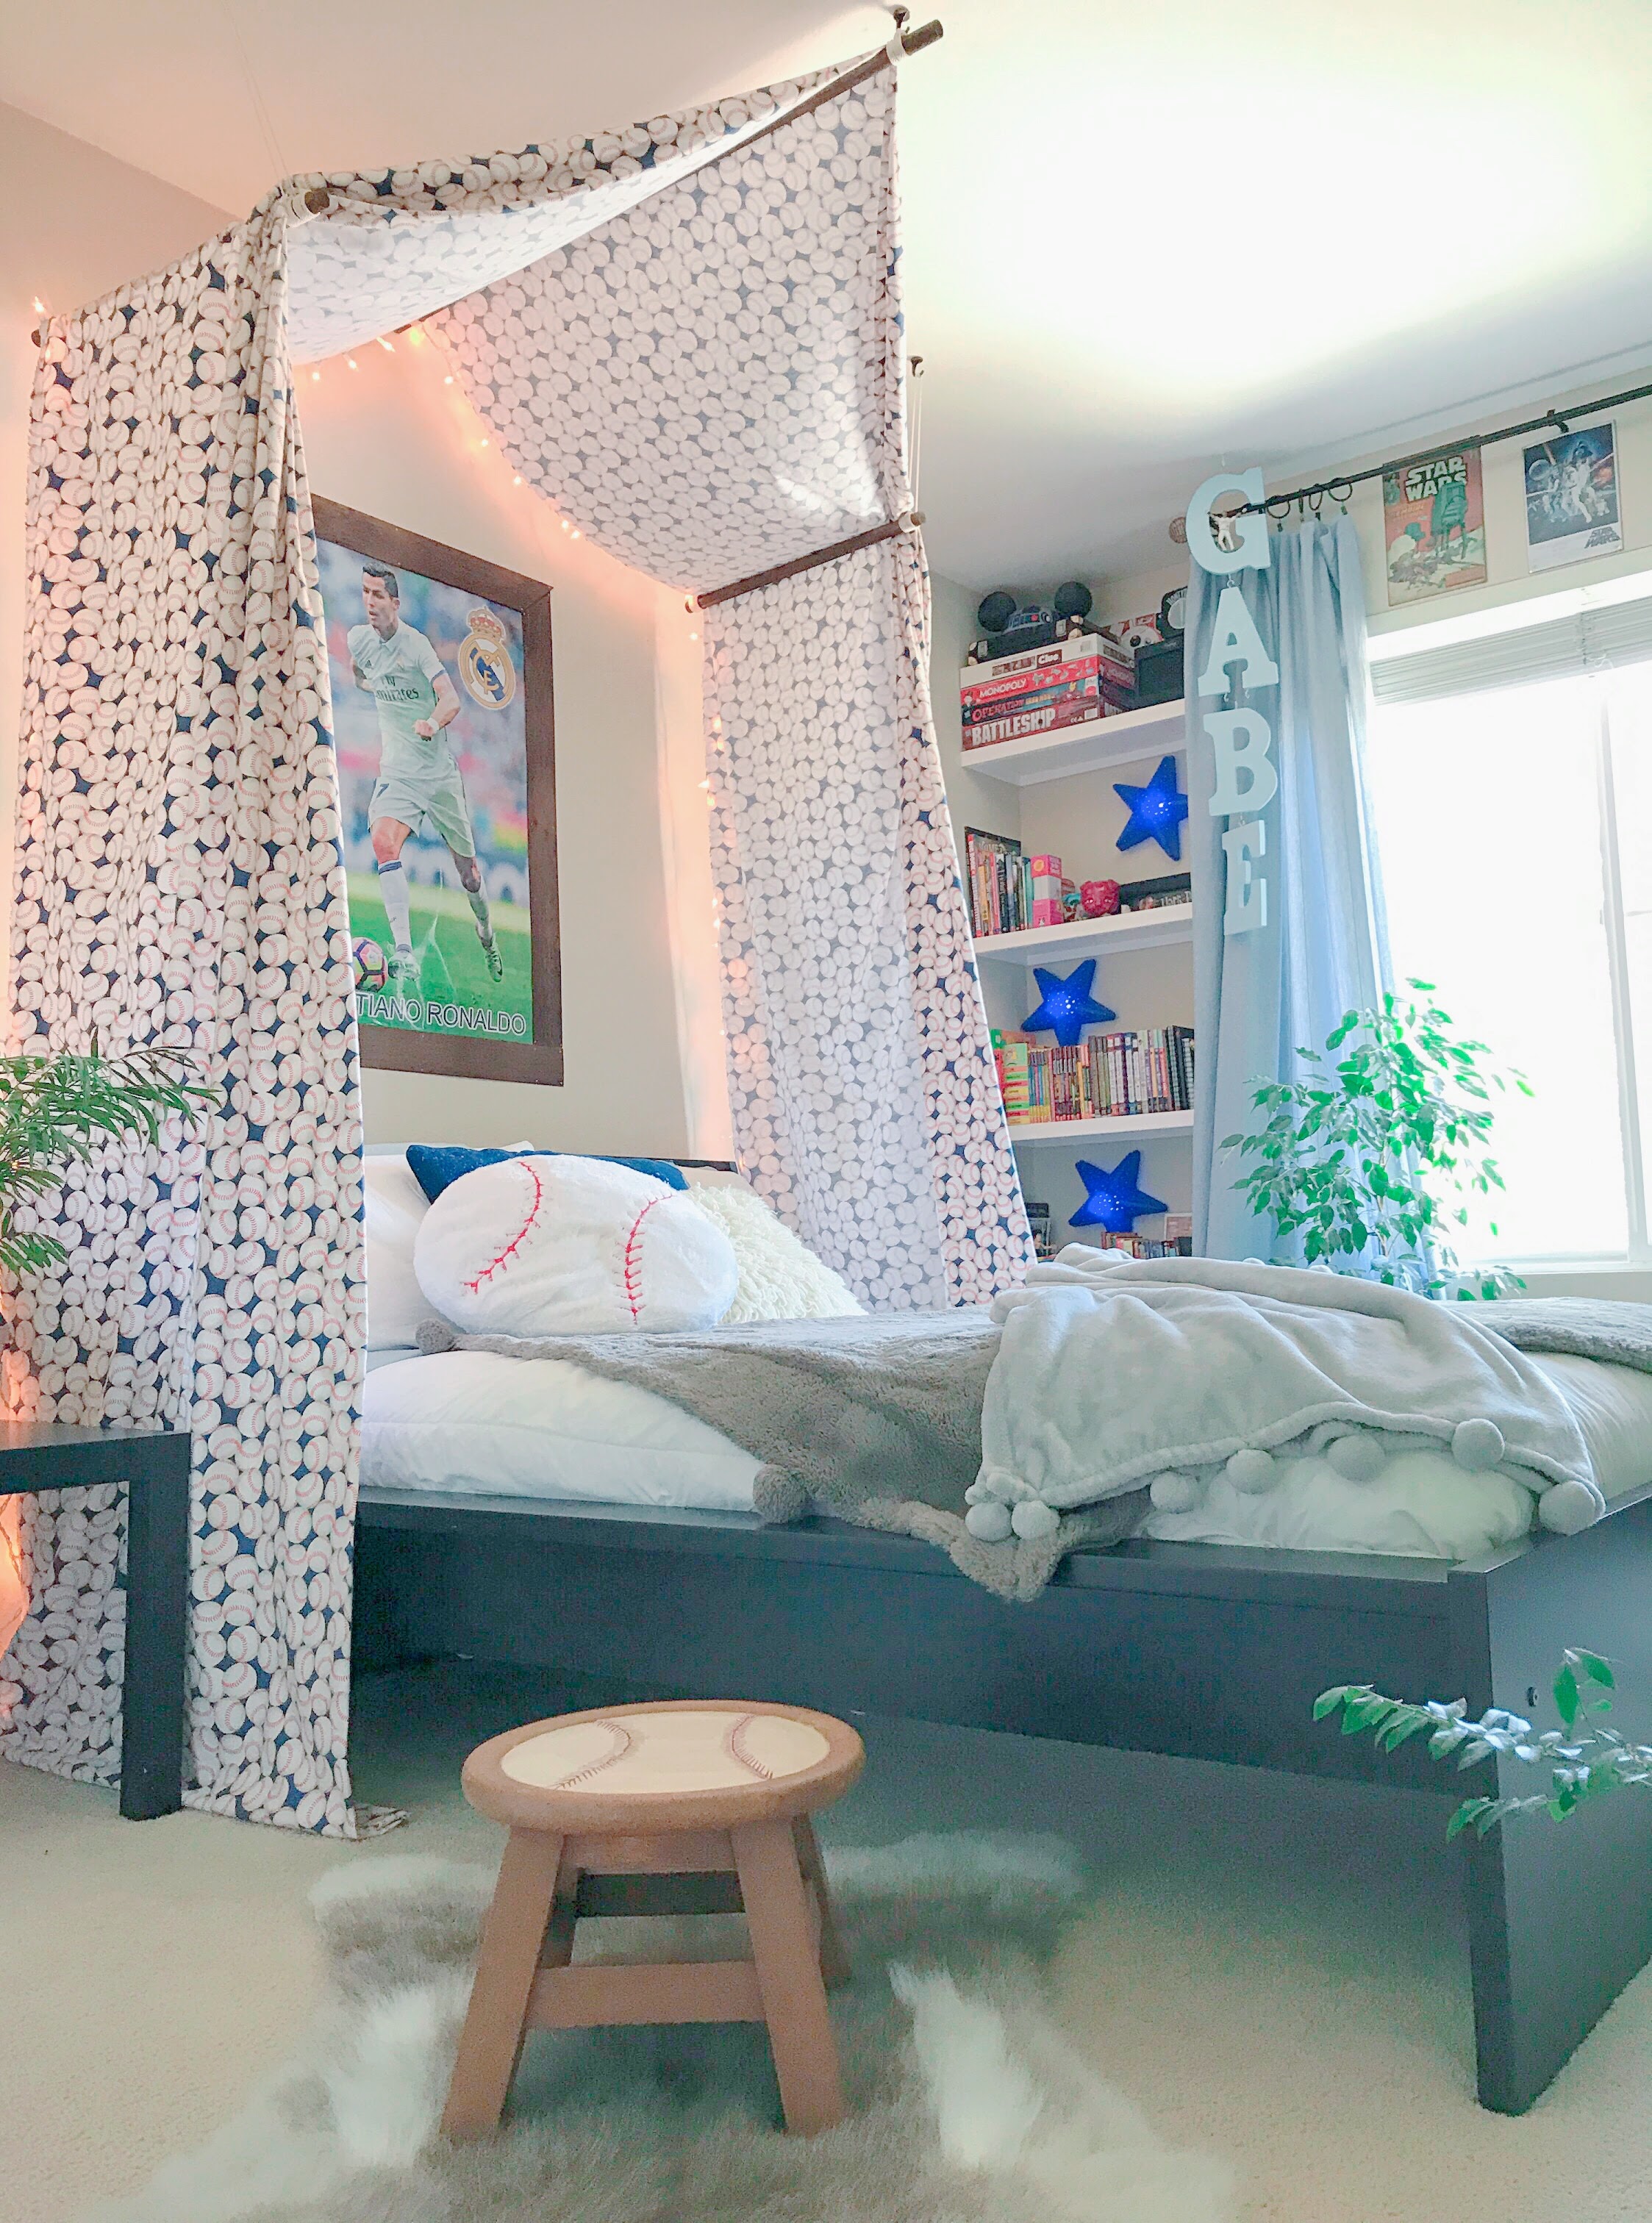
Gabe has many interests, so we had a lot to pull together in a very small space (about 10 1/2’x 11 1/2′). His main love in life is baseball, followed closely by soccer, and Star Wars… so, these 3 things make up the theme of his room. How do you pull all this together and build an awesome canopy from scratch (for next to nothing)? I’m here to show you… let’s start from the beginning!
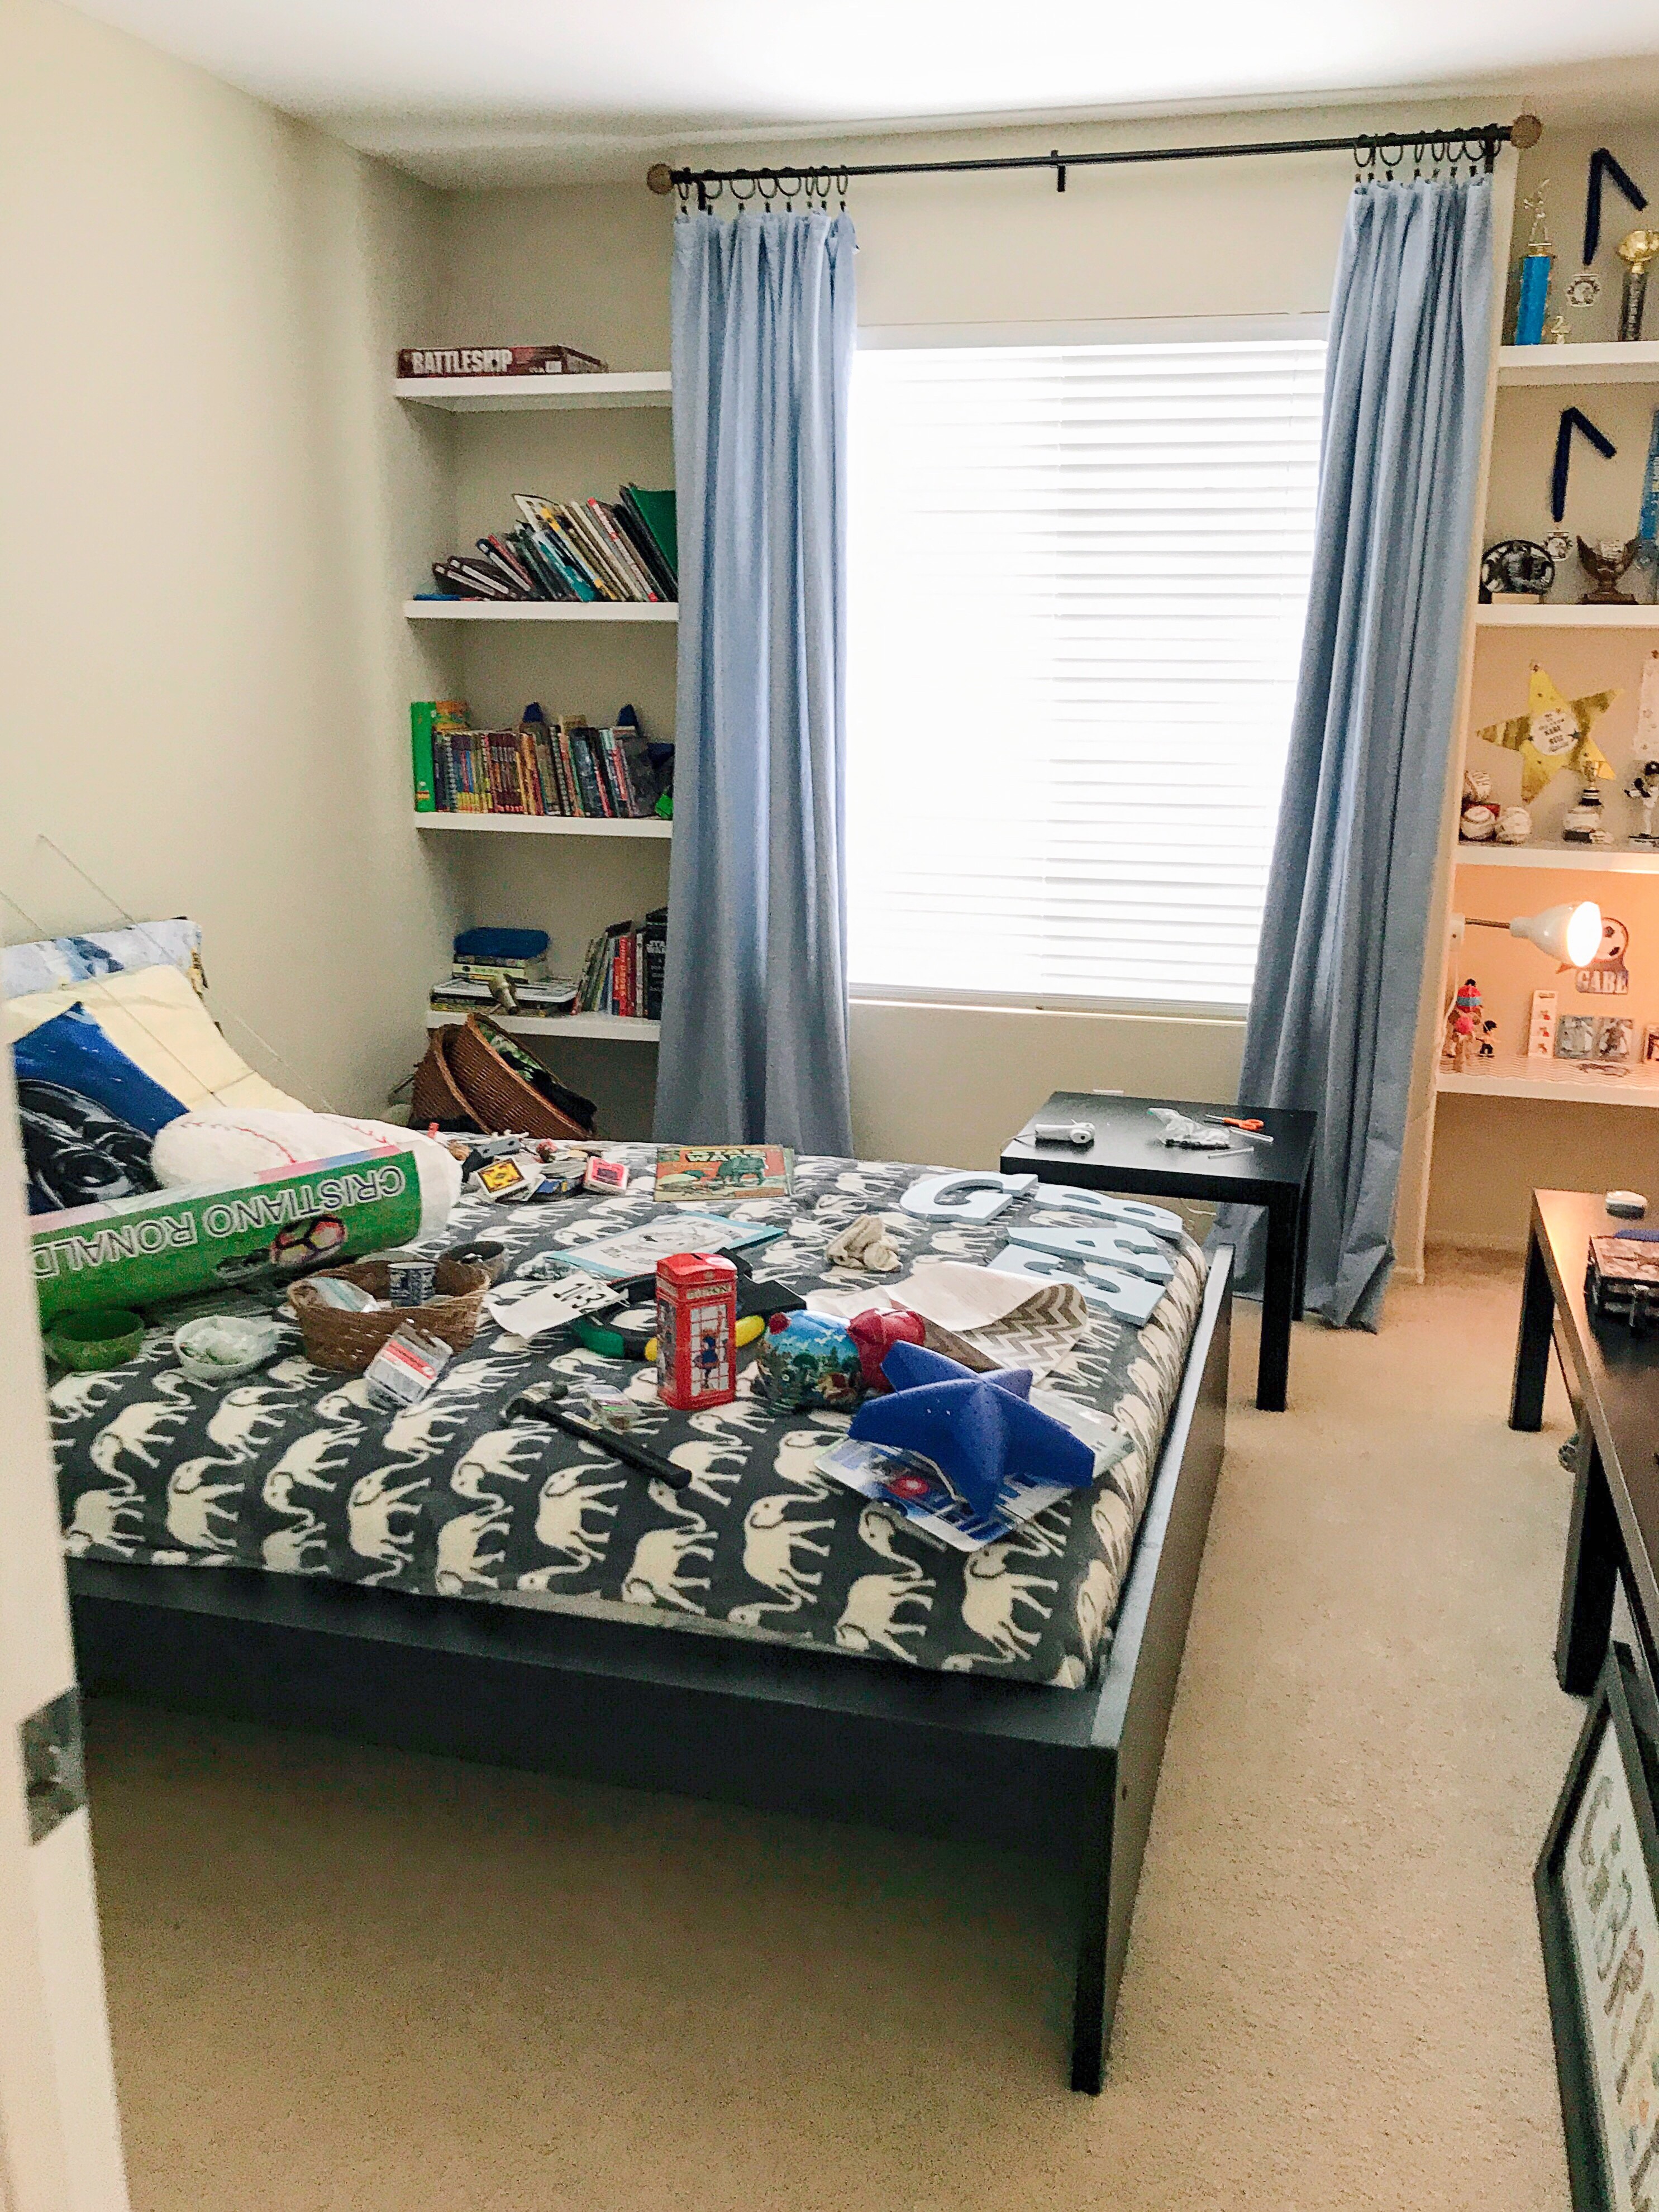
Ok, so this is not the ABSOLUTE beginning- I wish I had a picture of the before before, but I always forget to take those. In this shot, the room had actually been cleaned up a lot, and we had thrown out about 1/3 of what was in there. I had already organized the right-hand bank of built-ins, and had removed the giant pile of junk below them. It was a mess. For a long time. Come to think of it, I’m kinda glad I don’t have a picture to commemorate what I forced my 10 year old to live in for the past 6 months! Now, Gabe has a comfy, cozy, warm space to call his own! He was very patient.
My first objective was getting the built-ins into some kind of respectable order. Gabe had a lot of little things that needed to be organized, as well as many books, games, etc. In our last house, his room was even smaller with less storage and we had no extra closets in the house. So… all his books and games were taking up his closet where his clothes should’ve been, and we had a ton of stuff under his bed. The built-ins here, house everything that was under his bed and in his closet, as well as all his trophies and awards that were squished into one tiny shelving unit, in his last room. I LOVE the built-ins, because now we have a small closet dedicated to clothes, and a clean, clear space under the bed. Also, and more importantly, Gabe has a space dedicated to the many accolades he’s worked so hard to achieve- the little guy deserves it!
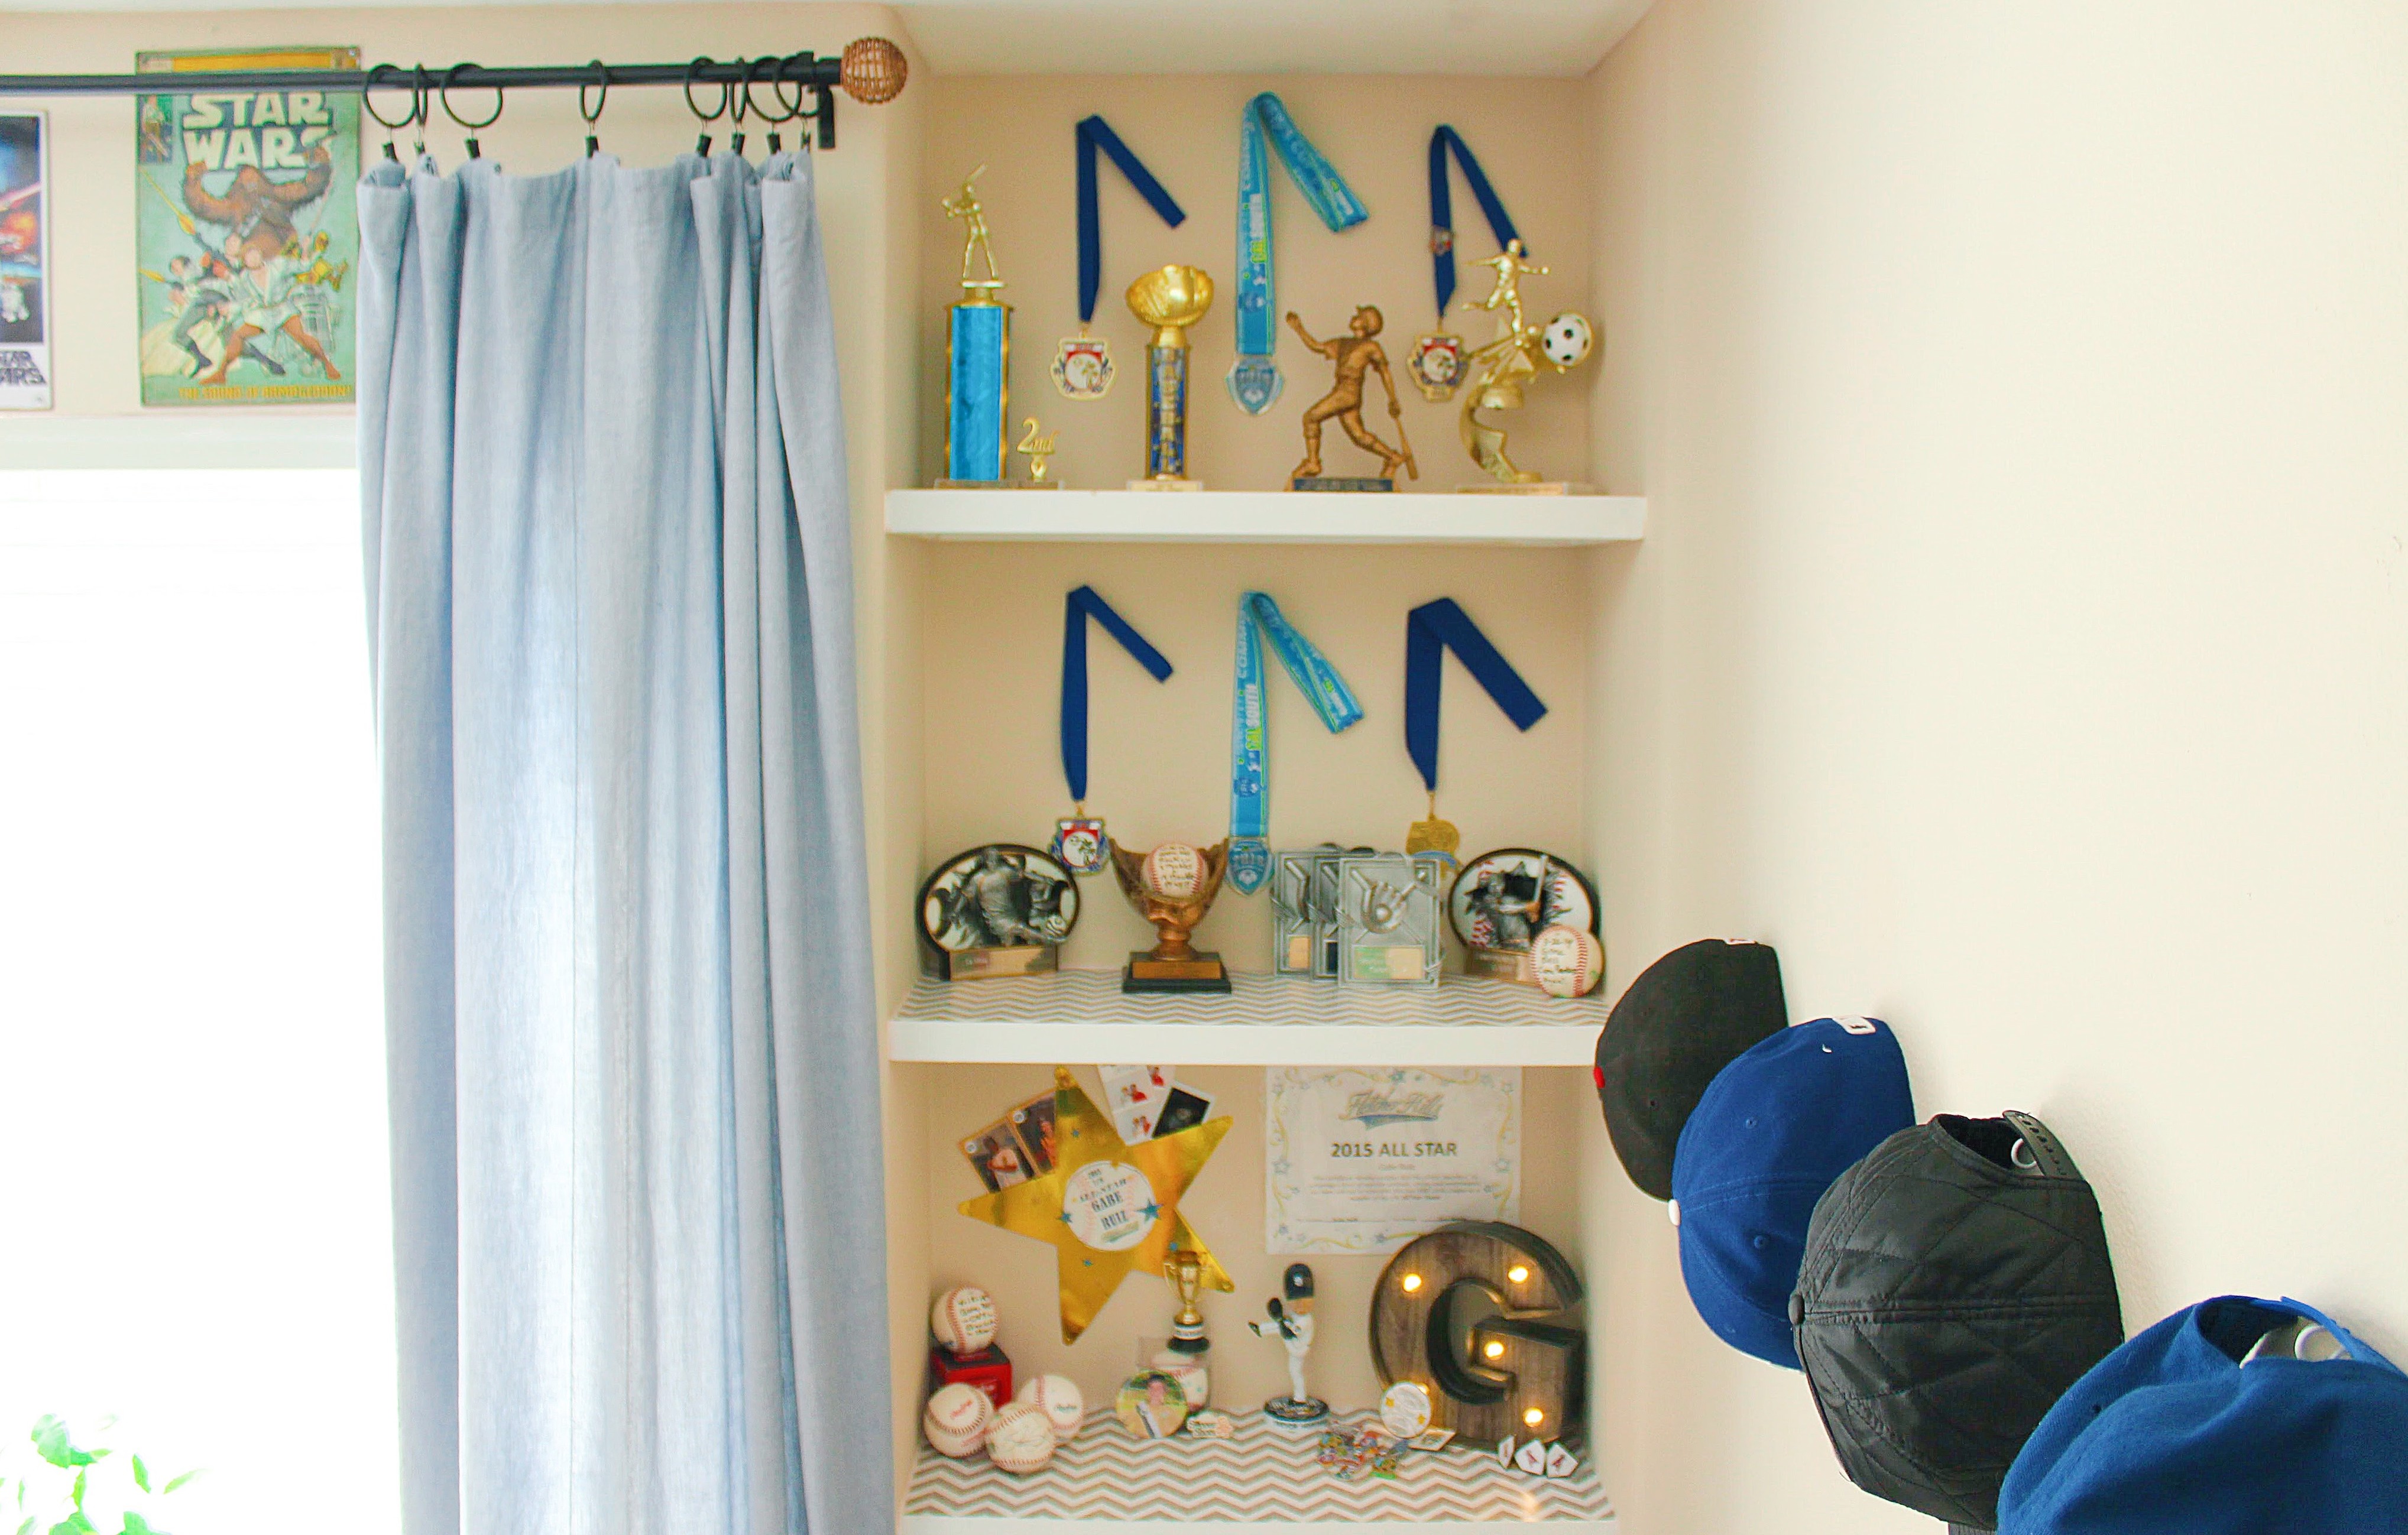
The built-ins are a little busy, because we have books, games, trophies, and other things, but they’re well-organized… and if there’s a place where going a little crazy is allowed, it’s a kid’s bedroom! I lined them with contact paper from Target (easily removable when we leave our rental) and voila!
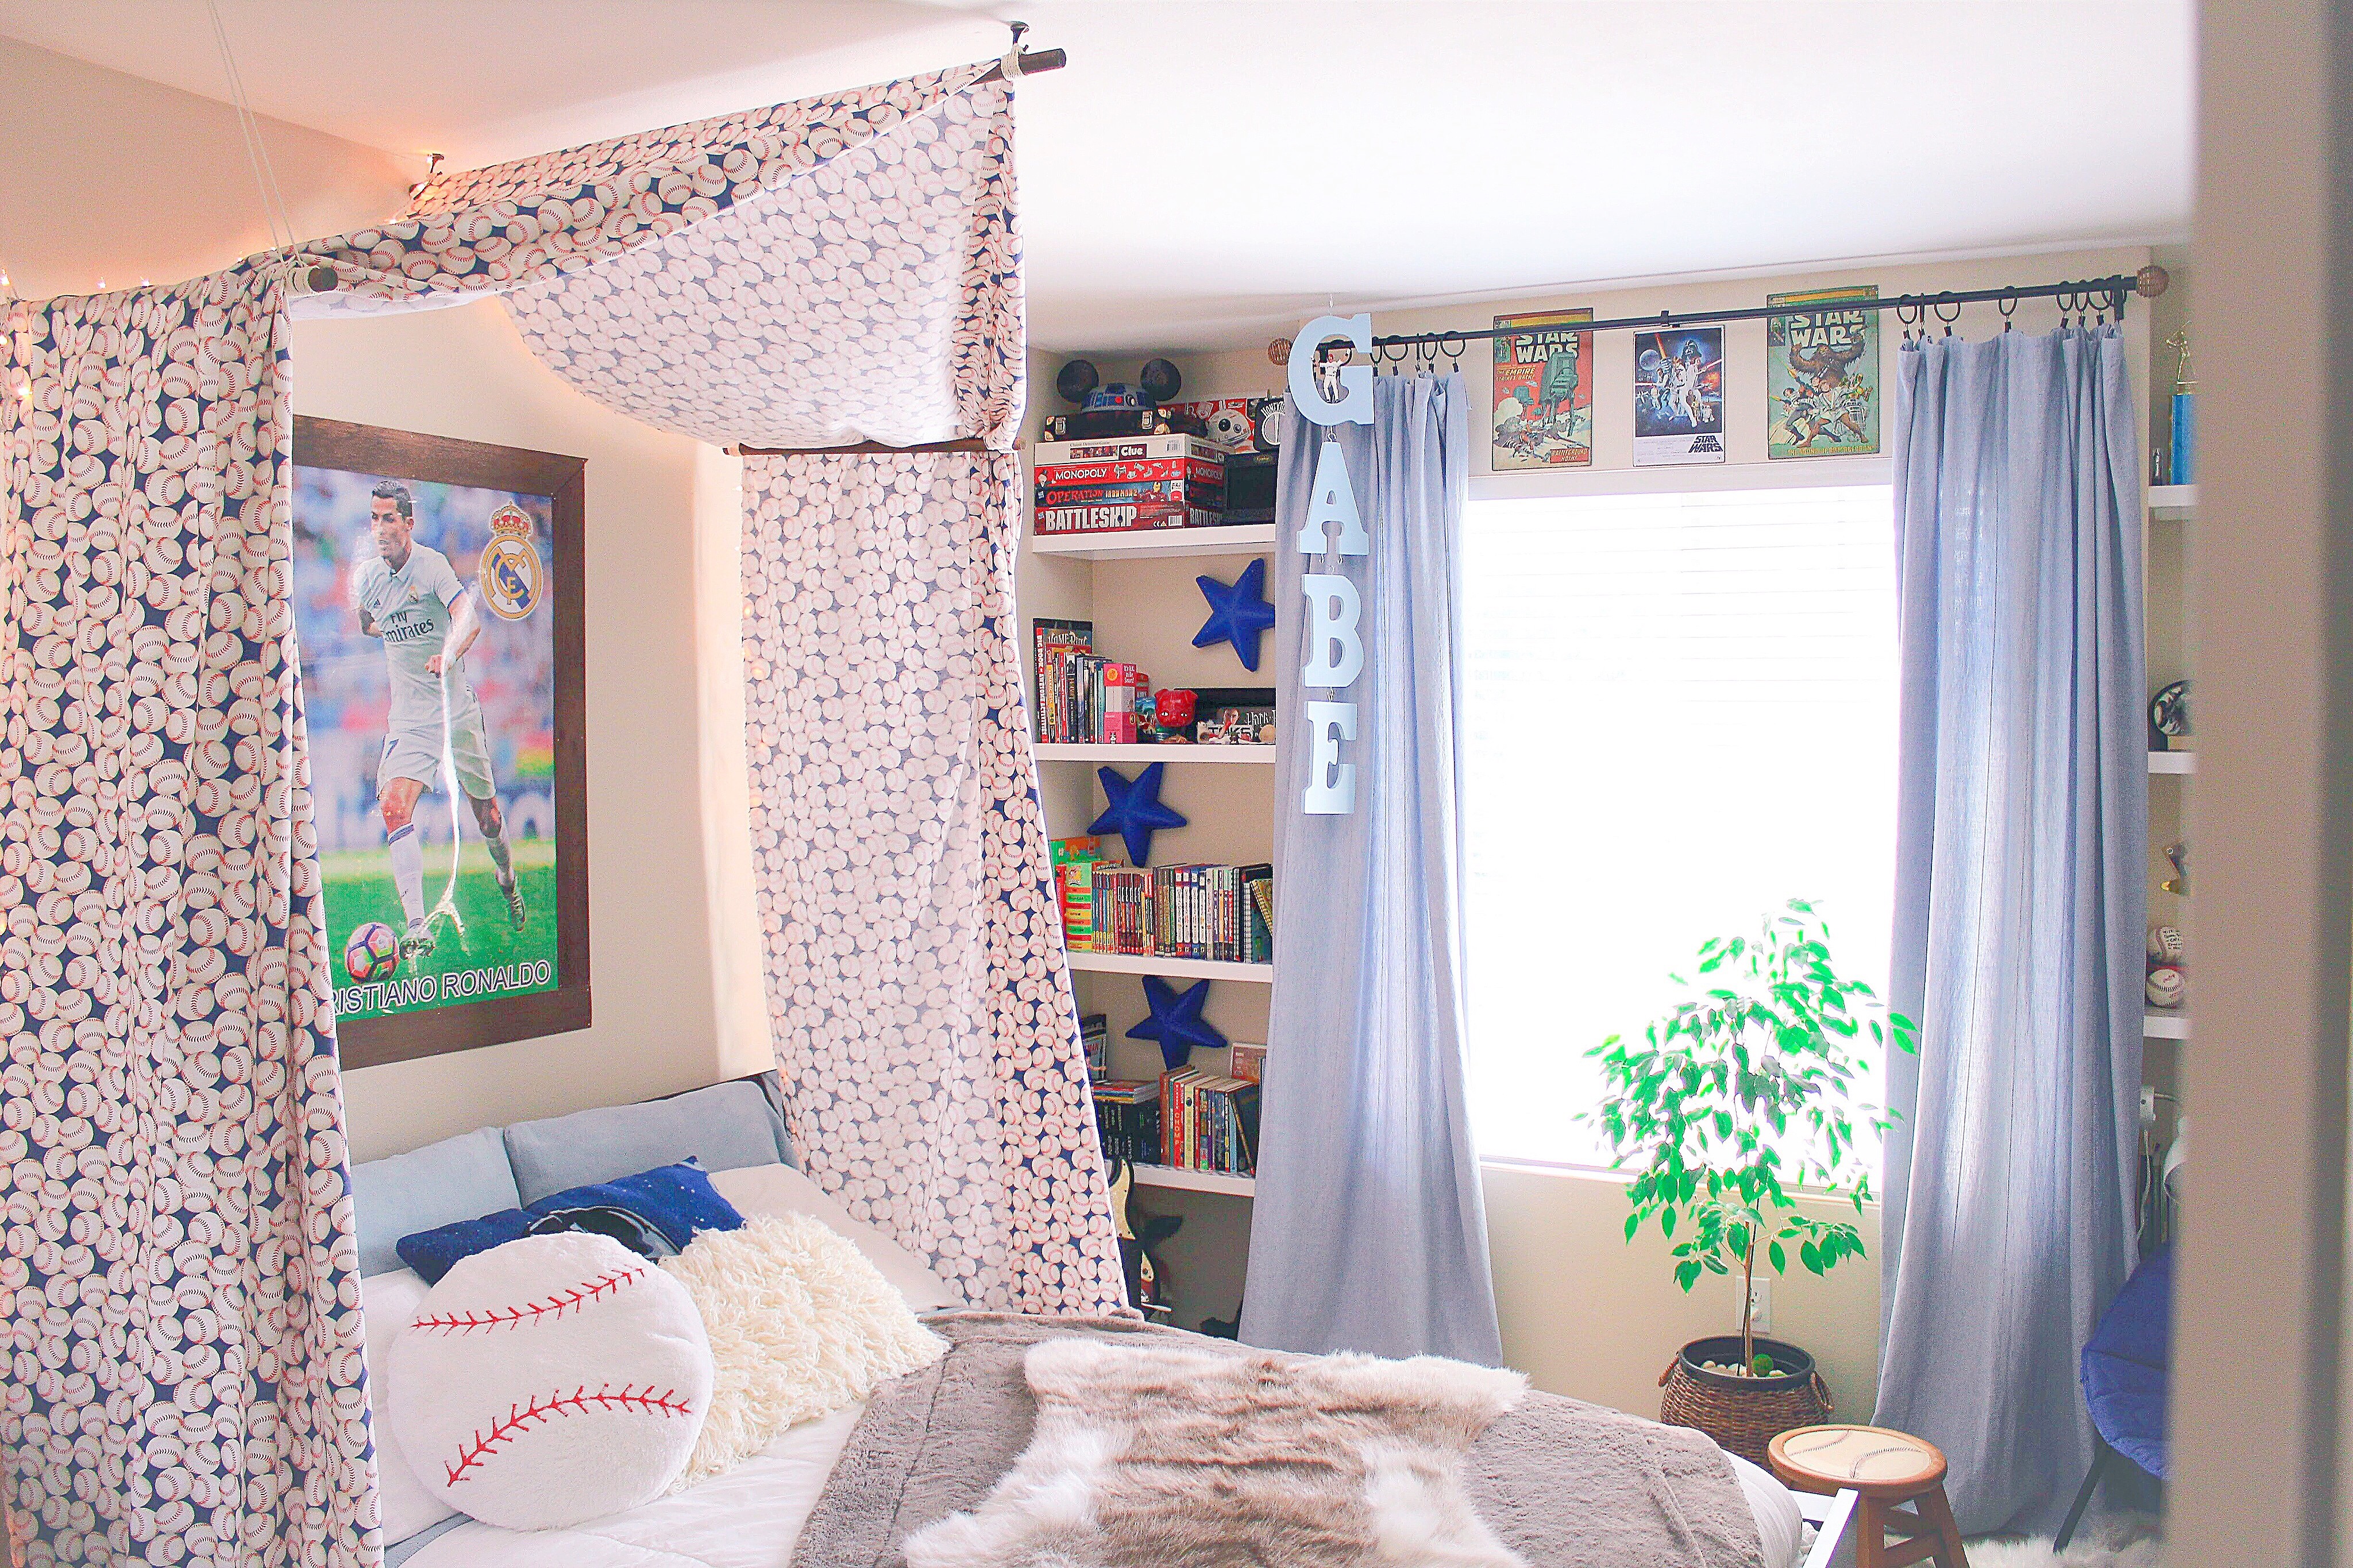
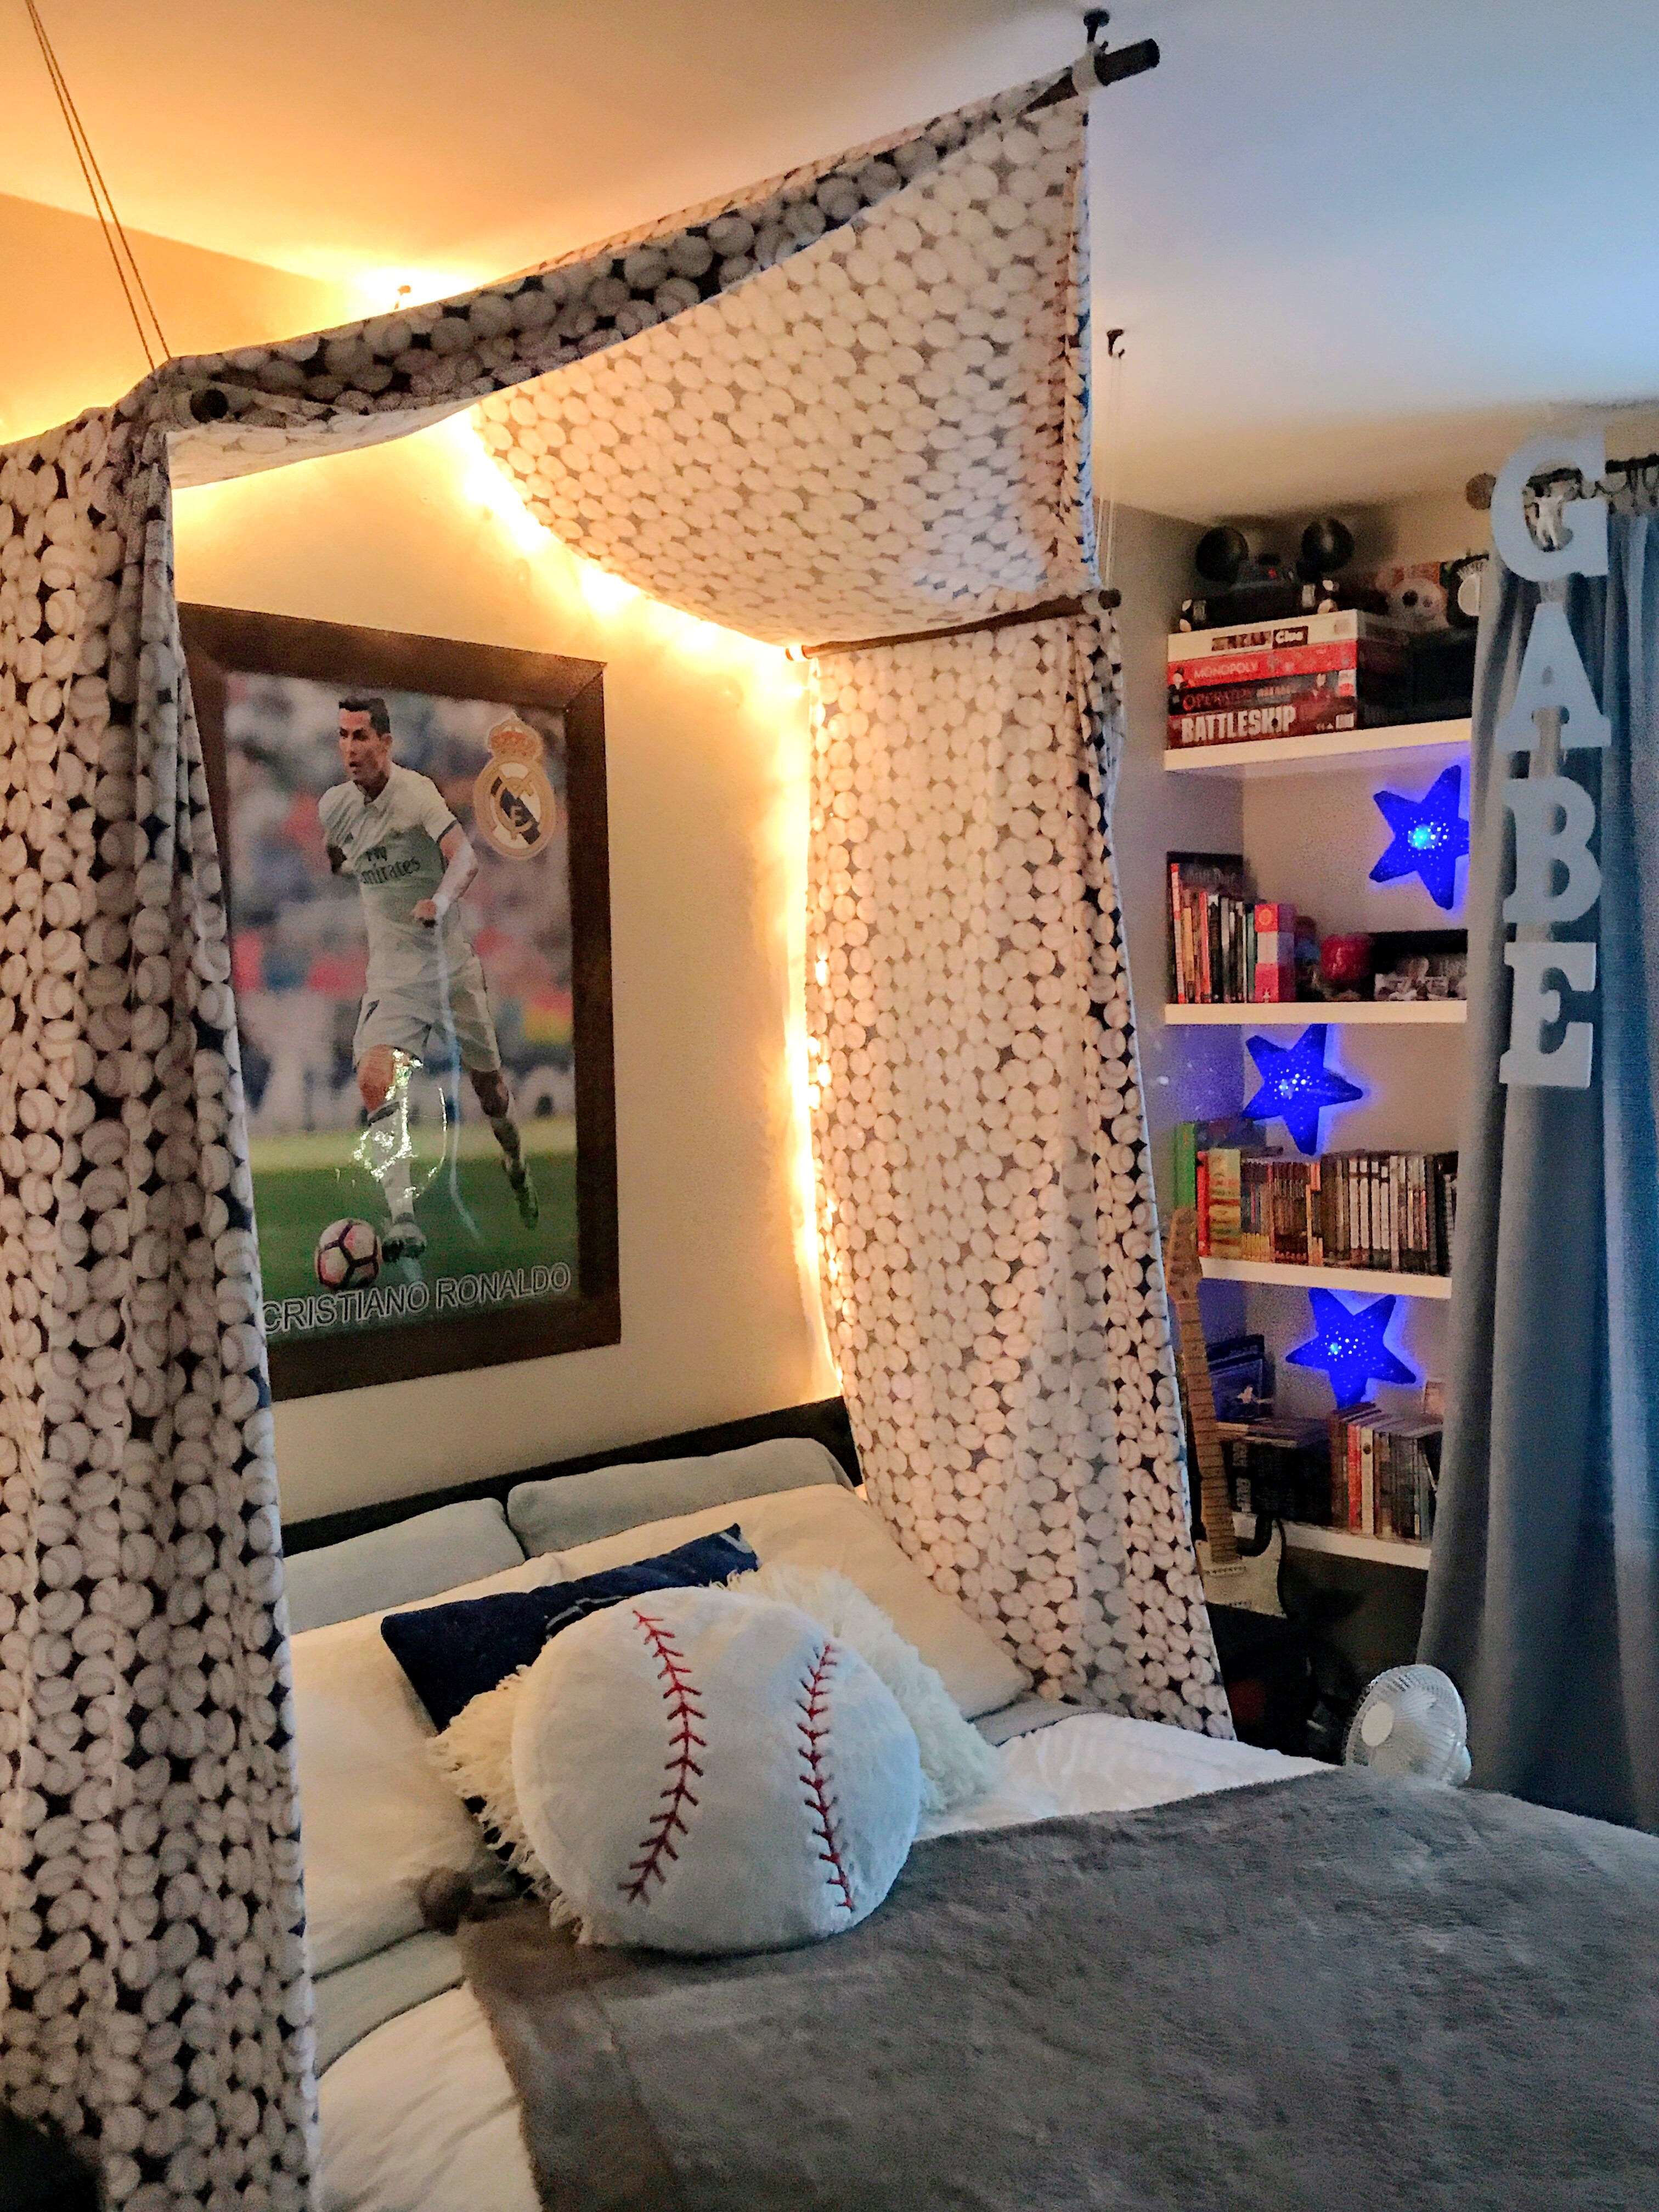
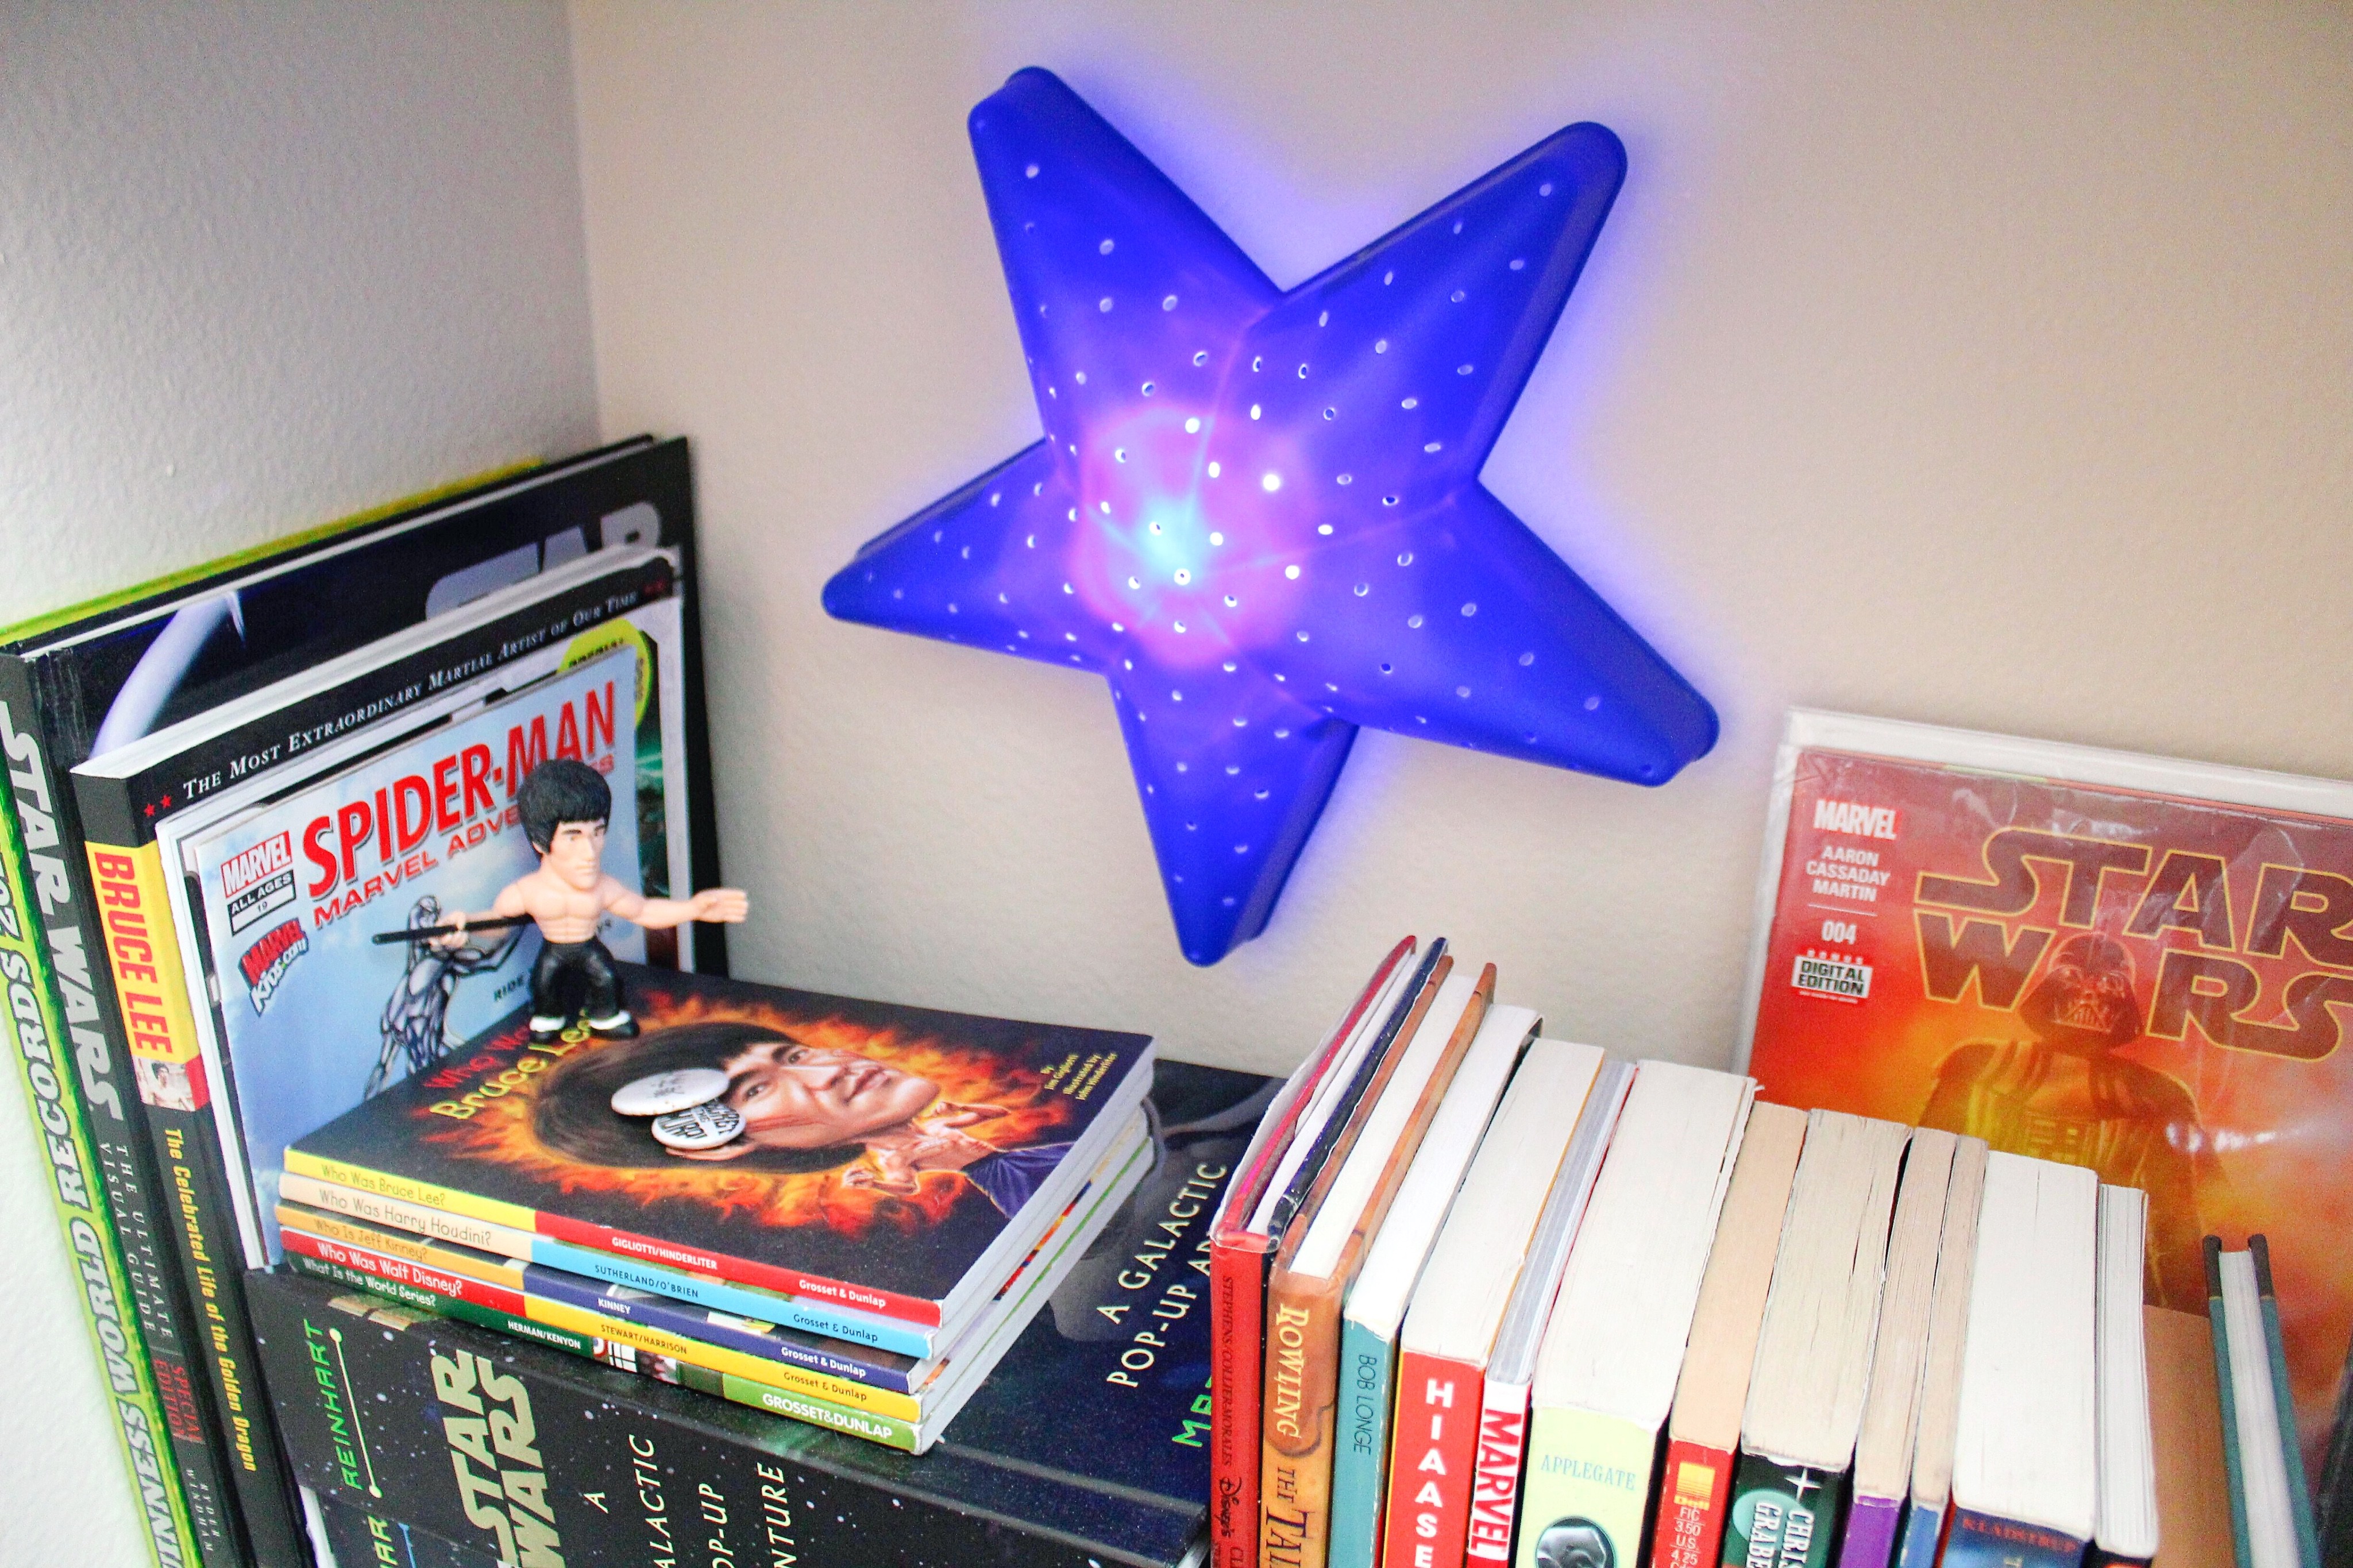
Adding some lighting or art to bookshelves, can shift the focus from the busi-ness of all the books and games to a bright focal point, like the blue stars, below. I bought them at IKEA when Gabe was little, and removed the plug-in light fixture that they came with. I replaced them with puck lights from Target. I like the effect so much more than the ugly white cord that was hanging out of them before. The other benefit being, that you can stick them anywhere and not worry about outlet availability. Here’s the left-side bank of shelves glowing at night. It’s a pretty effect and definitely diverts your attention away from all the “stuff”:
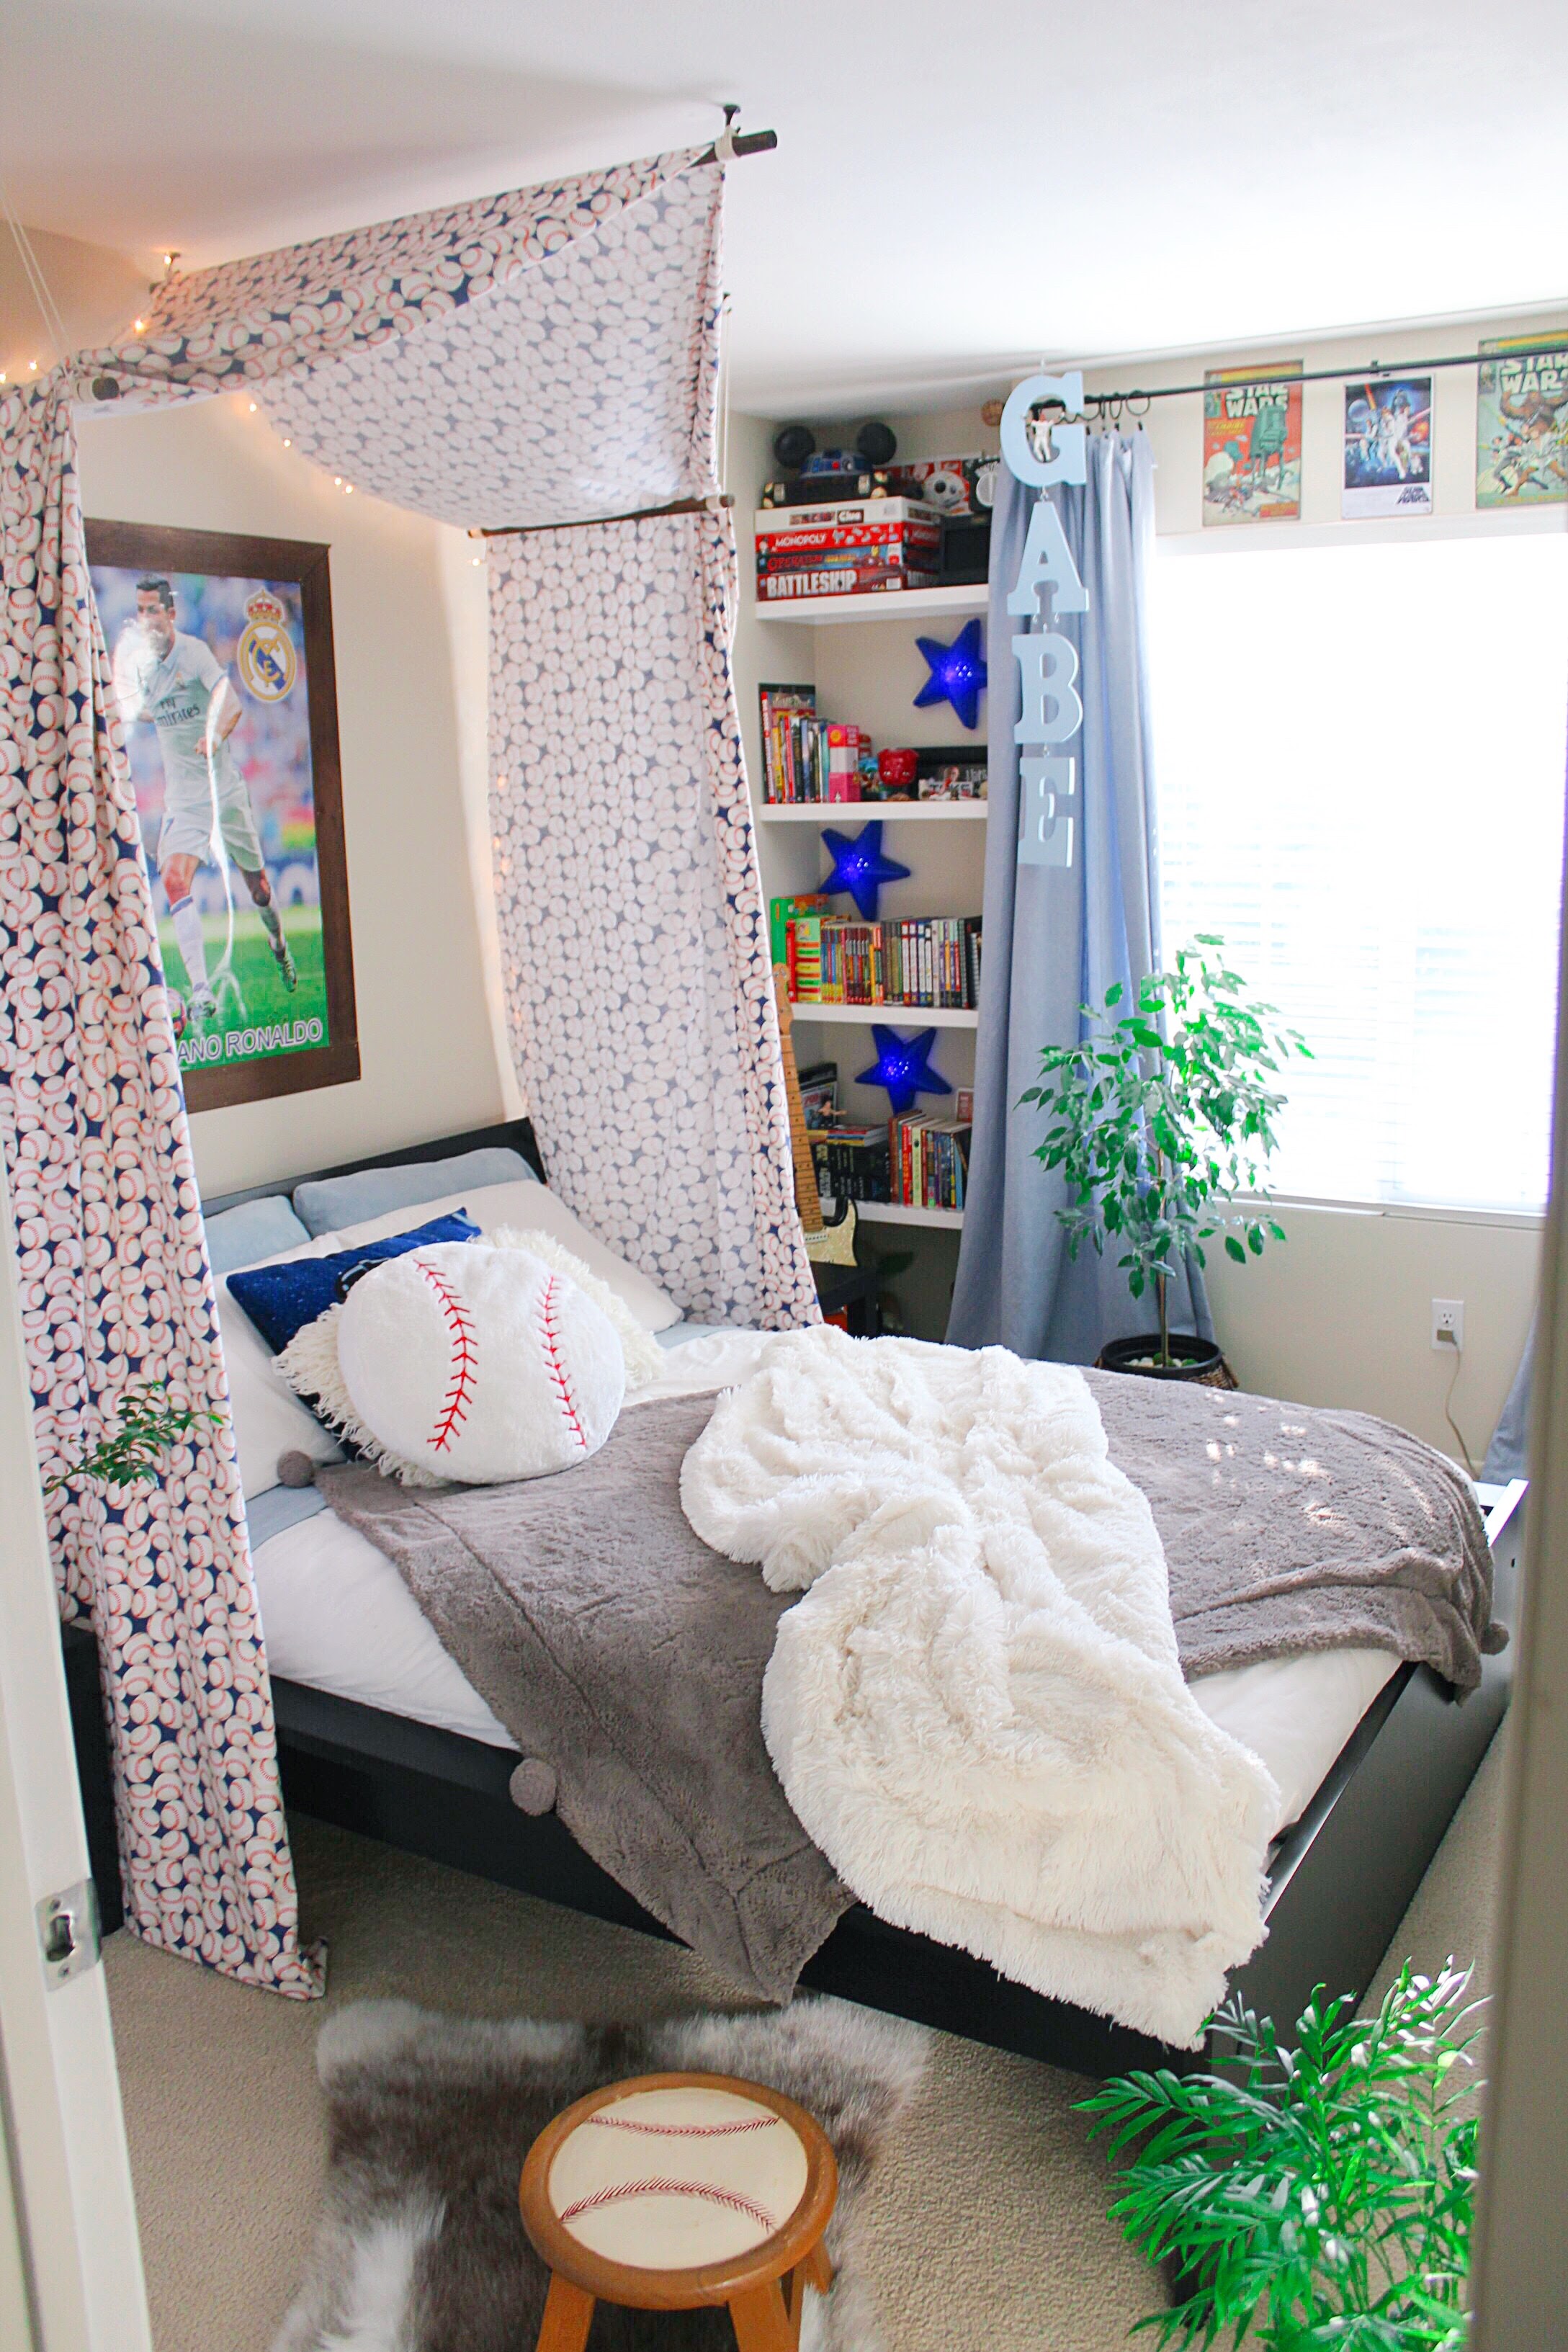
After I organized the shelves, I created a cap wall (per Gabe’s request) for his many baseball caps and a reading nook (Blue Bucket Chair- Target: $24.99). I lined 2 IKEA coffee tables ($25 each) with 8 wicker baskets (bought at WalMart for $7 each, years ago) to hold random electronics and toys. Furry shag rugs were purchased at Target and Home Goods for $10- $15, and I bought the baseball foot stool at Home Goods for $14.99. Gabe’s Comfy Nook:

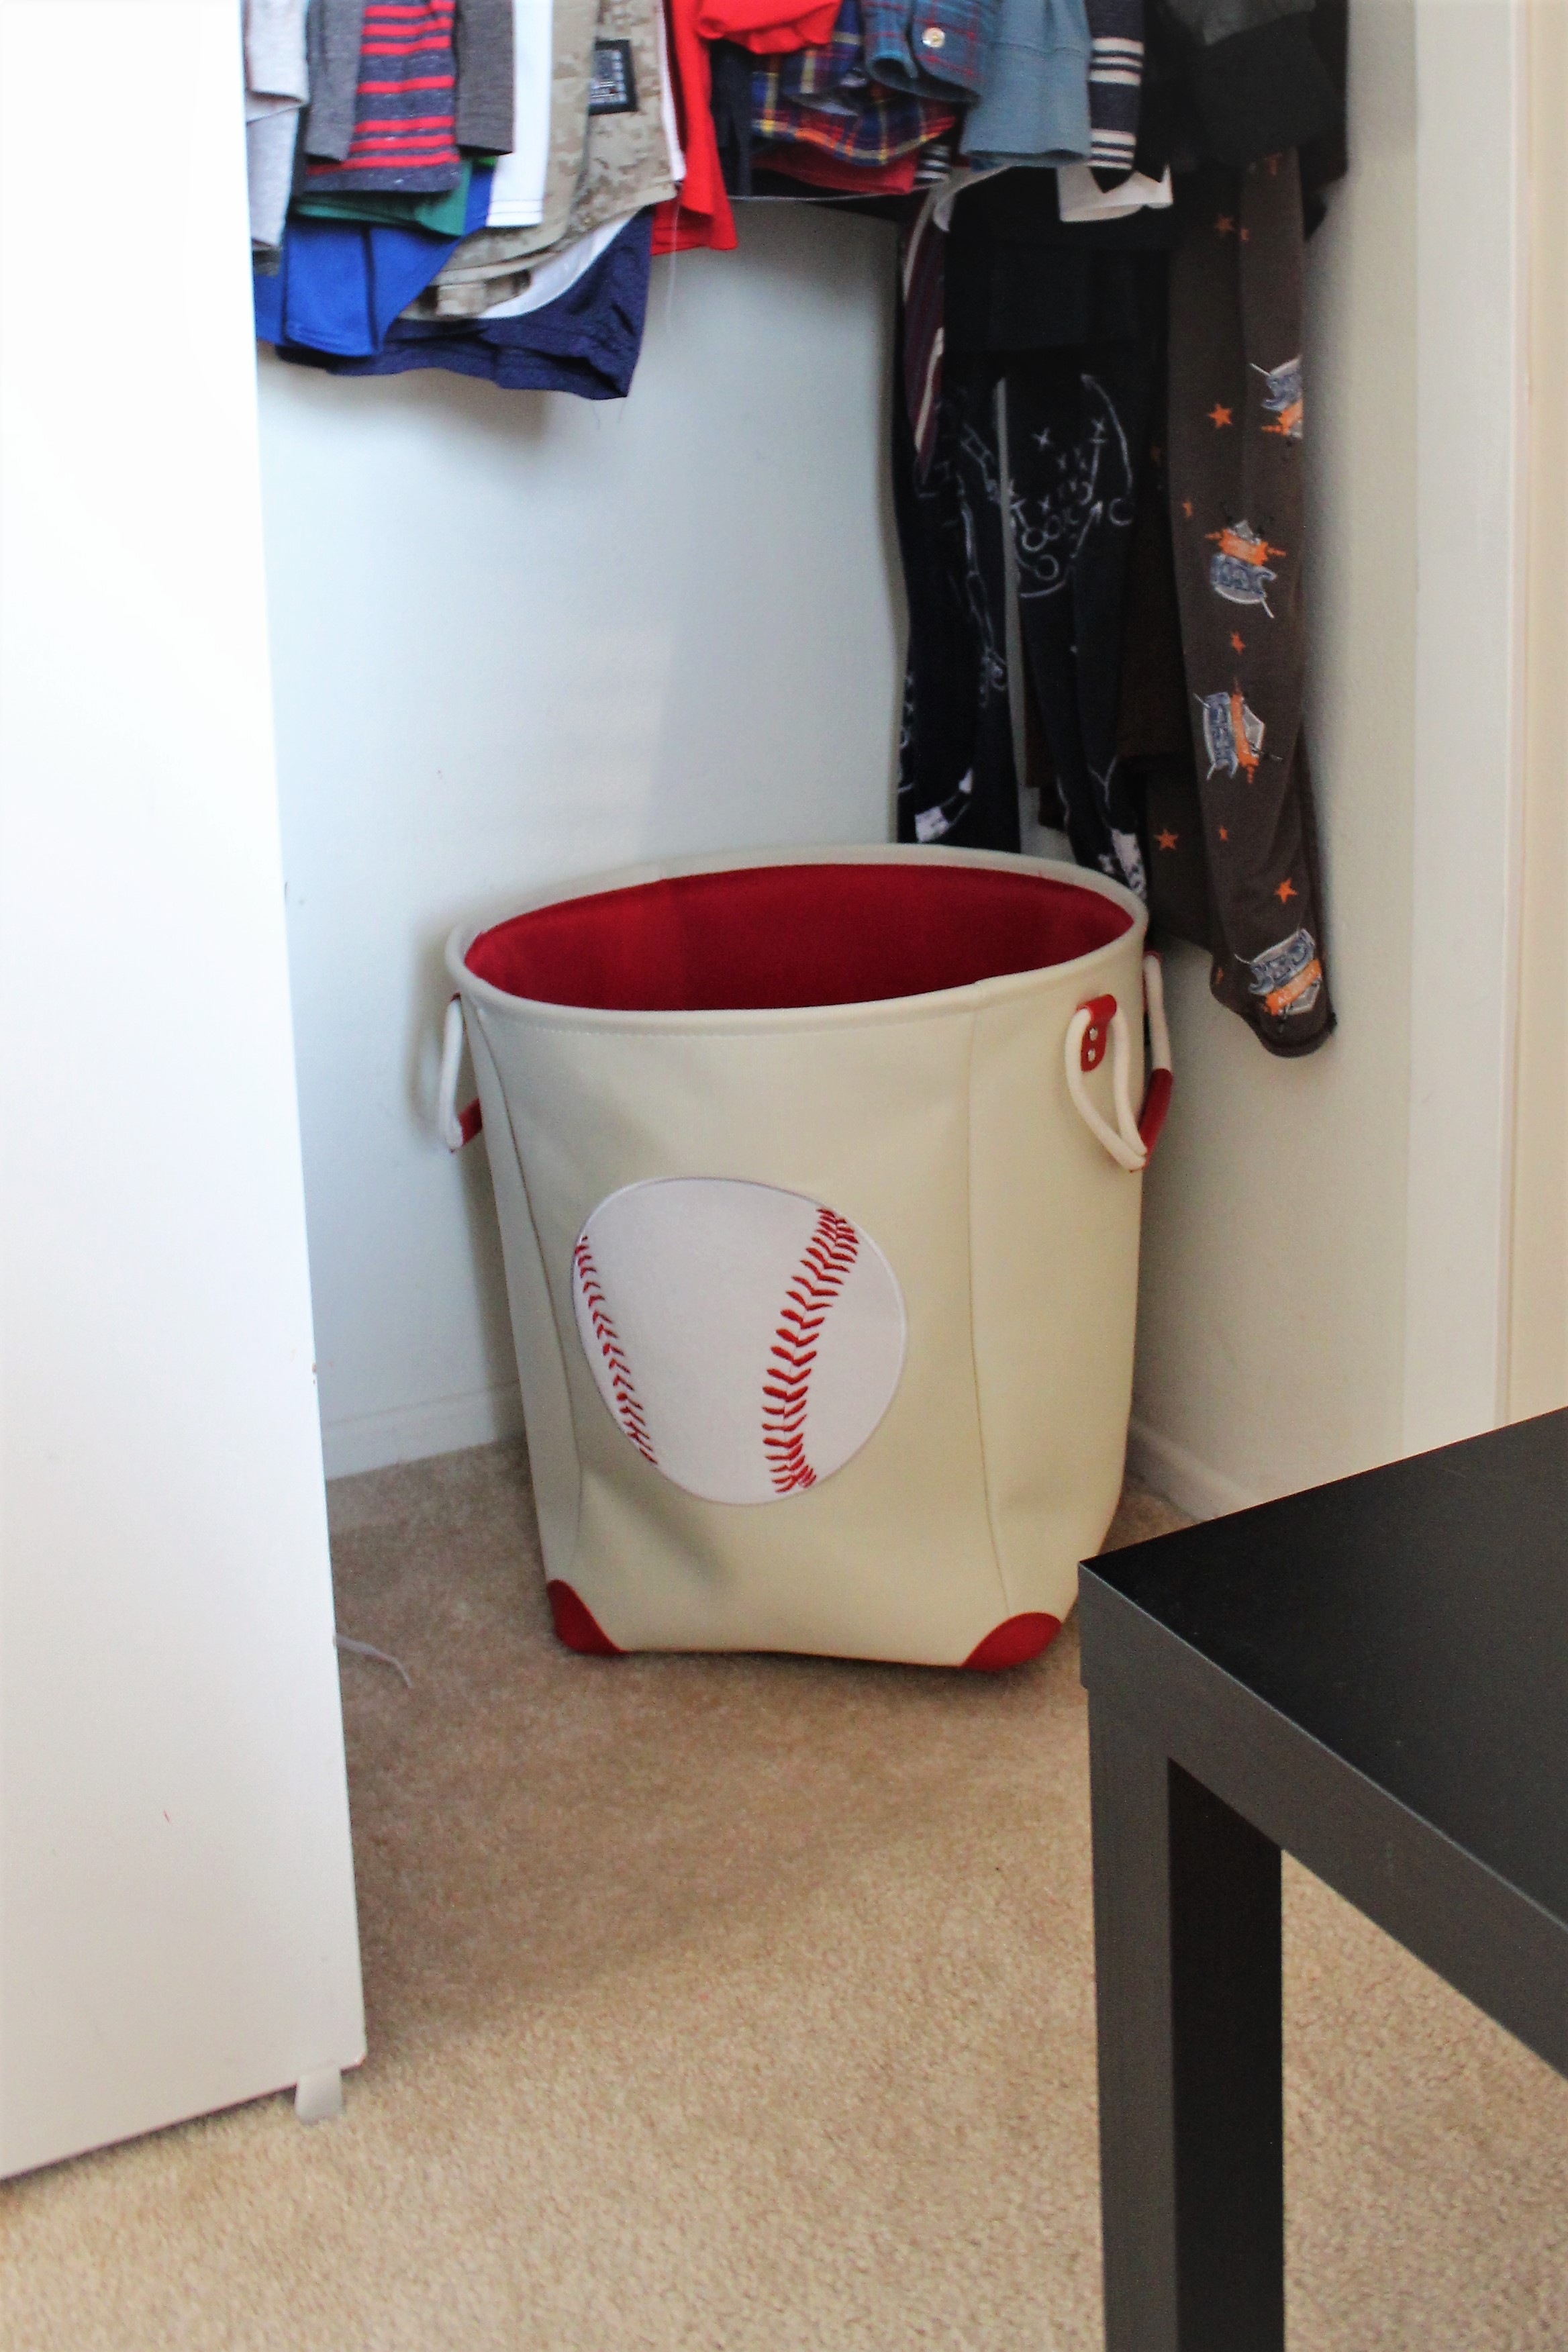
A cute baseball laundry basket from Home Goods for $13.00:
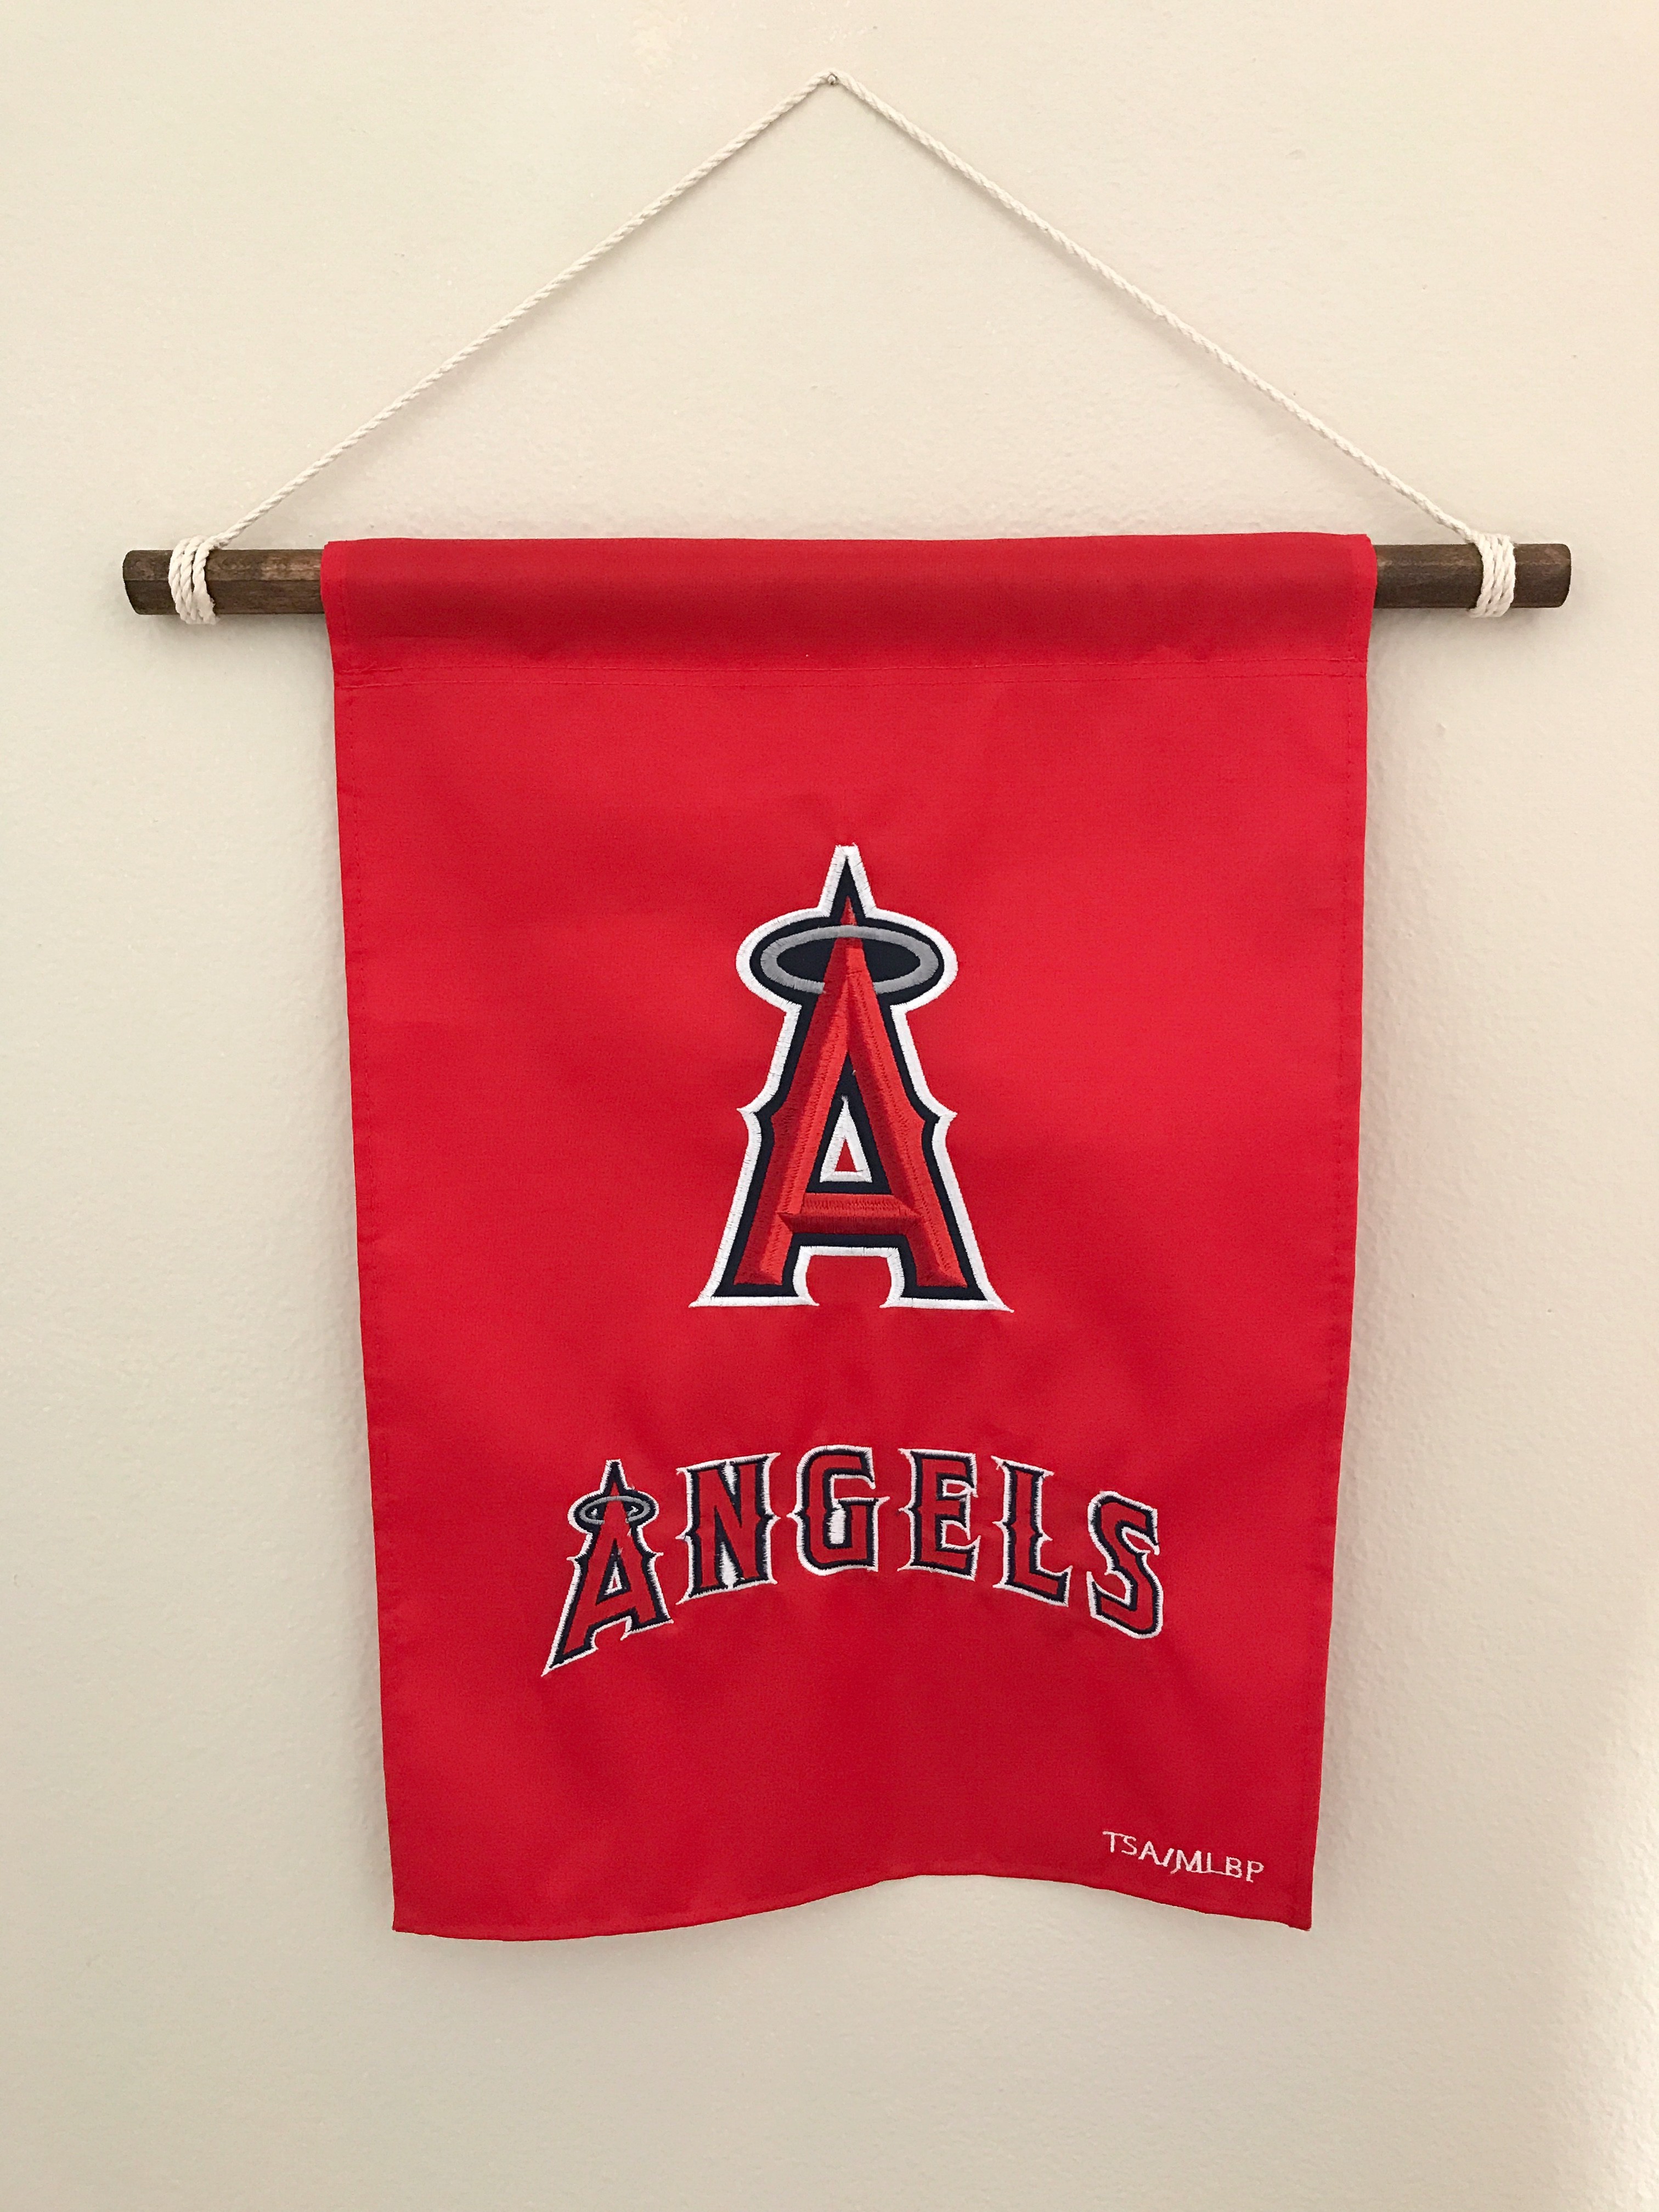
…and an Angels flag that we hung on a stained dowel and twine:
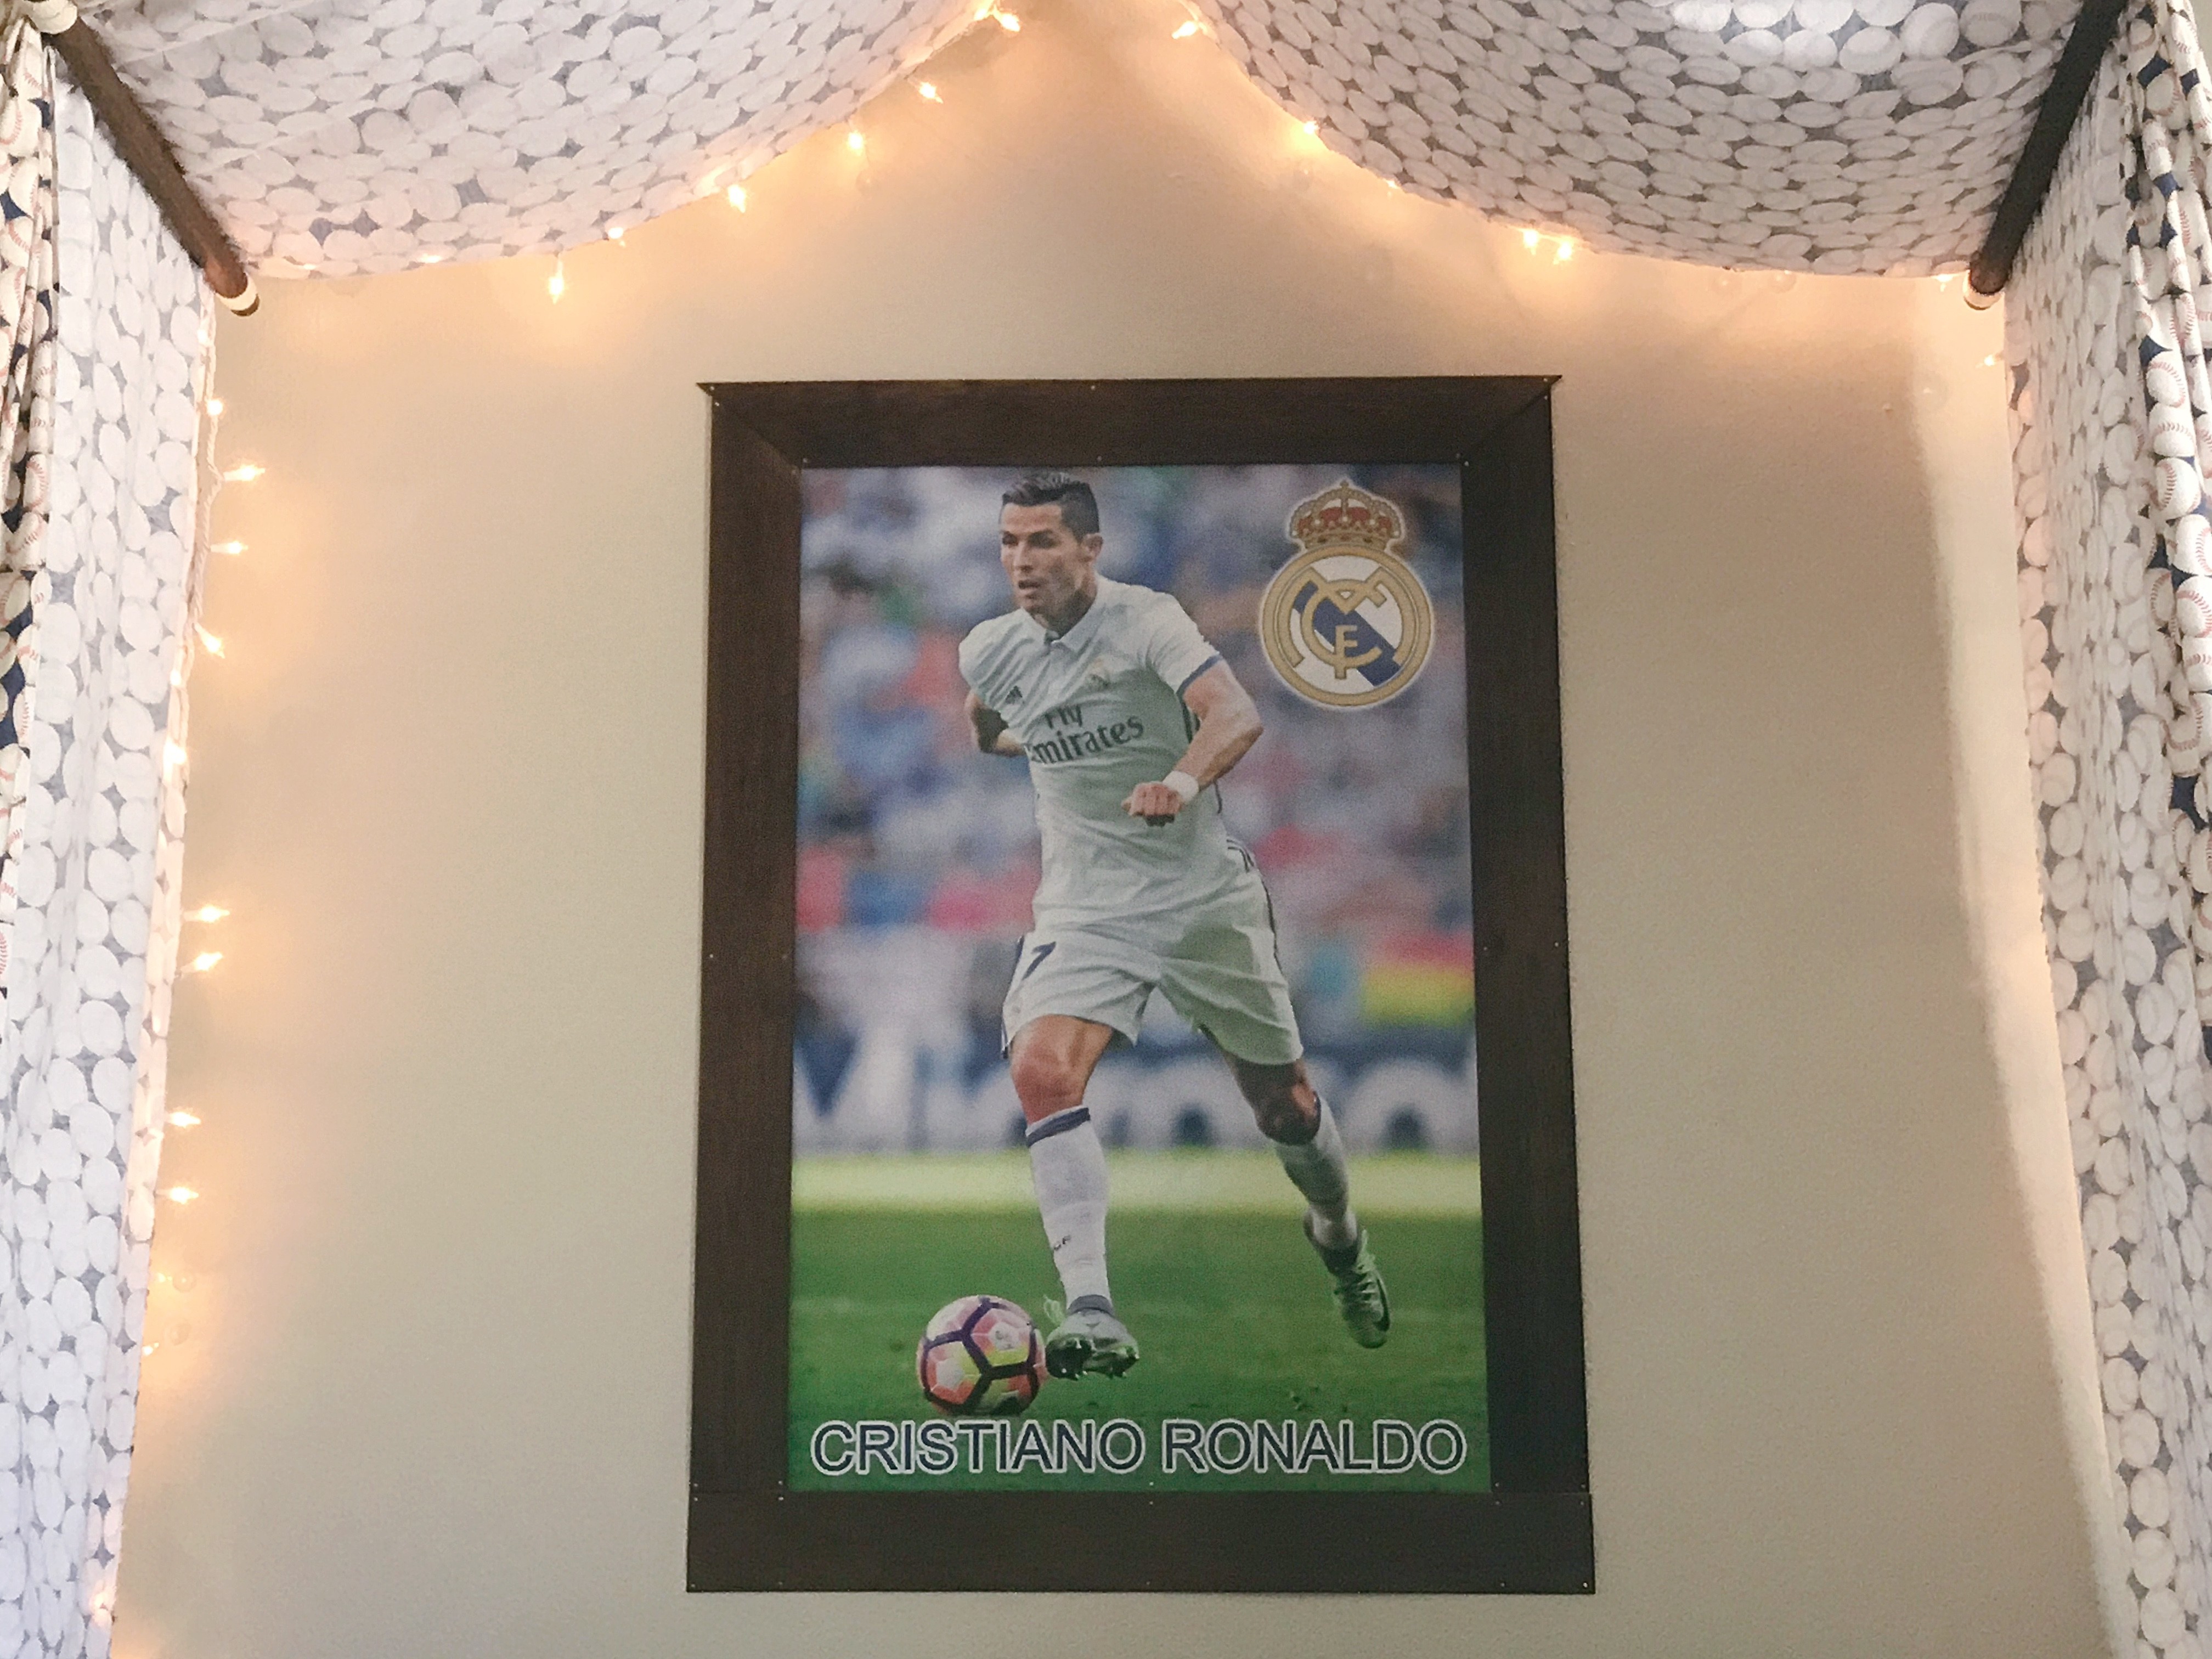
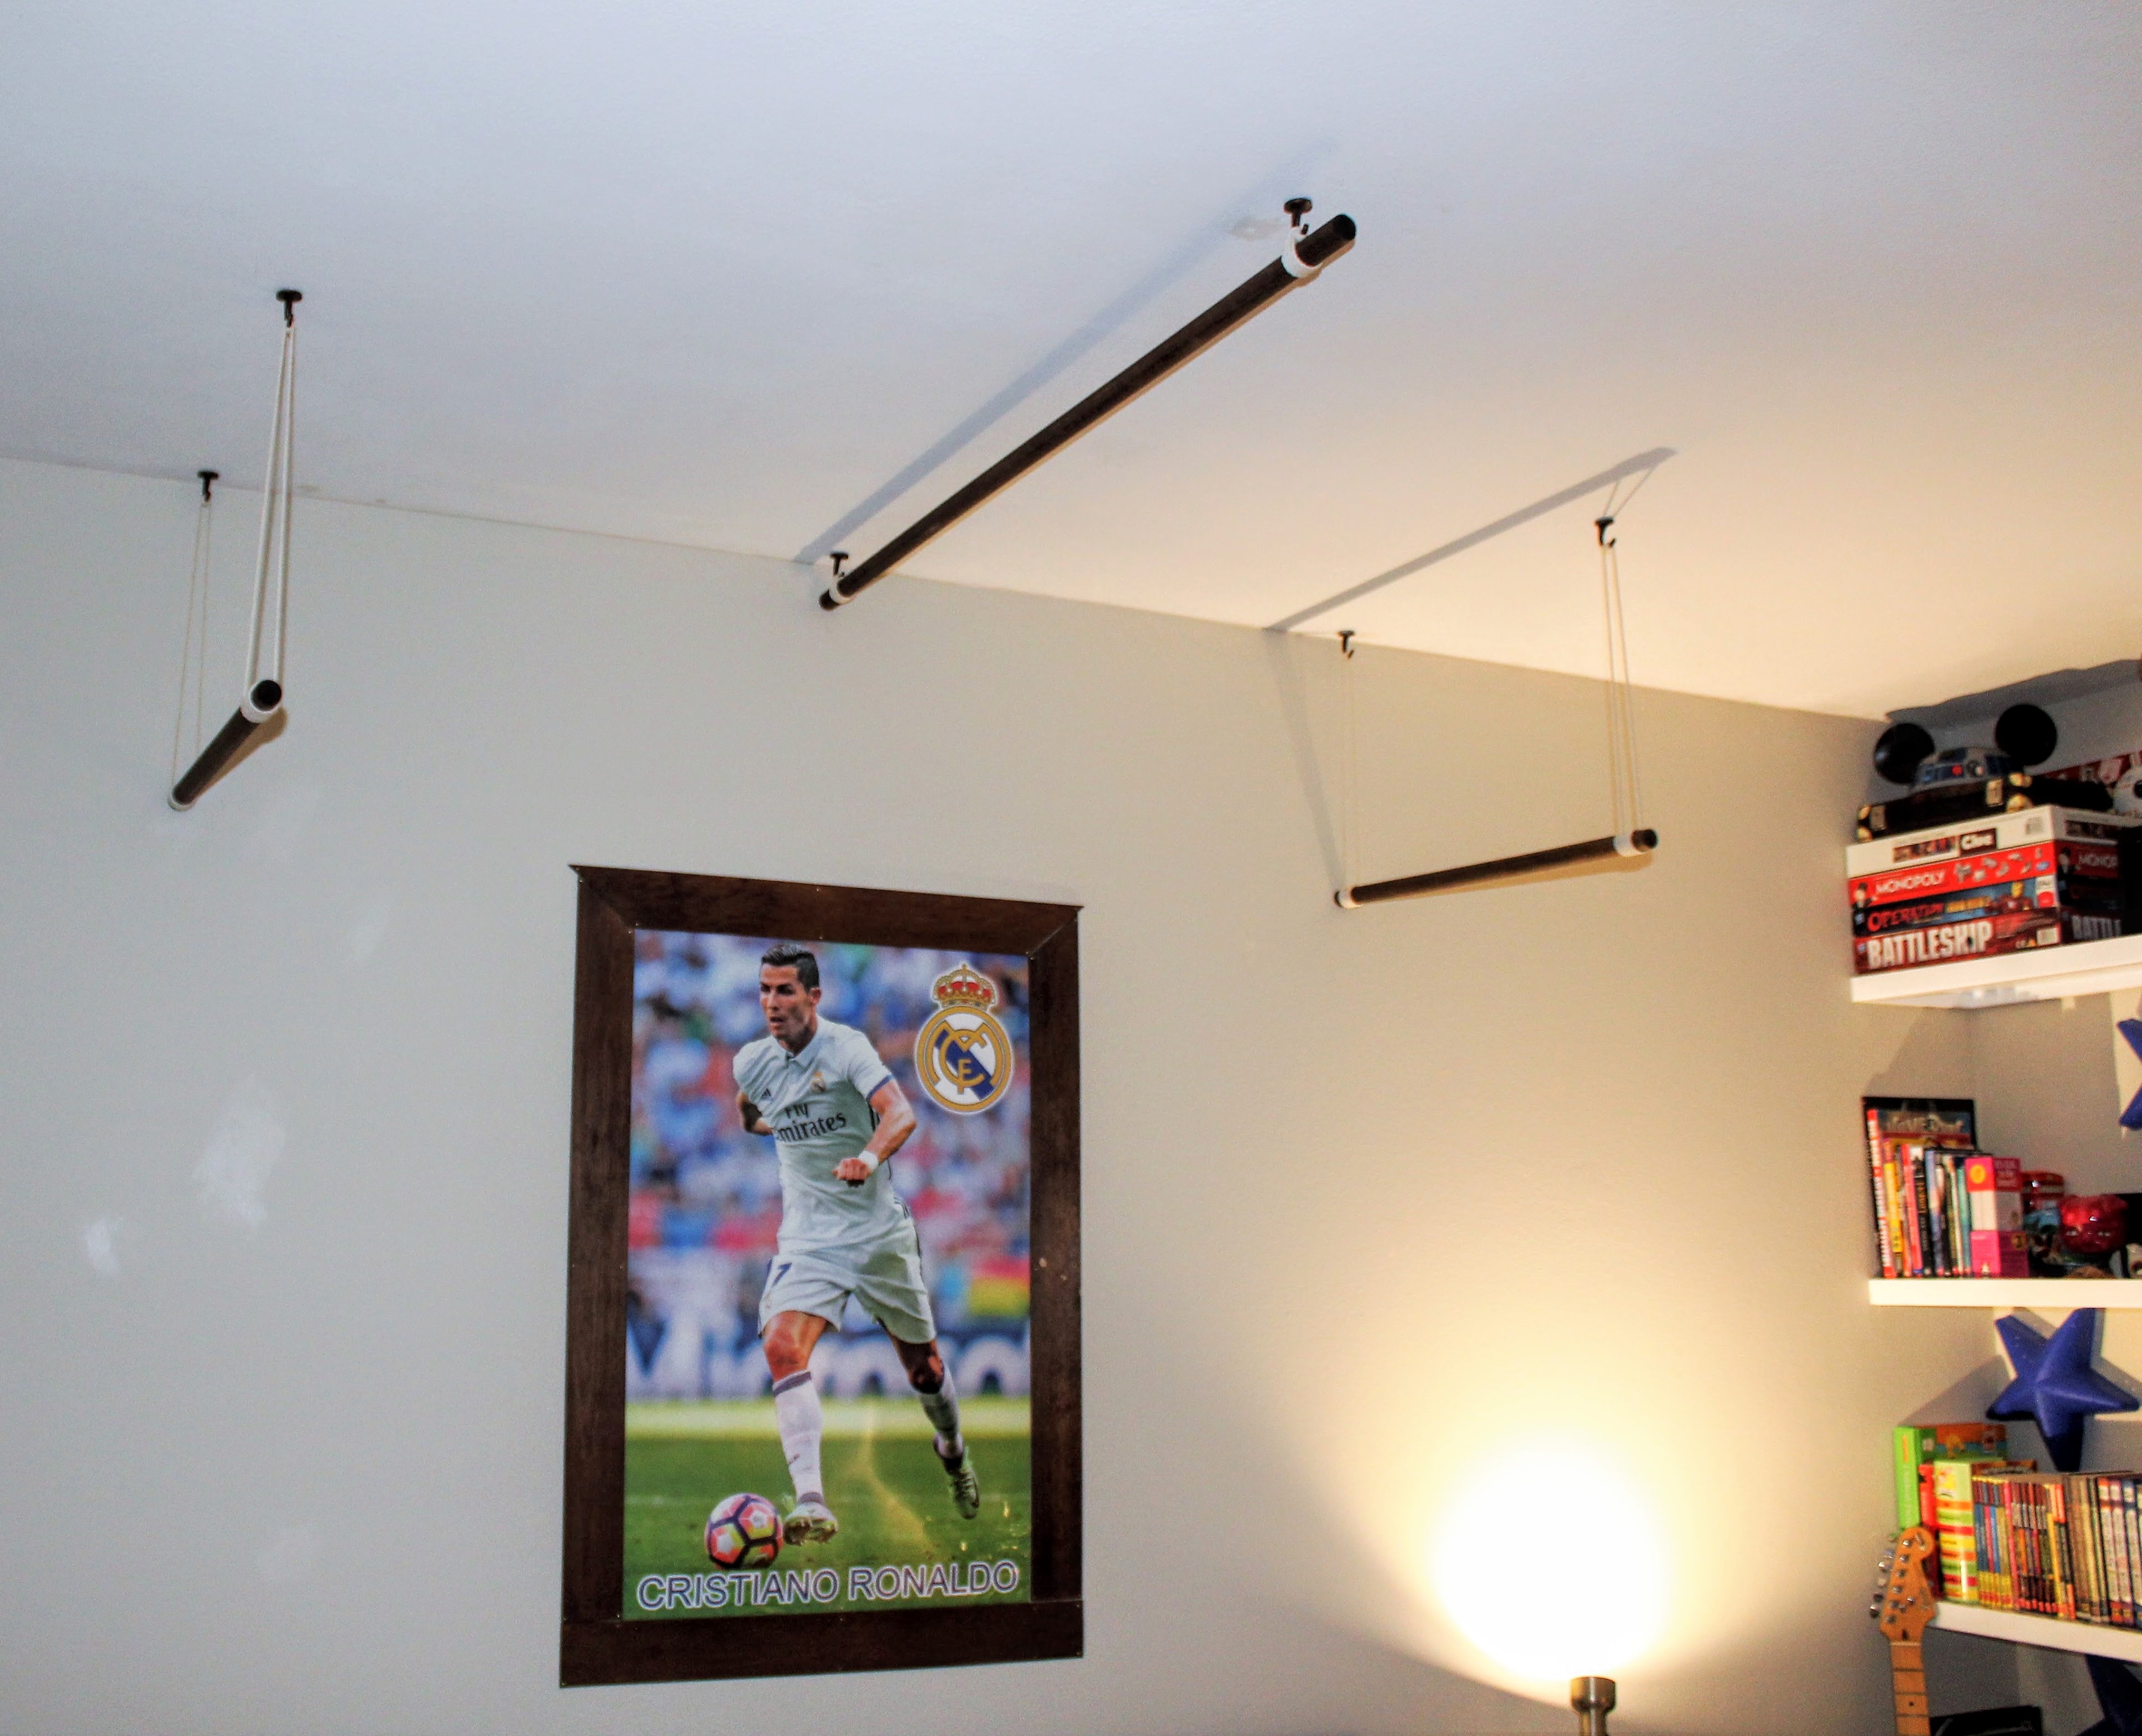
A giant Christiano Ronaldo plastic poster with a DIY’d balsa wood frame hangs above his bed as inspiration for our upcoming Soccer Season:
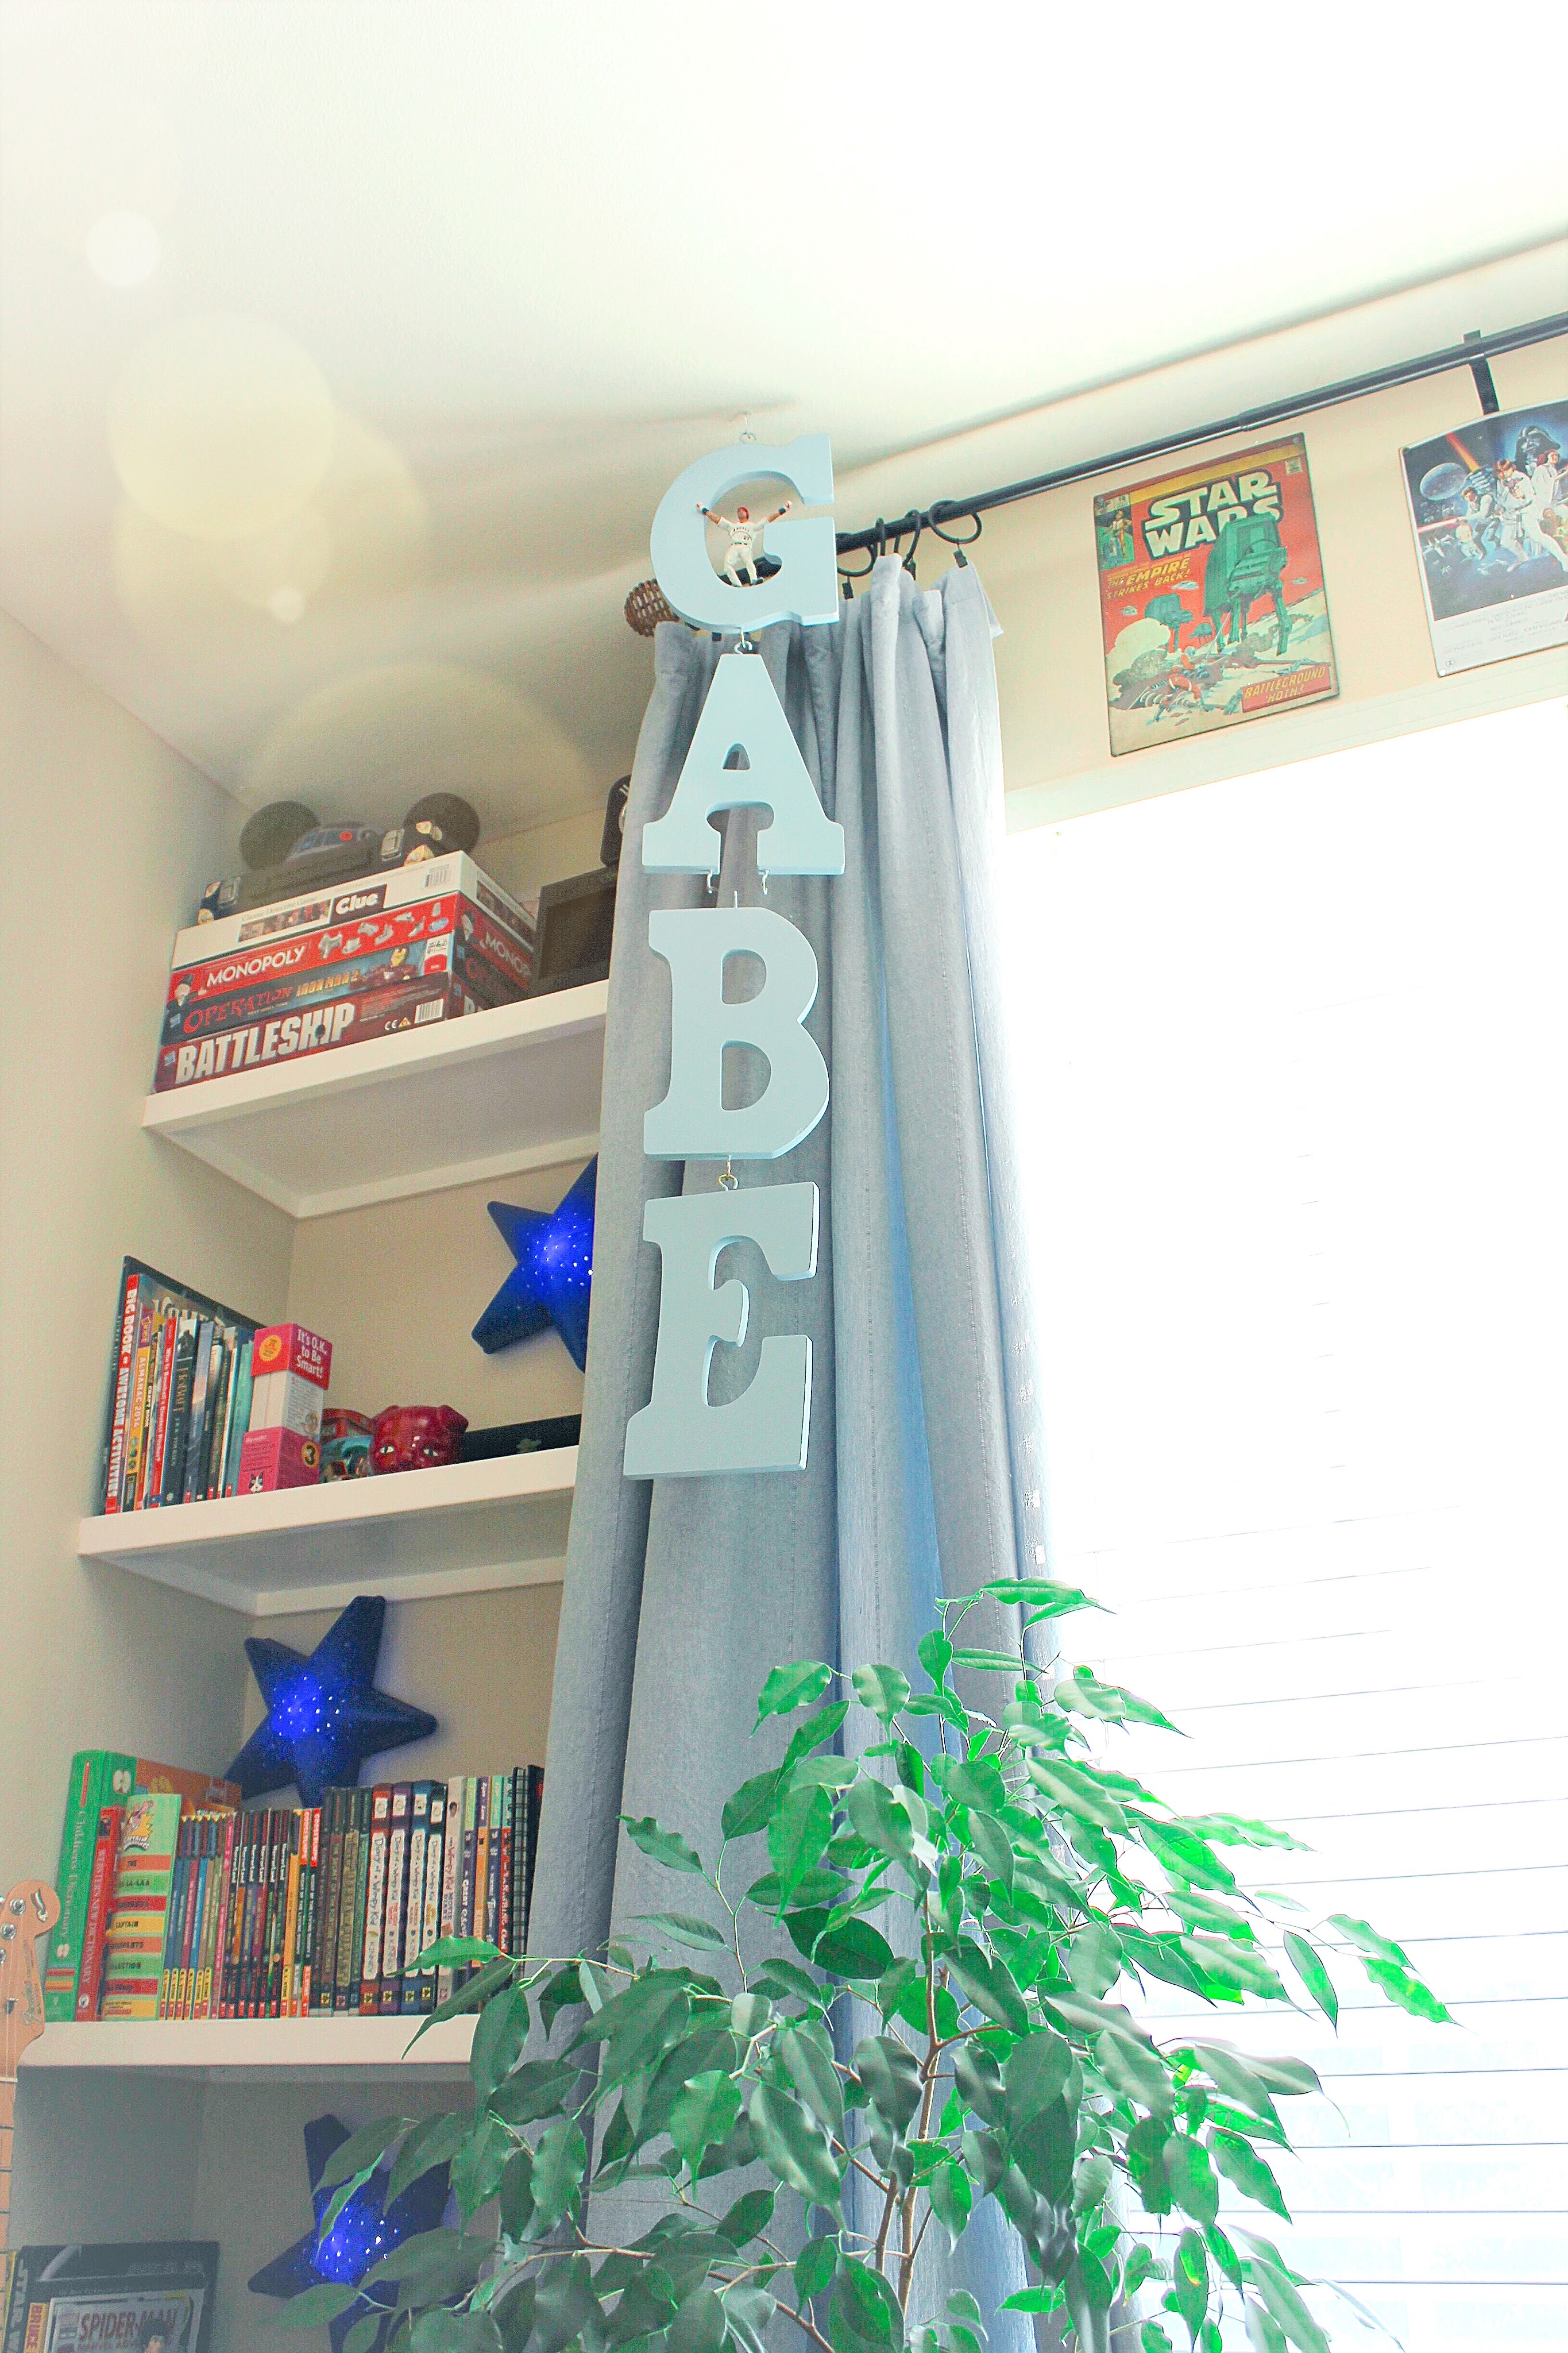
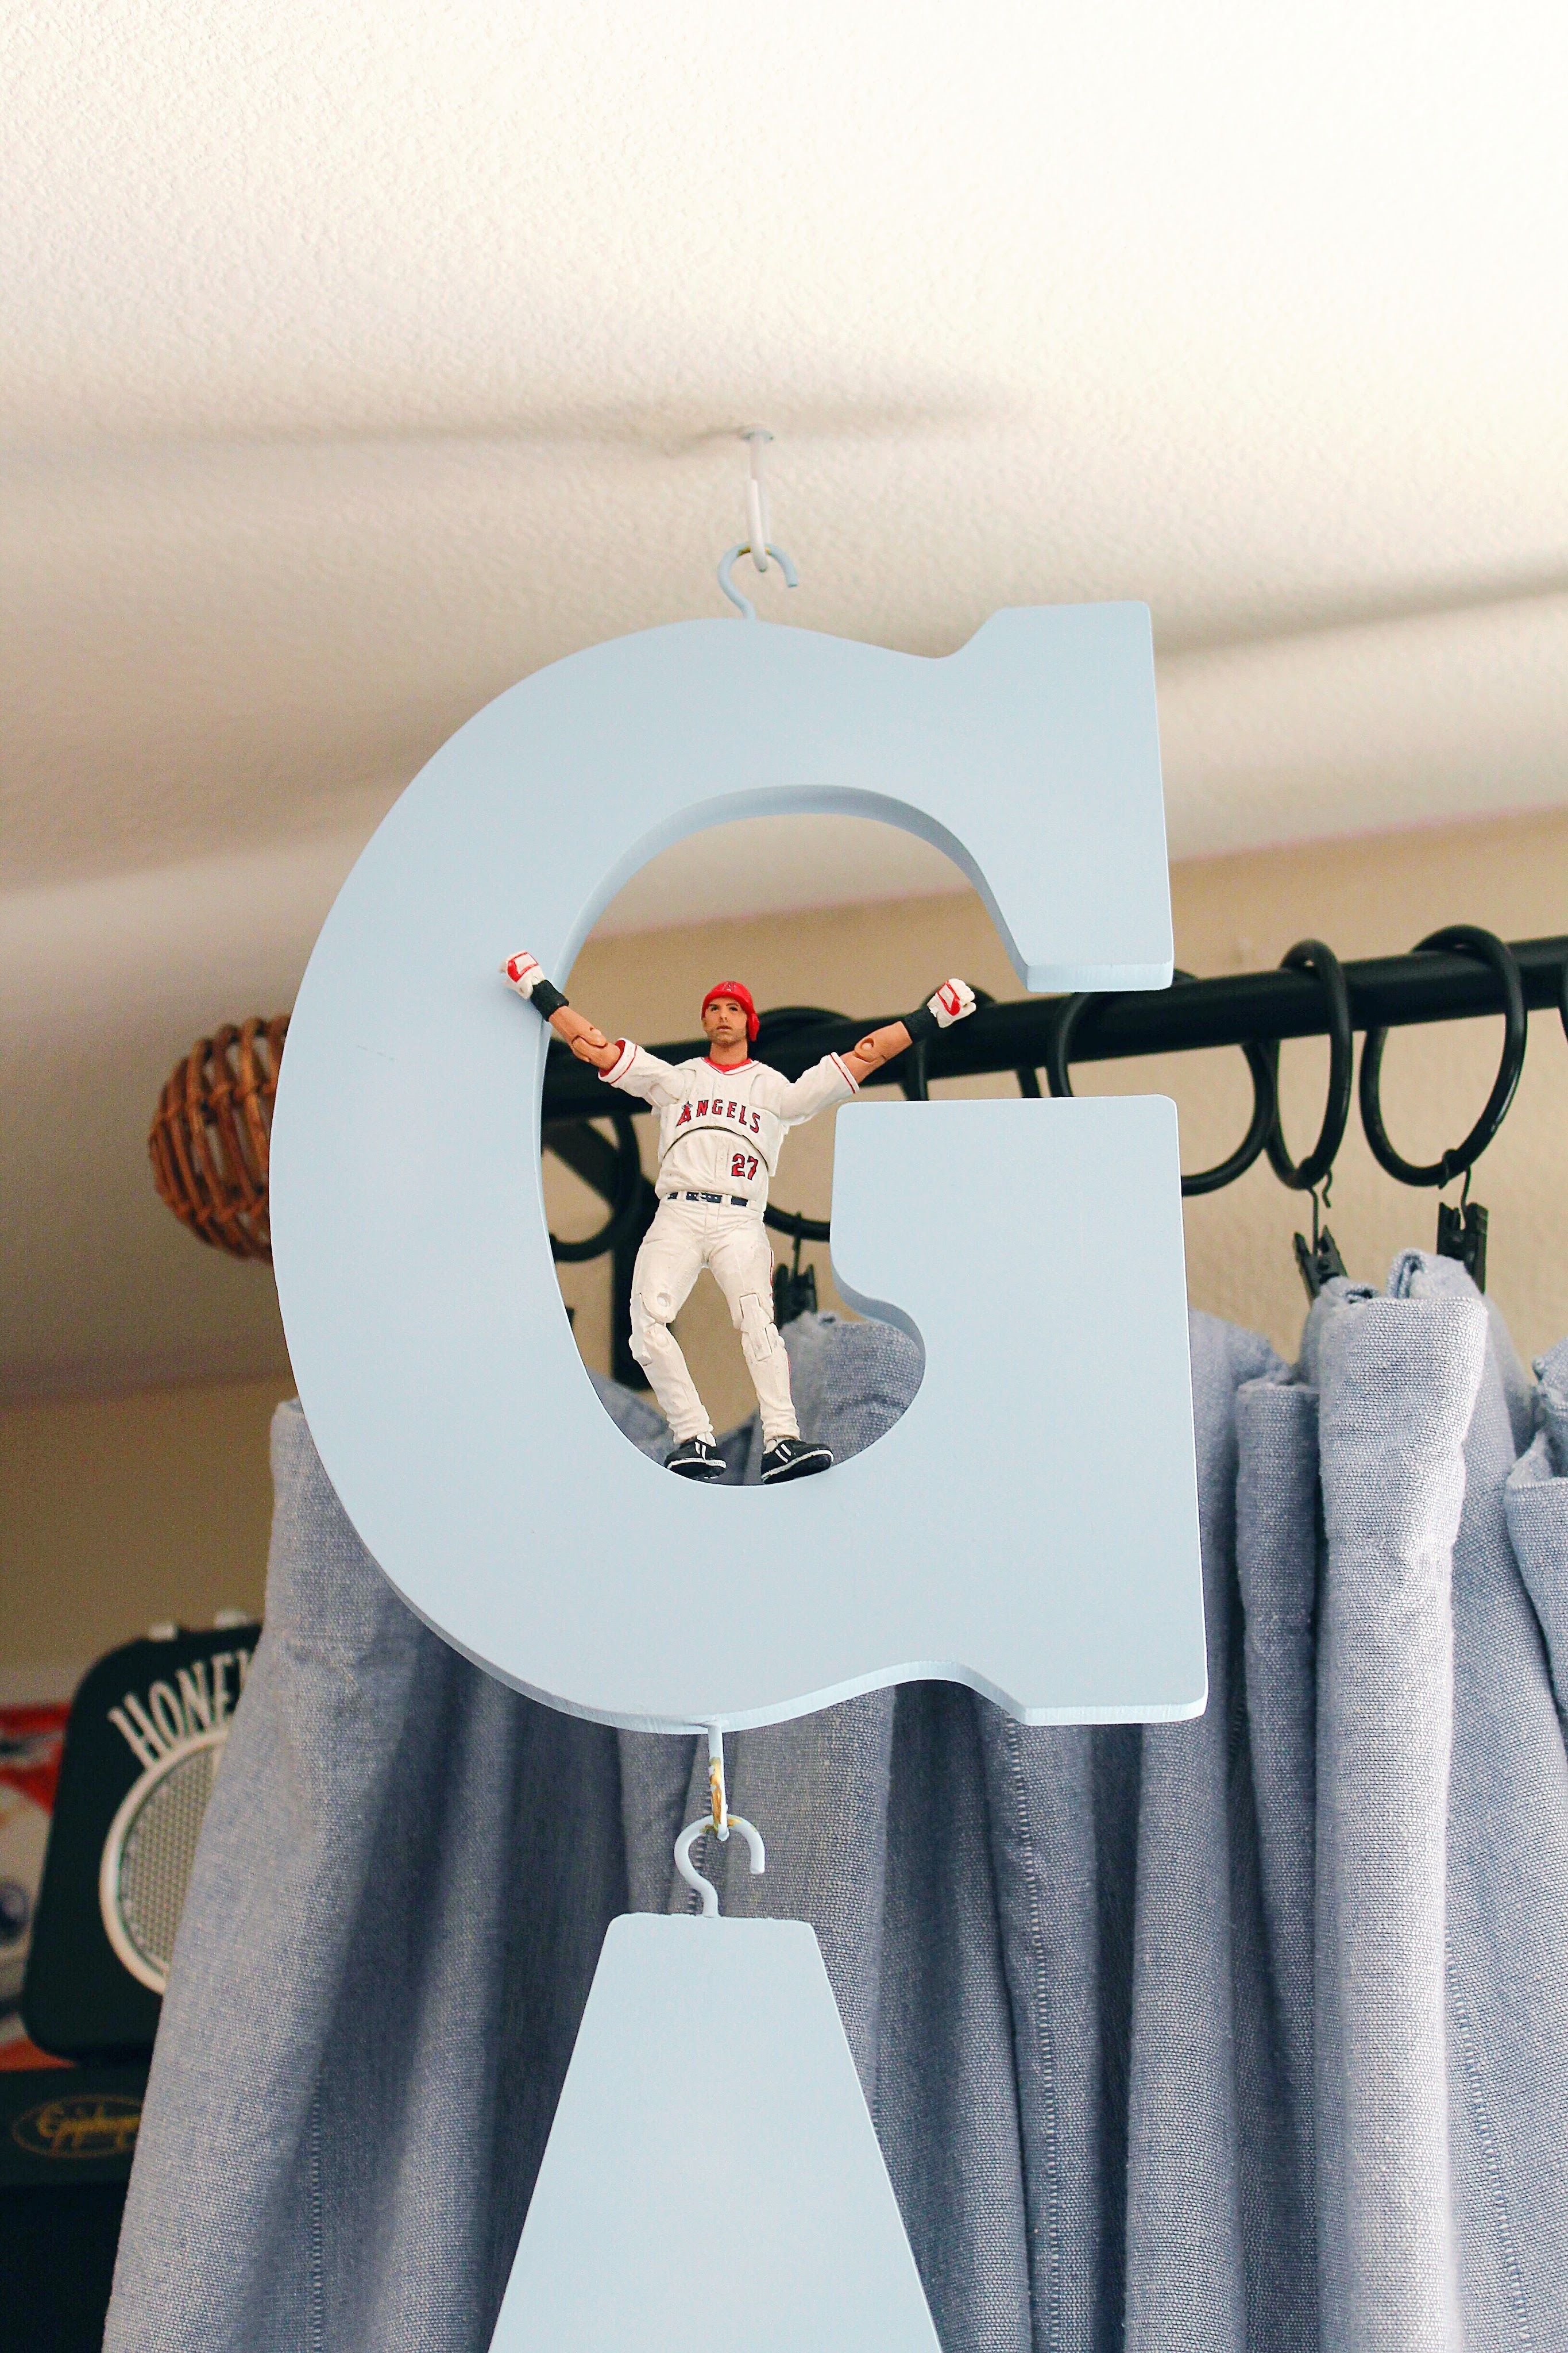
…and a hanging “GABE” DIY, I made a couple of years ago. I painted the letters, added hooks and hung it up. It used to have Star Wars characters all over it. Now, we’re working on adding baseball figures to it. Once you’ve got your figure in place, just hot glue it to the letter, and you’ve got a unique way to display your child’s name:
Now… onto the Piece de Resistance! The Baseball Canopy. This DIY is a bit time-consuming, but not difficult. It’s doable if you have a day, and all your tools and supplies ready. If your going to stain your dowels, which I recommend, you should do that before-hand to allow for dry time.
Here is what you will need:
- 3 Dowels. I bought mine at Home Depot. They were $4.63 each. They are 1″ x 4′ L. They are very light weight. If they happen to have a hard wood and soft wood choice (they had this in the smaller dowels at my Home Depot), get the soft wood, because it will be easier to cut and lighter in weight (and therefore, safer above your kid’s bed):

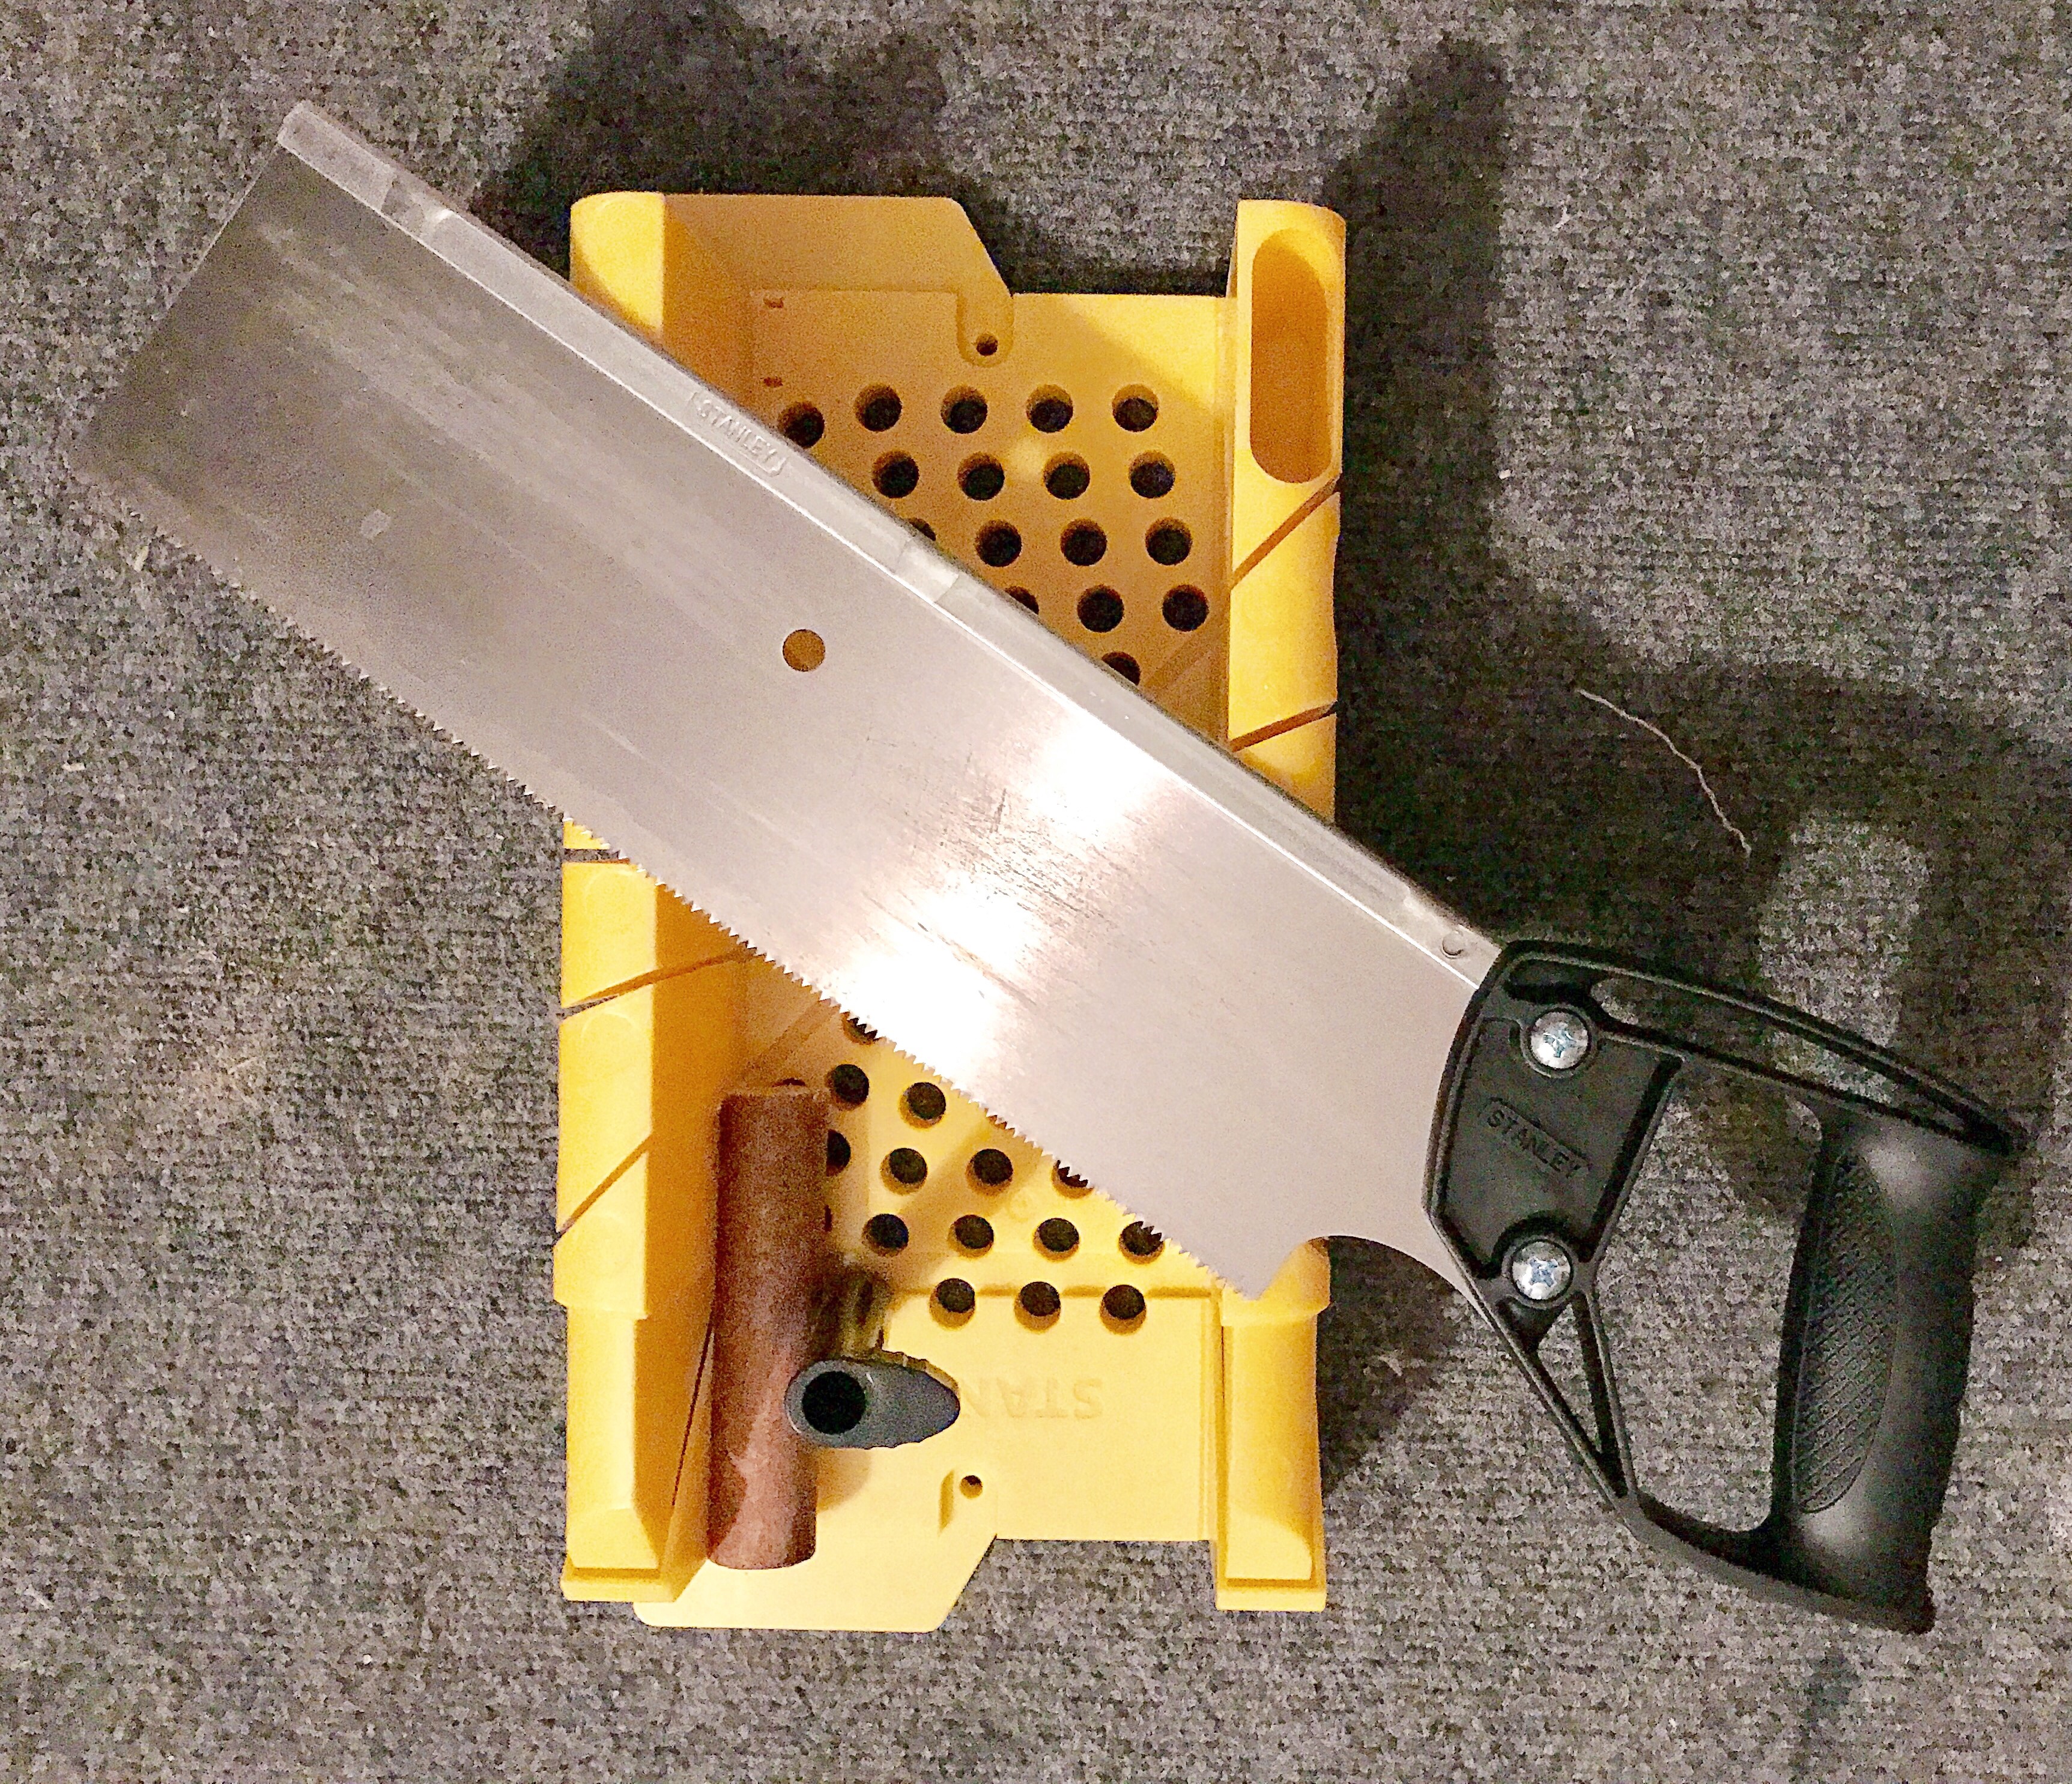
- A Saw. I don’t know what this type of saw is called, but I bought it at Home Depot. It was around $15. The yellow piece below, helps to keep cuts straight and I left the dowel in to show how you can tighten it up, put the saw in the slot, and cut. If you do what I did, you will only have to make 2 cuts. Another option is to ask someone at Home Depot to make the cuts for you and save 15 bucks!
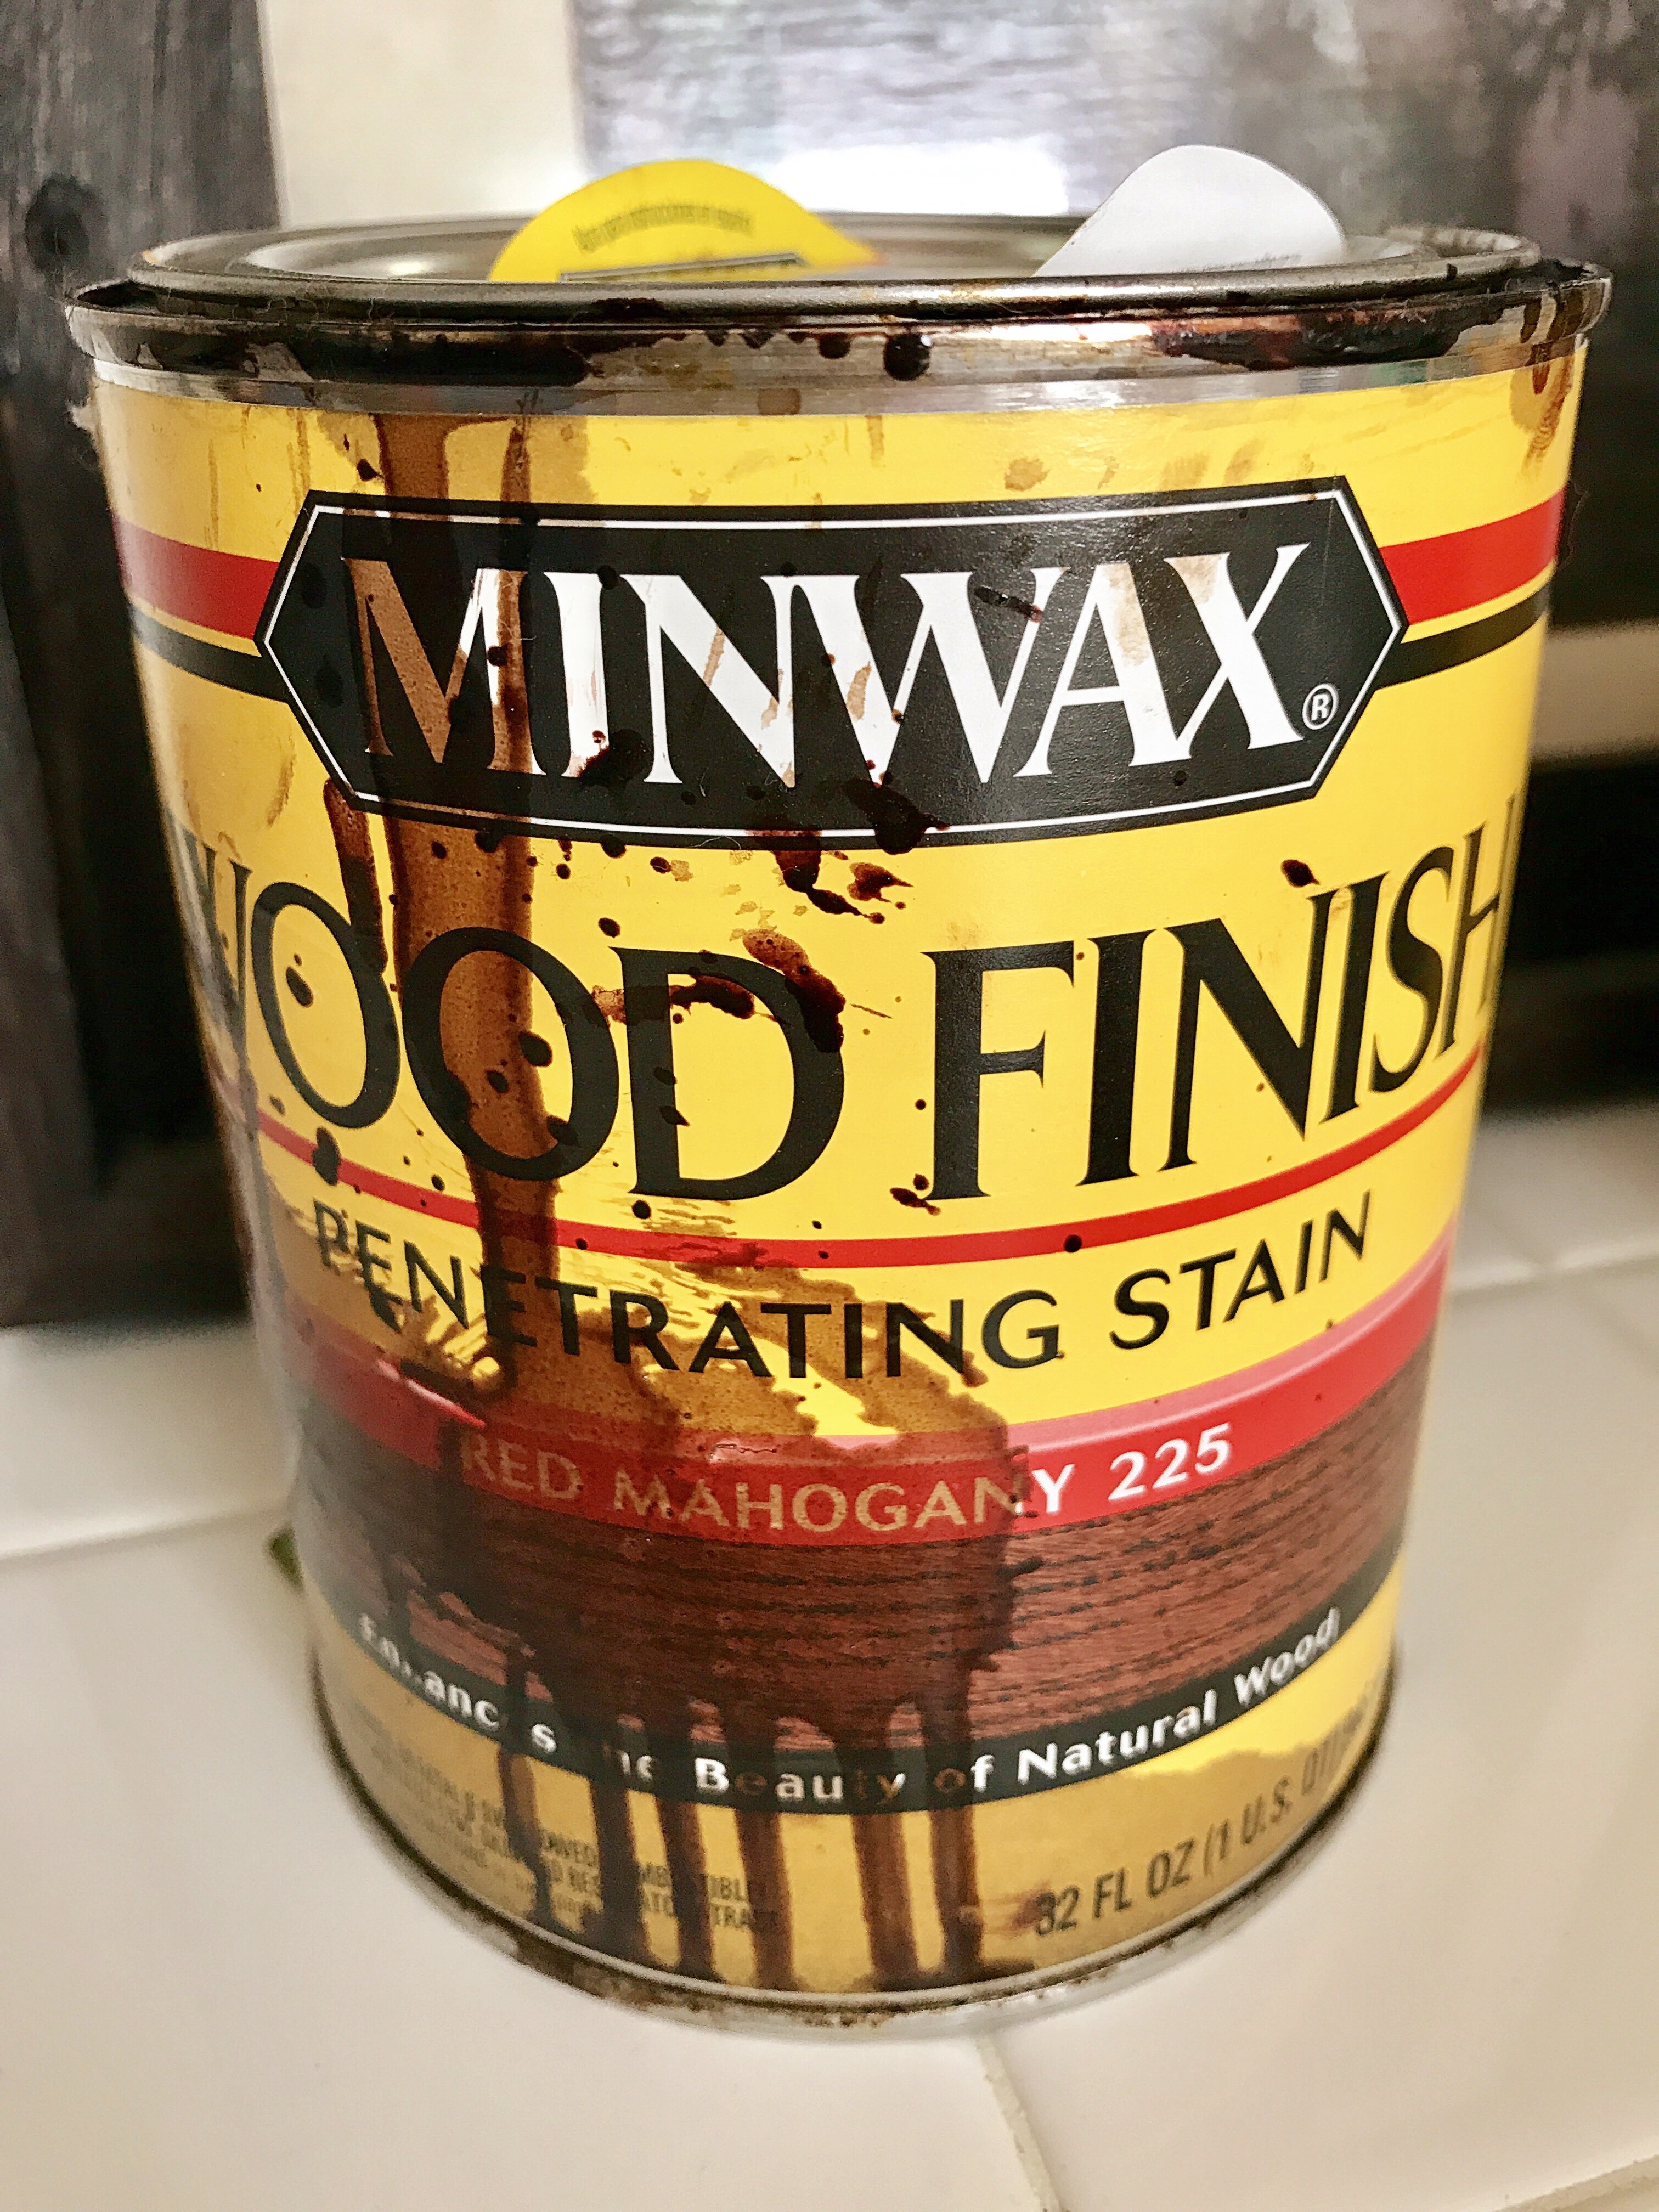
- Stain for the dowels. Home Depot is significantly less expensive than Michael’s for stain or paint. I used Minwax Red Mahogany:
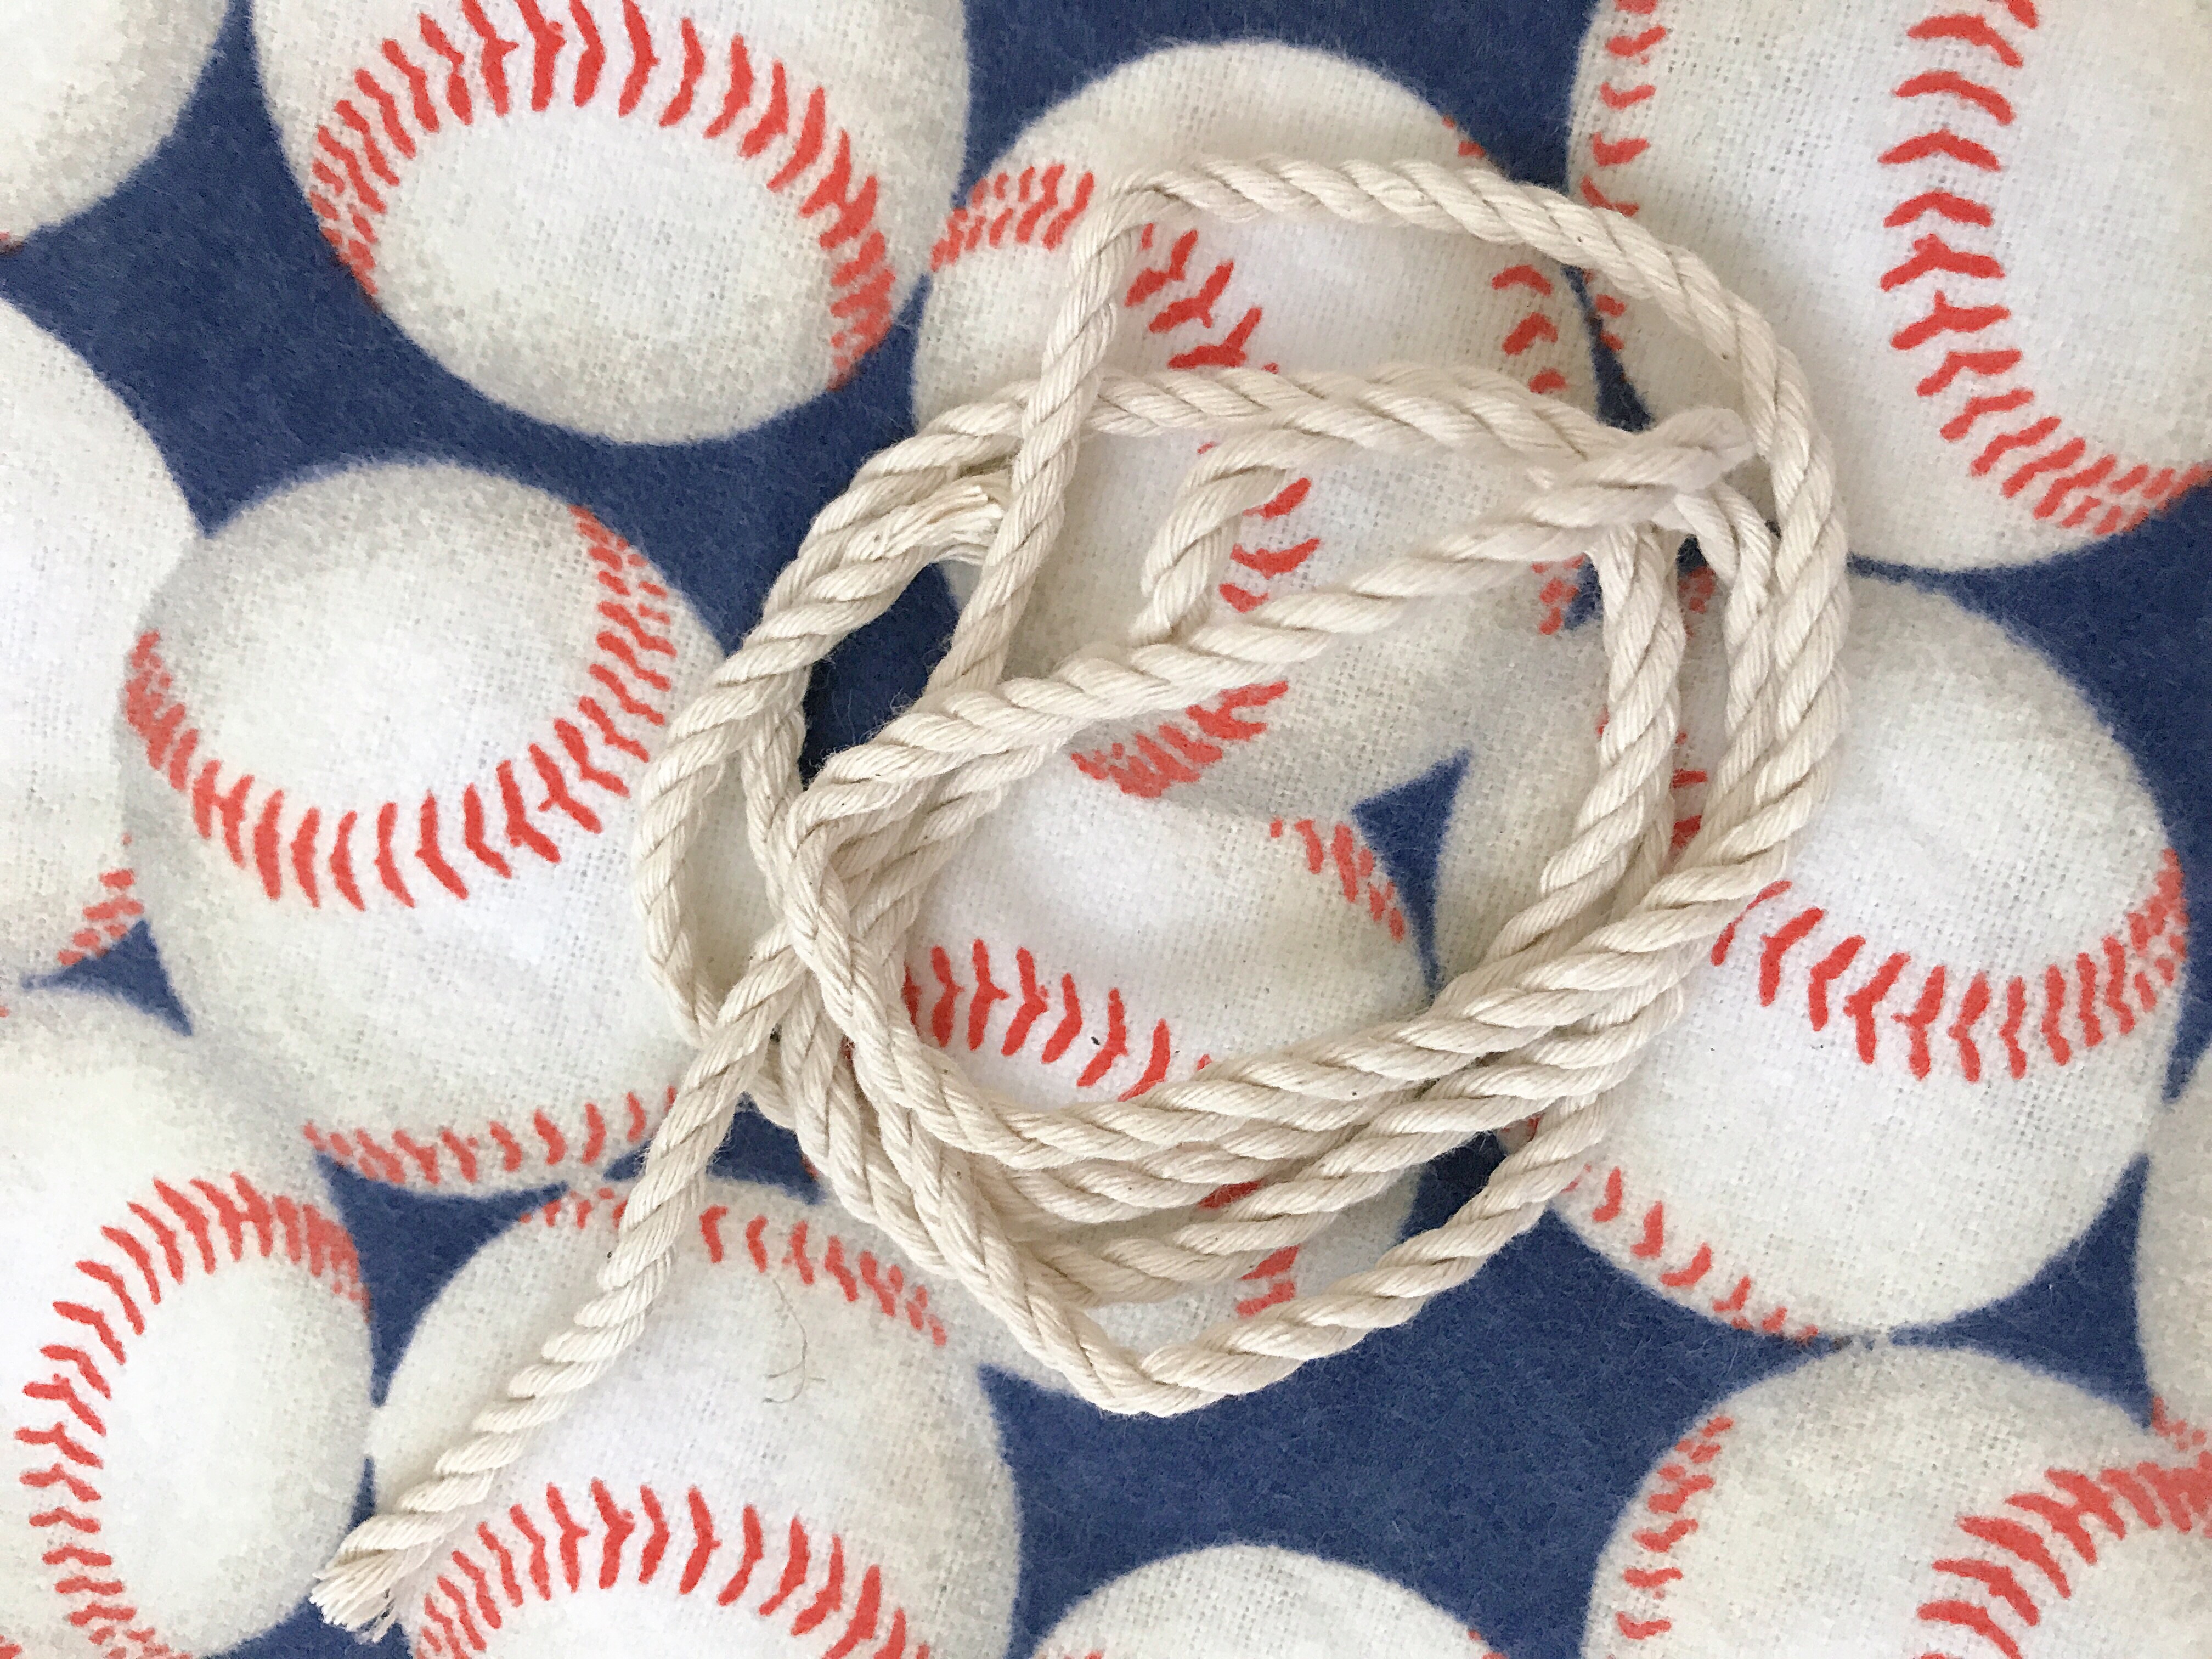
- White Rope. Michael’s:
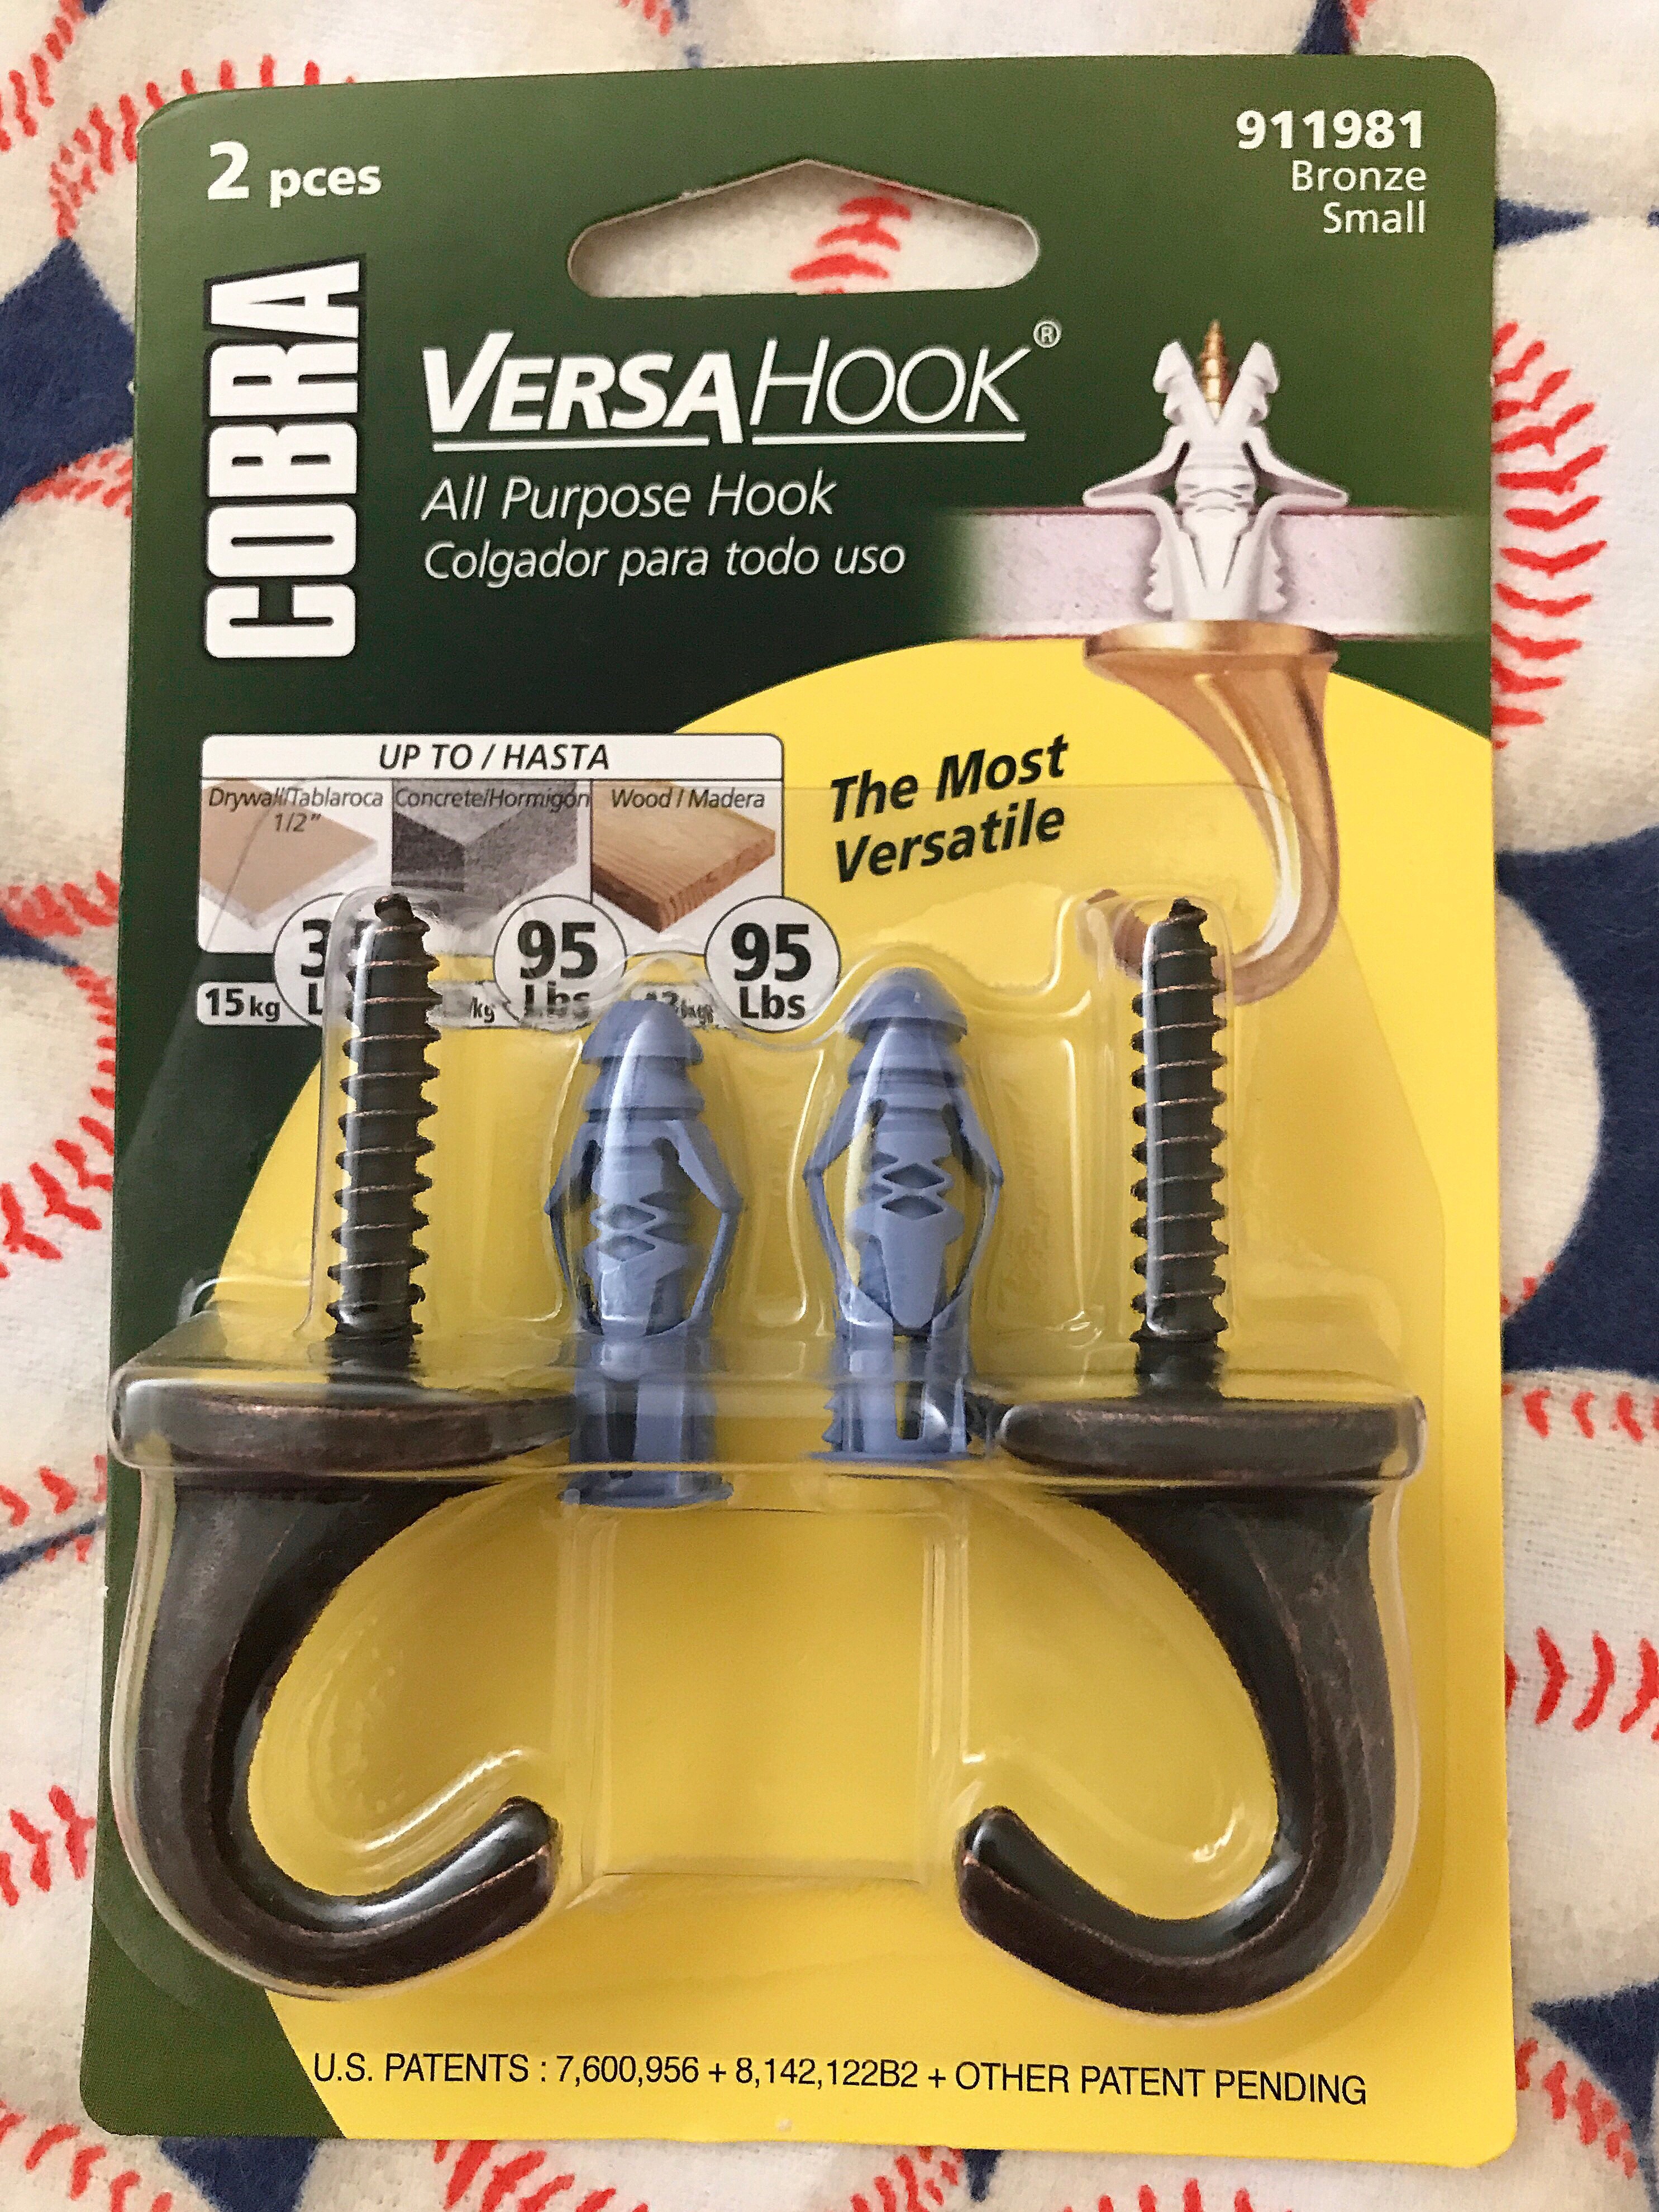
- These hooks from Home Depot or any other sturdy large hooks you like the look of. These are good because they come with plastic ceiling anchors:
- Hot Glue Gun
- Drill bit (optional) to drill hole for the dowel screws.
- Dowel screws (optional). Home Depot. I didn’t use these in Gabe’s Room, but I wish I would have, for the extra security they would provide:

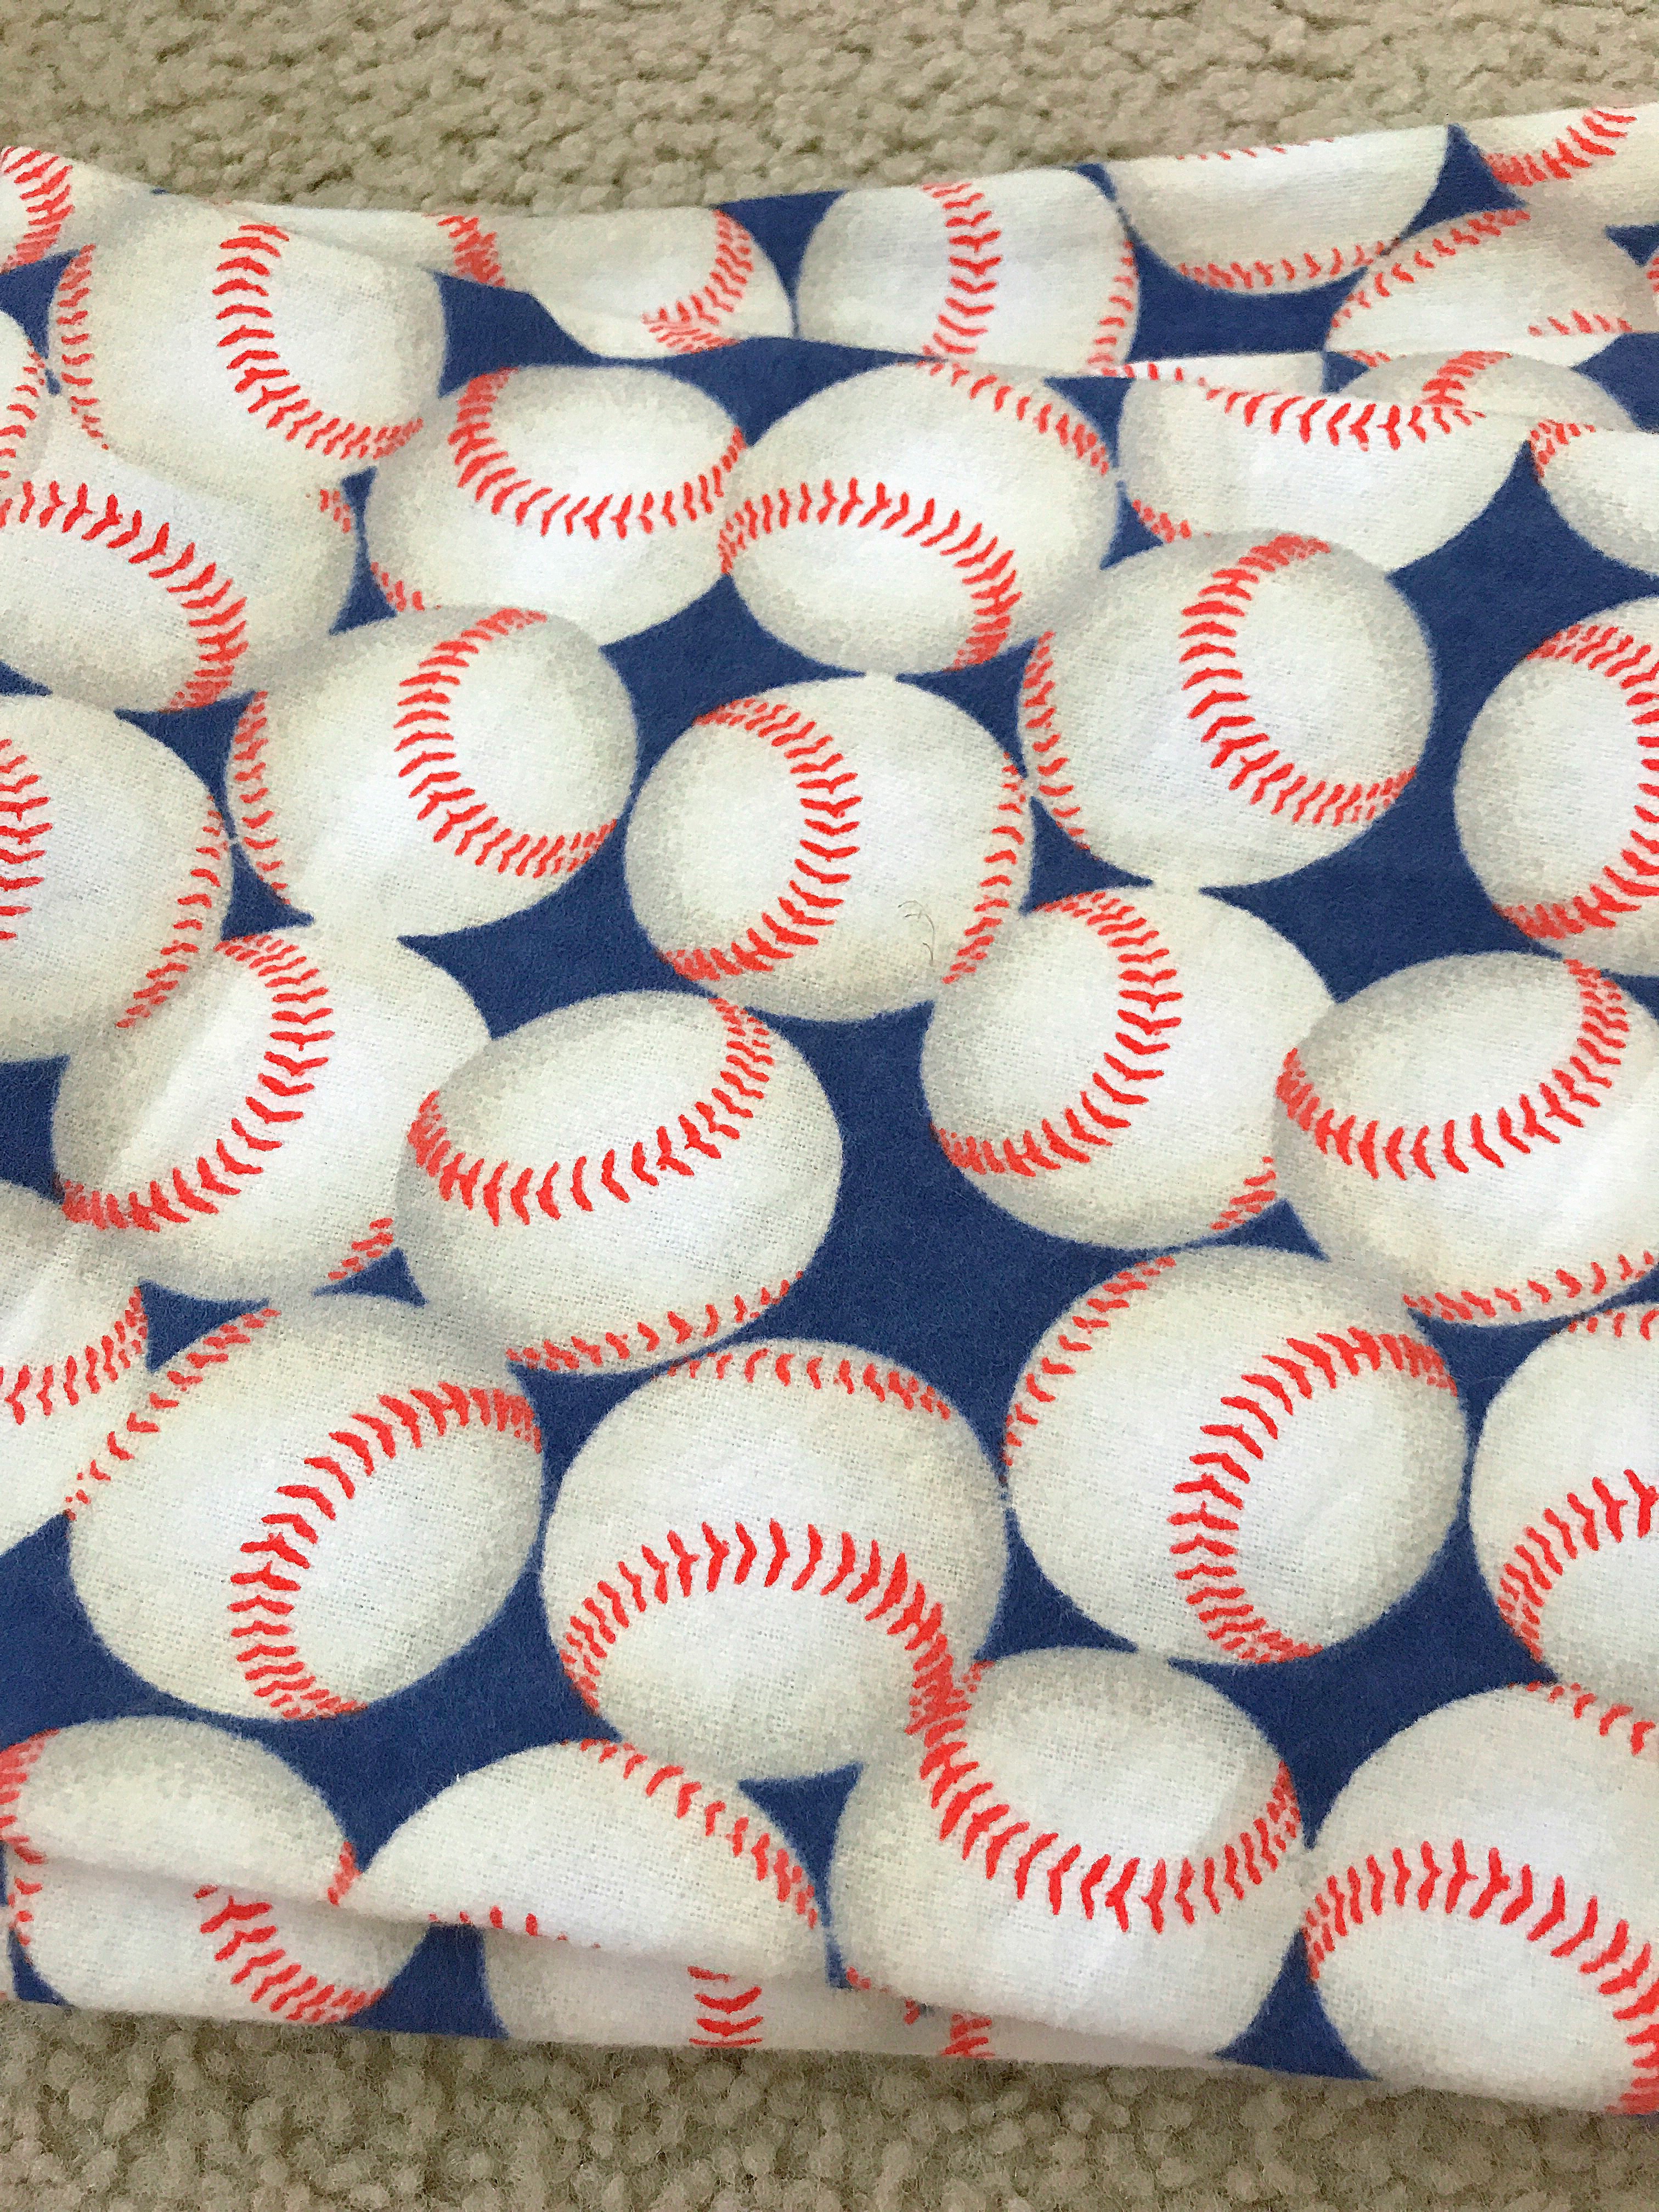
- 6-10 yds of fabric of your choice. I got this light flannel/cotton baseball fabric at Joann’s. They had one that looked just like it, that was a fleece. I wouldn’t suggest buying that, as it may be heavier in weight. The amount you need will totally depend on the height of your ceilings and the size of your space and bed. You may need significantly less than 6 yards if you are working with a twin or toddler bed as opposed to a double bed. I would suggest getting at least a yard more than you need so you have room to mess up! Also, you need to make sure that it is one continuous piece.
- Iron and ironing board
- Sharp Fabric Scissors
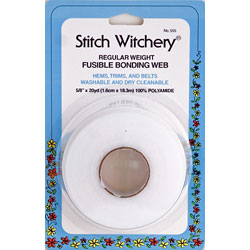
- Stitch Witchery. You can buy this almost anywhere from Joann’s to Walmart to Michael’s. It’s a few bucks and it will be used to finish the bottoms of the canopy, unless you want to sew- totally optional.
The first thing you’ll want to do, is to cut your dowels if you haven’t already had them cut. I left the middle dowel it’s original 4′ and cut the other 2 down to 25″ each. If you’re dealing with a twin or toddler bed, you may want to cut the middle piece shorter and go from there.
Next, if you are going to use the dowel screws, you’ll need to take a drill bit and drill into one end of each of your dowels to prepare it for your dowel screw.
After that, you’ll want to stain your dowels. Take your stain and dowels outside or to a well-ventilated area, place the dowels on a piece of cardboard or foam board, and start to stain. I usually use foam brushes because they’re cheap and you can throw them away. You’ll also need an old, soft rag to wipe away the stain, after you’ve applied it. Leave the dowels outside to dry. Try not to touch them too much, because even a light touch can affect the stain.
Next, you’ll want to figure out where your middle dowel (the long one) will be placed above the bed. The truth is, I’m not much of a measurer… if there is a window above the bed, and the bed is placed below it, with the window in the center, it will be much easier. You’ll then be able to use the middle of the window as your compass. If not, you need to figure out the middle of the bed, and once you’ve done that, start by placing the first hook into the ceiling, as close to the back wall, as is possible. Use the anchors if you are able (our drywall is so thin, that I wasn’t able to, so I simply put the hooks in). They feel pretty sturdy and everything is lightweight, so I’m not too worried, but getting the anchors in securely, would be ideal. If you have the good fortune of having studs in the ceiling, right where you want to place the first dowel, you’re also in luck.
Next, take your wooden dowel, once you’ve successfully screwed in your first hook, and hold it up to the back wall with the first hook just above it. Following the dowel’s straight line, decide where your front and 2nd hook will go- I placed the front hook back from the front of the dowel about an inch and a half or 2, for affect and safety:
Once you have your hooks in place, screw your dowel screw into the hole that you made with your drill bit, pre-stain:
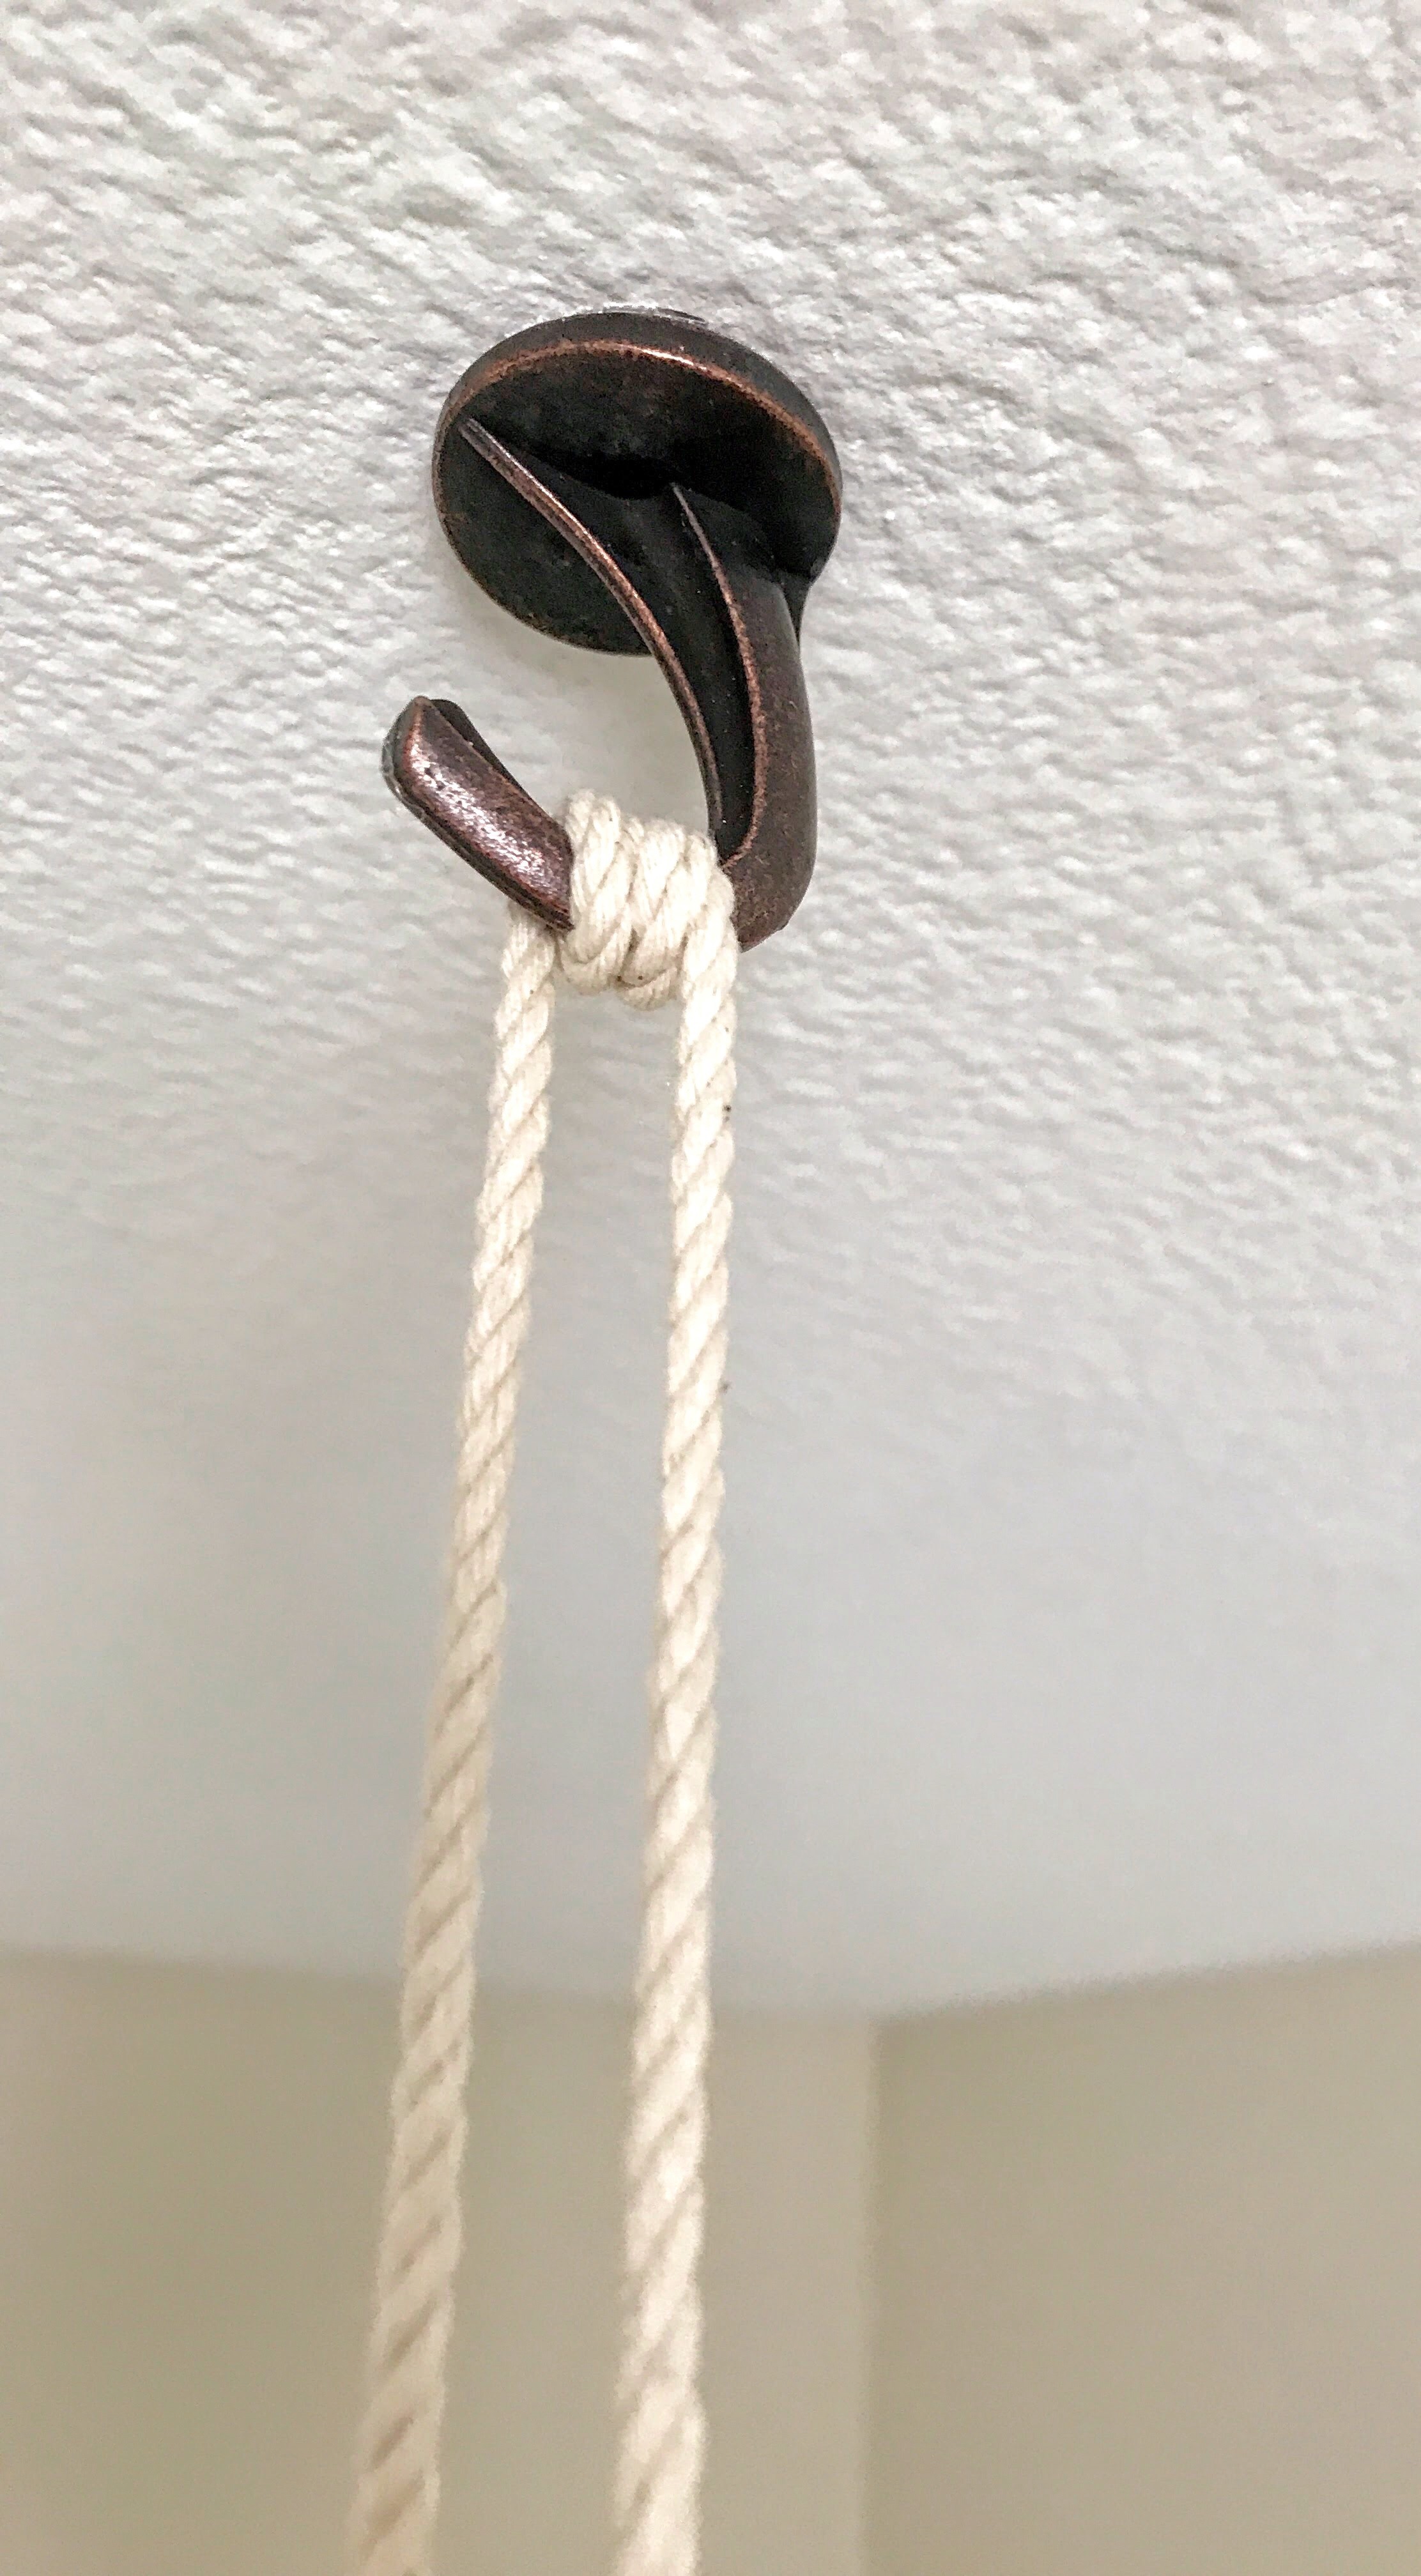
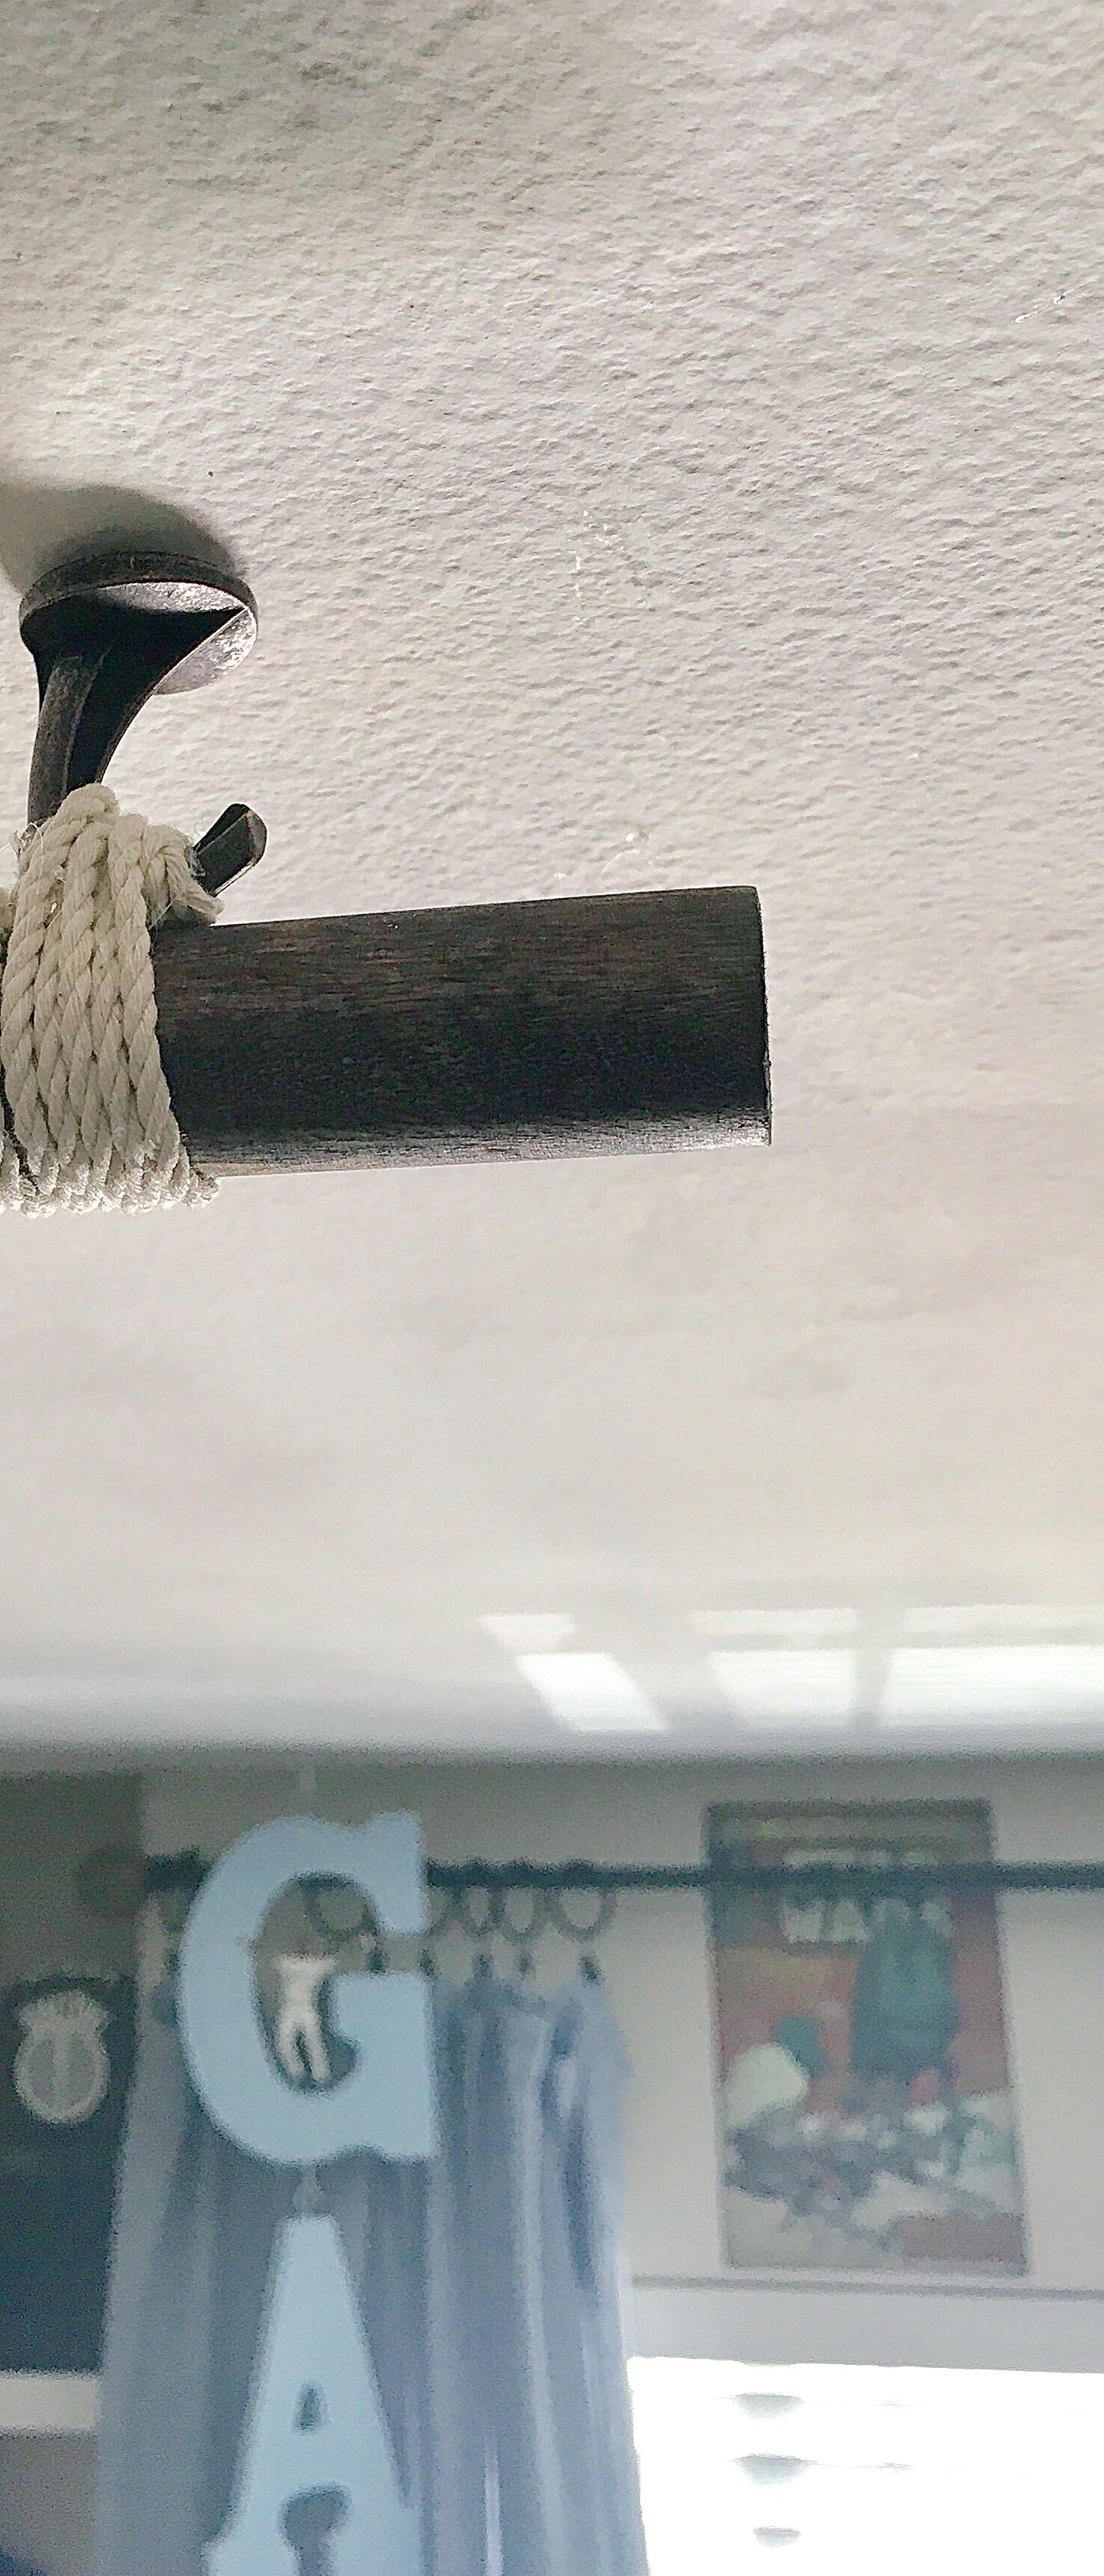
After that, you will want to get your white rope wrapped around and hot glued onto your hooks. I started by draping a long piece over the hook with a dab of hot glue beneath it, and wrapped it once in each direction. The hot glue will spread out beneath the rope. This will insure that the rope doesn’t one day, slip off the hooks:
Once you’ve finished , find a spot in the wall, so that your dowel lines up perfectly beneath the 2 hooks and is touching the bottom of the rope that you’ve wound around your hooks. Screw your dowel into the wall:
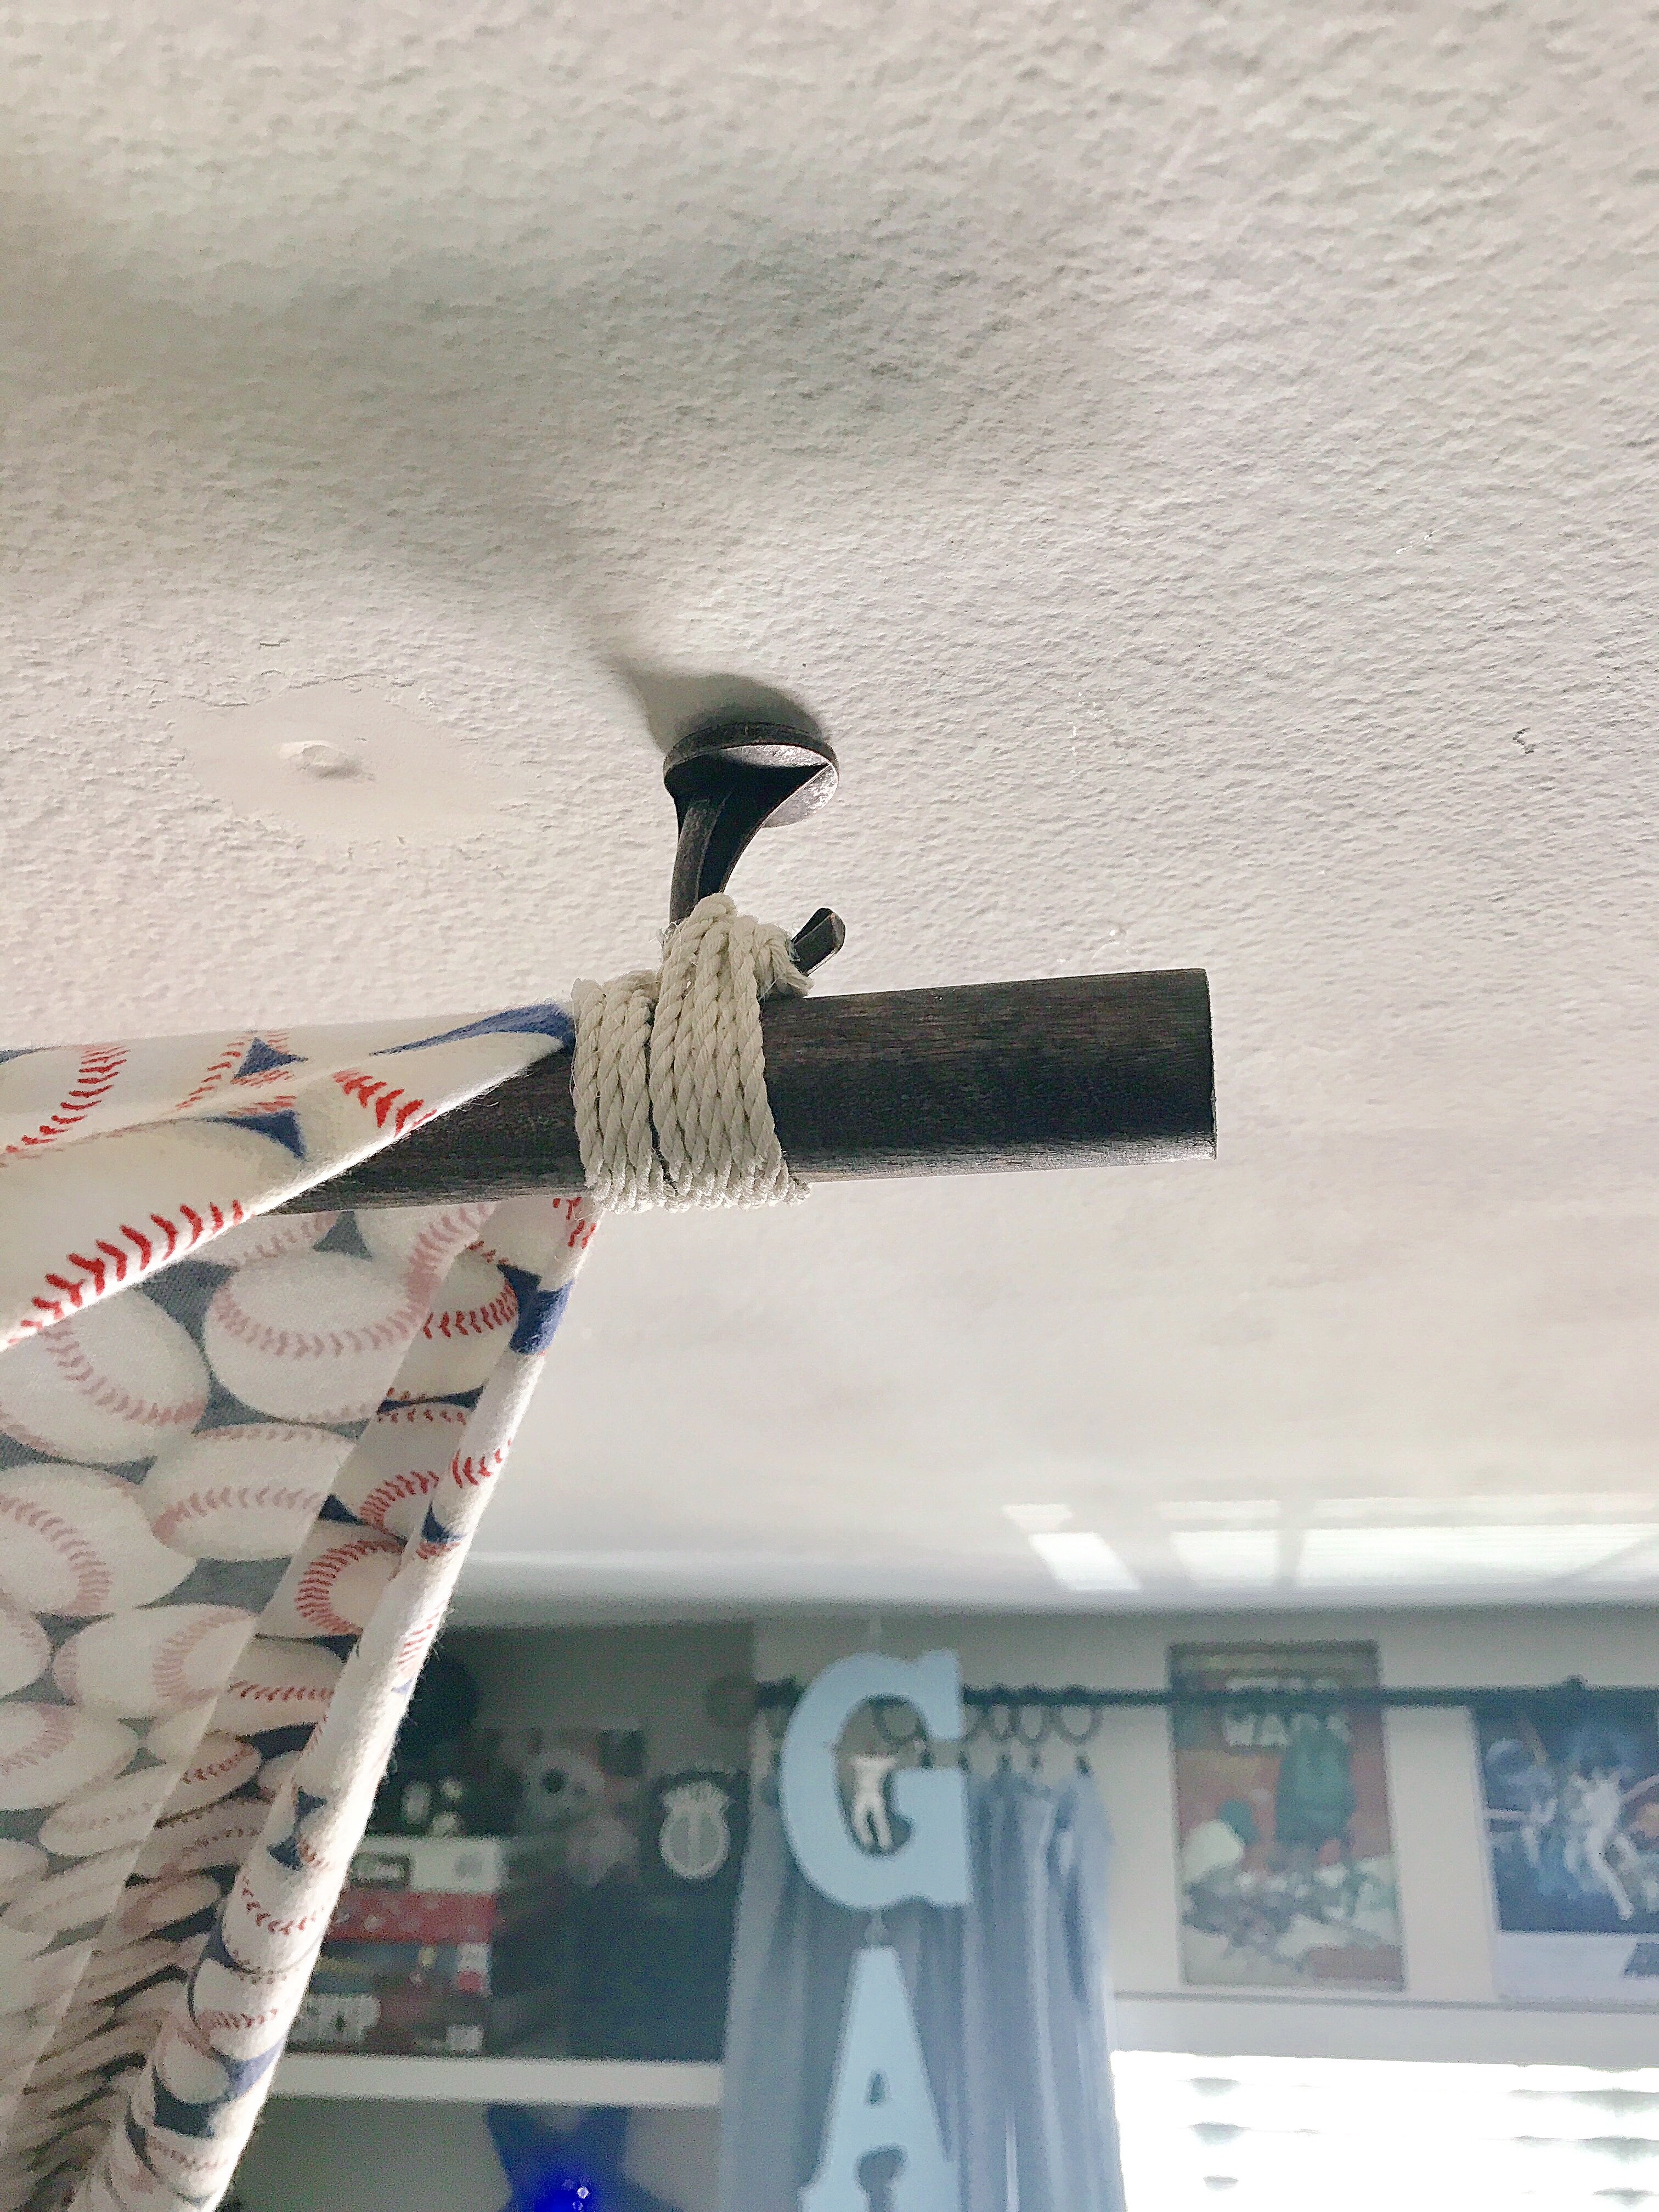
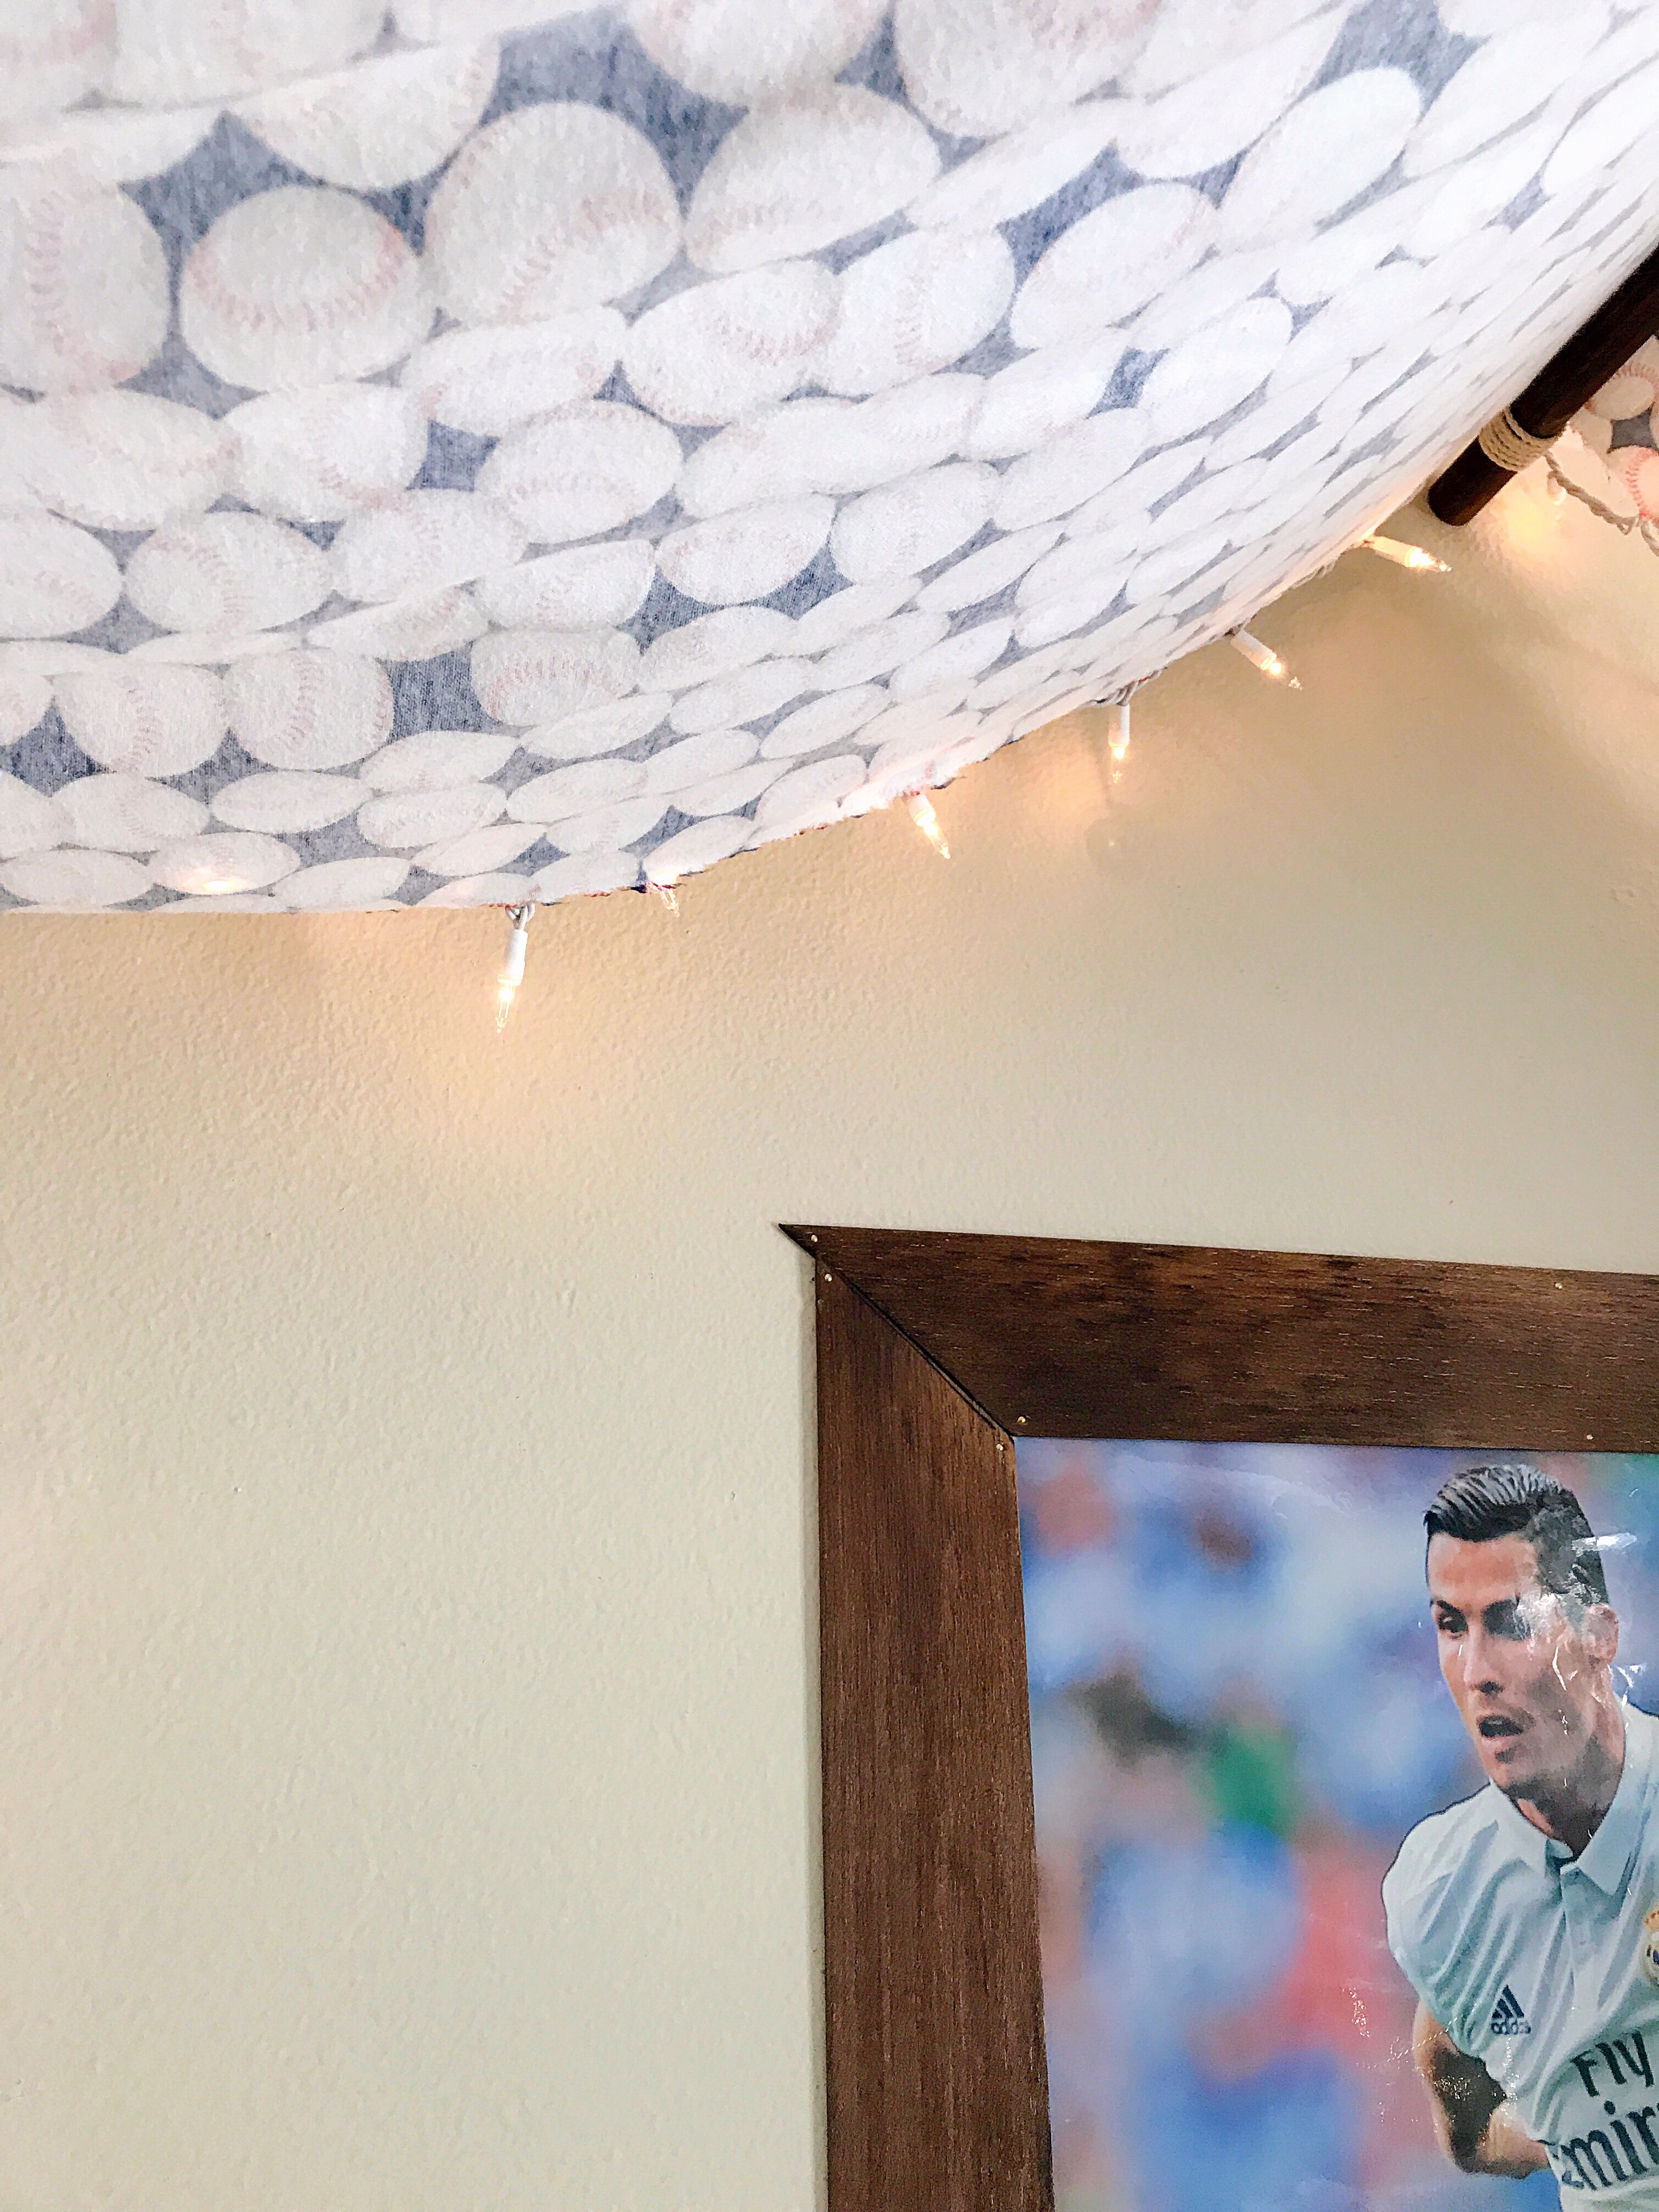
Immediately after that, start wrapping the loose rope that’s hanging down, around your dowel and hook, placing hot glue where you think it’s needed, as you go. Make sure it’s as tight as possible, and that you use glue here and there to ensure it stays safely in place. I wrapped the rope several times and then finished it off, by gluing the rope on to the top, so it wouldn’t be seen when looking up at the canopy. It’s nice and tight, but will move just slightly because of the give of the rope. You will have just enough room between the ceiling and the dowel, to slide your fabric through:
Once you’ve finished wrapping your rope around both hooks, and everything is secure, you’re ready to move on to your side dowels!
I took a tape measure and measured straight across from both hooks in the middle dowel and marked approximate spots on the ceiling with a pencil. You have to think about how far out you want the canopy to go. I wanted Gabe’s to land between his nightstands and bed. Things to think about:
- You don’t want the fabric to fall too close to the bed or ON it. Make sure your kid has enough space to sleep on the mattress so he or she won’t be sleeping on top of the fabric.
- It doesn’t bother us much, but if you have the fabric between the bed and nightstands, it’s slightly difficult to access the nightstand. I thought about cutting a window in each side, but when I finished, I didn’t want to risk it, and wasn’t sure how I would finish it off. I thought about this before-hand and asked Gabe if I could put the canopy beyond the nightstands, which is an option (more fabric would be necessary), but Gabe wanted a more tent-like affect and thought it would take away from that.
Once you’ve approximated where your 2 hooks are going, you’ll need to decide how far down they’re going to go. Things to think about:
- The dowels need to be high enough up, so no one gets hit in the head. I think 7 feet and above is a general safe zone for most.
- You’ll need to hold your dowel from the wall and let it stick straight out. You will probably need someone to hold it, so you can see where you want it to be.
- Once again, you need to make sure that you’re providing enough room so that the canopy is not encroaching on sleep space.
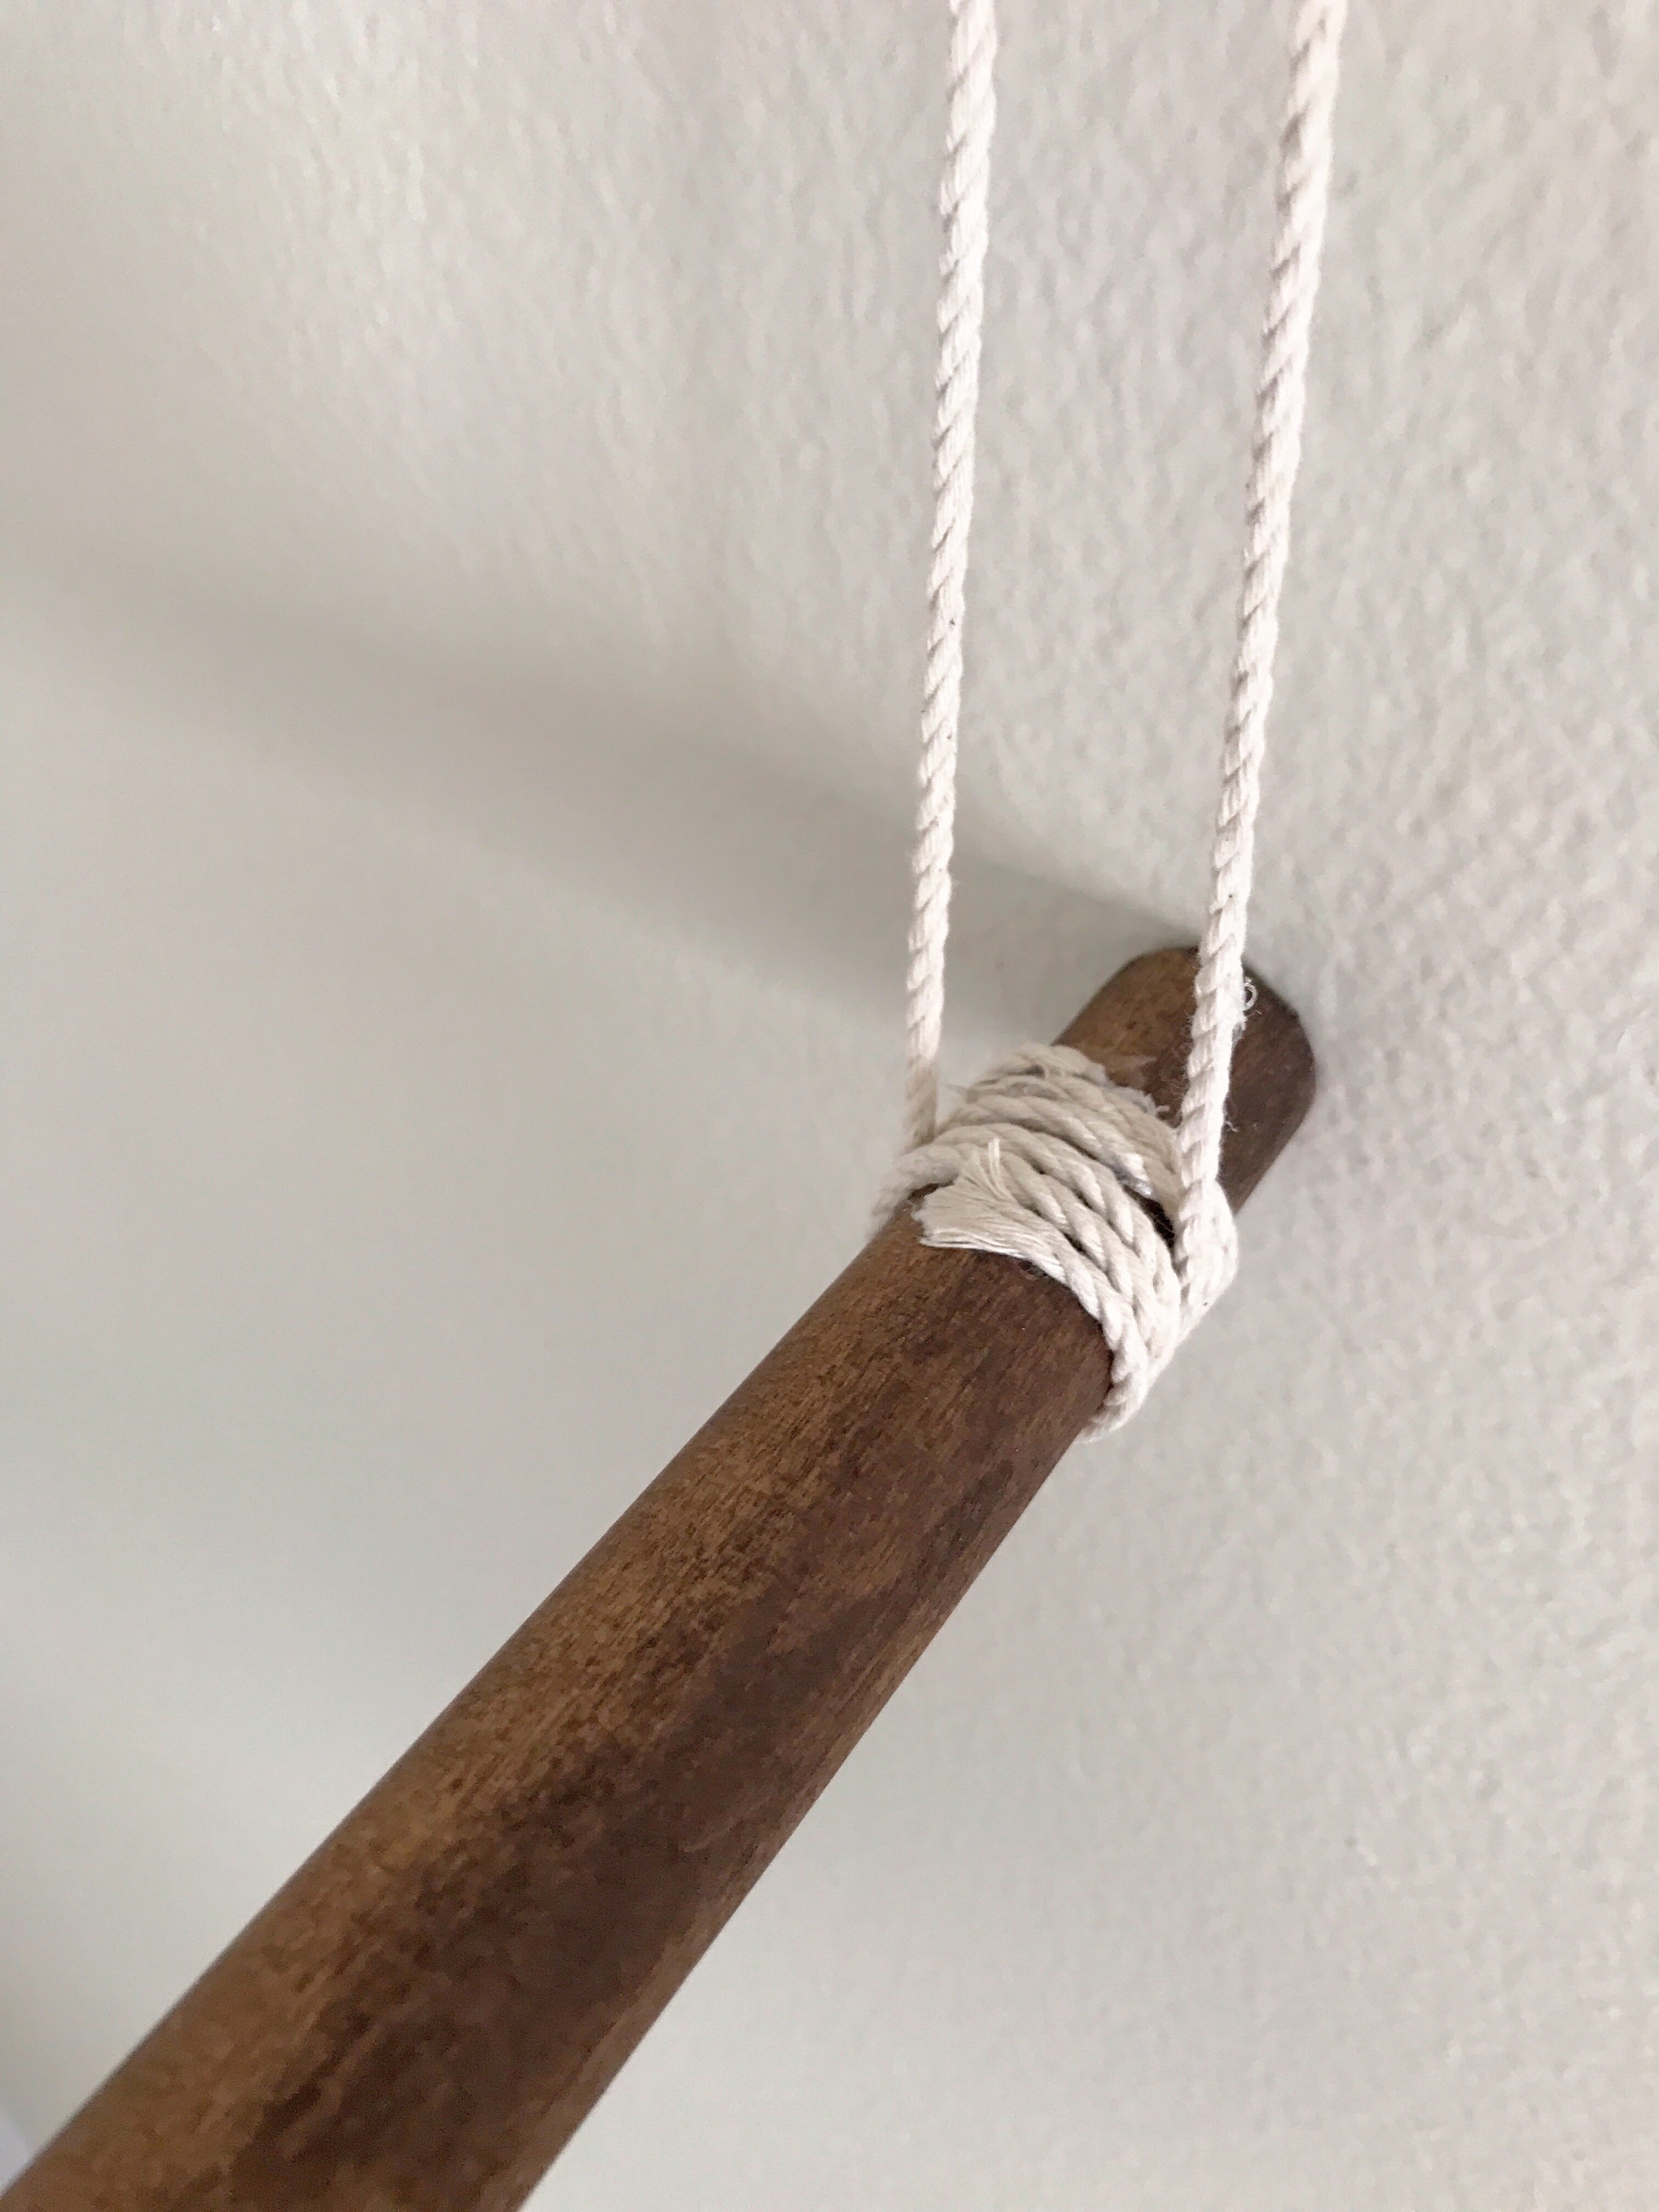
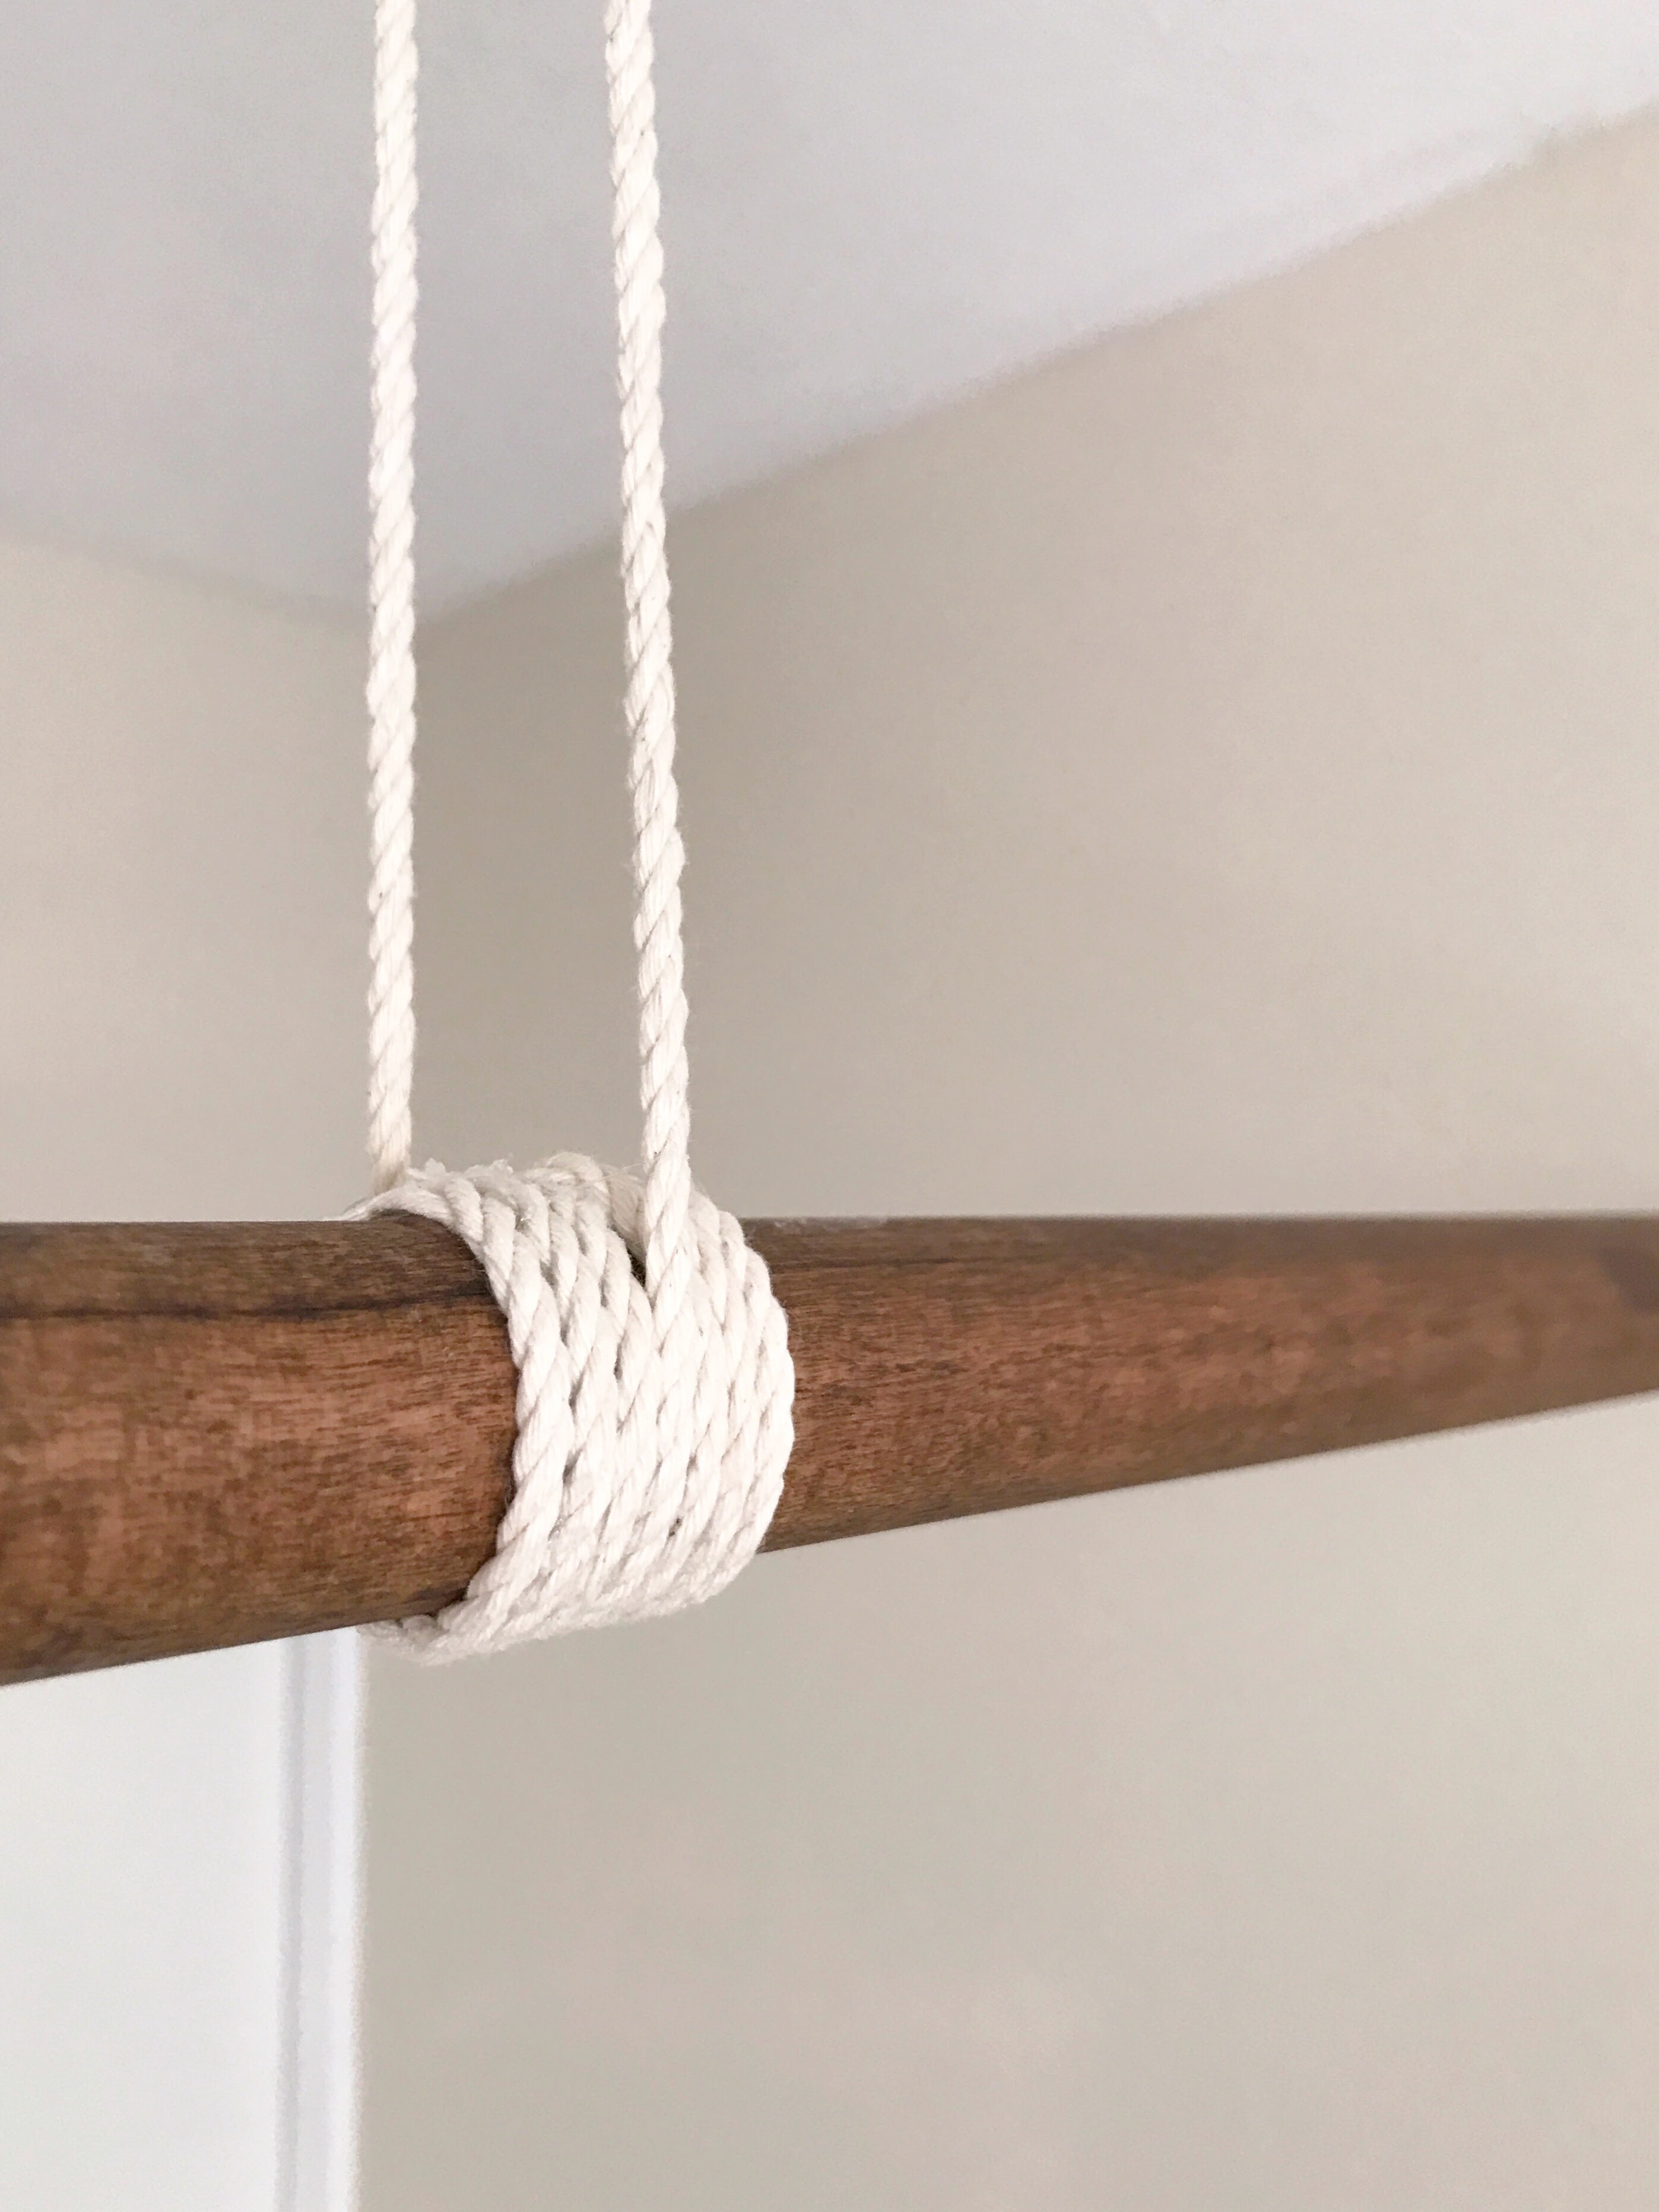
Once you’ve decided on your spot, screw your dowel into the wall. Take your hooks and a piece of rope and hold them in the spot that you approximated- bring the rope down to see if it lines up with the dowel that is in the wall. Screw your hooks in, get a long piece of rope, place it on the hook and wrap it around with hot glue for security, like you did with your middle dowel:

Bring it down and wrap it around your dowel in either direction, finishing it off on top with hot glue, so you can’t see it when looking up at the canopy:
Once you’ve finished your first side dowel, you can move on to the next one. Repeat what you did on the opposite side, remembering to measure how far down your dowel was placed on the opposite side and exactly how far you placed it from the middle dowel. With this one you will have more precise parameters to work with, since the first one is done and you can use that as an example. Remember to also eyeball it- I’ve found that sometimes the combo is better than just measuring as walls, floors, etc., can be slightly crooked. The last dowel is important as you don’t want it further out than the other, or at a different height. Once you’ve finished your dowels, there’s a light at the end of the tunnel!
It’s time to move onto your fabric. I bought about 7 1/2 yards because that’s what they had left on the bolt, and it was on sale for $3/yd, so I was in business. I ended up paying about $25.00 for all that fabric. Also, you get half off the last yard of a bolt at Joann’s, whether the fabric is already on sale or not- just make sure you ask the cutter to mark that last yard down for you.
My fabric was only about 3 1/2 feet wide, so, I didn’t have a lot of wiggle room as far as sewing my edges or even cutting off much. I took a really good pair of fabric scissors, and cut the white edge off of the entire length of the fabric before I started. I took time to carefully cut, because I knew I wasn’t going to finish the edge. I might have sewn it or had it sewn, if I had enough width to do that, but I didn’t. The other edge was sort of frayed, but actually looked ok (by my standard). I put that edge to the back side. It’s hard to see, but you can see the fraying on the back edge a little. It’s not that noticeable in pictures or in real life:
The cut edge is at the front of the canopy. It’s folded back, so it looks pretty finished off:
You can buy fabric double that width, but your going to have a lot of fabric to deal with. I wanted something lightweight for safety and also, I think it could get a bit warm with a heavy canopy. Temecula is hot and I didn’t want anything weighty.
I ironed the entire length of the fabric before I put it up. Even if it doesn’t look that wrinkly, you’ll want to do this, because the fabric will lie better on the dowels (and it will look neater and more finished).
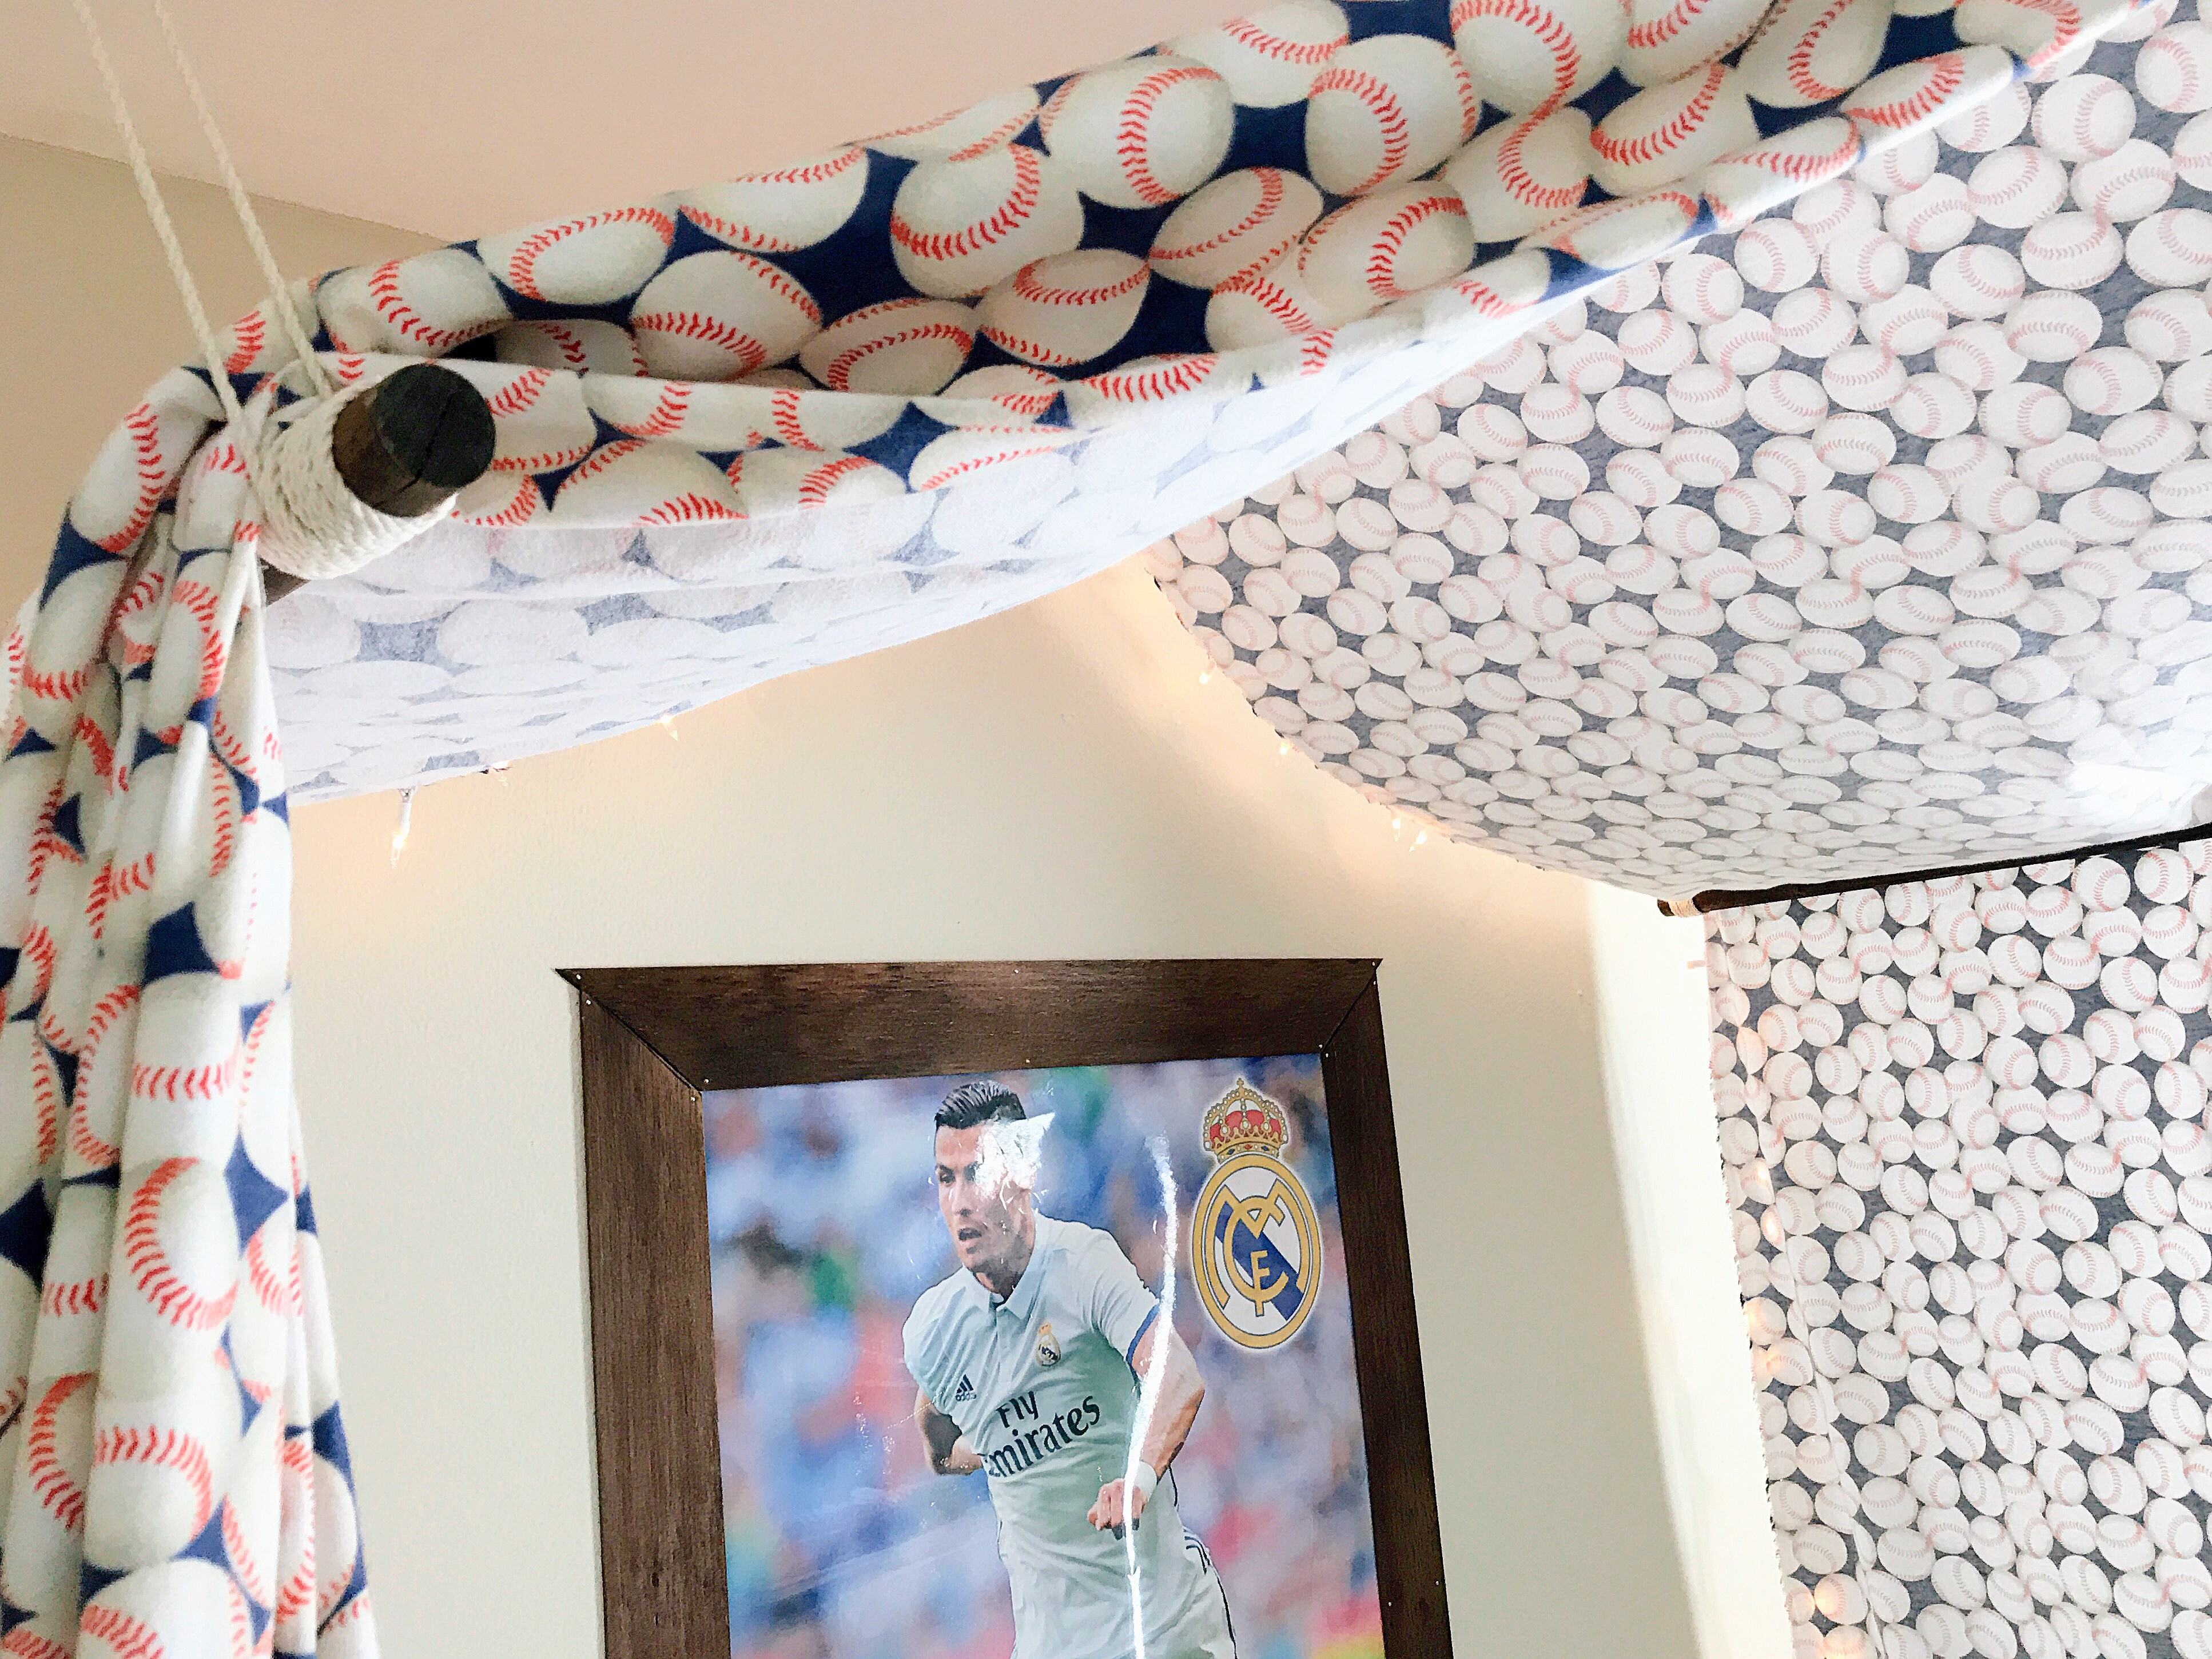
Once you have your fabric up and evenly placed on your dowels, with the front of the fabric folded under itself and laid evenly and straight on the 2 side dowels, you’ll want to take a little hot glue and glue the fabric, to create the apex of your canopy. You’ll then want to take a piece of the white rope and begin by hot gluing the start of it on top of the fabric, just behind the hook, at the apex of the canopy like so:
This will keep the canopy in place. Straighten everything out and give the canopy some billow between the middle and side dowels:
Straighten out the sides and if you have a lot of extra length, this is the time to cut the bottom hem on each side. Leave enough length to hem it up (maybe 1″). Next, take your stitch witch and pull your ironing board close to the canopy and iron your stitch witch to the bottom hem to finish it off.. or sew it if you’re so inclined!
You’re all done!
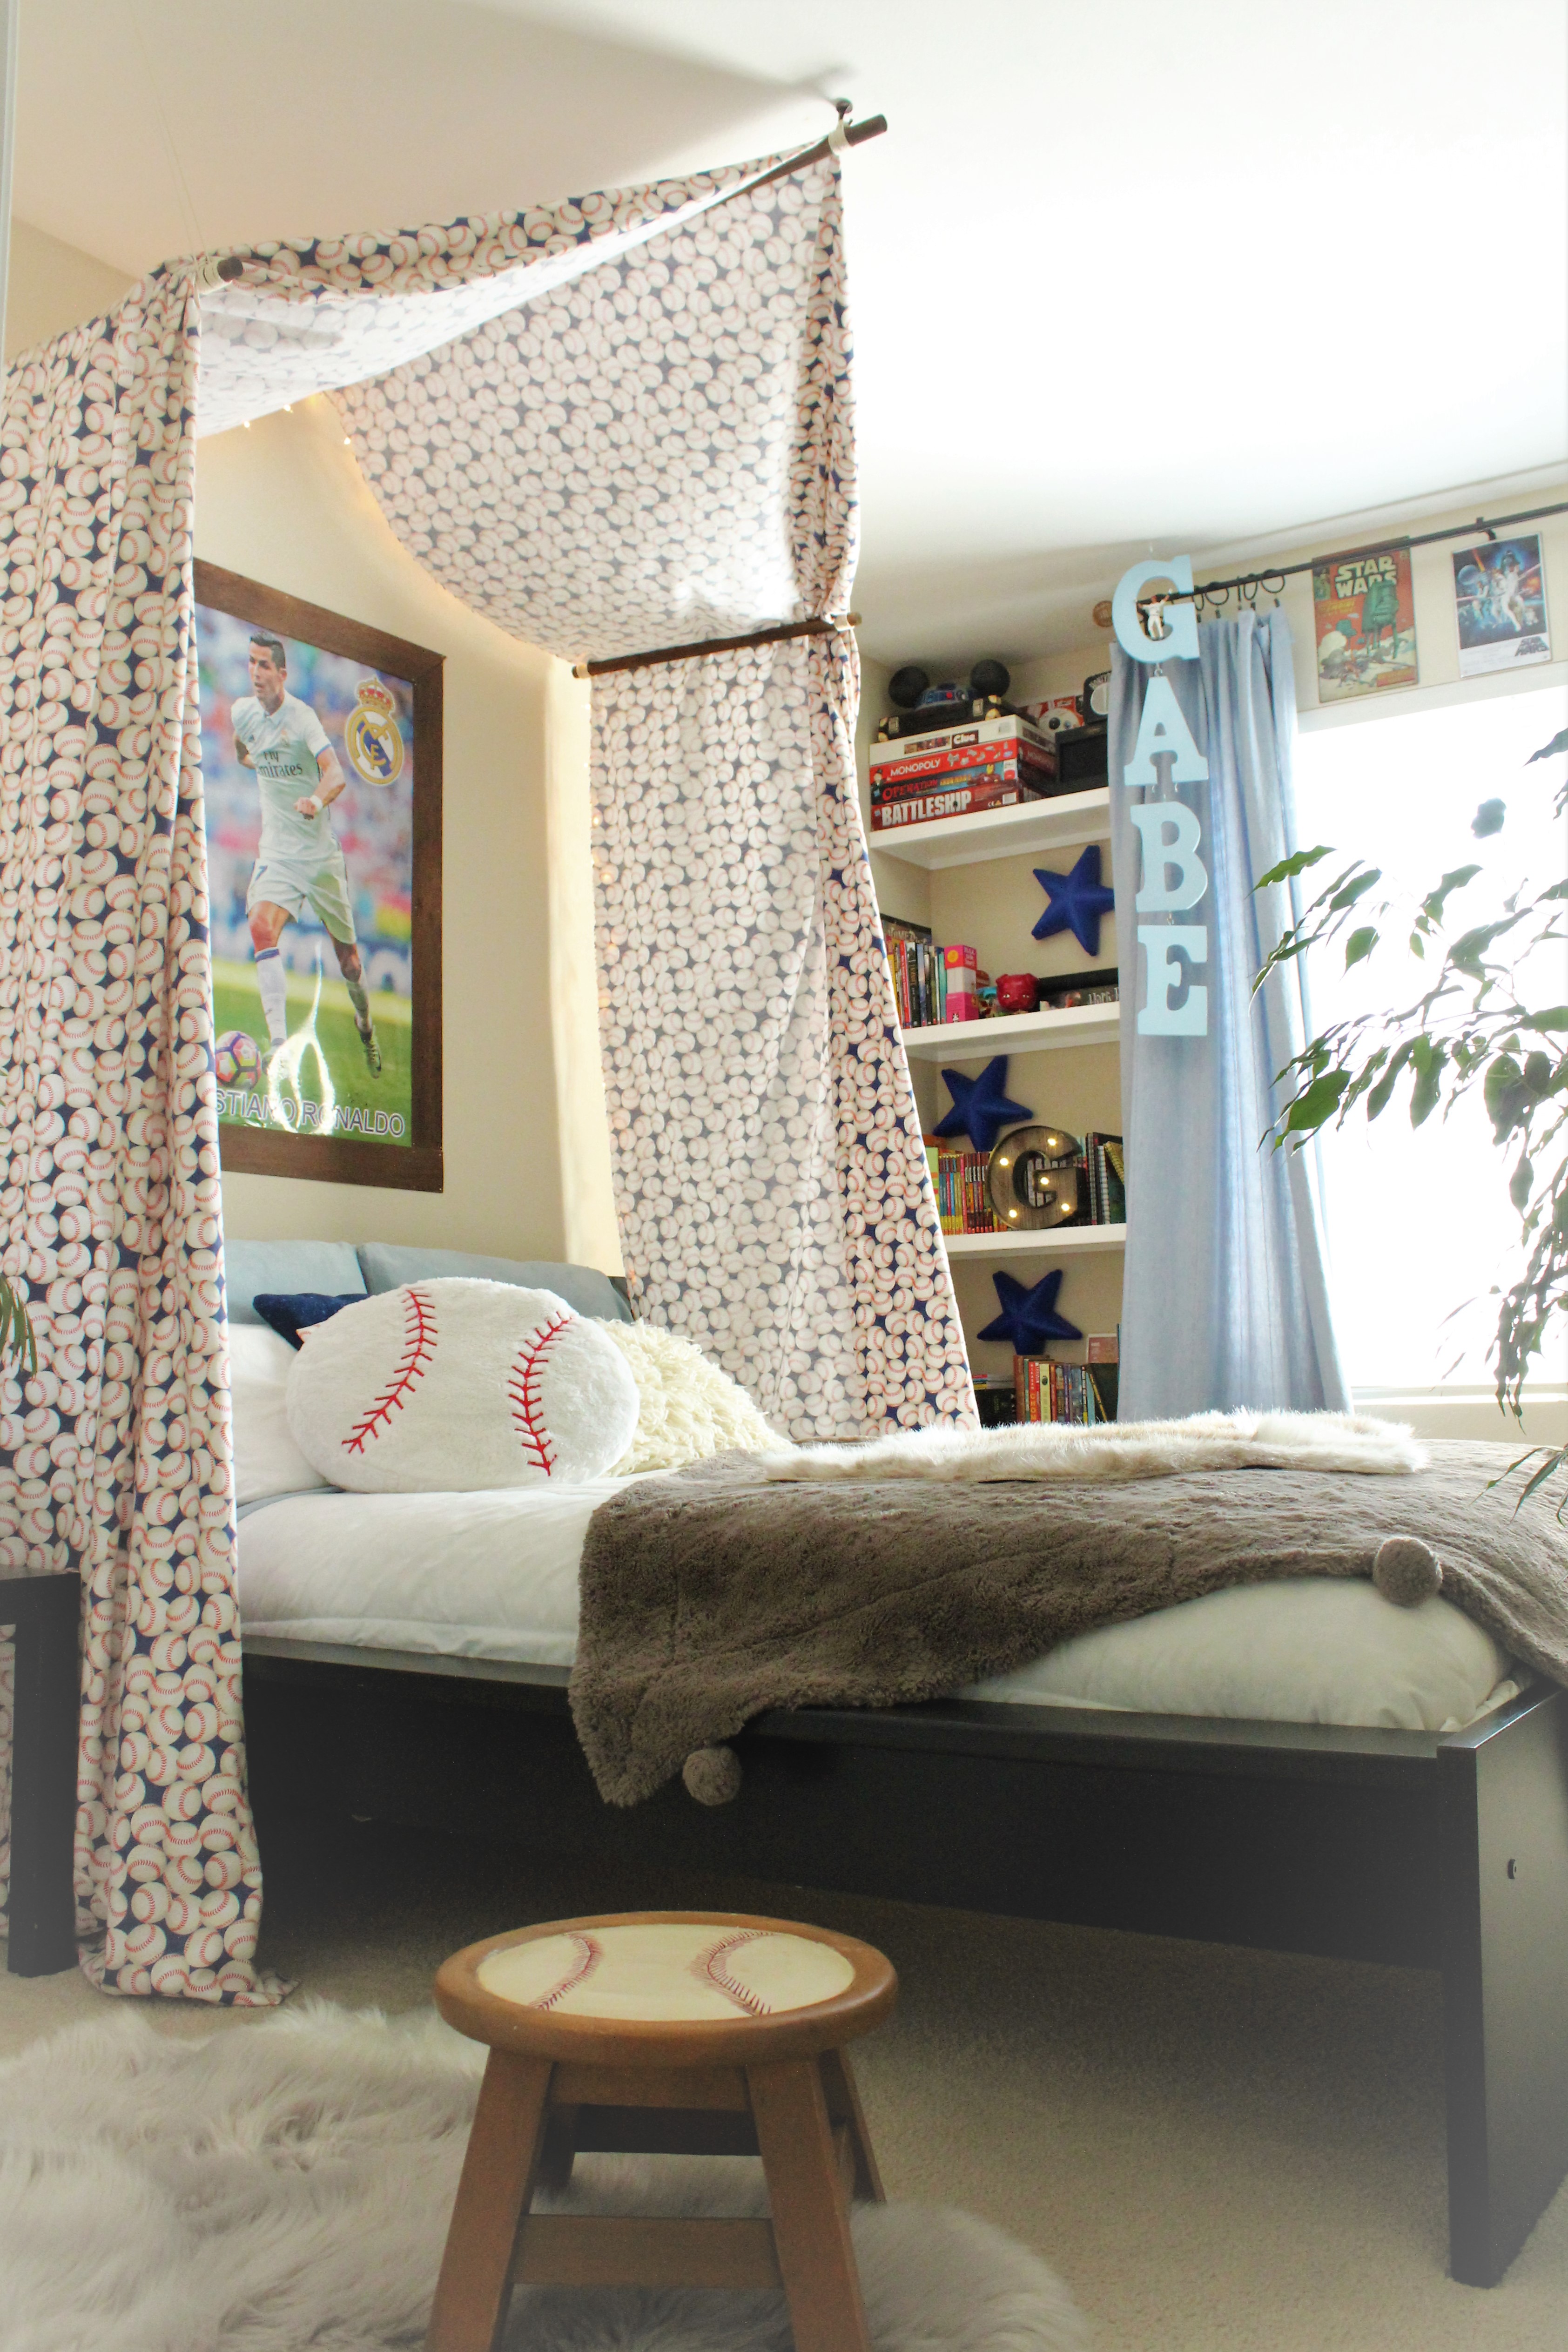
You can take this DIY to whole other level if you have the time to measure exactly and either have a seamstress sew all the hems for you (your local drycleaner could probably do this), or sew it yourself. I didn’t have the time or money for that, but even being the perfectionist I am, I’m really happy with the end result. It looks finished and adorable. More importantly, Gabe loves it! I think he feels like he has his own little fort.
Good luck and let me know if you have any questions… you can do this!!! Please send pictures if you decide to take on this project. I would love to see your version!
Thanks for spending time here at The Craine’s Nest!
Until next time.
Happy Nesting.
Kirstie xo