
Hi there and Happy New Year!
It’s 2016 and I’m excited to start a new year! January means it’s time to put away the Holiday goods and refresh! Everyone is organizing, cleaning out, and throwing away… and there’s nothing quite like getting rid of ALL that junk, to clear your mind, and pave the way for new ideas. If you’re lucky, while scouring and purging, you may run across a few old things that seem new and interesting again. Finally, you have the perfect idea for that tacky goat’s head coat hanger you bought ages ago! I KNEW I could do something with this thing… and I’ve had lots of ideas for it along the way. First, I was simply going to paint it, and hang it on the wall. But that was too boring. Then I was going to decoupage strips of a white and gold Moroccan paper that I found at World Market, and hang it on a balsa wood backdrop. I think that would’ve been really pretty, but I never got around to it. Finally, after leaning it up against a terracotta planter, to move it out of the way while cleaning, I realized that was it! Serendipity!
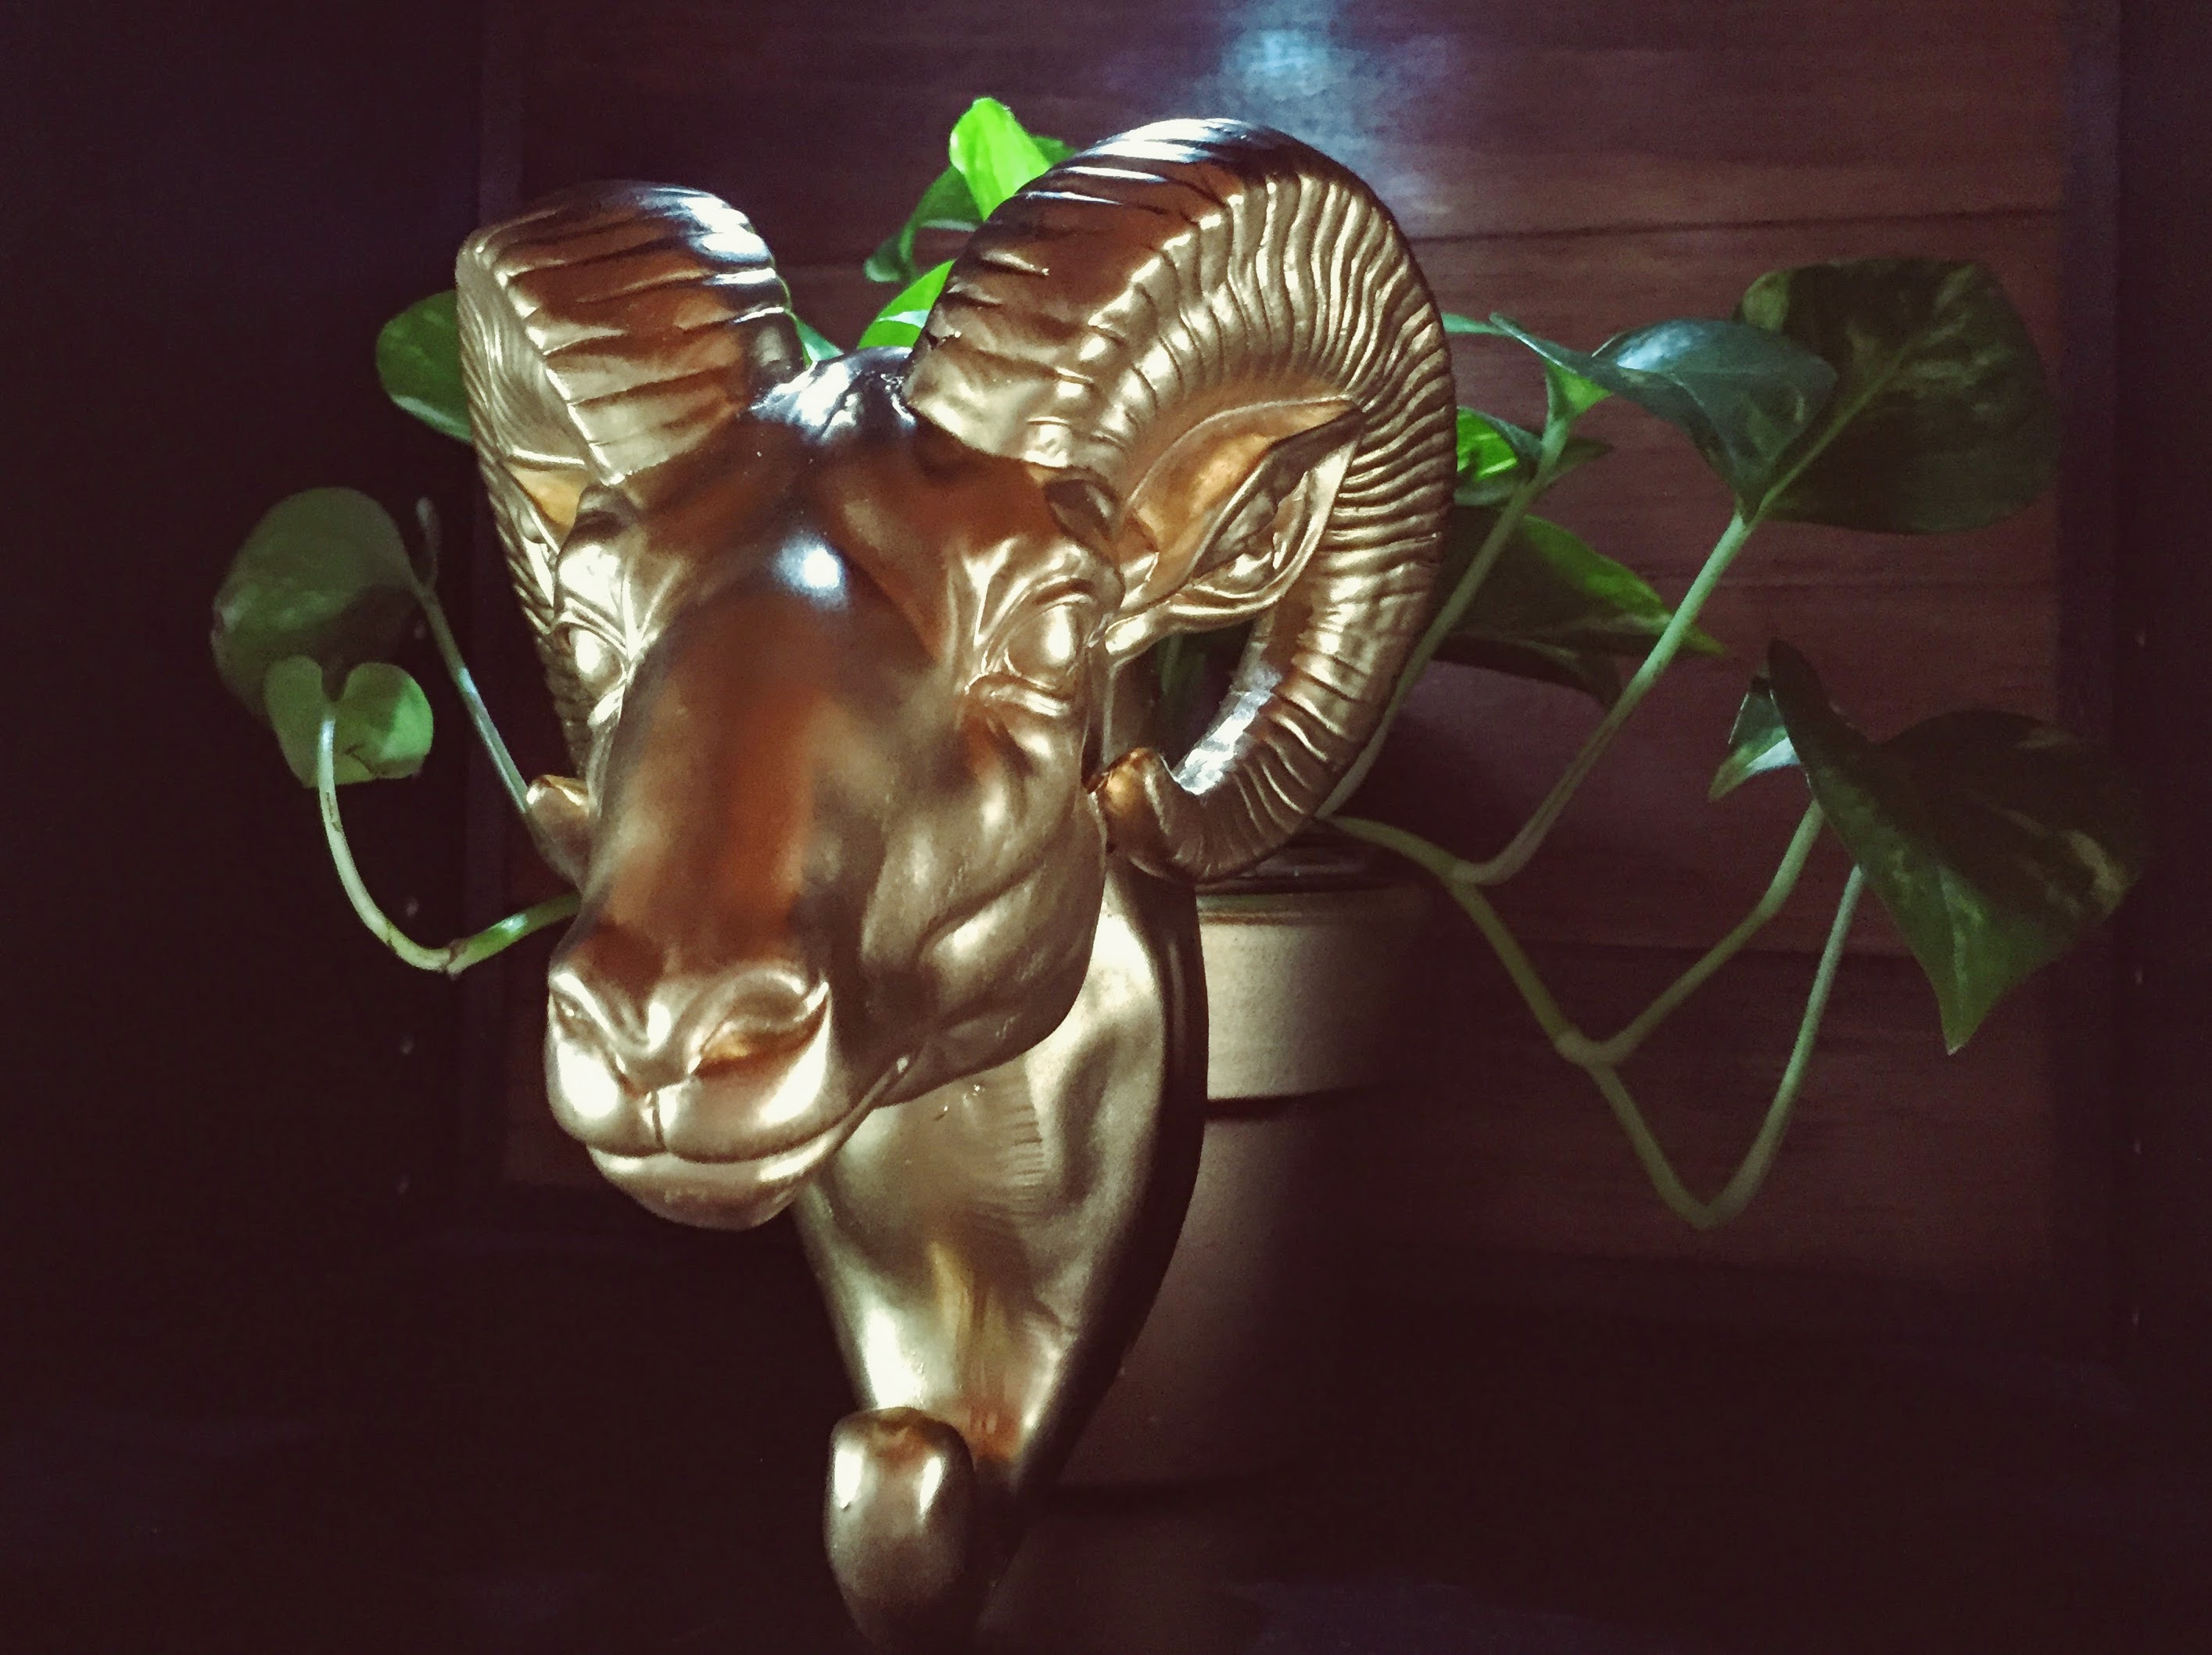
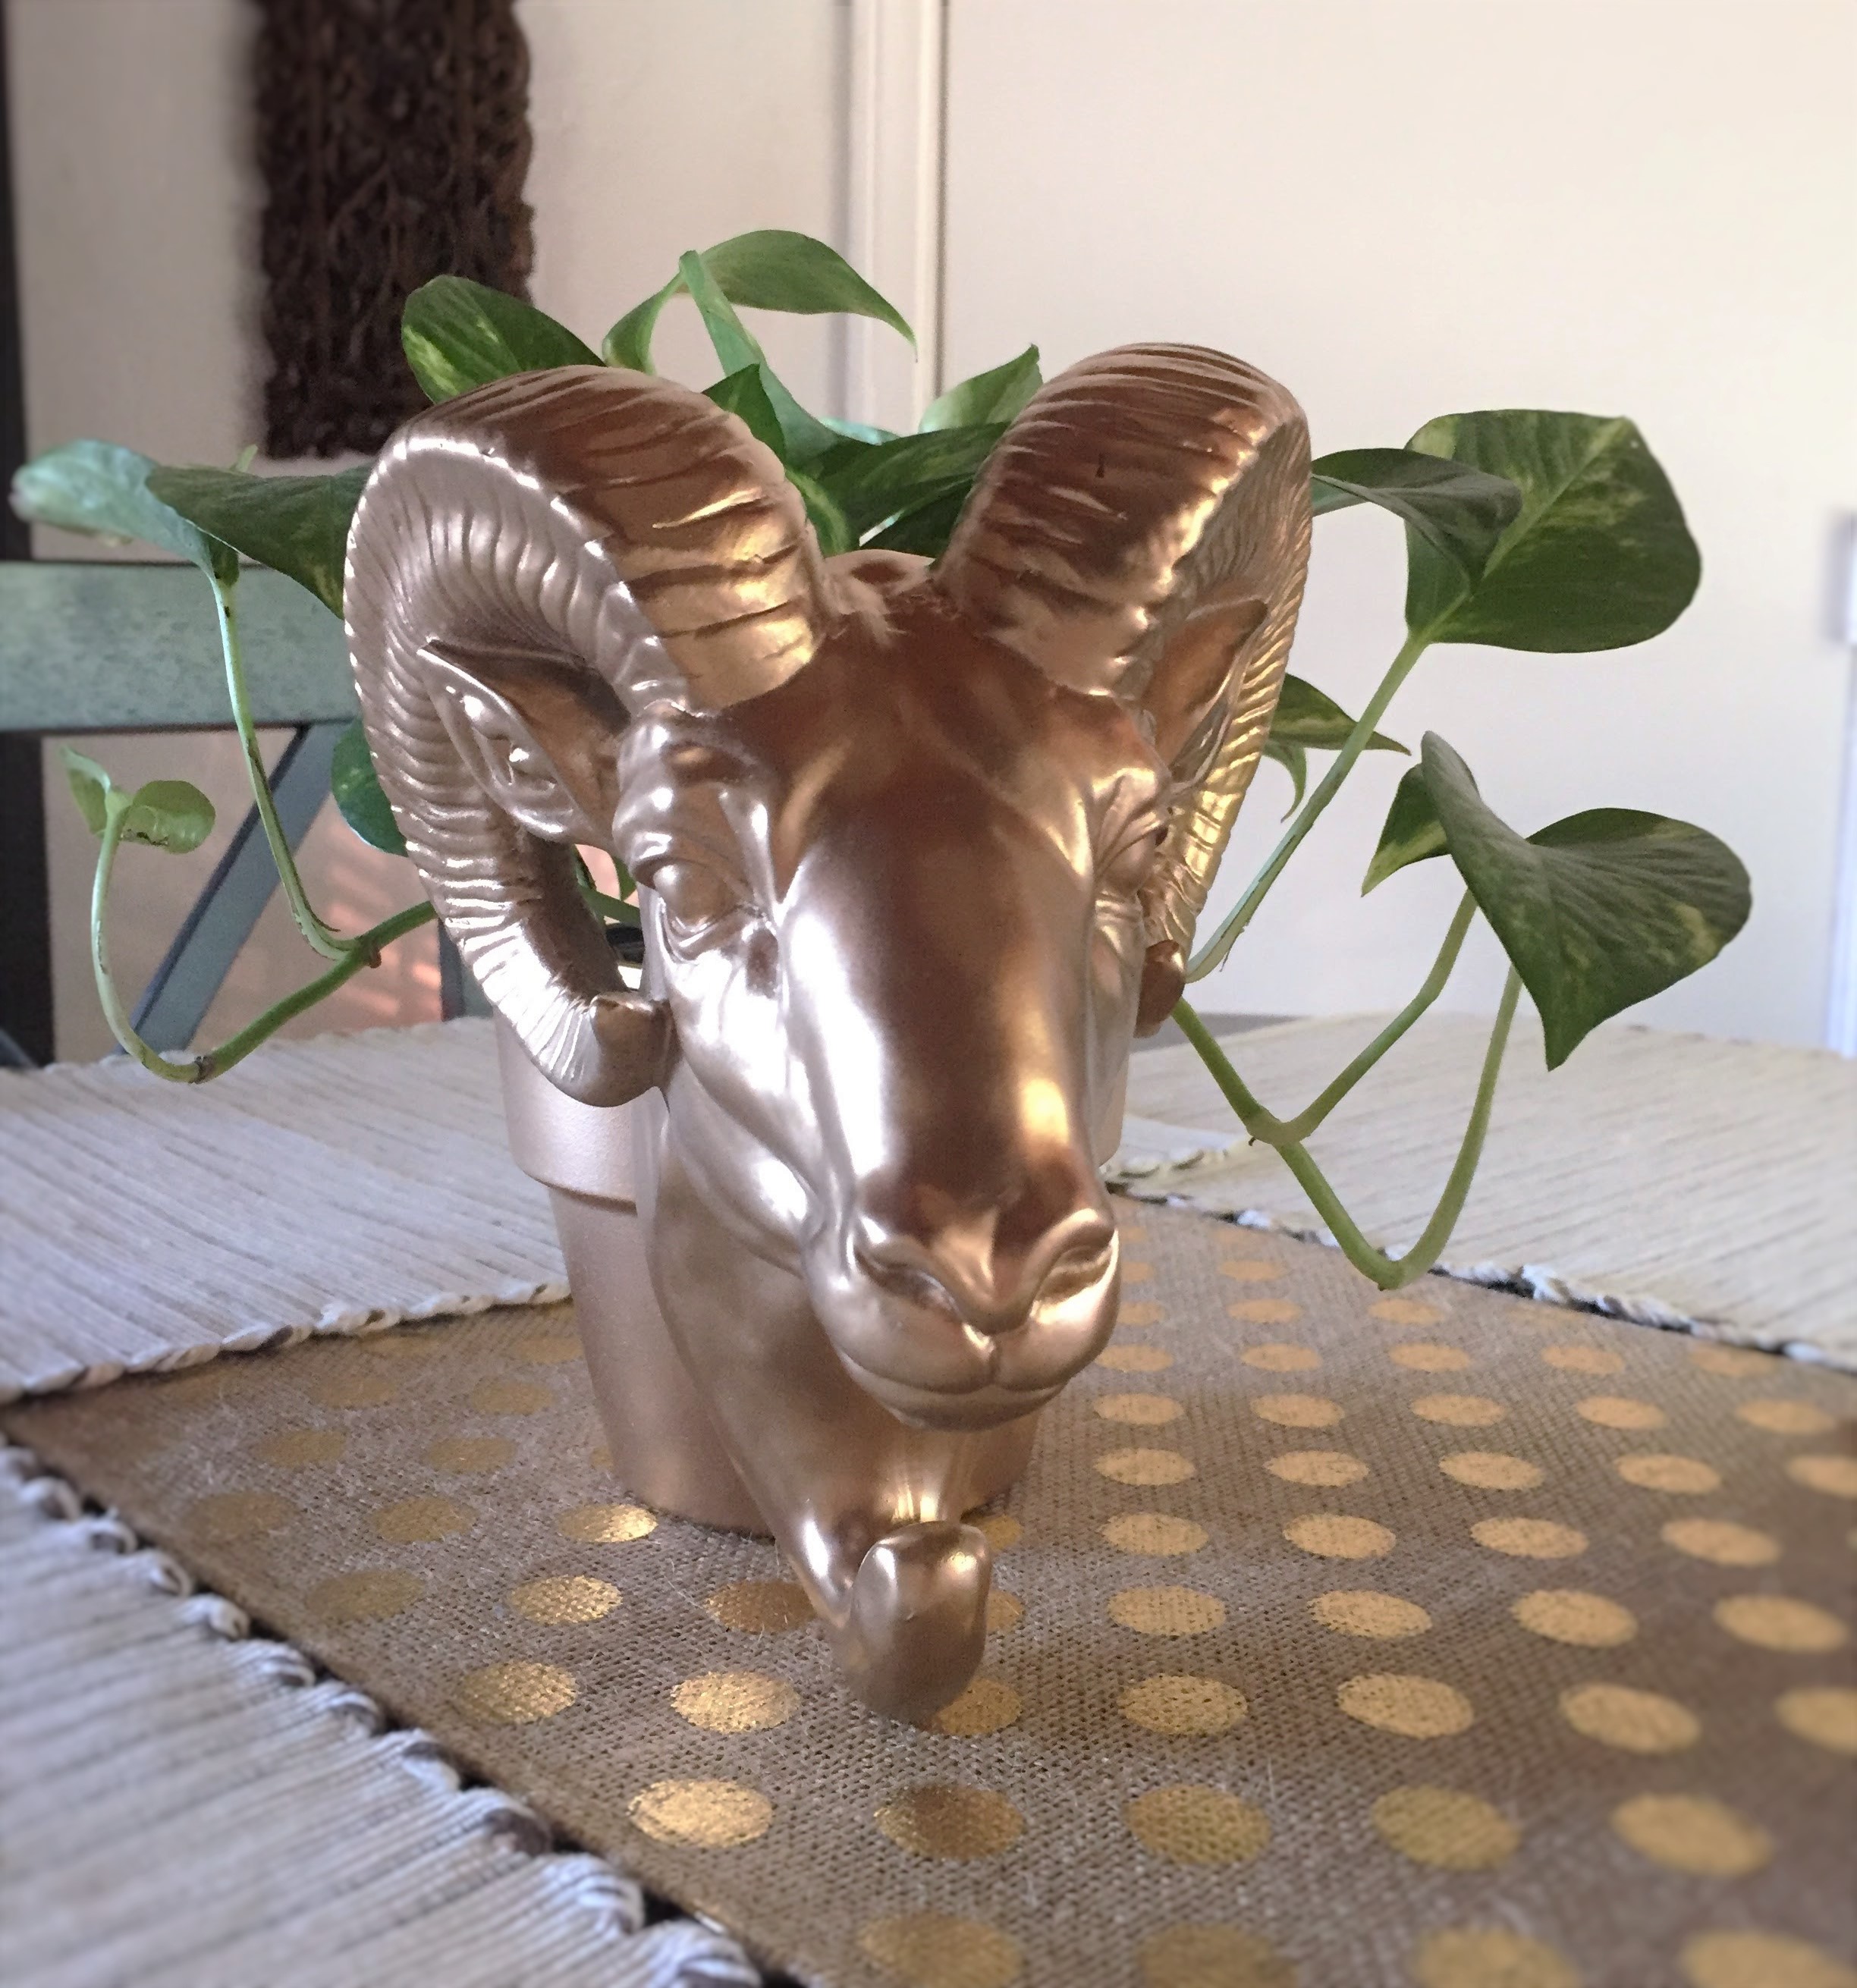
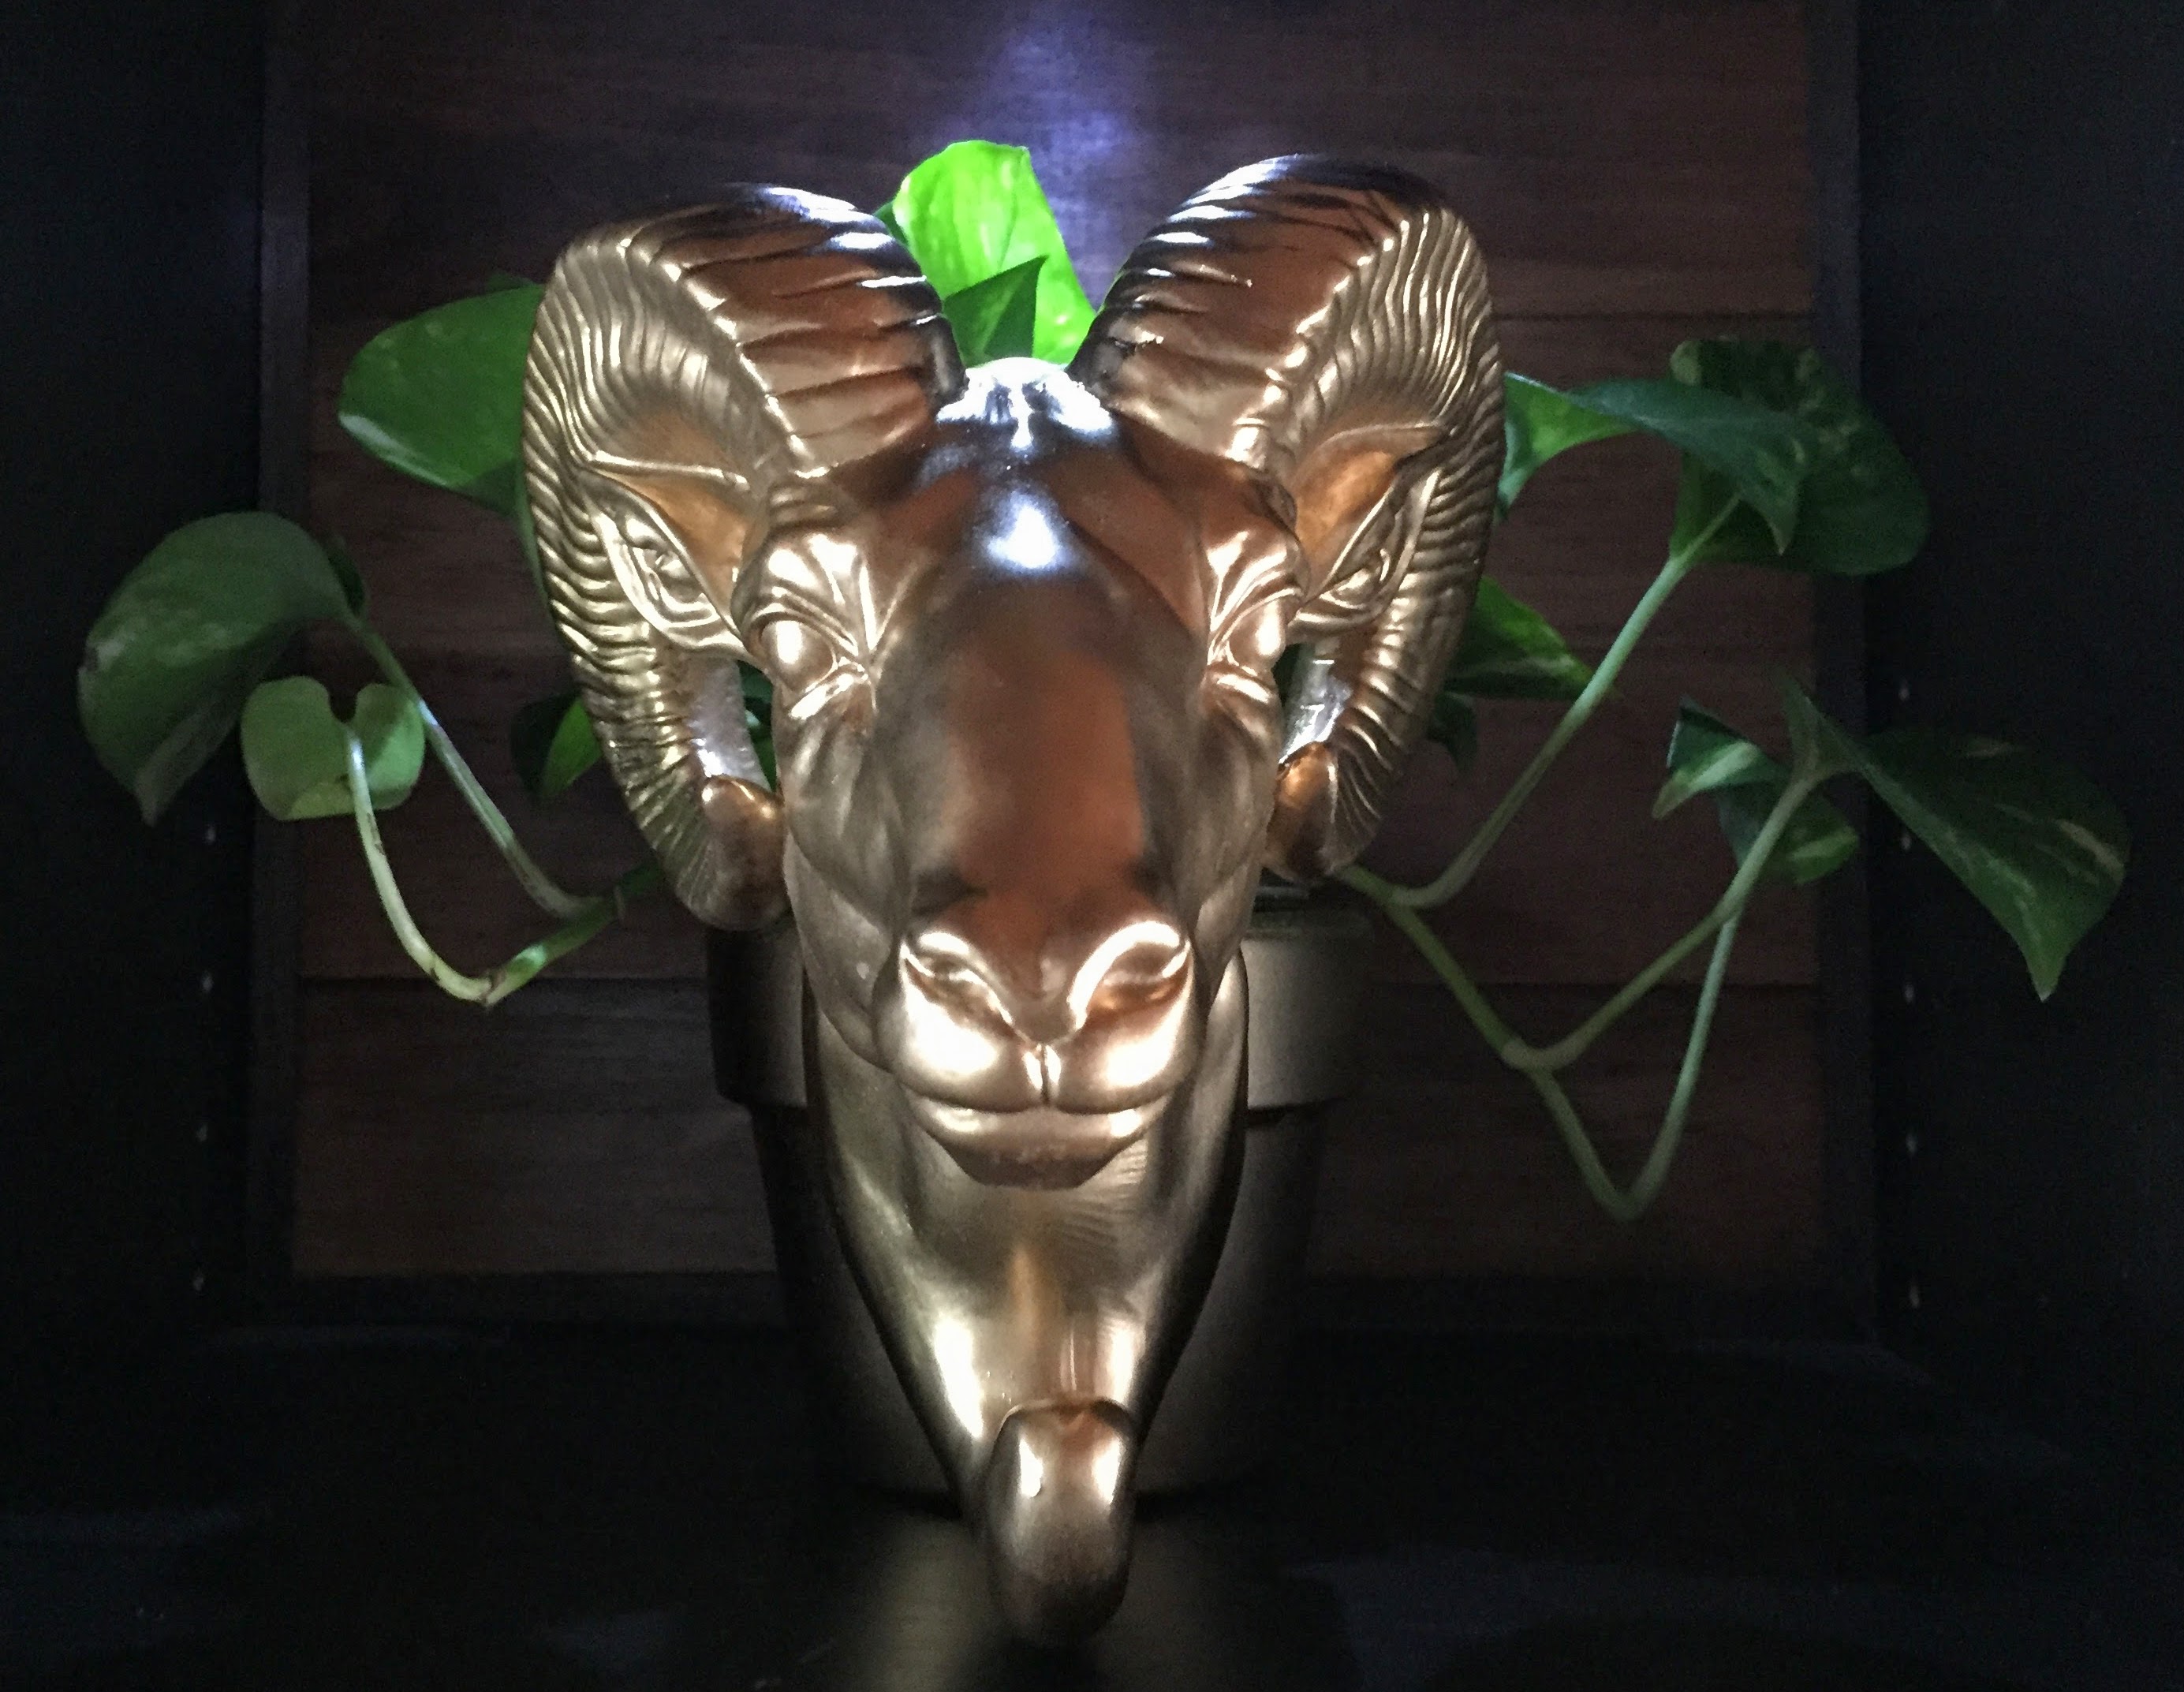
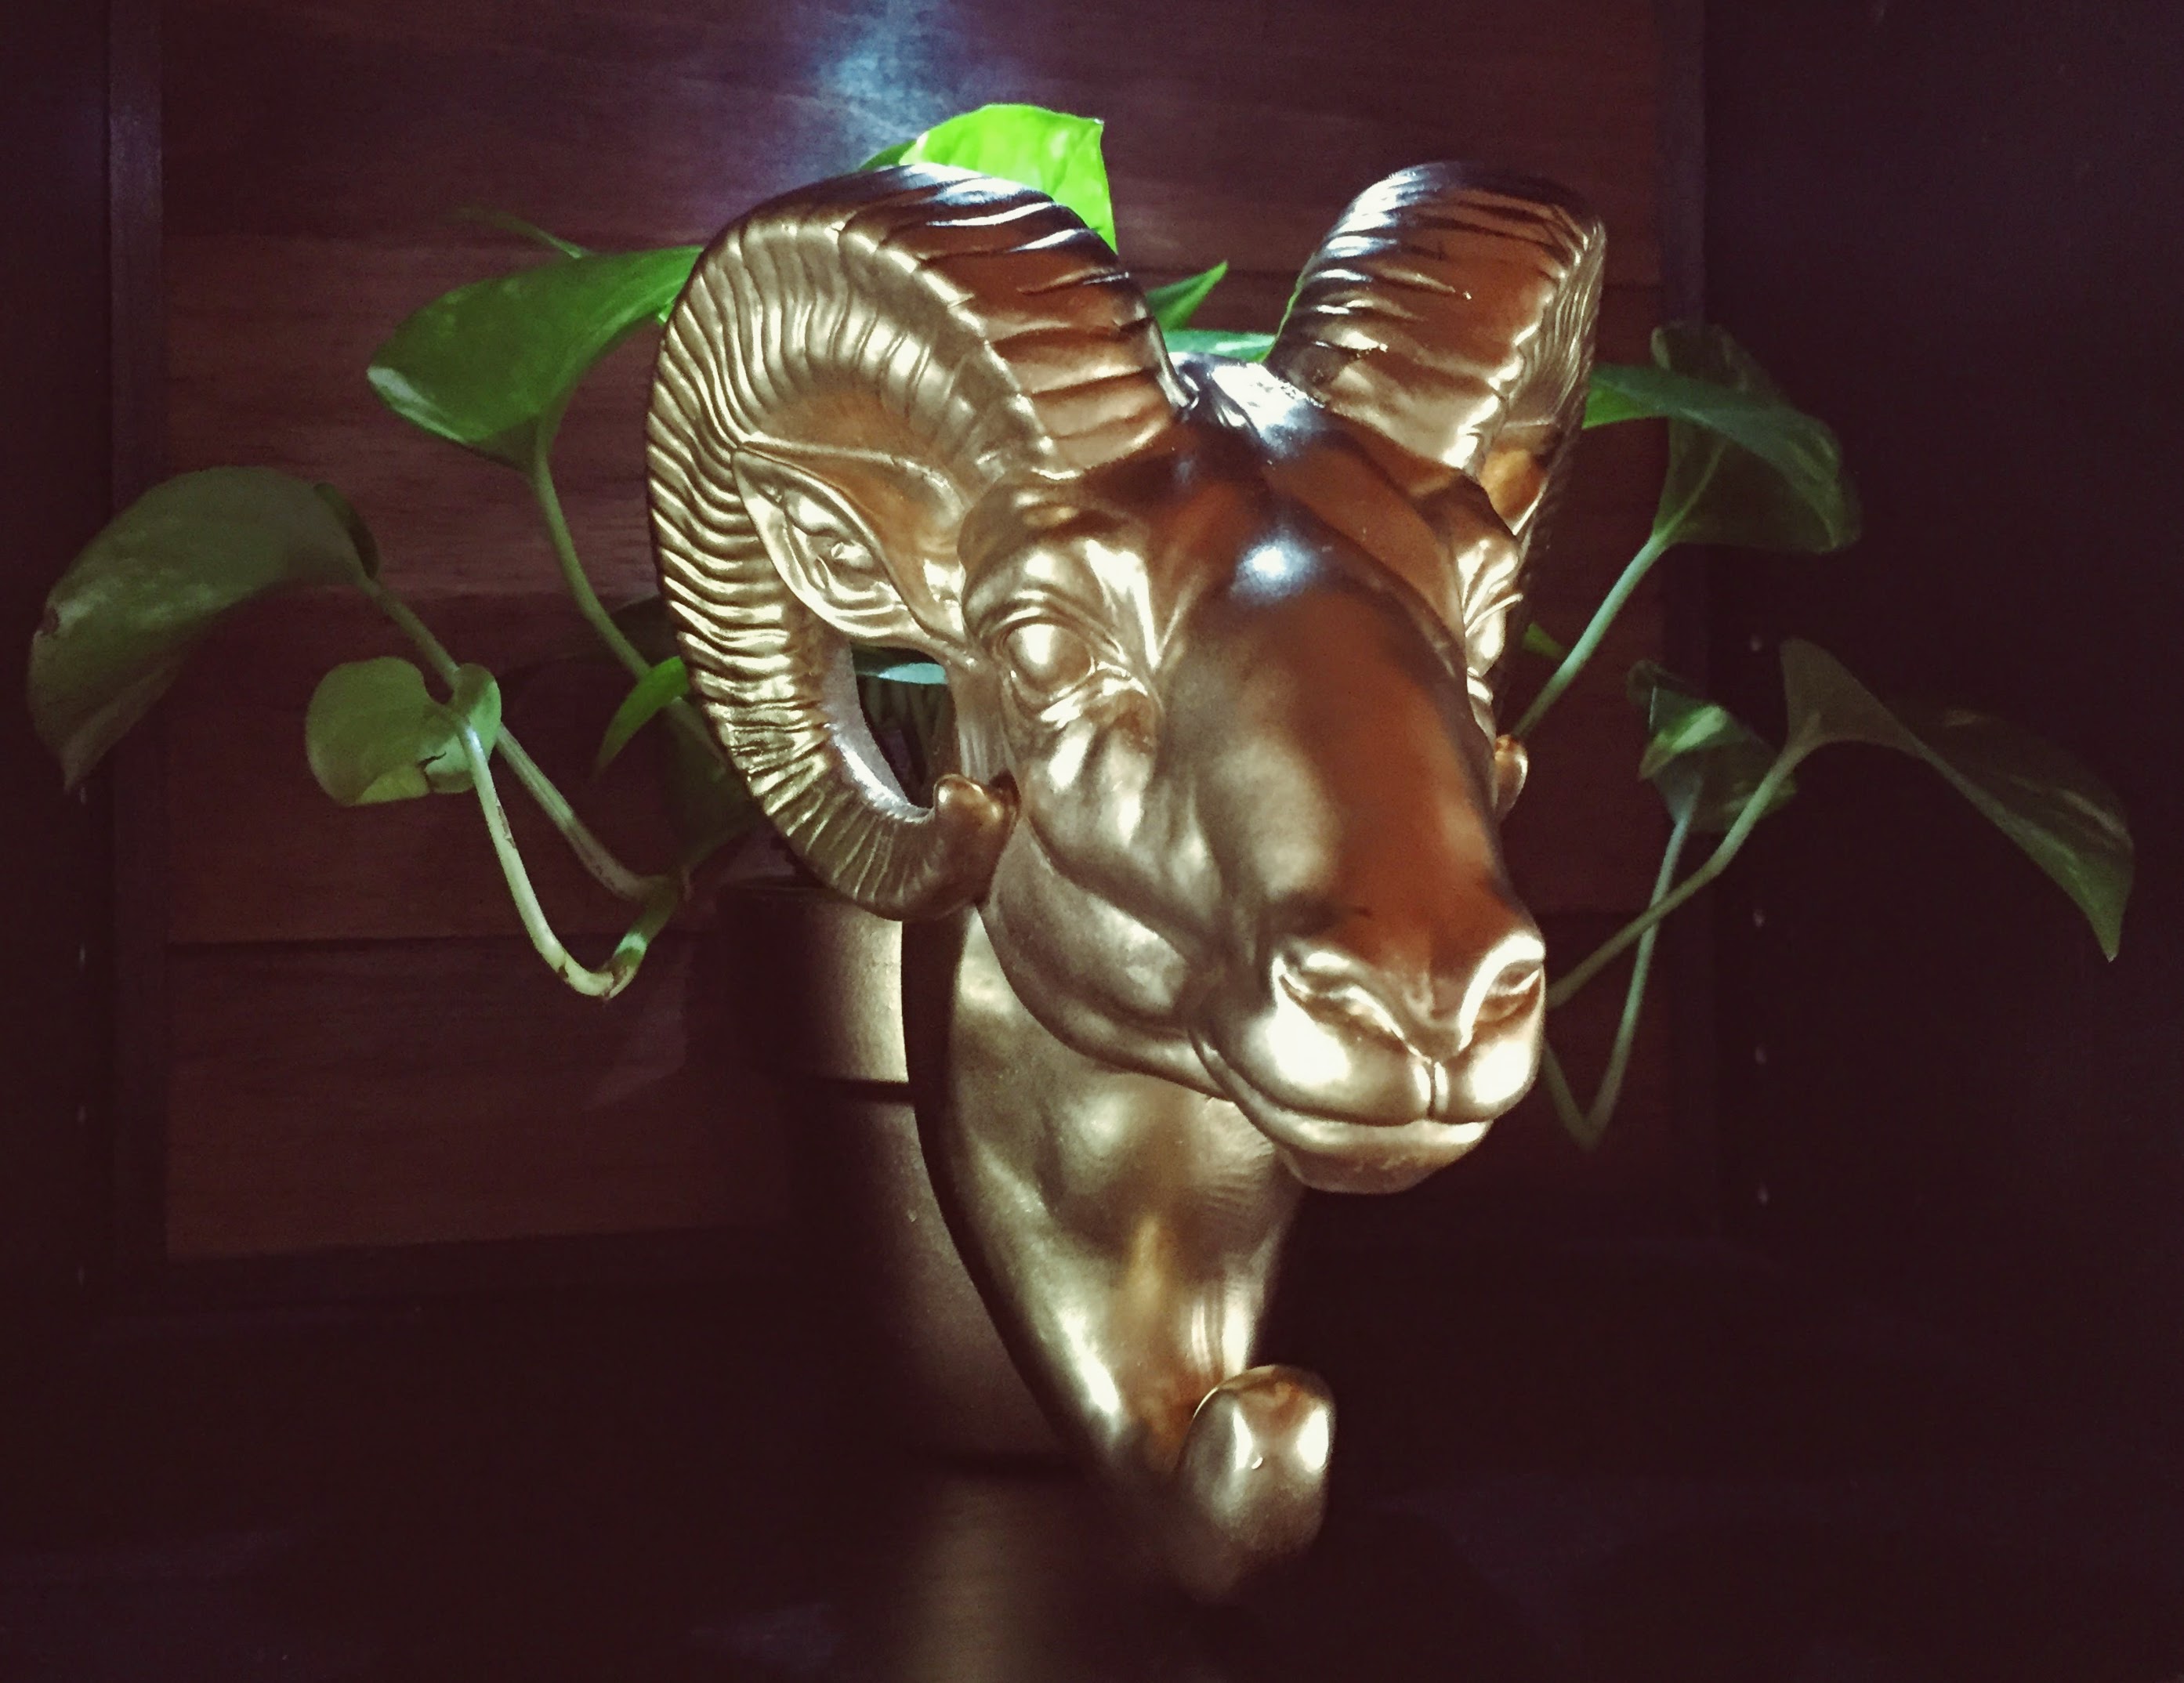
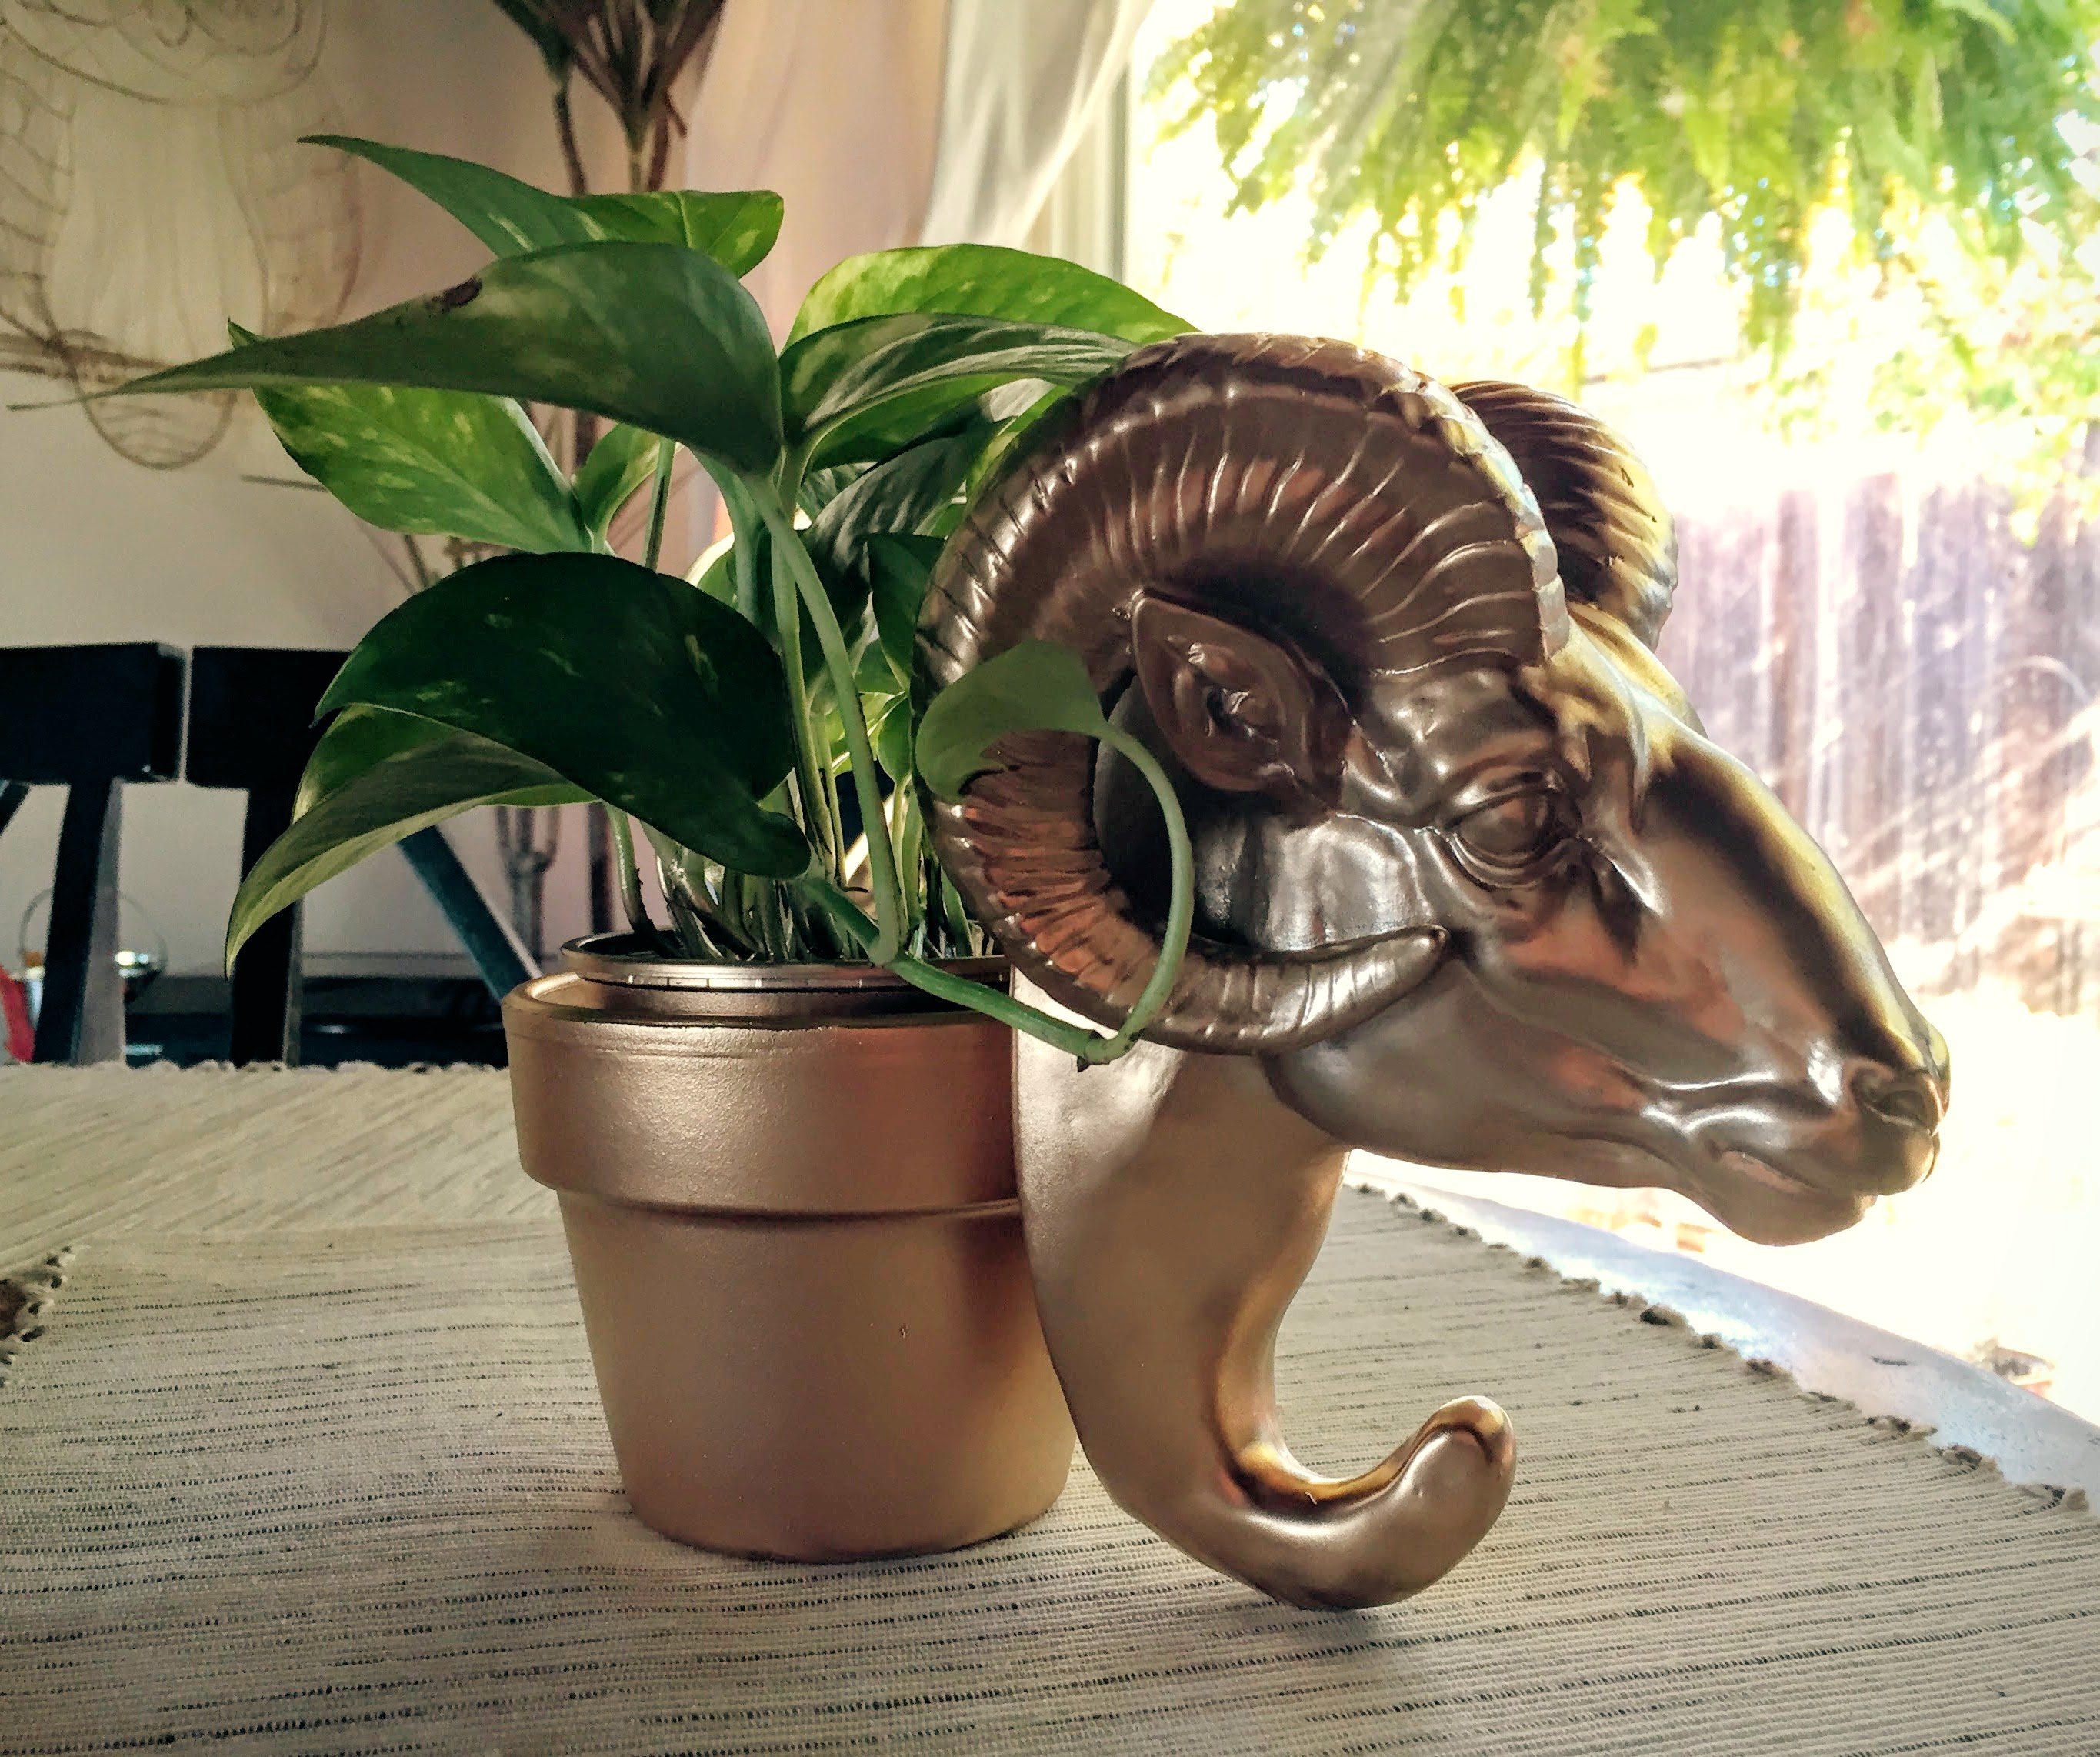
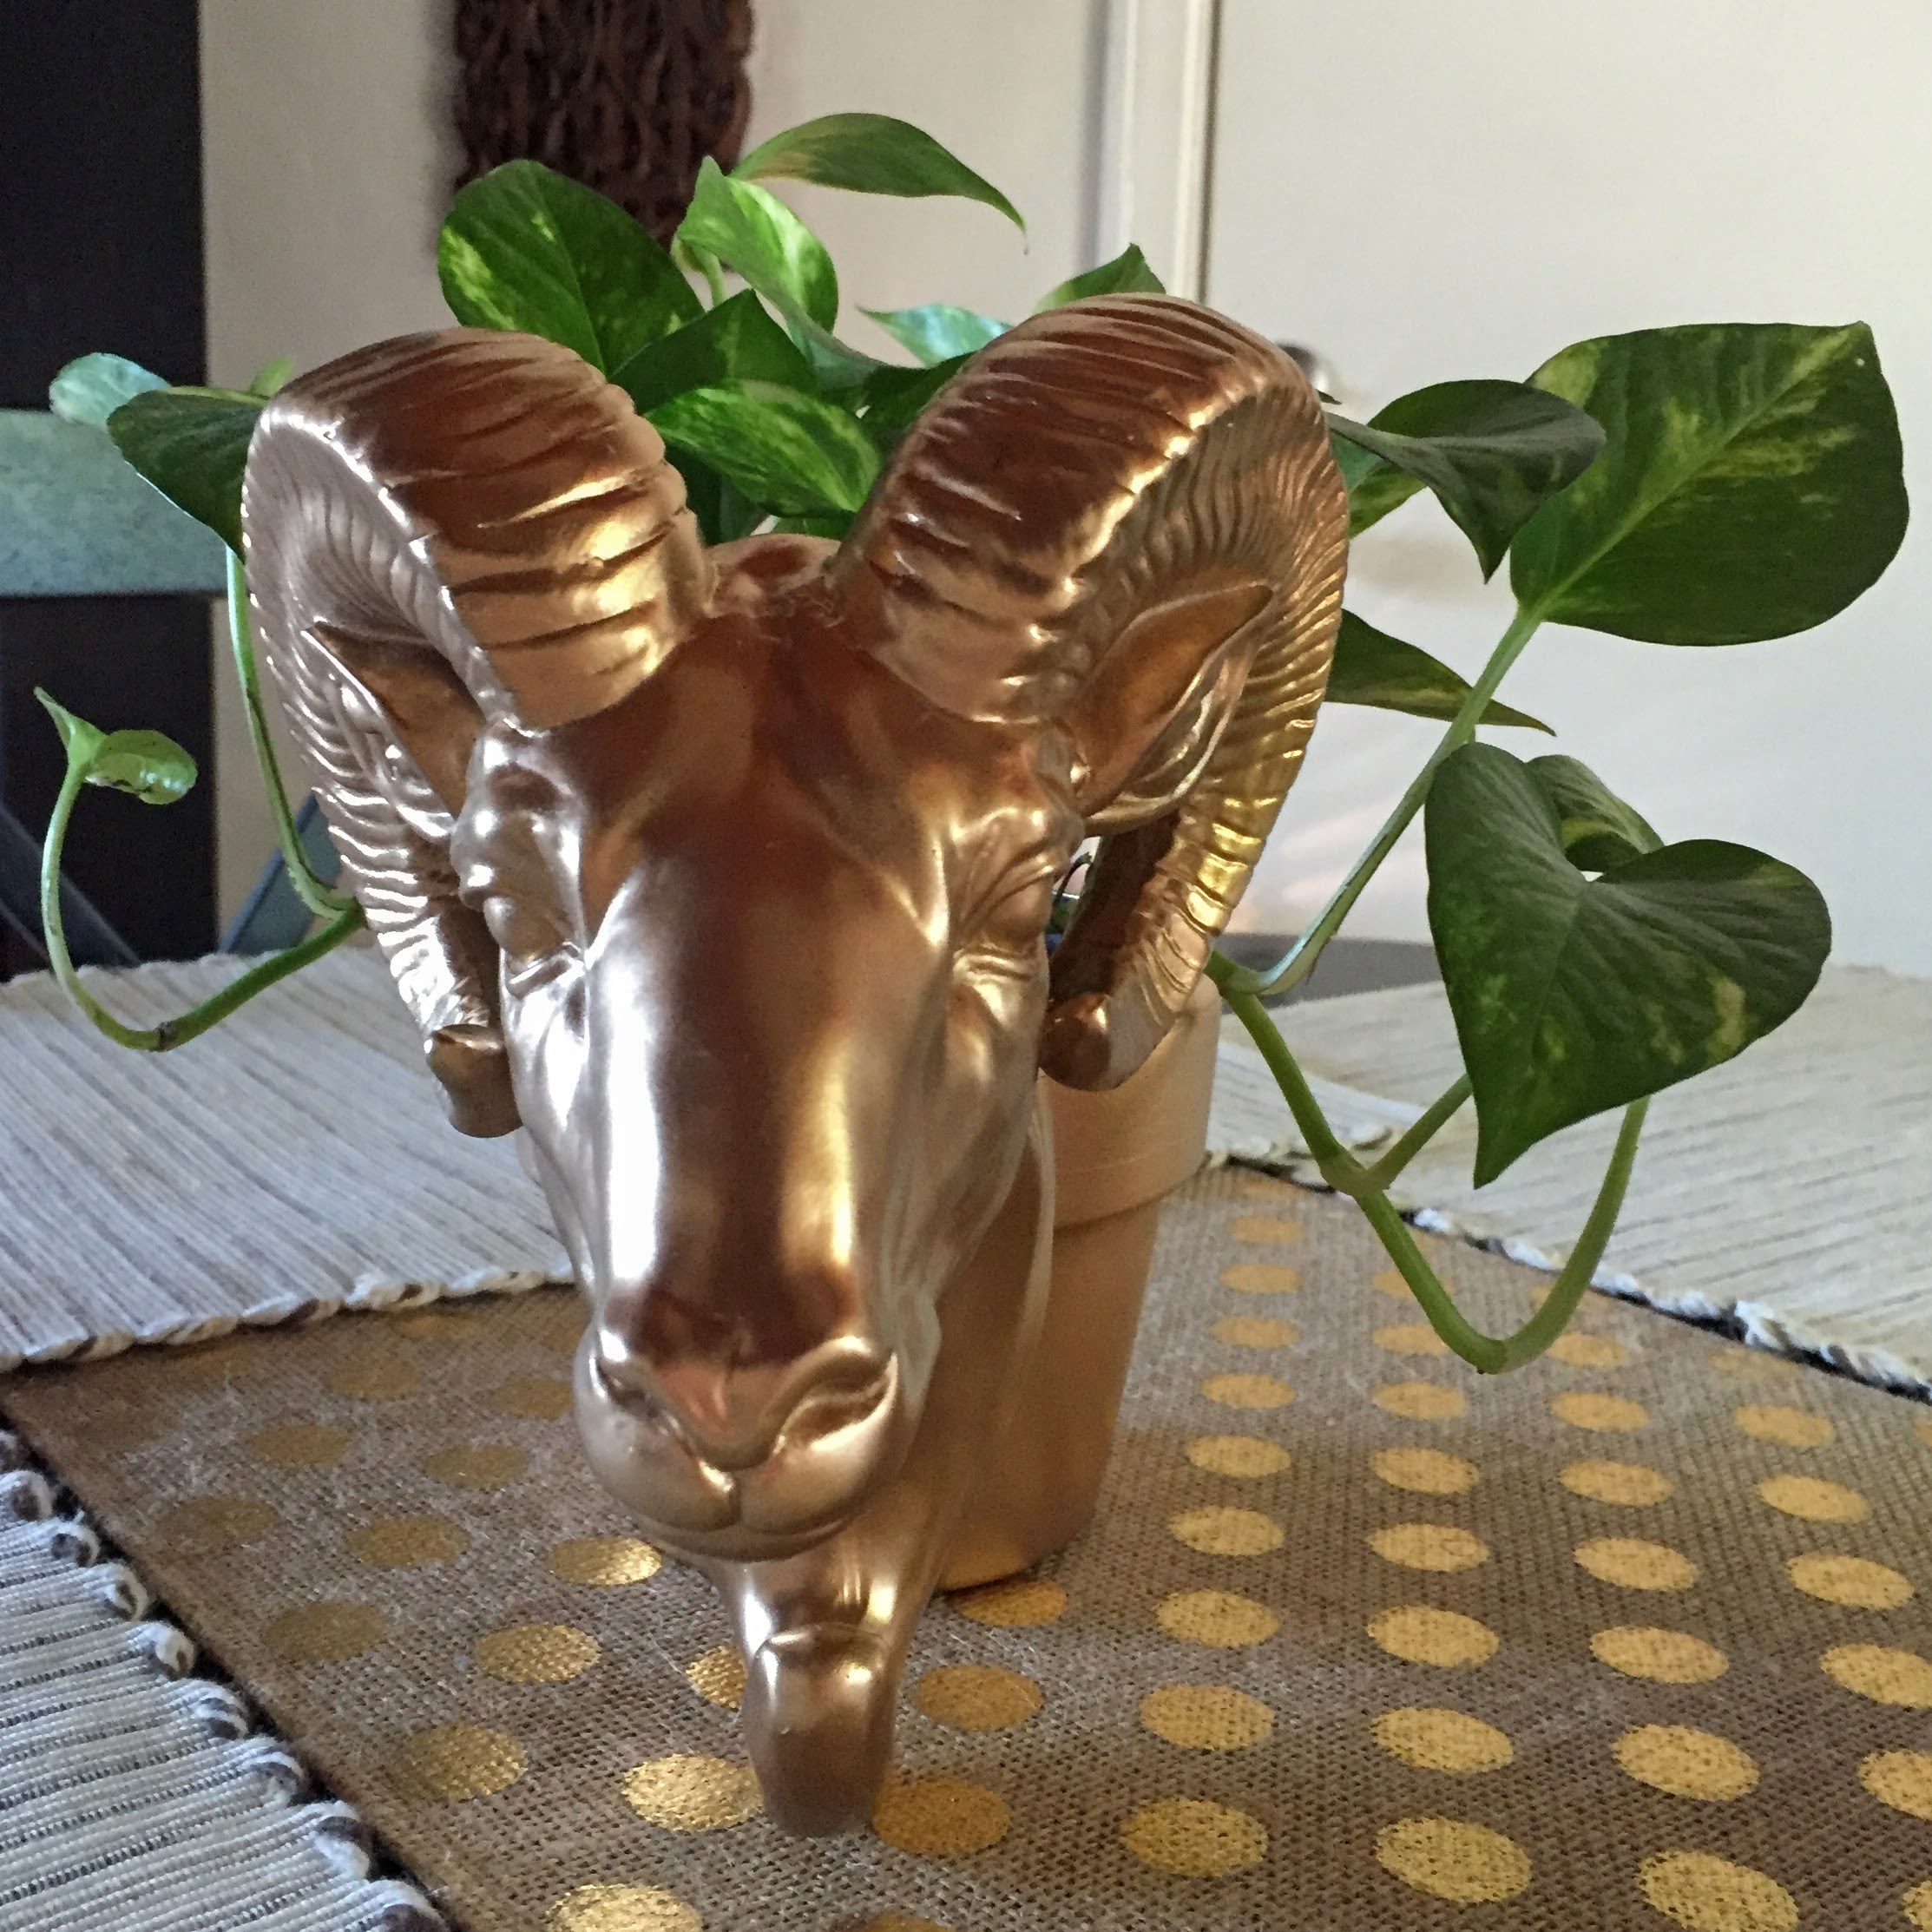
So, here is my DIY Goat Planter. It was seriously easy to put together, and ended up being the perfect accessory for the empty space in my bookshelf. A little gold (or whatever color you choose), a little greenery, and voila! You’ve got an adorable Mid- Century-esque accent to brighten your home… and in this month of the goat, what could be a more perfect birthday gift for a Capricorn? Problem solved. You’re welcome.
This DIY is so simple, that once you have everything you need, it can be done in about an hour. Let’s get going!
Here is what you will need:
- Small Animal Head Sculpture (this one is 7 1/2″H x 6″W x 6″D, at its deepest point). I bought it at Ross, a while ago. It was a really tacky bright silver and it was $5.99 (in the link above, the goat has already been painted with this 24K Gold Spray Paint). Lately, I’ve seen a lot of the chalk white colored animal heads at Target and other places. This one would be awesome on a larger pot- one that might sit on the floor somewhere, or in the middle of a large table. Also, that version might be better if you don’t have small children! I know my 1 year old daughter, Zoe, would grab those horns and pull it right over, and Gabe would catch them doing some dive roll he’d learned in Kung Fu that week. Let’s not even talk about what could get punctured on those things.. so, yeah… that rendition might be better suited to a larger and more quiet environment! However, I always see small animal head sculptures at Ross and TJMaxx. They may be tacky at first glance, so keep an open mind, and remember that paint changes EVERYTHING!!!
- Small Terracotta Planter (3 3/4″H) and Plant of your choice that fits into it.
- Primer
- 24K Gold Spray Paint from Michael’s. I was going for a modern spin on a Mid Century Animal Planter. I was thinking gold, brass, or bronze (or really, any metallic) would give it that feeling. If you don’t like metallics, I think a chalk white or maybe even a gloss white would be pretty.
- JB Weld KwikWeld
- E6000 Glue. Michael’s, Hobby Lobby, Home Depot.
- A Hot Glue Gun and Glue Sticks. Michael’s.
So, let’s get started by spray painting our animal sculpture. Spray it thoroughly, front and back, with light coats to prevent dripping. Make sure it’s smoothly and evenly coated on all sides. Once it has dried (45 min or so), take the sculpture and glue it to your terracotta planter, which has not yet been painted. I used a decent amount of hot glue and then put a blob of E6000 on top of that, to ensure long time hold. Stick the sculpture to the planter, making sure it is straight. Note: You will probably want some part of the sculpture to be able to firmly rest on a surface, so that the glue doesn’t have to hold the entirety of its weight (see in images below):
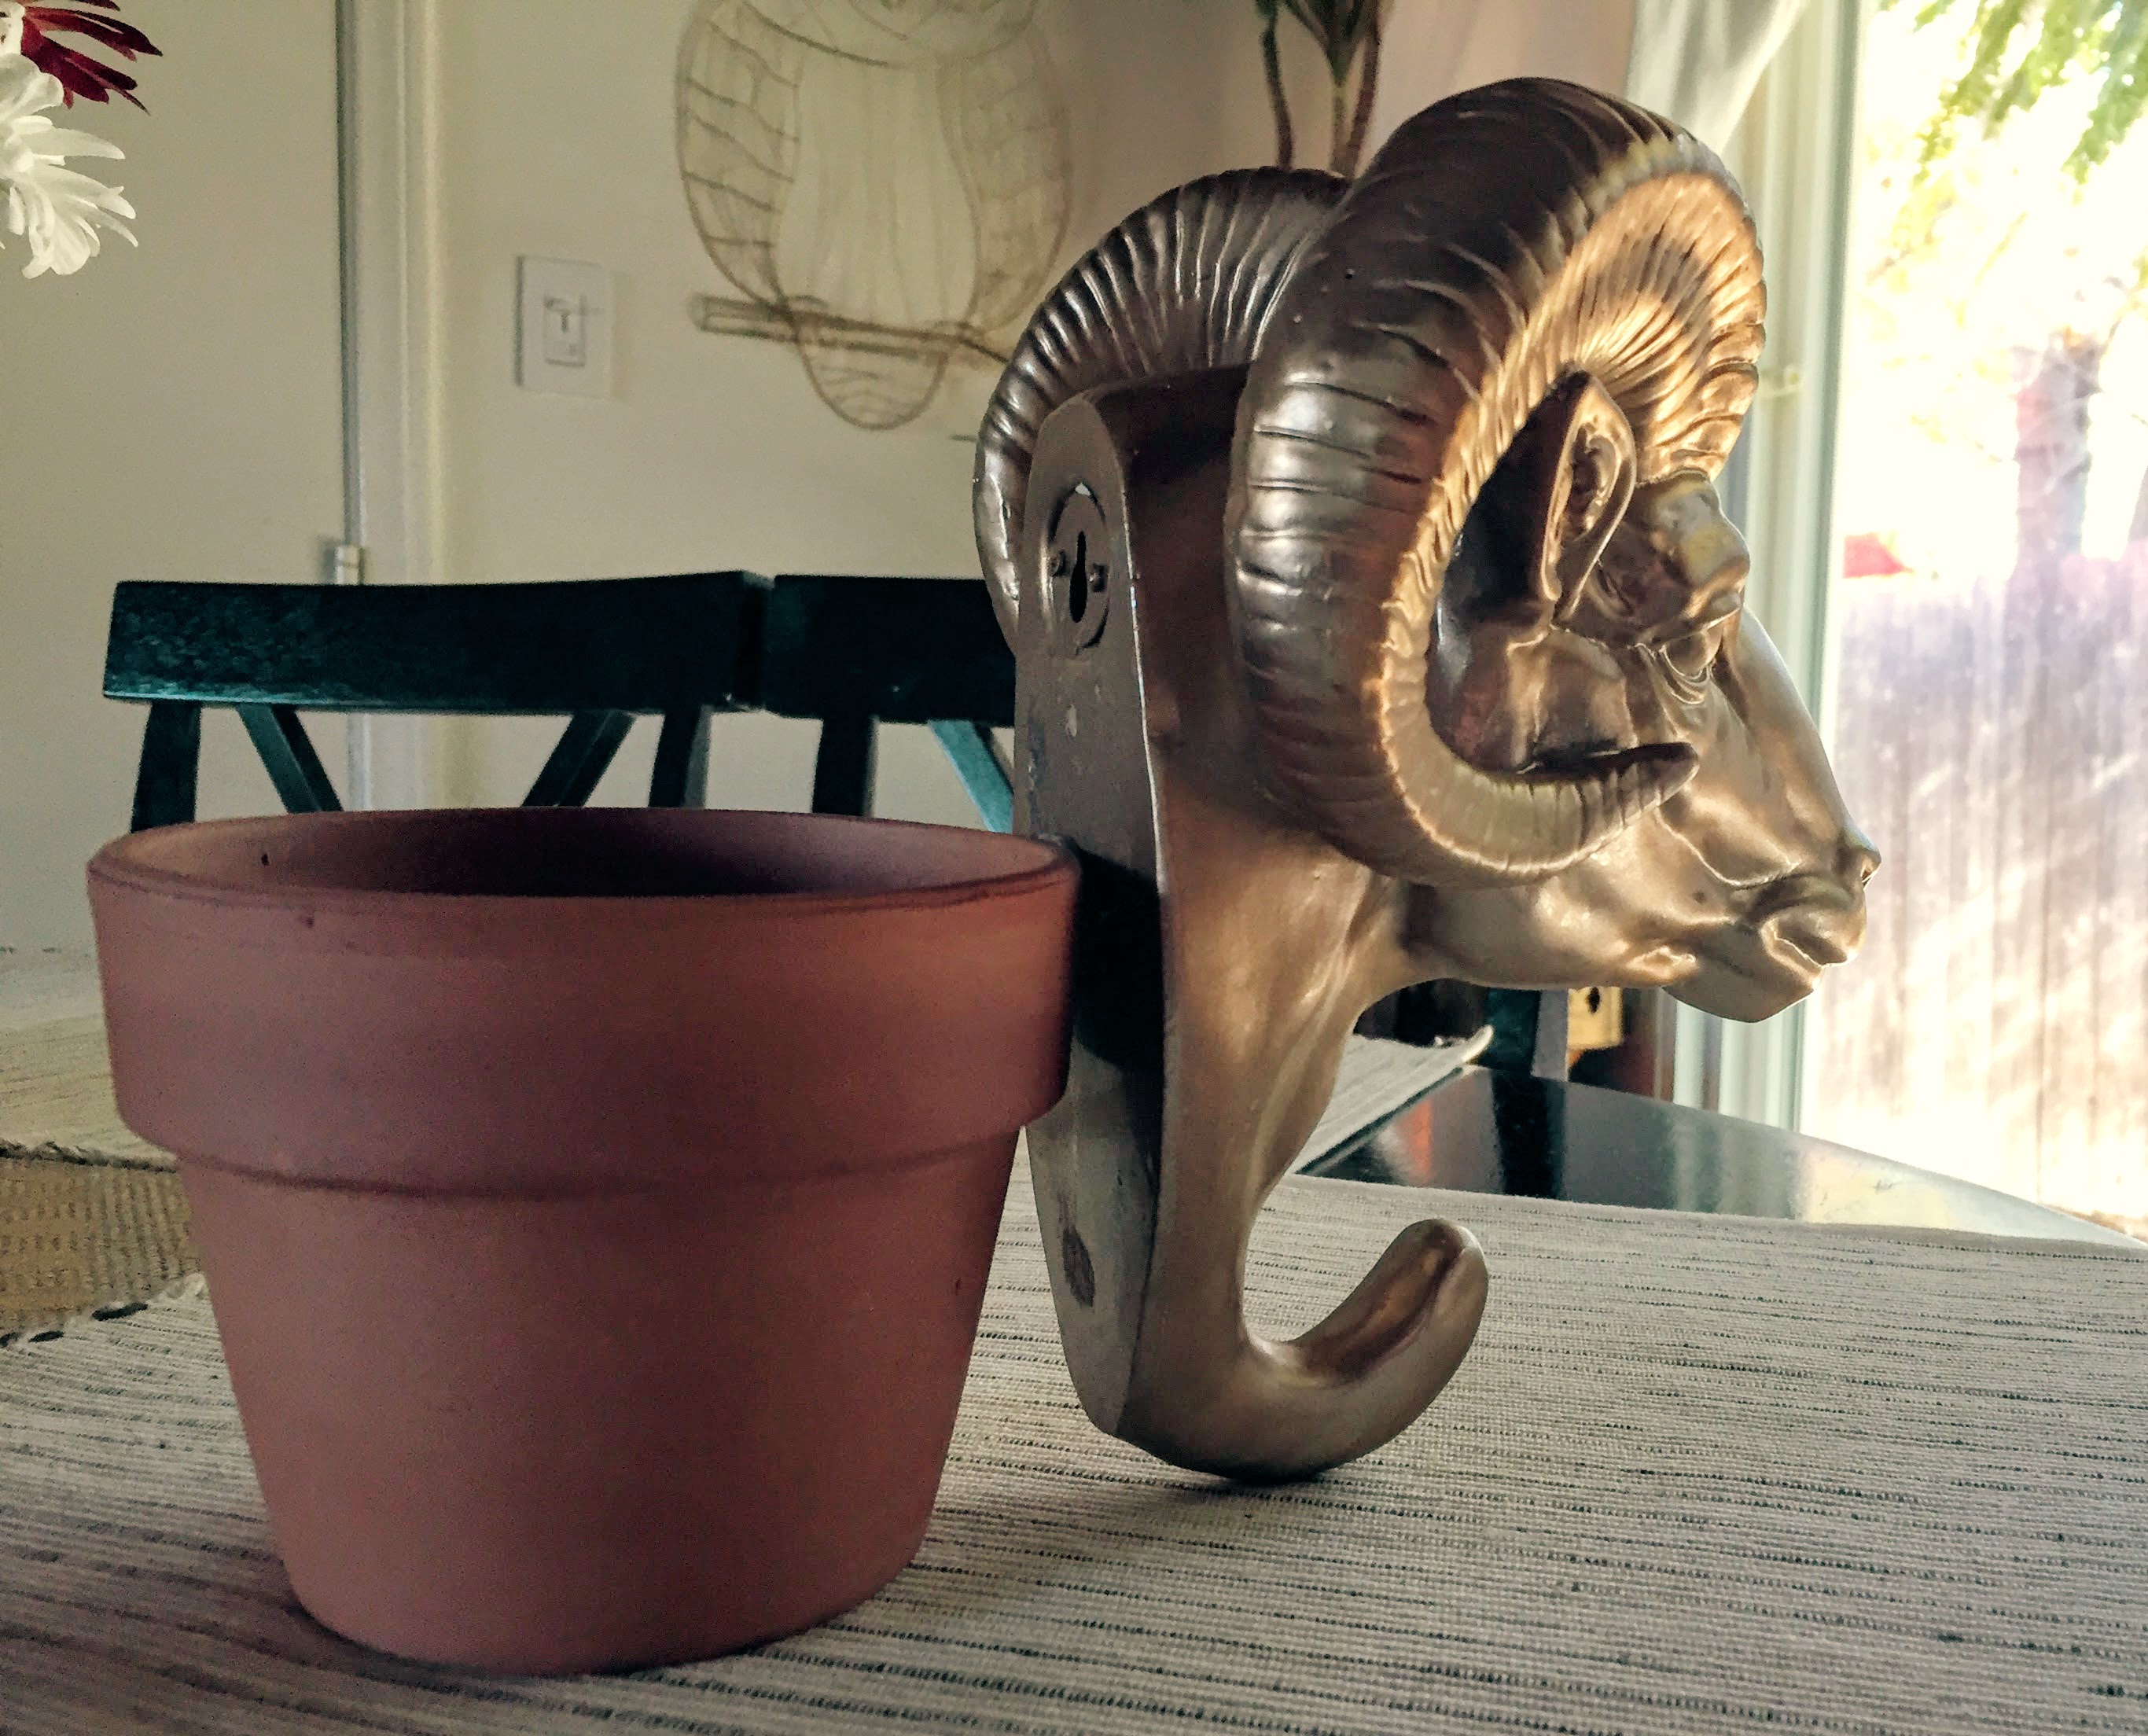
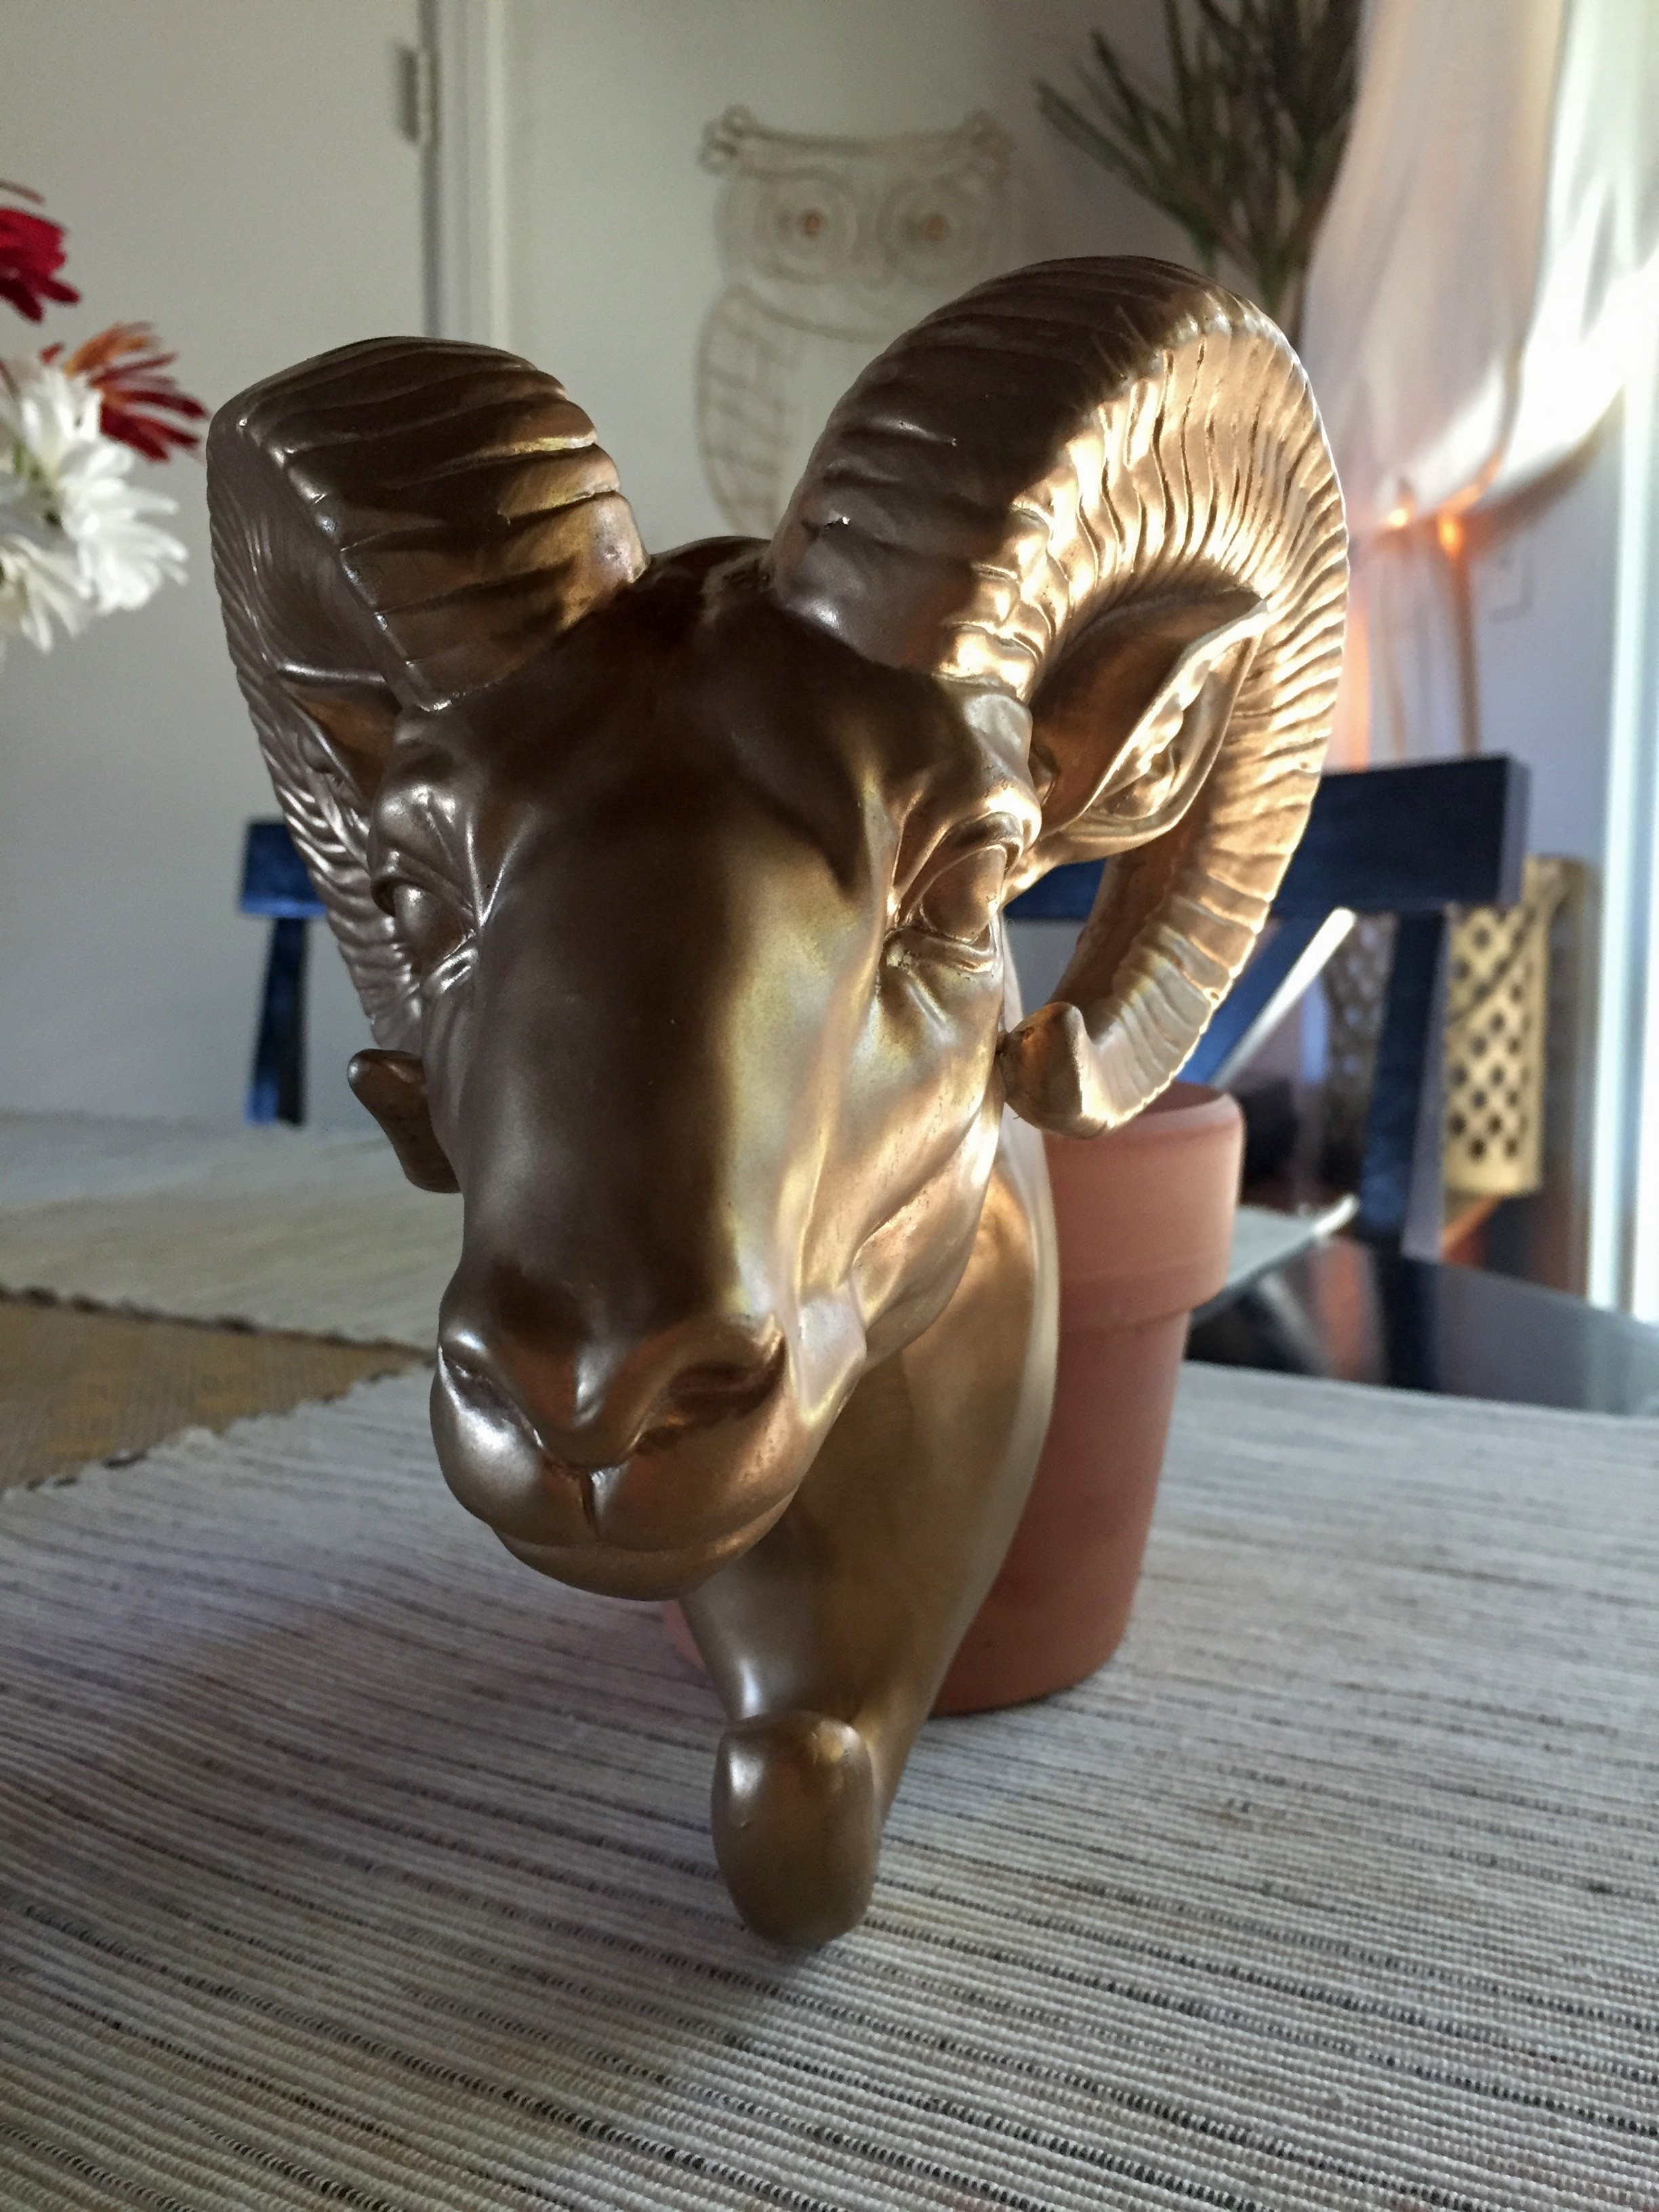
You can see in the images above, that the hanger portion of my animal sculpture, rests on the table. Unless you have an extremely lightweight sculpture (like a styrofoam or paper mache sculpture), you will want to make sure that some part of the sculpture, rests on a surface.
After you have glued your sculpture to your pot and it feels secure, you simply need to finish the final spray. Spray your pot thoroughly, first turning it upside down to get the bottom, and when that is dry, turning it over and getting the inside and outside of the pot. You will probably need to do several light coats and you will be respraying the sculpture, along with it. I did a couple of extra coats, weeks later, because the terracotta seemed to “soak up” the paint in spots- this can happen with a porous surface.
So, there you have it! Your beautiful new DIY Goat Planter (or whatever animal you end up with!). Please send me pictures if you make one of these little guys, and I hope you have fun doing it. I would love to see your creative take on this project! Please contact me with any questions or comments and thanks again for spending time at The Craine’s Nest! Happy New Year!
Happy Nesting.
Kirstie xo